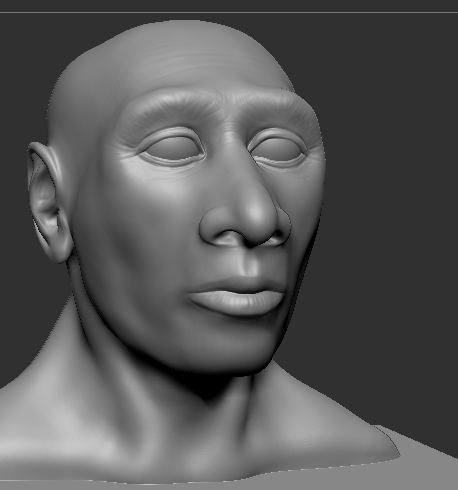
I’m making this thread because I need some help with how to create a realistic skin/hair shader in cycles. I’m not even sure if I’m using the normal map correctly. Here is what he currently looks like in cycles with a normal map.
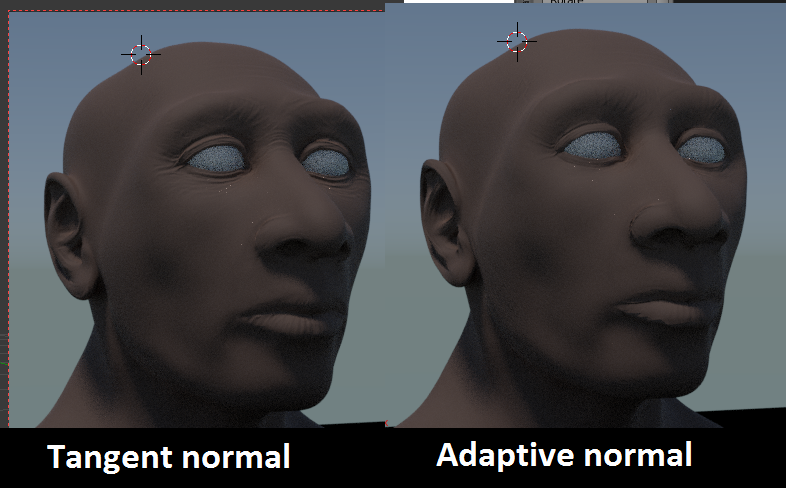
I baked the maps from zbrush, and placed them into the displacement slot in the material in cycles. Not both of them at once but you can see the result. The Adaptive map is supposed to be more detailed and I do kind of prefer the look of it, but there is something strange going on around the lips. Anyone know how to get the most realistic result with the normal maps?
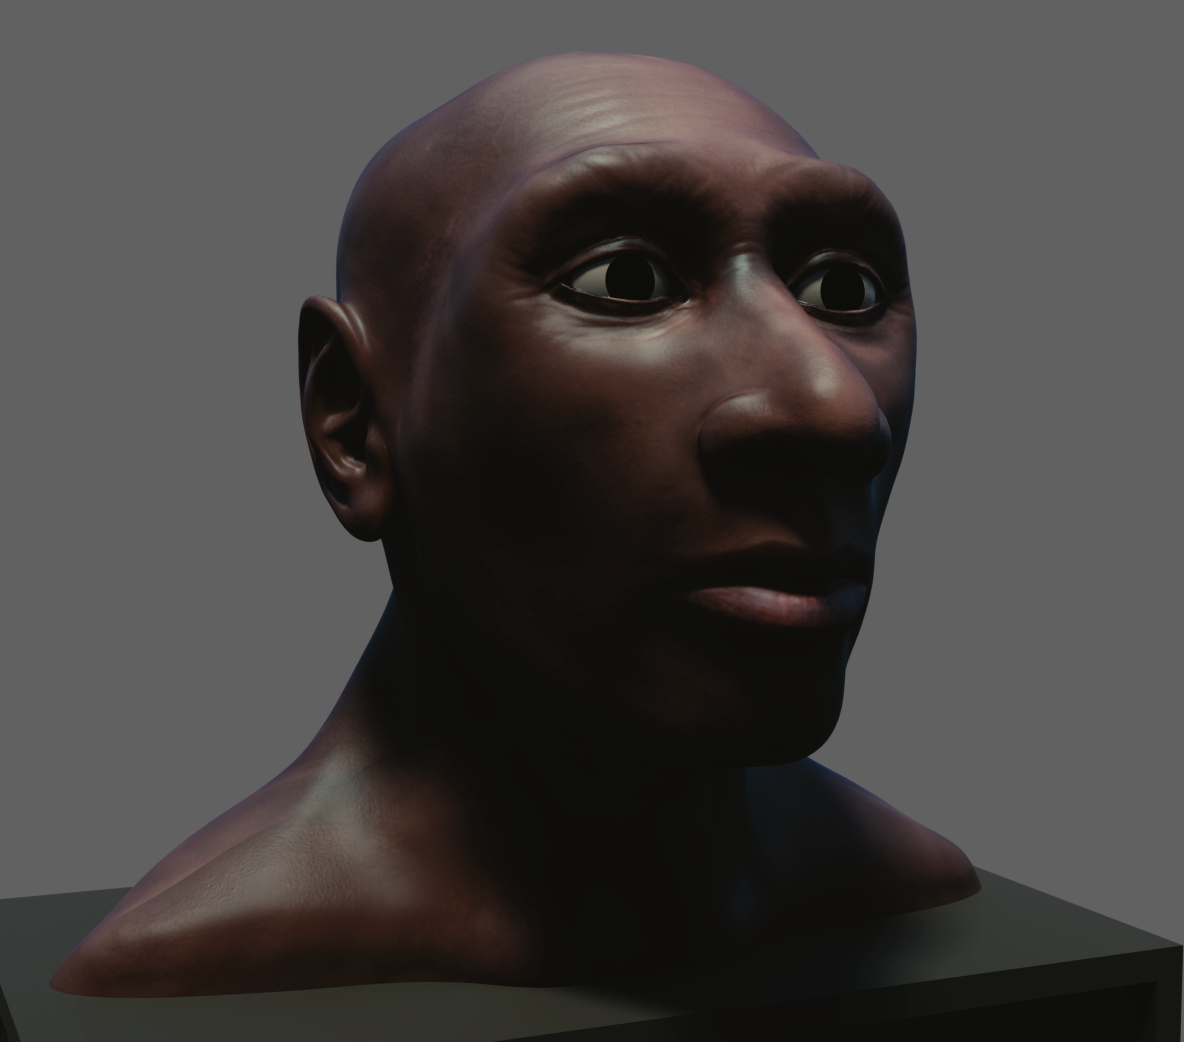
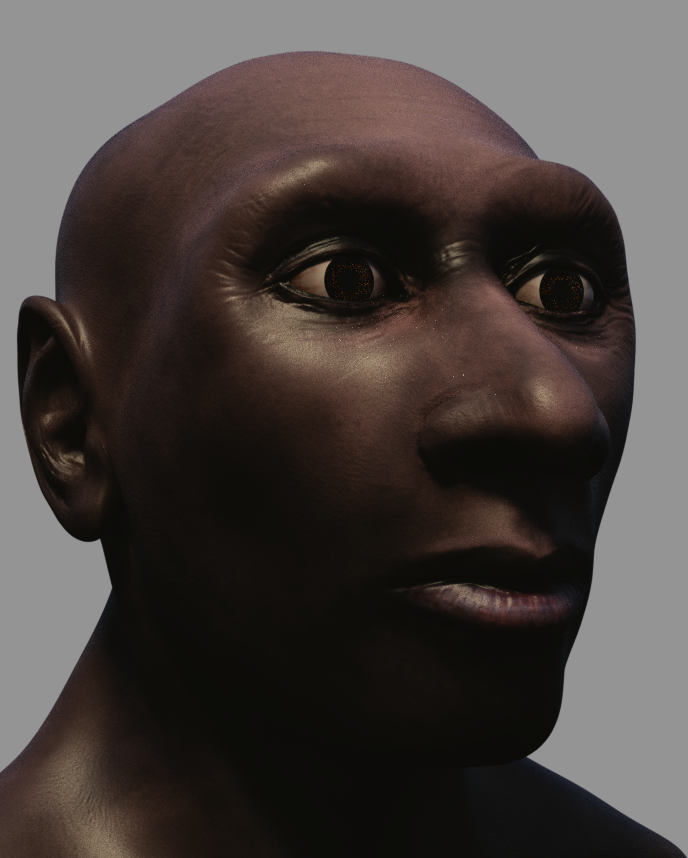
Ok a small update, still need to do some work on the skin, I think the denoiser is blurring some of the specular skin detail and the subsurface is blurring some the normals. Next is the eye, anyone who care to share a realistic eyeball or know of a nice method by which to make one?
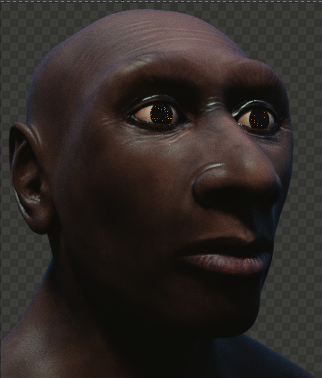
Ok another update, I’m starting to lose patience when it comes to getting the skin shader to look realistic. The original sculpt has pores all over it and I even went back to add more of them hoping that they would stand out more but doesn’t seem to work very well. Looks like plastic but I have no idea how to fix it, it currently has a normal map and some multires divisons on it. Anyone know some good method by which to create convincing skin, what’s making this guy look fake?