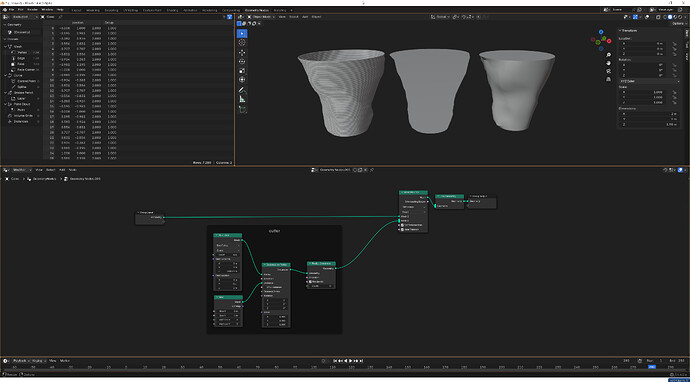
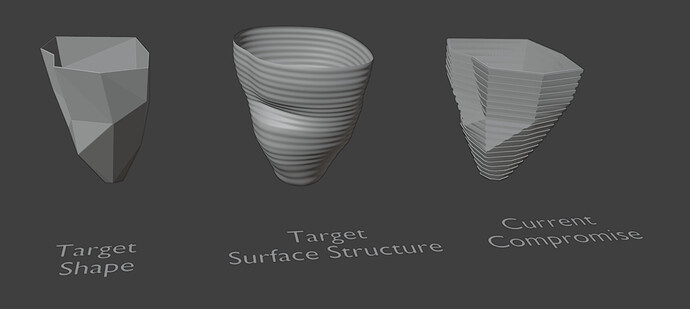
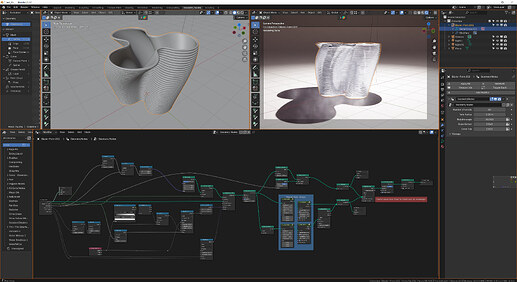
So I read through the chat you linked and checked out the file you provided. I encountered the following issue when aiming for the horizontal slicing effect described above: The model’s topology influences the way the slicing is distributed along Z. However, I want my model to be sliced uniformly along Z, independent of the underlying topology.
Could this still be achieved with the loft splines solution?
Maybe you just want to do it this way??
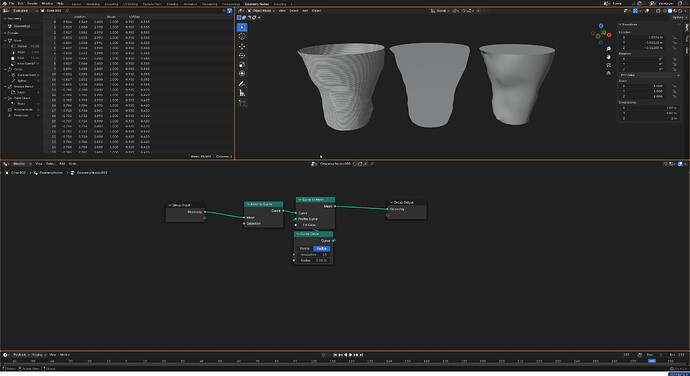
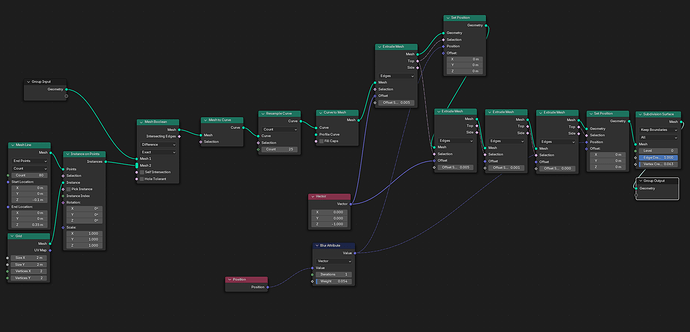
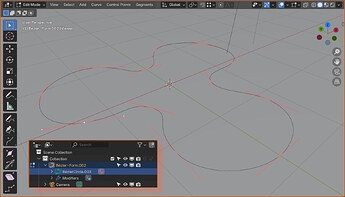
Make a cutter slive yr model with a boolean
Then do a mesh to curve and back.
I tried out the Tissue Addon, that one gave me the desired smooth transitions (when combined with a SubD), but it is still not uniform along the z axis, and I cannot bevel any edges to give it that low-Poly look (Middle FlowerPot).
How would you integrate the mesh to curve into this? wouldn’t I then lose the low poly look?
FlowerPot_Mesh5.blend (1.3 MB)
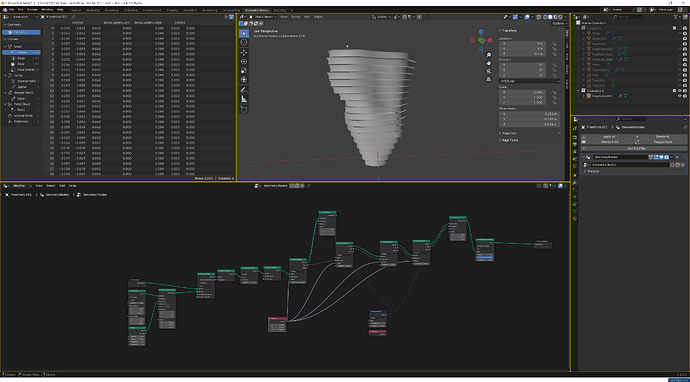
Another apprioach thats better at keeping the form.
Now Ill, leave it to you to bridge the gaps.
Hope that helps.
points in volume.blend (735.1 KB)
I believe you linked the wrong file, so I tried manually copying your nodes- unfortunately with no result.
20241128_Blenderartists_Freeform.blend (1011.6 KB)
Thank you, that helps me a lot! I think I can work with it from here.
Ohh my … ![]()
Because of some other question of the OP i came back to this topic of “connecting things in geometry nodes”… i was thinking about a week ago.
It seems i really have to take better notes about things i tried already for some time… because i did already found something what might be helpfull to do the merging and also suggested this myself:
Now i only have to consider my own suggestions to increase my knowledge about the possibilities of geometry nodes. ![]()
It’s somekind of weird if you search something and found suggestions of “your other self”.
![]()
I tried applying the Loft Spline System to my model, and also to the model you provided, but I think I haven’t grasped fully how this needs to be done to achieve the desired result ![]()
FlowerPot_Mesh8.blend (1.3 MB)
