I haven’t hit up heads in a while and decided to tonight. There’s nothing extraordinary here but I’ve never done hair. I’m polling for simple ways to do hair that people are already familiar with doing.
With the head still Mirrored, I just grabbed some edges and started adding a new group on top and used textures to doll it up a little.
If you’re a BlenderHead that does hair, do you do spiky, straight, planes, particles, what? What’s a solution that makes you happy and is easy?
If you don’t do hair but you consume a lot of animation, what are some examples or shorts you’ve seen that you really liked for simplicity and solving the ‘hair problem’ at the same time? I’d like to animate, but want some crowd sourced feedback about hair before I commit to any characters. I need ideas.
When you see an animation, does bad hair distract you? What’s the WORST example you’ve seen lately (mine doesn’t count!)?
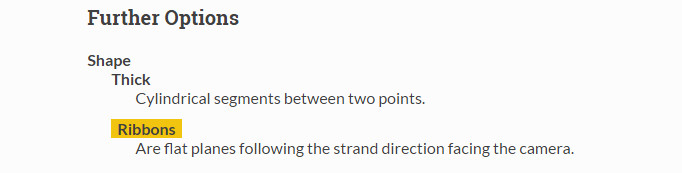
Turned to YouTube for a few ideas on different methods - I favor shorter videos. There’s geometry, planes and “strands.” I’m not considering texturing yet though it’s obvious some ways are better and harder than others!
Fumbling through planes but usable comic style results: https://www.youtube.com/watch?v=KzdR06hnLn0
Combine this http://www.thundercloud-studio.com/wp-content/uploads/2015/09/GMH2-for-Maya-Hair-Script-3.jpg concept, or more simply textured, this https://s-media-cache-ak0.pinimg.com/originals/25/e1/b5/25e1b56a4d00e6486a2cb5f4caa7969d.jpg with THIS https://www.youtube.com/watch?v=RZaqVcyJkMw (the music will kill you) lattice-bounce hair.
Or, for super stuff and lots of prep, adjust any of the above to work more like this https://www.youtube.com/watch?v=utupr3l9IQs
I don’t own any of anything at those link but wanted to shoot out fast starting points that I caught online yesterday.
Thanks for posting those links. Very helpful! Something I’ve been looking into myself.
Thanks Peter18 - it’s important to get as much input as you can and for me, faster quality beats a verbose hour.
One thing that’s killing my concentration is my head mesh. I’ve gotten stuck in doing it badly the same way almost every time. I’m aiming for too few wires to do too much and CHEEKS are suffering.
For my sake and anyone else’s, here’s a list of good head mesh examples that are cartoon in nature but display good loops… A good head of hair can’t sit on a crap head.
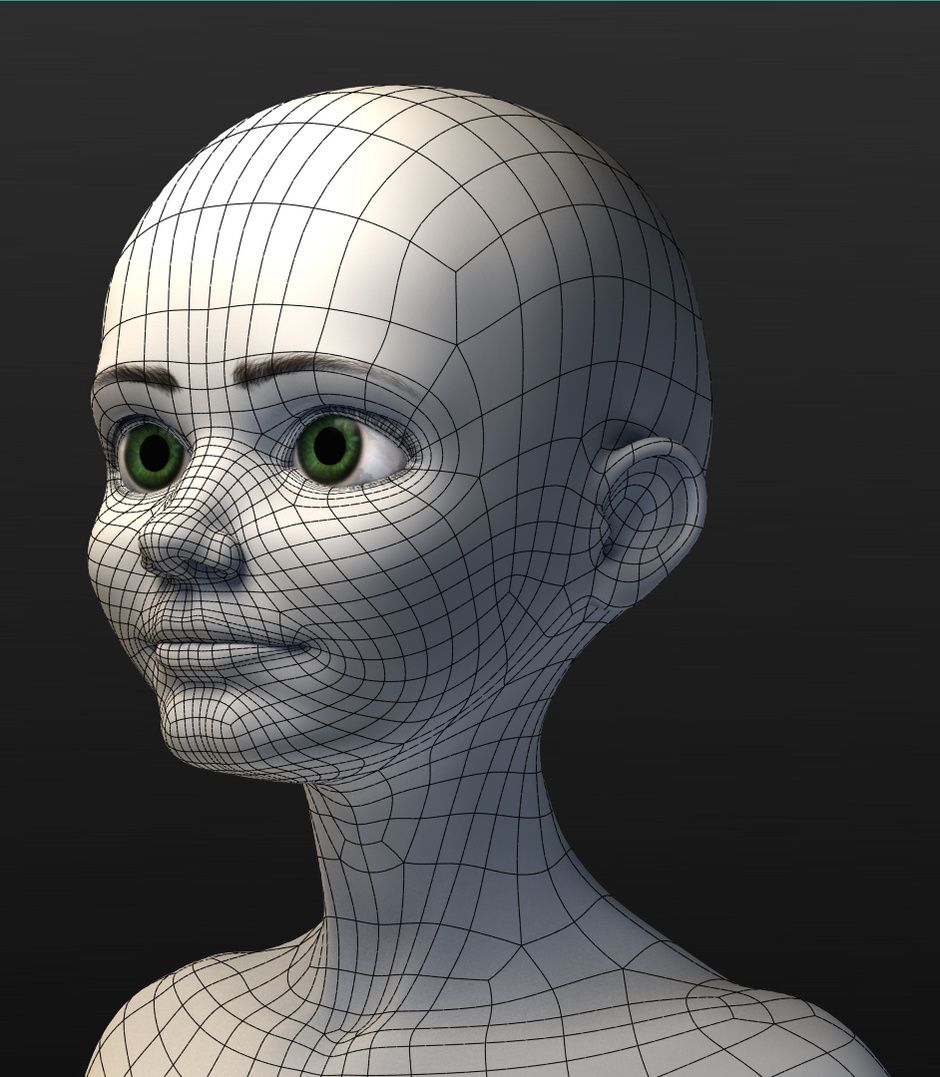
Complicated mesh from a CUBE emphasizing mouth animation with graceful eye area solution. So it’s, ‘mesh where it matters:’
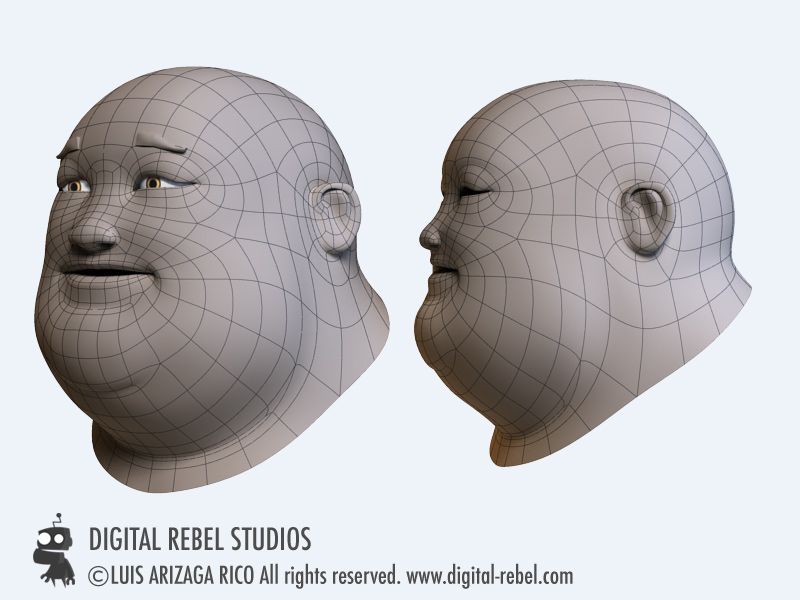
A good look at forcing polygons - note the jaw has no flow but appears anyway. Good minimal solution, excellent execution but leaves lots of 5-star verts:
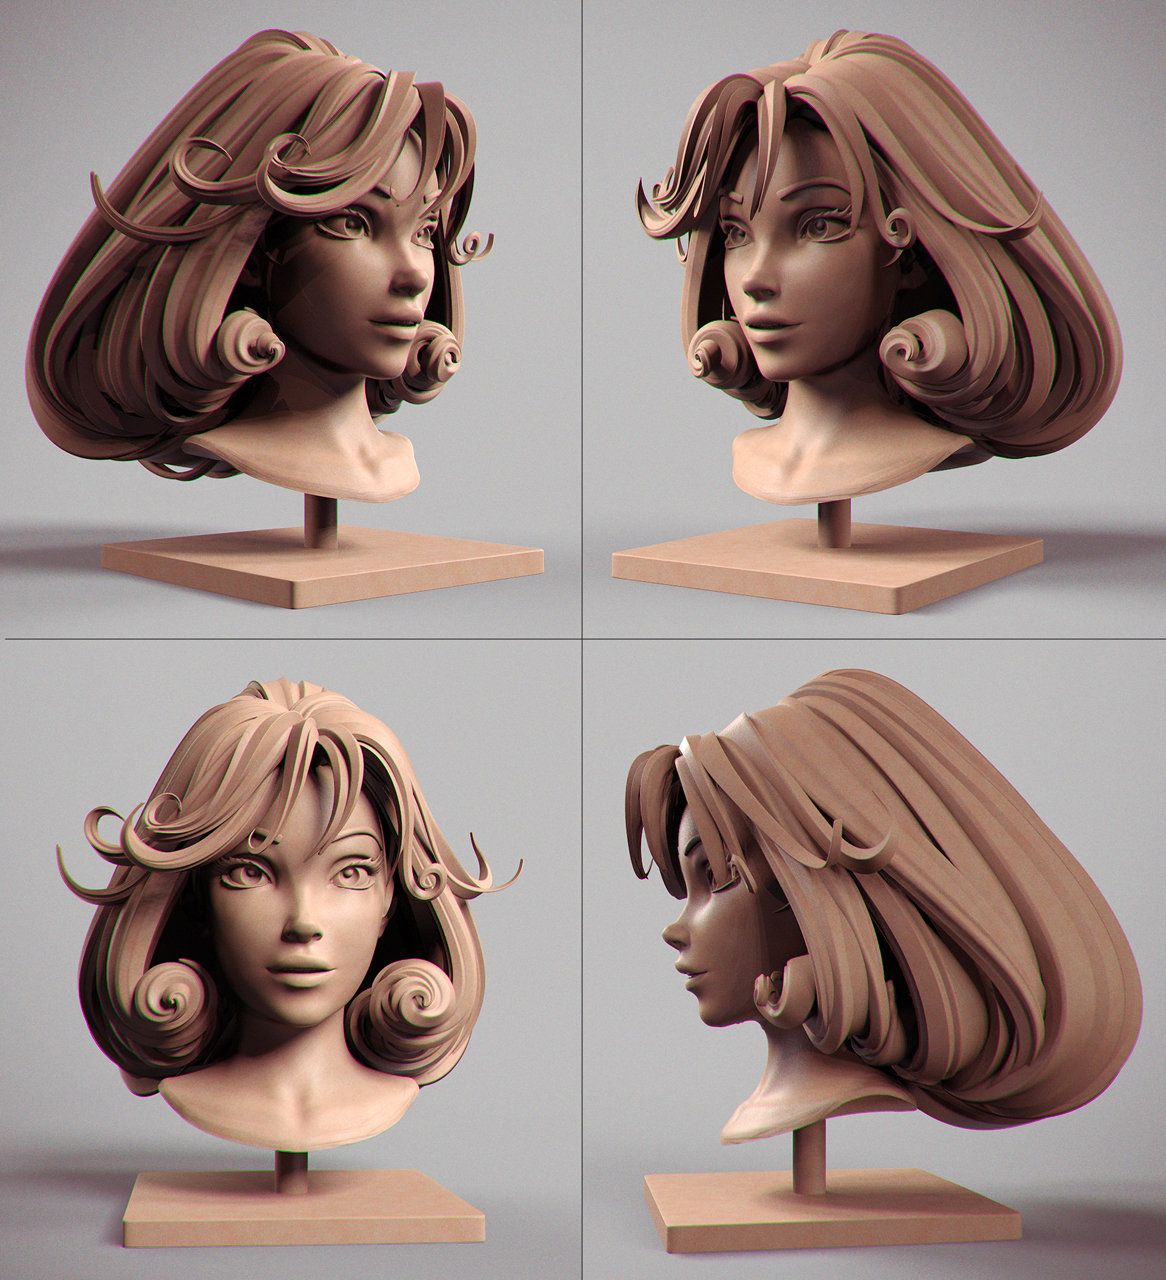
Really delightful and amusing example of loops. Sacrifices cheek mesh for cartoon character (it would be hard to reuse the mesh):
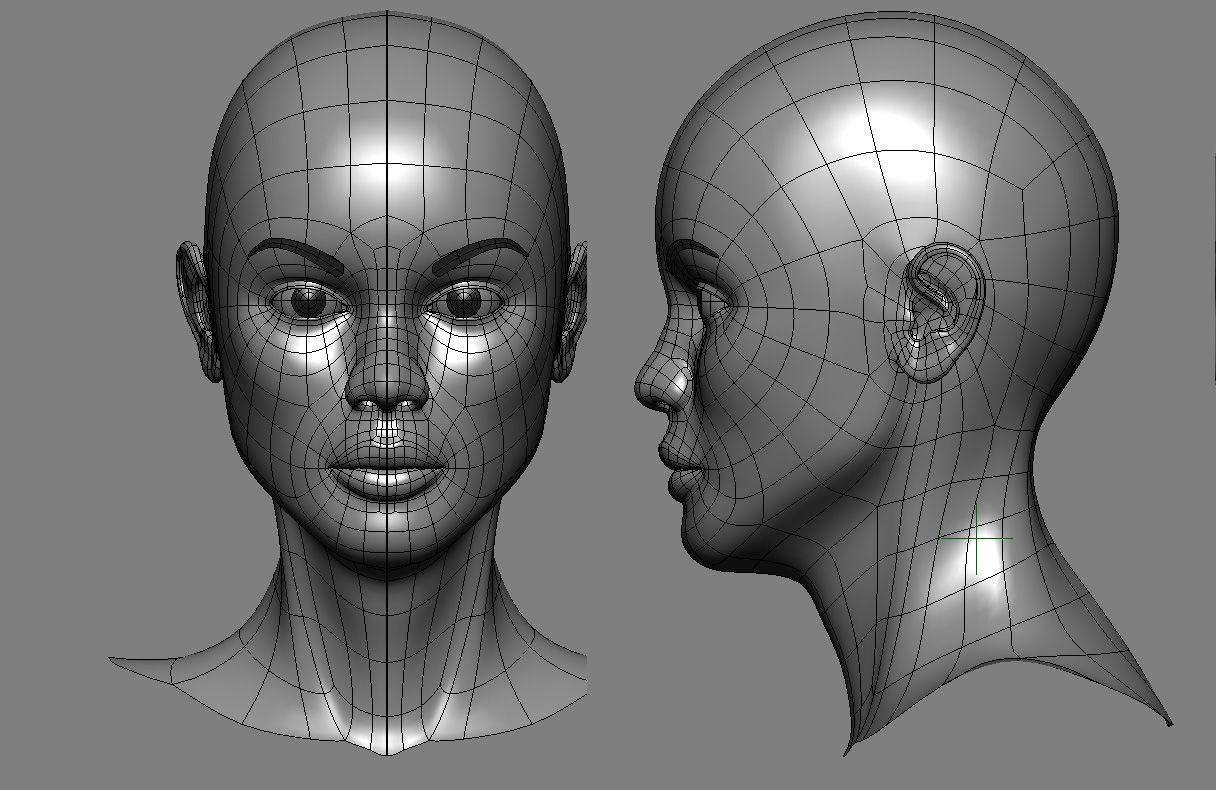
Not very cartoon but very good loops, lots of cheek polygons and great geometry flow for the jaw. Other than a few Insets and n-gons at the chin and ear, I’d like to wander this way:
Disney. Period.

Mouth loops are good and cheek geometry is a sneaky thing. There’s an interesting difference in animation when a mesh is too much one or the other. The other smashing detail is the outer corner of the eyelid. But this is a hair thread, so let’s do. “Do.” (get it?)
Killer cool:
Happy Proportional Editing!
If I’ve referenced your work without mention, apologies! It’s all just from straight Google Image searches and every image here is a good teacher, thank you!
Something I’m calling a tented curve takes some inspiration from different sources but definitely from YouTube’s “LittleMissHorror X”
I don’t mind cultivating some good curves and washing them around any head model but I wonder if there’s an easy way to track all the pending handles and control verts?
The results will be more graceful than just about any other method. I imagine I can create new curve objects for each zone of hair.
This is pretty fun to have gotten into, simple as it is.
Hiding and Showing curves as you go along will help a great deal after just a few curves. Snapping to the mesh beneath will get you in the right direction to start, but there’s still a lot of pushing and rotation and pulling to do.
Mirror helps to populate the curves and even with lots, put a hair texture on the scalp. The Mirror Modifier cannot be applied in construction mode was the message I got I think. So Alt+[C] to convert to mesh and the Mirror Modifier is automatically applied.
Once a mesh, a proportional editing session will knock out the symmetry. I made sure to have a roughly spherical head so the 3D cursor at center as a pivot point for rotations was a breeze.
There’s still a lot for me to consider, but this was the first half-acceptable shot at hair that wasn’t some proxy box poly blob.
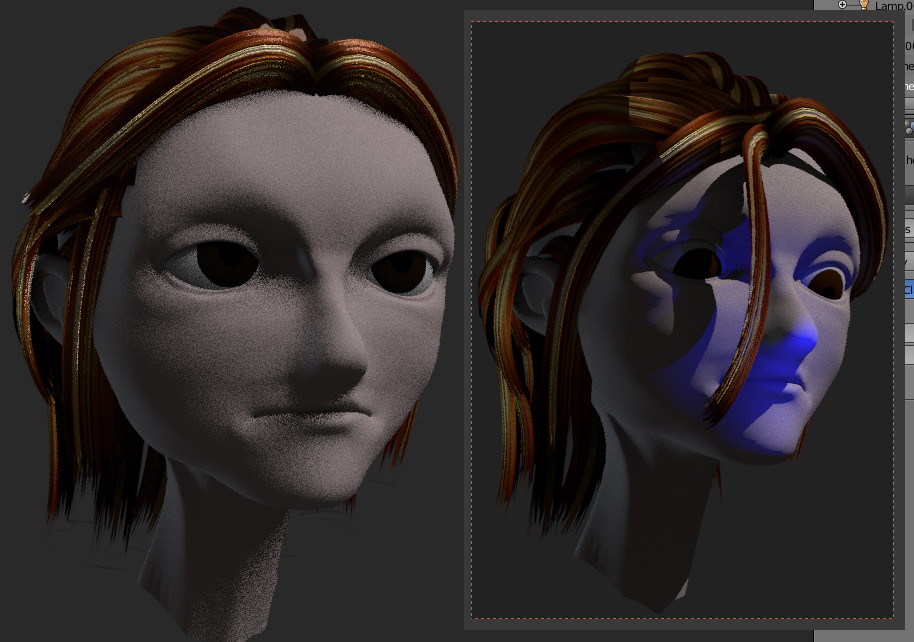
Just snooping around with changing the texture and then changing the curve that Bevels the bend. Hairlines should be meticulously done by hand and definitely different curves for different compass directions of the head.
The curve is oriented sideways for the side of the head but once it’s supposed to get to the back of the head to cover, the Curves put up an awful fight and twist like mad. It’s not a big deal but it’s something to note as I move along. This simple stuff is just looking at a couple different details.
Above is still Mirrored, before converting and messing the symmetry up a bit. That’s the time to change the Bevel Object, then I can commit. Workflow still wobbly.
Got a couple other irons in the fire and am meeting with some successes there. Posting this to redeem the picture above - killing symmetry is a good thing for hair. Just Apply the modifier and Alt + [o] to tussle it up and bend some bits around.
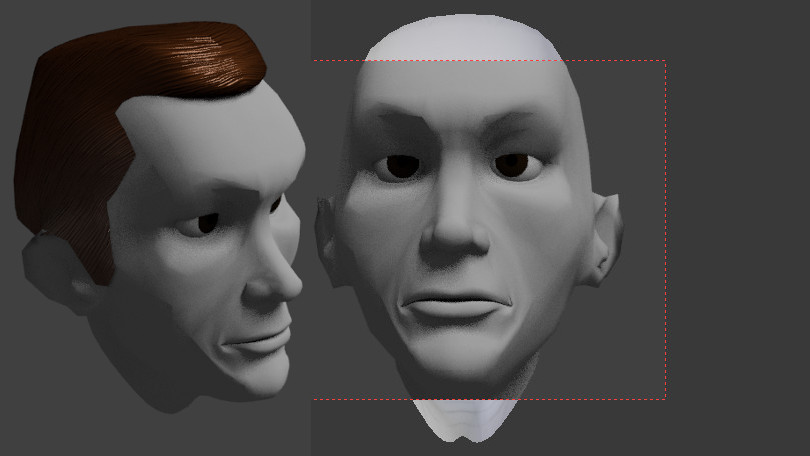
Additionally, this guy has lots of cheek geometry but no loop around the nose and mouth so his smile can never look good; it’s trapped under the nose. I knew that when I made him, but did anyway to experiment. So this is his last appearance.
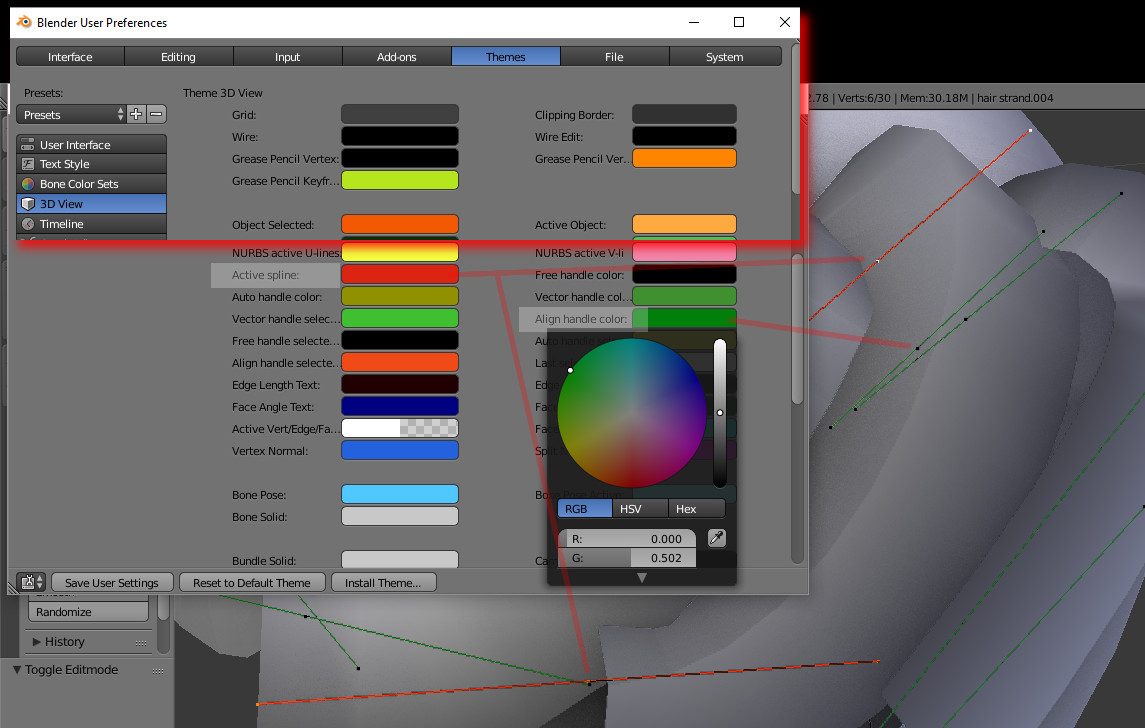
Easily frustrated by default spline or curve editing colors that are too similar - so posting where to change that portion of the theme for others. For Forum search: How to edit control handle curve spline colors to custom from default? Ok then…
I’ve normally left everything as packaged but it’s really hard to distinguish the ends of what you’re working on when there’s a crowd of points and handles!
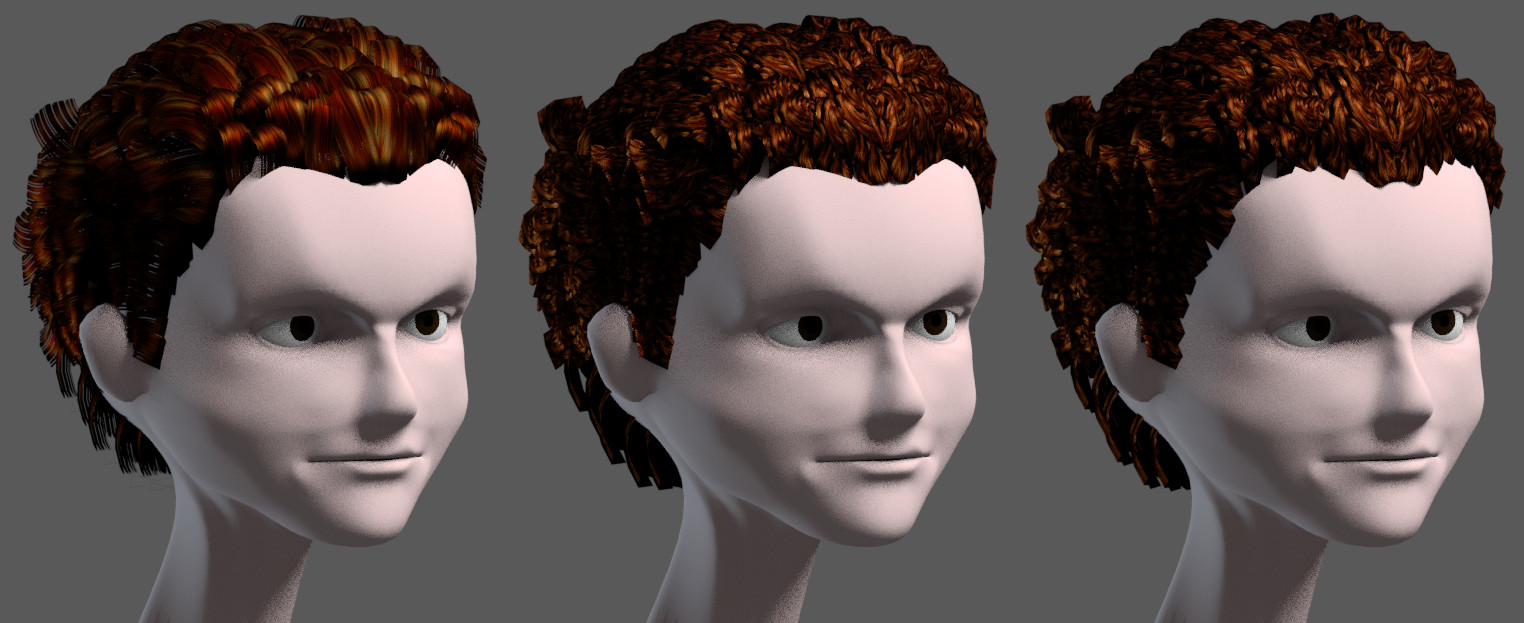
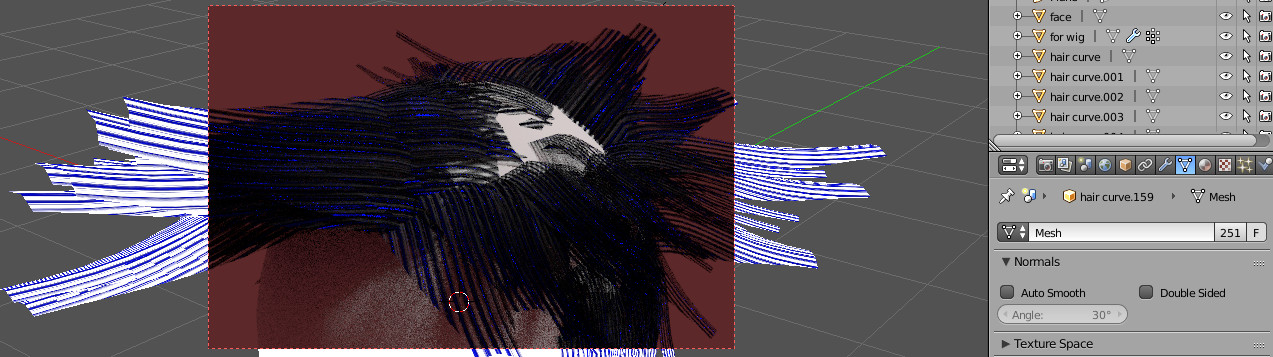
And the hybrid hair poly approach is quite a shock. Using curve ‘polys’ as hair, letting them fall, making them real, converting them to mesh, now wondering the best way to manage them. Once immediately made real, they all share the same user block.
Is there a graceful way to get each unique or is this a one by one situation? (or groups by groups)
Falling, cutting and combing is a real boost but is there a setting to let the curves of the poly hair follow the full curves of the hair emitter? Now they only follow the orientation and length after some effort.
The whole time, it’s been there in 2.78b just waiting for me to flounder into it…
Back to the drawing board as quick as I can.


