I am using Dynamic Paint to create this animation with a raised trail. A change in color is what I want to add, and have it fade away too.
Displace Path.blend (4.1 MB)
I don’t have time to check right now, but I think if you add another Canvas Layer and set it to PAINT, and cache it as an image sequence then you could use that image sequence to drive the color of the displacement…it would be the same as making a wet map.
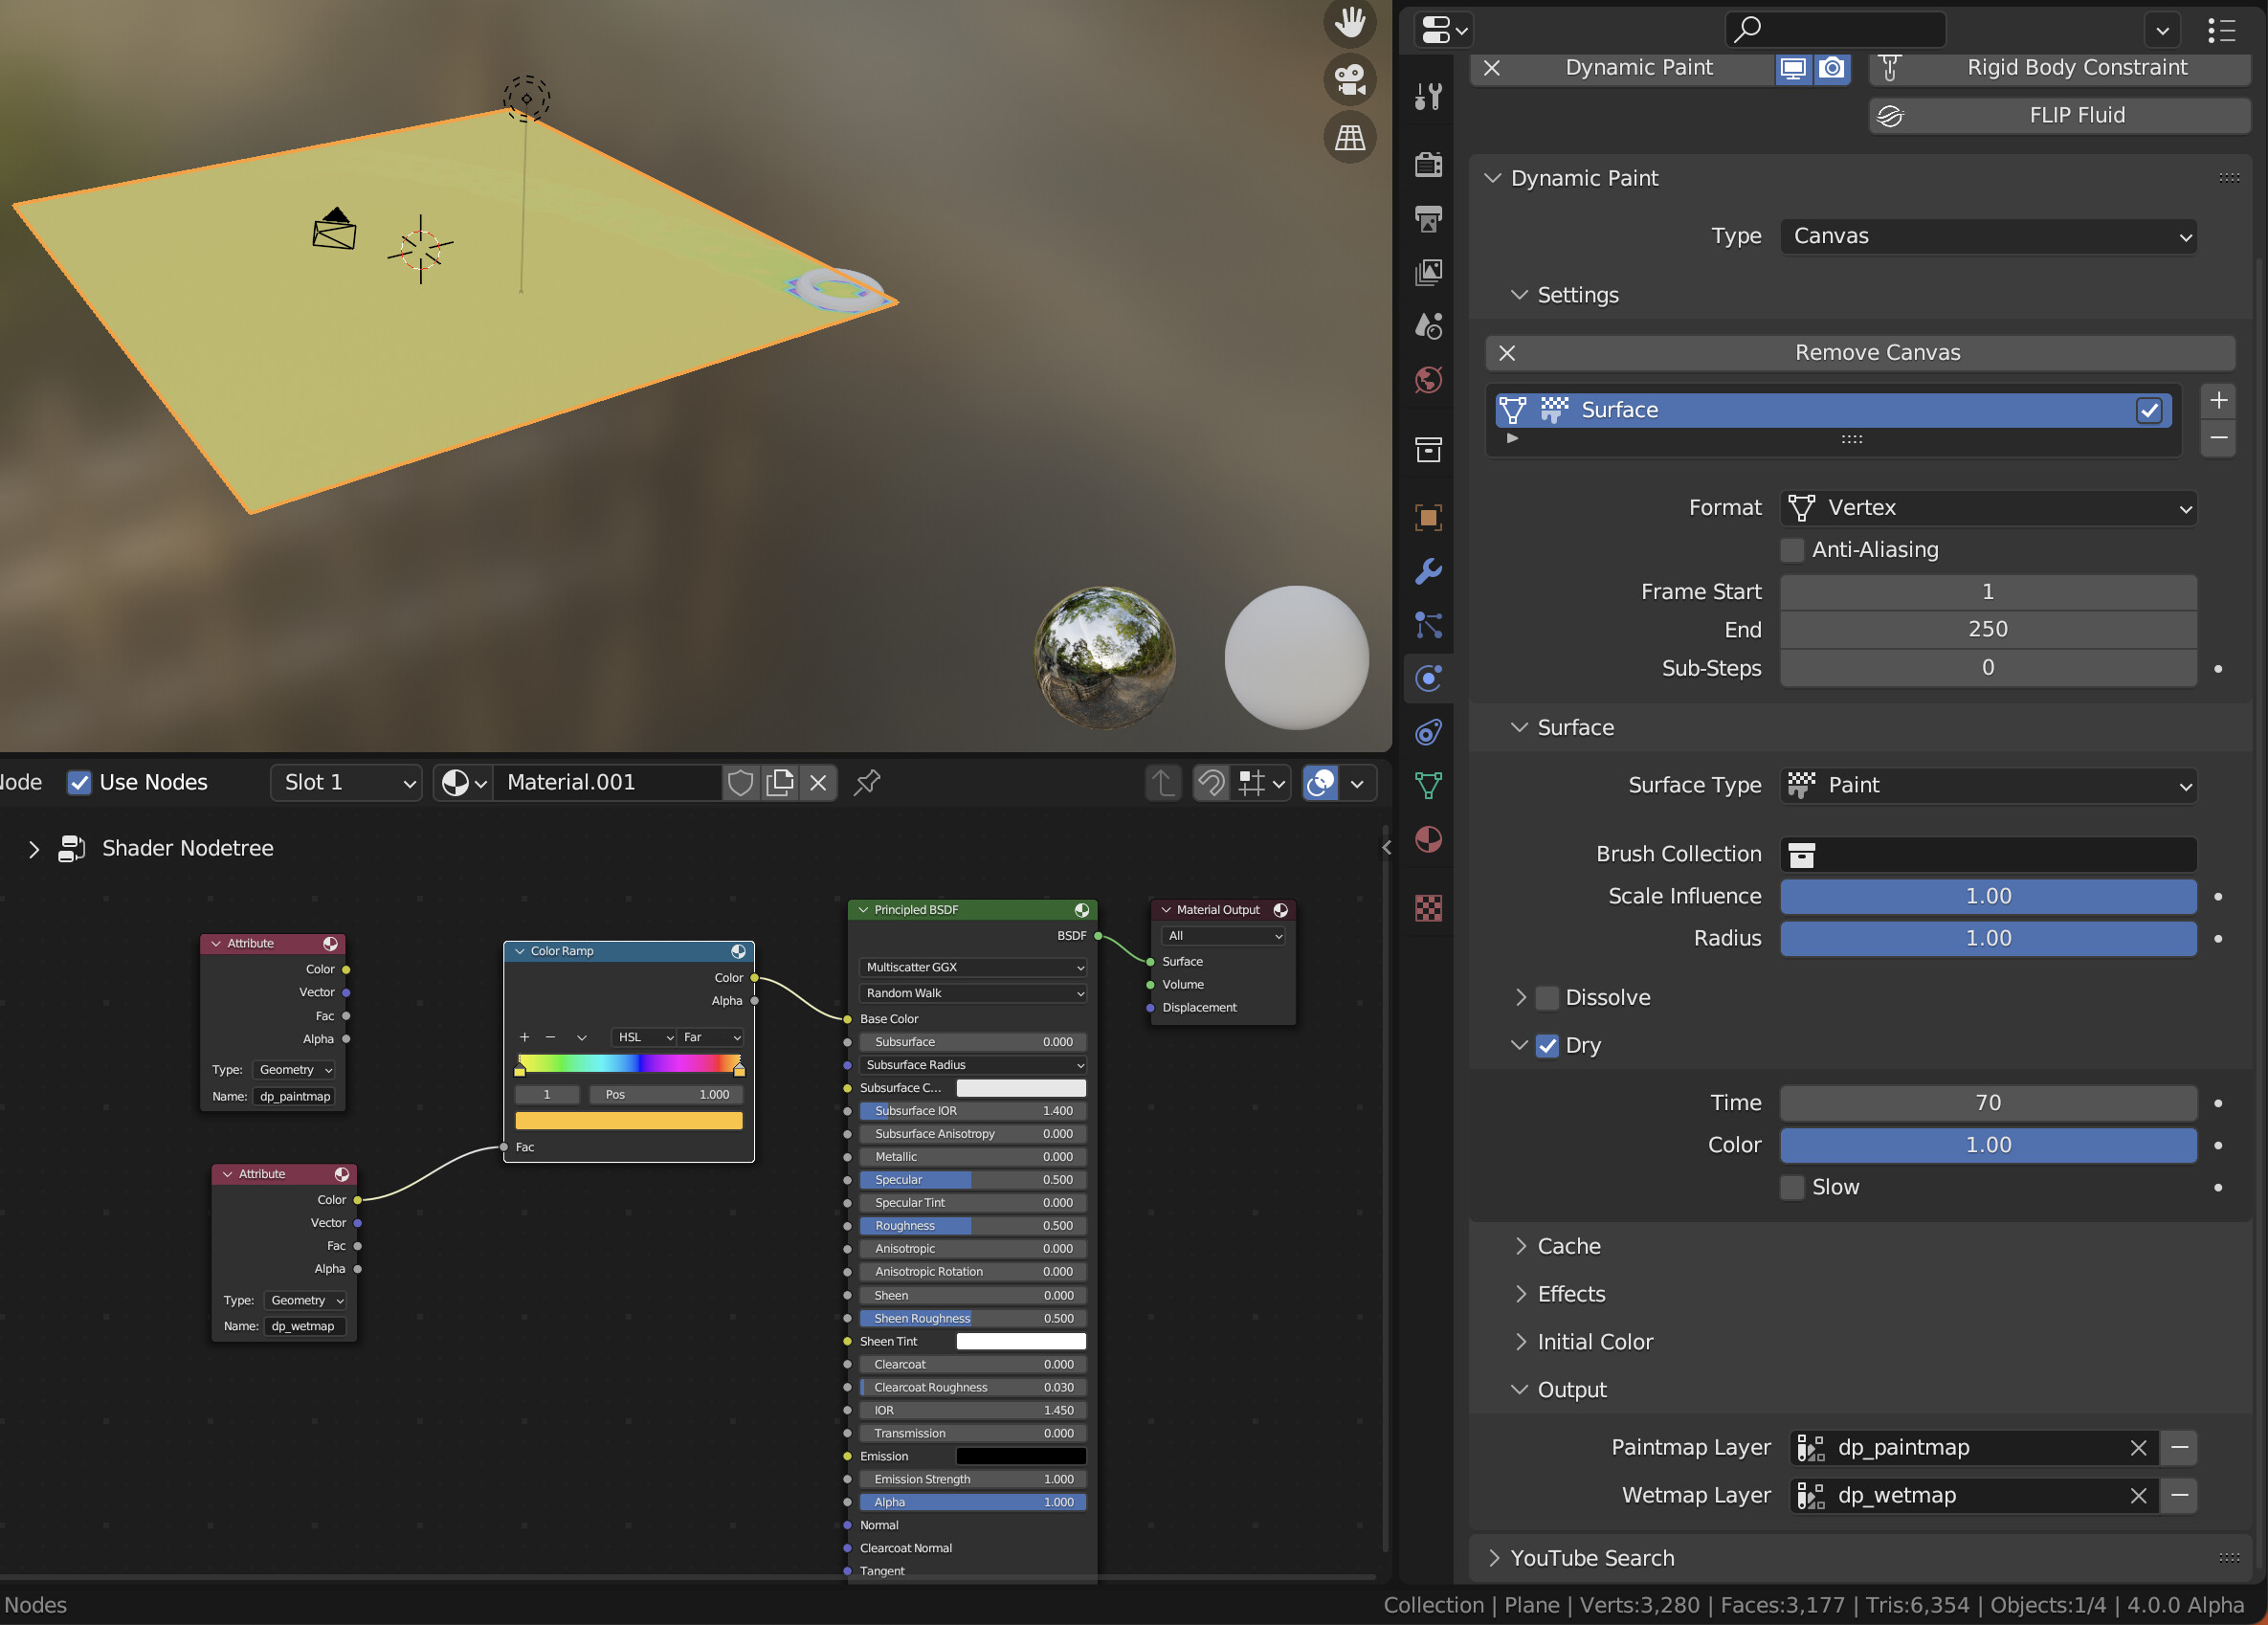
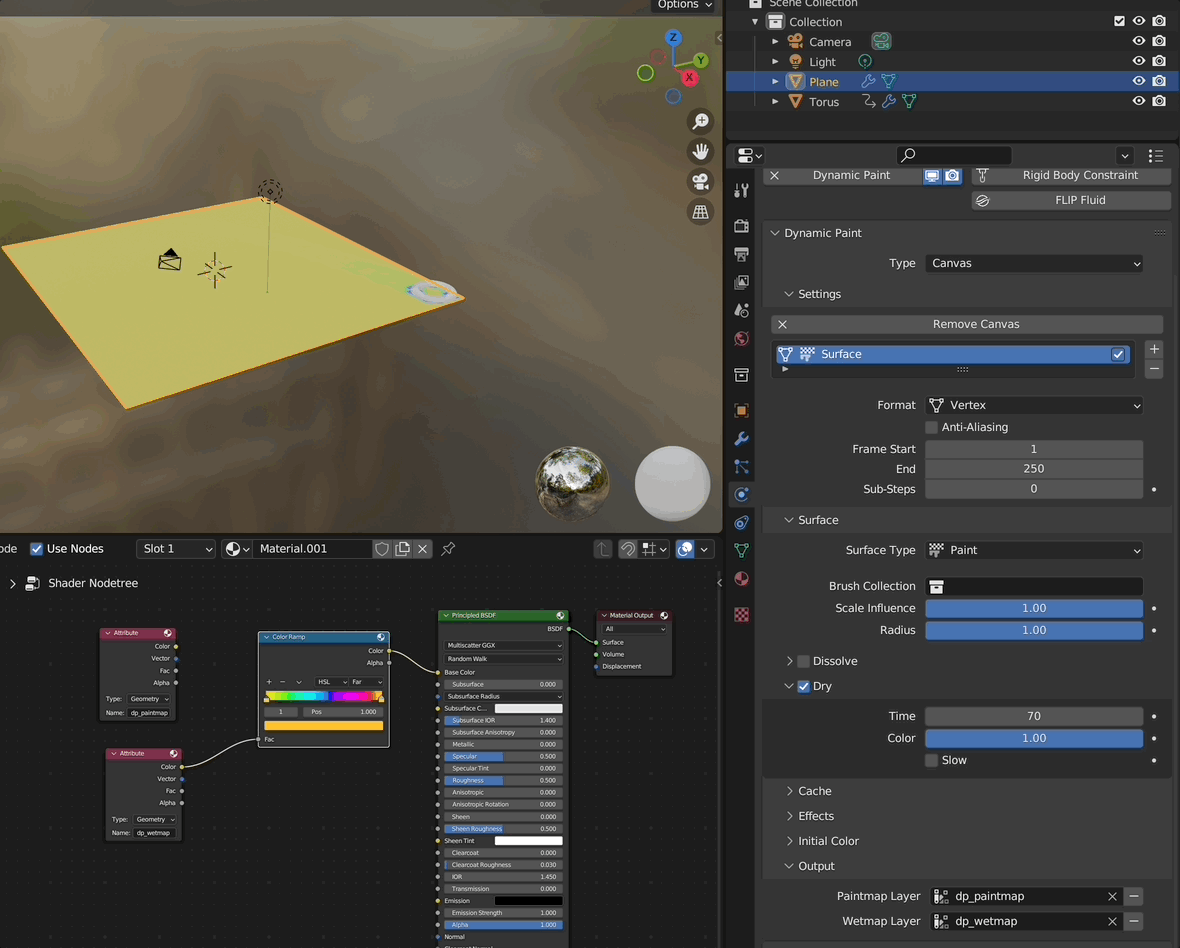
i think what you are looking for is the wetmap, and using the attribute you can change the color as well:
you could even use a geometry nodes modifier in between to convert your color information (dp_wetmap) to a vertex group and then use a displace modifier to change the height like this:
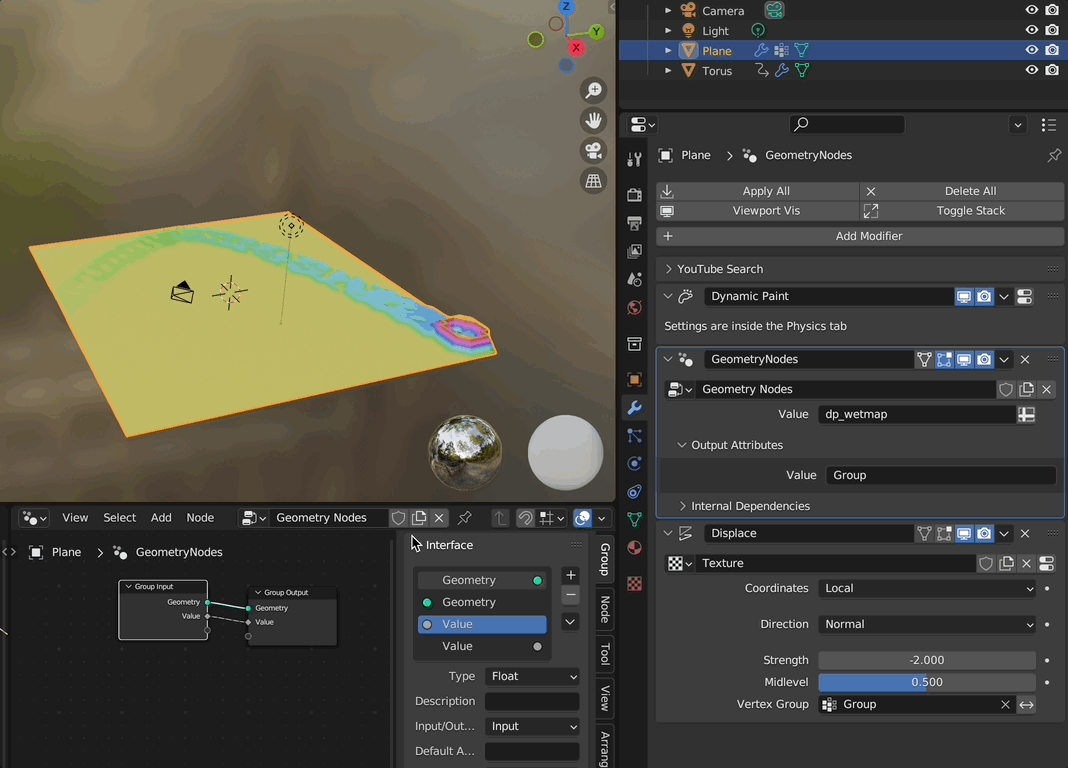
blend file:
dynamic paint - wetpaint example.blend (1.4 MB)
Thanks. I got it to work, but the resolution is bad (blocky looking) so I subdivided the plane a few more times. Still not “smooth” enough for me. Any more sub divisions and my computer starts to lag.
Too bad there isn’t a way to draw a texture onto it that is not based on grid resolution.
another method would be, to do that with geometry nodes, which can do an intelligent subdividing (just there, where it is needed) but i don’t know whether you have knowledge of GN.
Or you could just subdivide the plane along your path instead of the whole plane.
I thought of that before, but I’ll have to dig into it. I have done some geometry for several things, like ripple waves, water droplets, etc.
This is what I have come up with so far:
In Canvas settings, you can add several dynamic paint effect for same canvas.
That is same principle to add a displace effect and a paint effect. You just have to set-up each effect , using corresponding settings of Canvas and Brush object.
By default a paint effect will use vertex colors. You can check Anti-Aliasing option to smooth the result.
But if it is not sufficient, instead of baking vertex colors, you can change Format from Vertex to Image Sequence. Result will be baked as a sequence of squared images with resolution you define, according to UVs of Canvas.
Then, you just have to use Image Sequence as UVmapped texture of material of Canvas.
Thanks ![]()
That’s what I ended up doing (see latest video above here).
However, I used a third dynamic paint for just displacement to give a little 3D effect. The second one is for color and for emission. And then the first one is the thin engraved trail left behind.
Now this is where the logo drops out, or raises up as a seperate piece.