I’m absolutely bewildered as to how i can make this sort of a texture in Blender. I thought creating a normal map on a high geometry object and projecting it onto a plane surface would do the trick but it didnt.
It’s really messing with me, Please help !
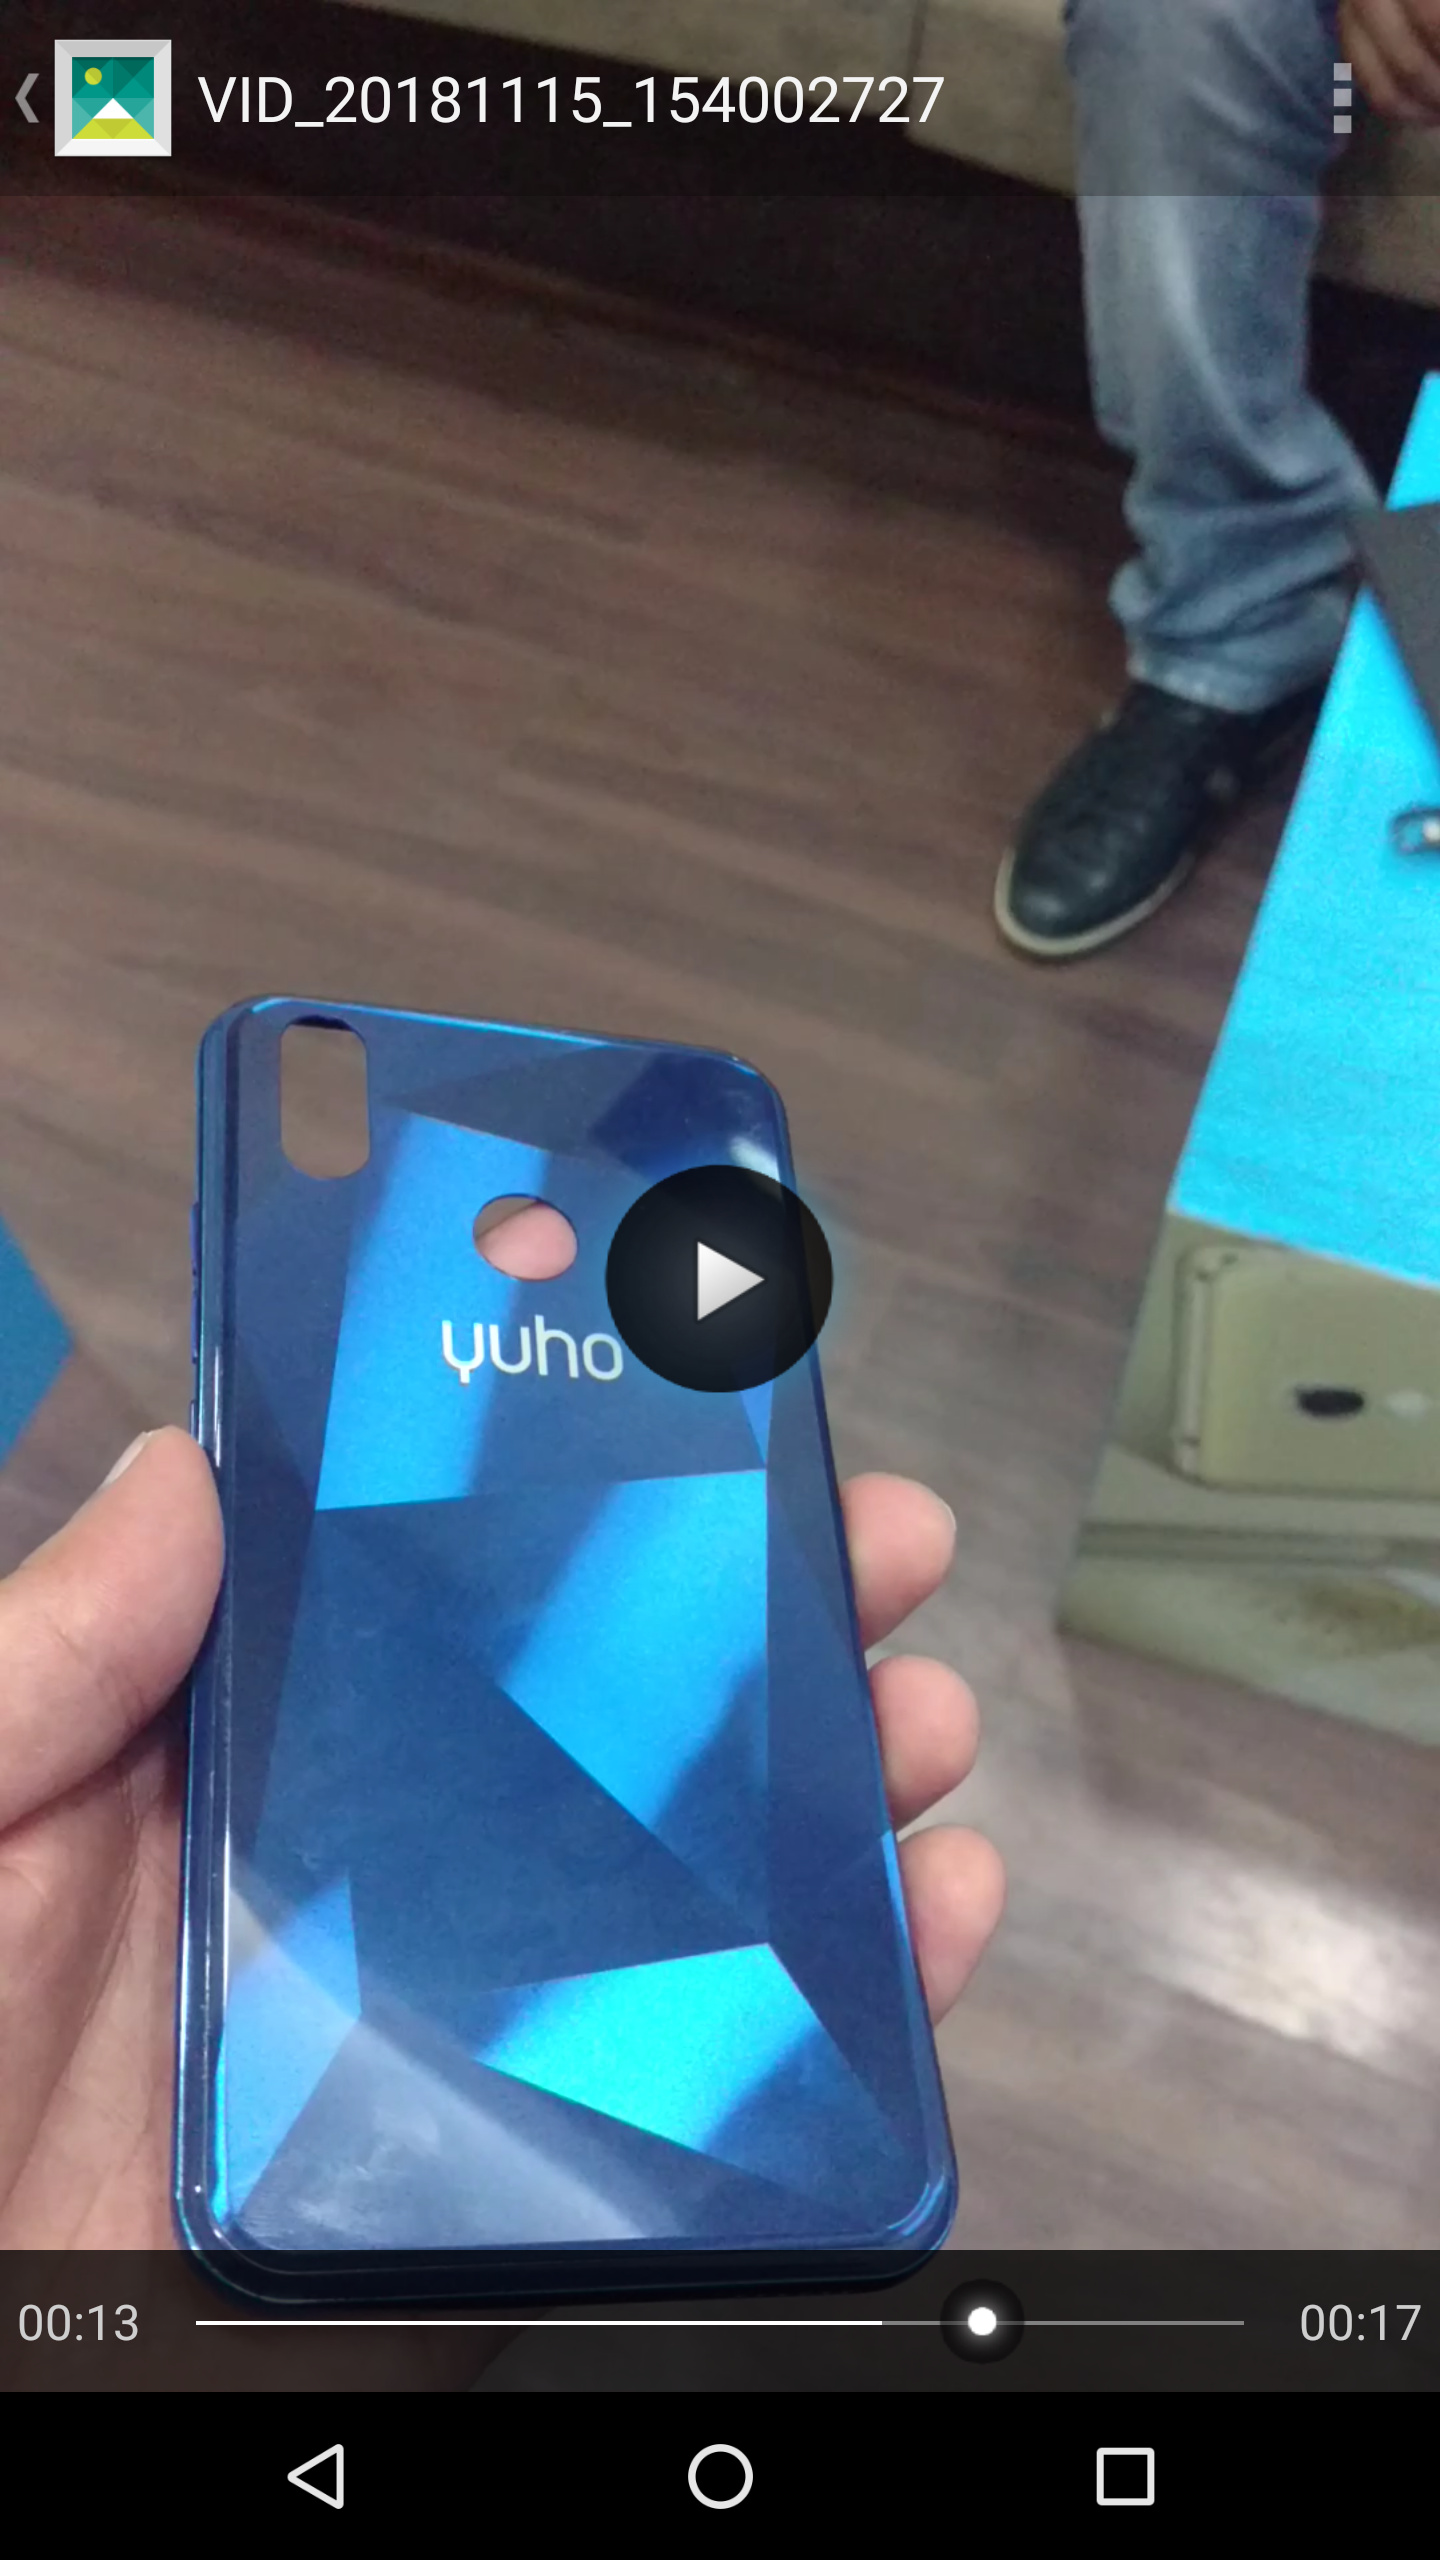
If you take a look at the images the reflection in all is slightly skewed and they reflect at their own normals. So the different cuts reflect differently as the phone turns
[EDIT]
Sorry I just saw you where speaking about reflections when you rotate the surface.
The above technic is for diffuse part, but you could use exactly the same for normal mapping
[/EDIT]
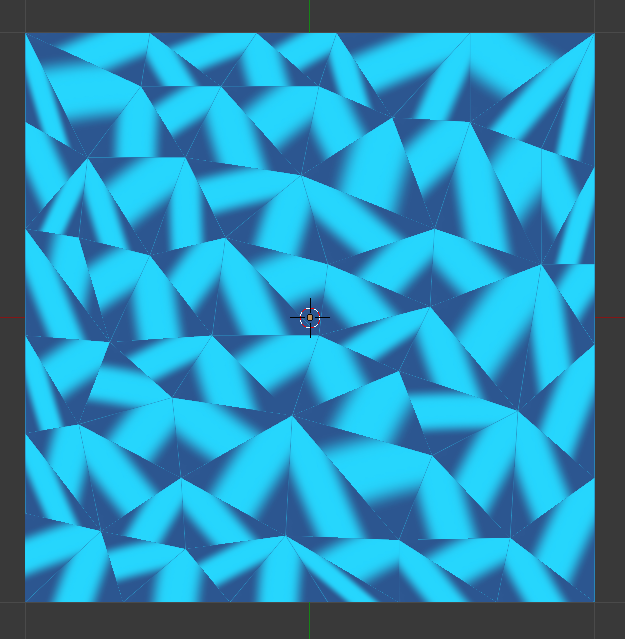
Following the above, here is an extension node group that will allow you to assign a random normal to each triangle:
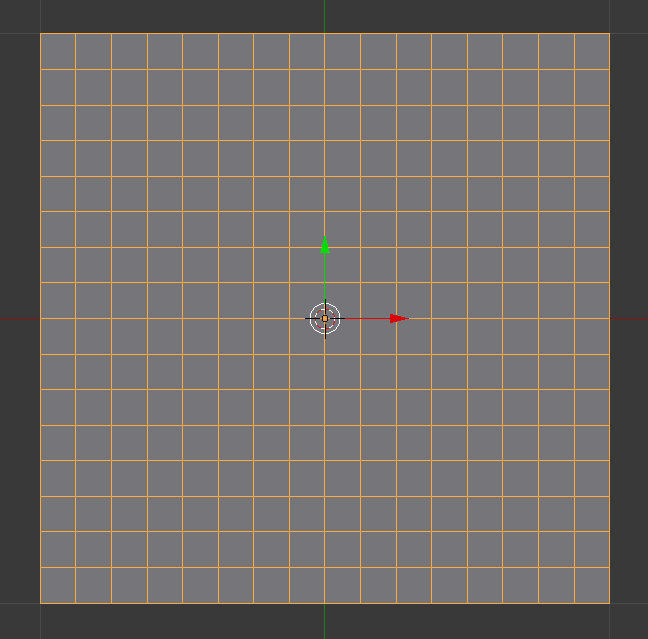
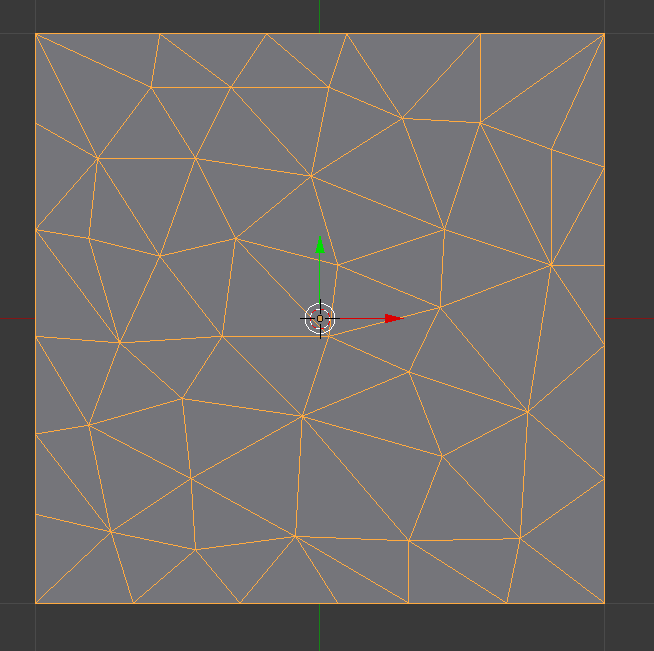
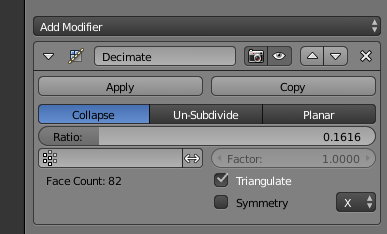
Instead of unwrap/reset, mark all edges as seam and simply unwrap. Select all islands and scale them to individual points in the UV editor (see screenshot). Each UV face is now its own UV coordinate, so obviously it’s not suitable to texture map or paint on.
For material, do UV Map → Noise Texture (42.5, 0, 42.5) → Bump.RandomNormal (see screenshot) → Glossy Normal input. If you don’t want to mess with UV based islands, connect a Cell based Voronoi to the random input instead.
Note that this creates random normals. Random normals can point into the surface and create a black glossy response. I’m lowering this risk by reducing the effect at glancing angles.
I’m not sure if this is what you’re looking for, as you’re telling us to observe a movie while providing a still, making the effect impossible to observe. Still, maybe others will find it useful:
I can cut the geometry and use this method too right? And you are right i forgto to attach the movie. I’m actually trying to find it. Will post it once i do
I did something similar with a wood type texture. I’ve seen woods where the light behaves in a similar way. It’s called chatoyancy - a term borrowed from the world of gemstones by woodworkers. The cat’s eye effect in other words.
Do what you have to do in terms of the normals to get your facets reflecting as though they were physically higher and lower. Then stick a clearcoat on it in the Principled Shader. The clearcoat can has it’s own normal map - or none.
Sadly I can’t find that original file. The underlying wood type pattern I made in Substance Designer. I gave it a fairly pronounced wavey normal map effect. I also cheated a bit and gave it some metallic which lends it that kind of iridescent look you can get with some woods.
After that it was just a case of creating separately a very smooth normal map with just a hint of polishing marks made in circular motions. This was then used as the clearcoat normal, flattening the surface of the object yet allowing the wavey bumo effect to be seen beneath.
I’m sure the wood material would be possible using Blender’s nodes, but Substance Designer just makes things 100x easier with its fantastic range of noises and procedural nodes.