Hey there!
I have a character that has a shape key which morphs them into a smaller version of themselves. The problem is that I can not animate that transition with an armature because the pivots of the bones get all messed up since the model is obviously morphing without the armature itself moving.
Here I have a visual example of the problem: Problem
I do however have a fitting armature for both pre- (marked in red) and post- (marked in blue) morphed state of my character. I have tried to have the bones move with constraints but I just can not figure out how to do it since everytime that I move a deform bone the mesh obviously moves with it.
I have searched the whole internet over and over but I can barely find anything that helps me. I’ve found one post explaining that I could use some sort of control bone setup but the explanation was too vague and frankly I don’t think they will respond anymore.
The best way to do this is to make the character smaller with the armature, rather than a shapekey. Scale bones to reduce the character’s size. Your original animation probably doesn’t have any scale keyframes to conflict, but even if it does, you could use NLA to combine the two animations. Only after doing everything you can do with the armature should you make a shapekey to act on things that the armature can’t do.
It’s not impossible to make bones with moving pivots, if you don’t have move + rotate bones, but it’s more complex. You sandwich in a new, non-deforming parent for every animated bone, with the exact same axes as its child. Rotation keyframes go on these parents, not on their children. Give each child a copy location constraint on inverse targeting its parent. Now, you can move (and keyframe) the parents to their new position at the appropriate pivot points. Their children will rotate about these new points.
But, I’d recommend the first technique over the second.
Thanks for the quick response! However part of the problem is that I imported the model(s) from a third party Software so I can’t really change the mesh to make it fit the armature like you suggested. Also the 2nd way requires inverse parenting? I’m not sure how to do that. Would you do it with a child of constraint and invert all axies? Maybe you could explain it in a little more detail.
Alright so I tried the second technique of having the deforming bone parented to a control bone with inverse location but the problem is that I can’t really have the control bones be parented to another in a matter that resembles the parenting convention of the default rig (i.e. upperarm is parented to forearm). Am I doing something wrong?
The control bones themselves work great but if I want to parent (i.e abov) and then move them in pose mode they go all weird.
When I say, “sandwich in a new parent”, what I mean is, make a new bone, parented to what the old bone was, and parent the original bone to the new bone.
For example, in your rig where upperarm is parented to forearm (which seems generally backwards to me, but you can do it however you want): duplicate upperarm to upperarm.001. upperarm.001 remains parented, but perhaps parent to forearm just to be sure. Parent upperarm to upperarm.001. upperarm.001 gets the animation data, and is moved; upperarm remains the deforming bone, and gets a copy location, local->local, inverse on all axes. It inherits the transform of its original parent because its new parent inherits that transform, and passes it on.
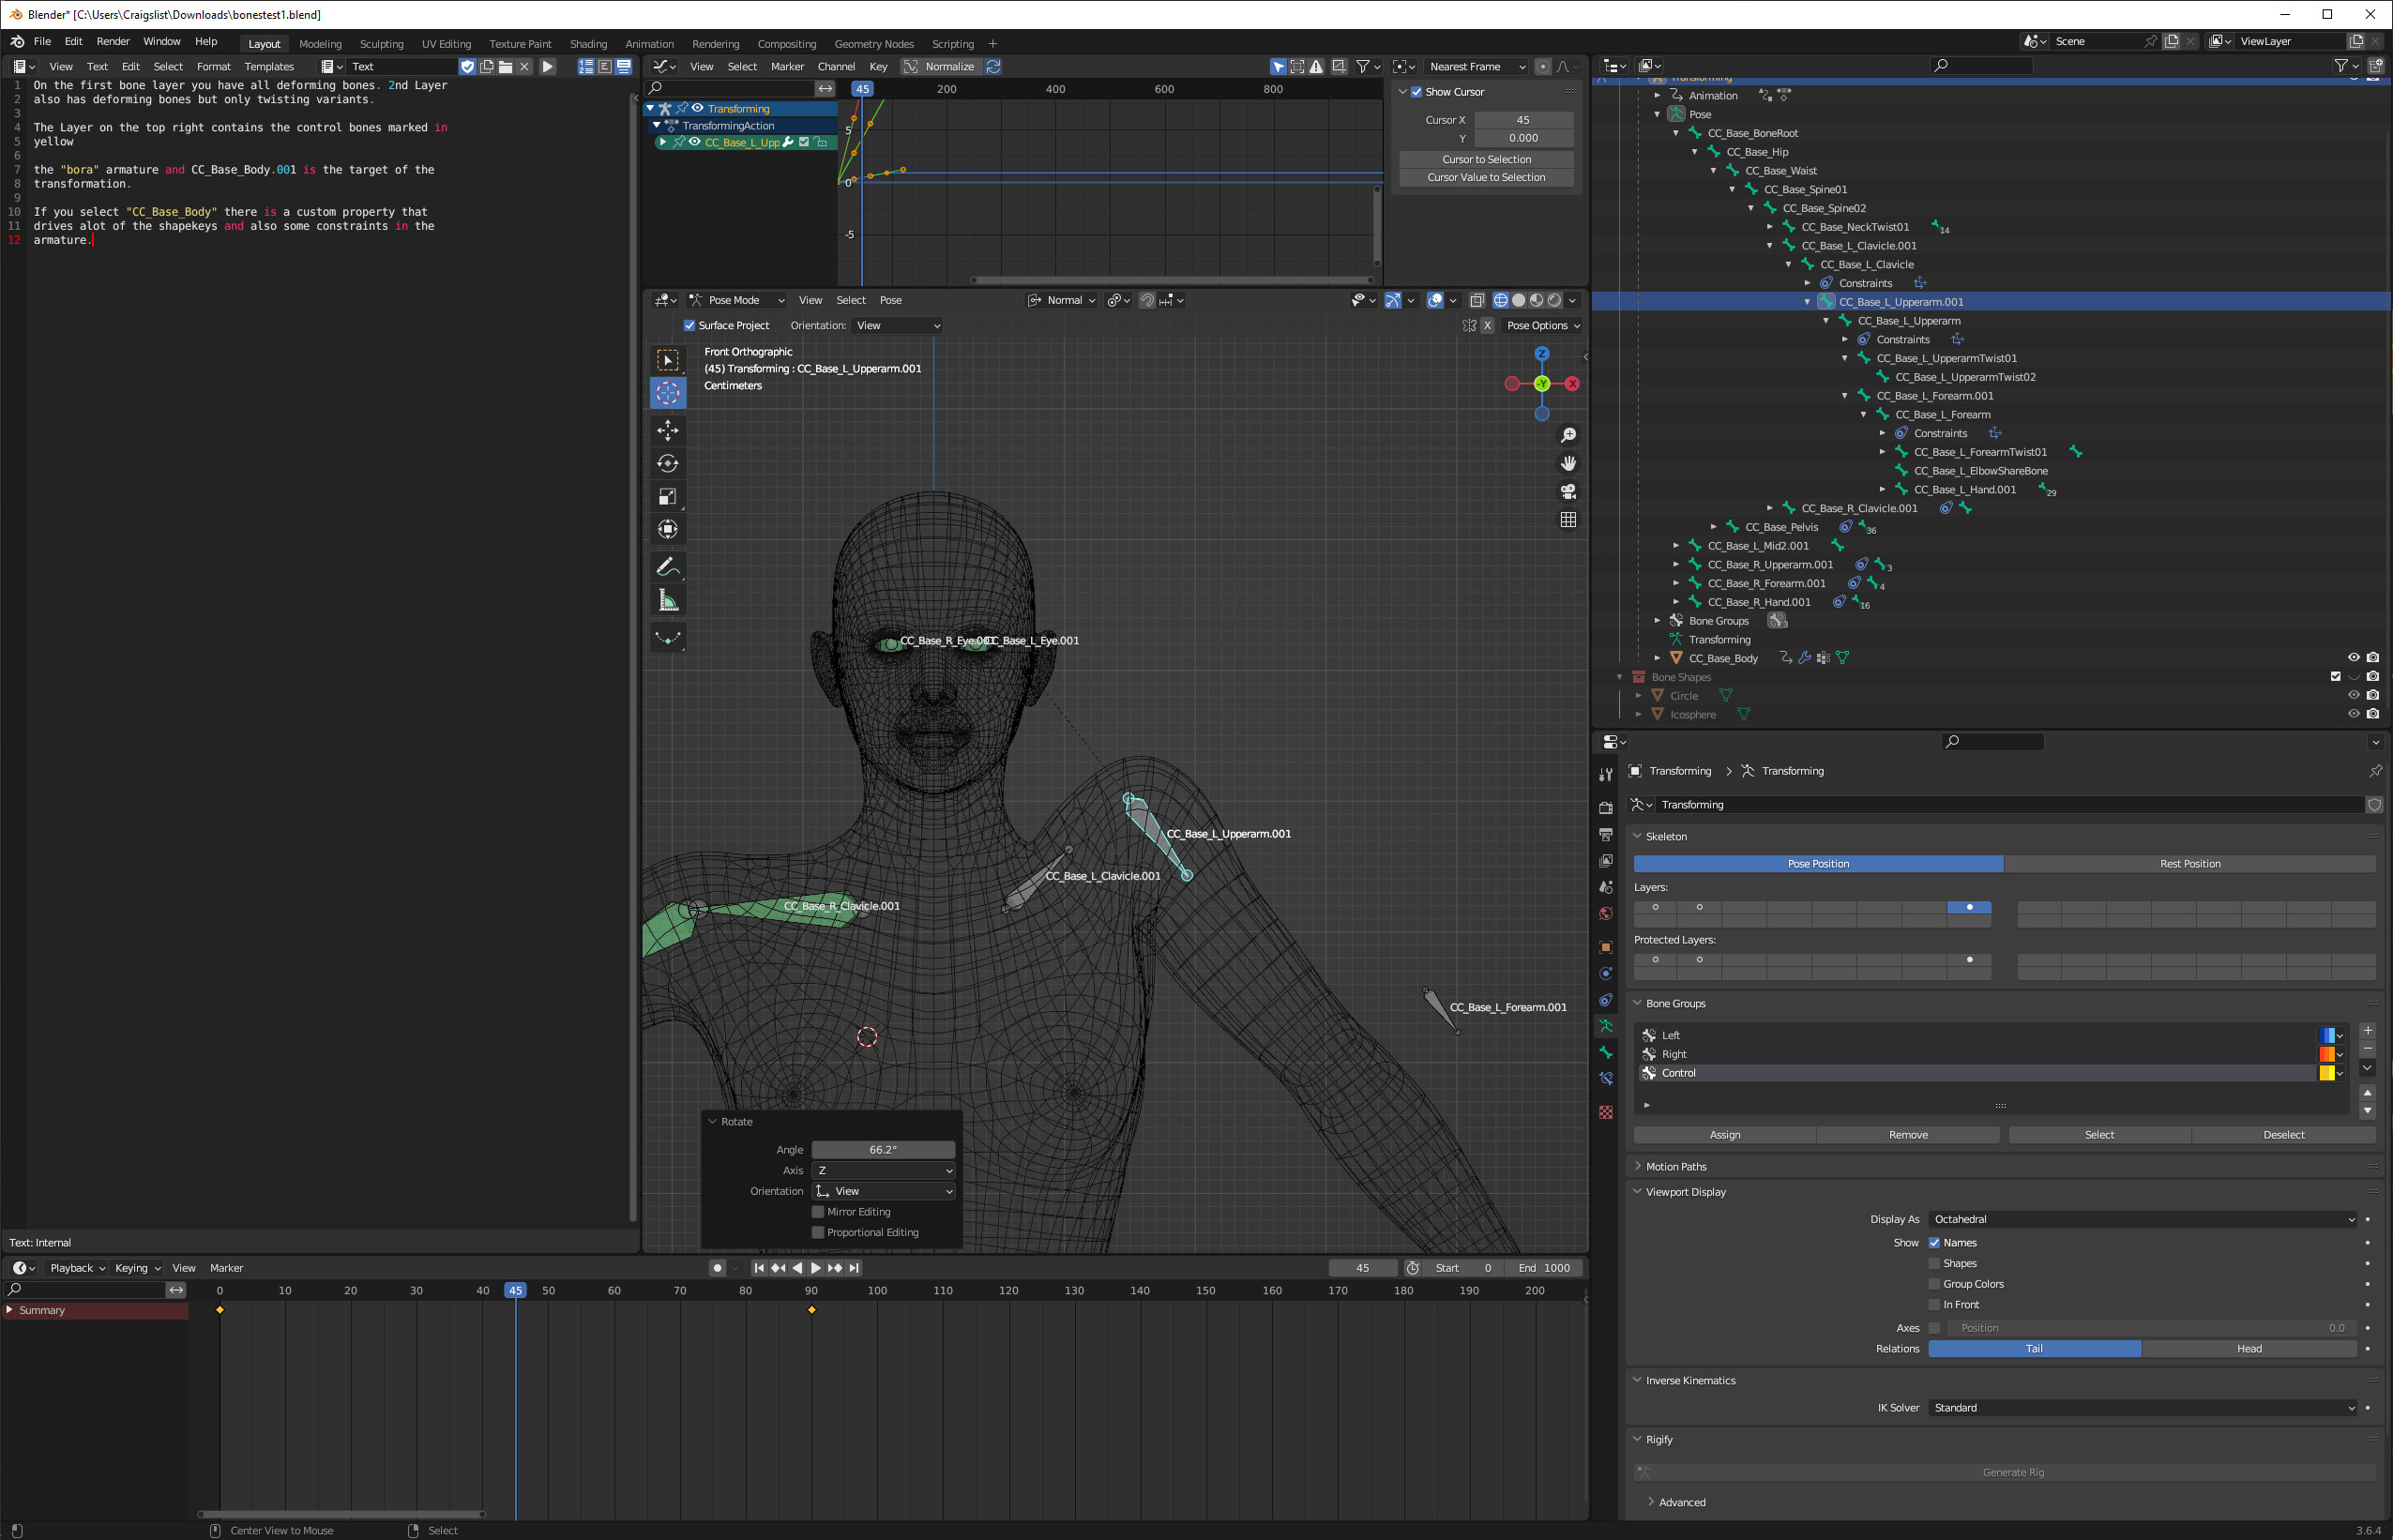
Sorry I when I ment parenting the upperarm to lower arm I ment it the other way around obviously. But the problem is if I do it exactly like you told me, have upperarm.001 be parented to clavicle for ex. and then lower arm.001 parented to upperarm it doesnt properly translate the bones. If I have the arms in a 90 degree angle and I do the transformation they bend and skew. This is because the deform bones dont act the way they should and I don’t know why this is happening.
When you move your new bones, you are changing the location that your mesh pivots about. If you do this without changing the mesh, then it’ll look funky-- same as moving a bone in edit mode to the wrong place and then rotating.
You use it when you change the mesh’s proportions, like with your shapekey, and only then.
I would feel a lot more comfortable talking more if you shared a file. I have to make a lot of assumptions in the absence of a file.
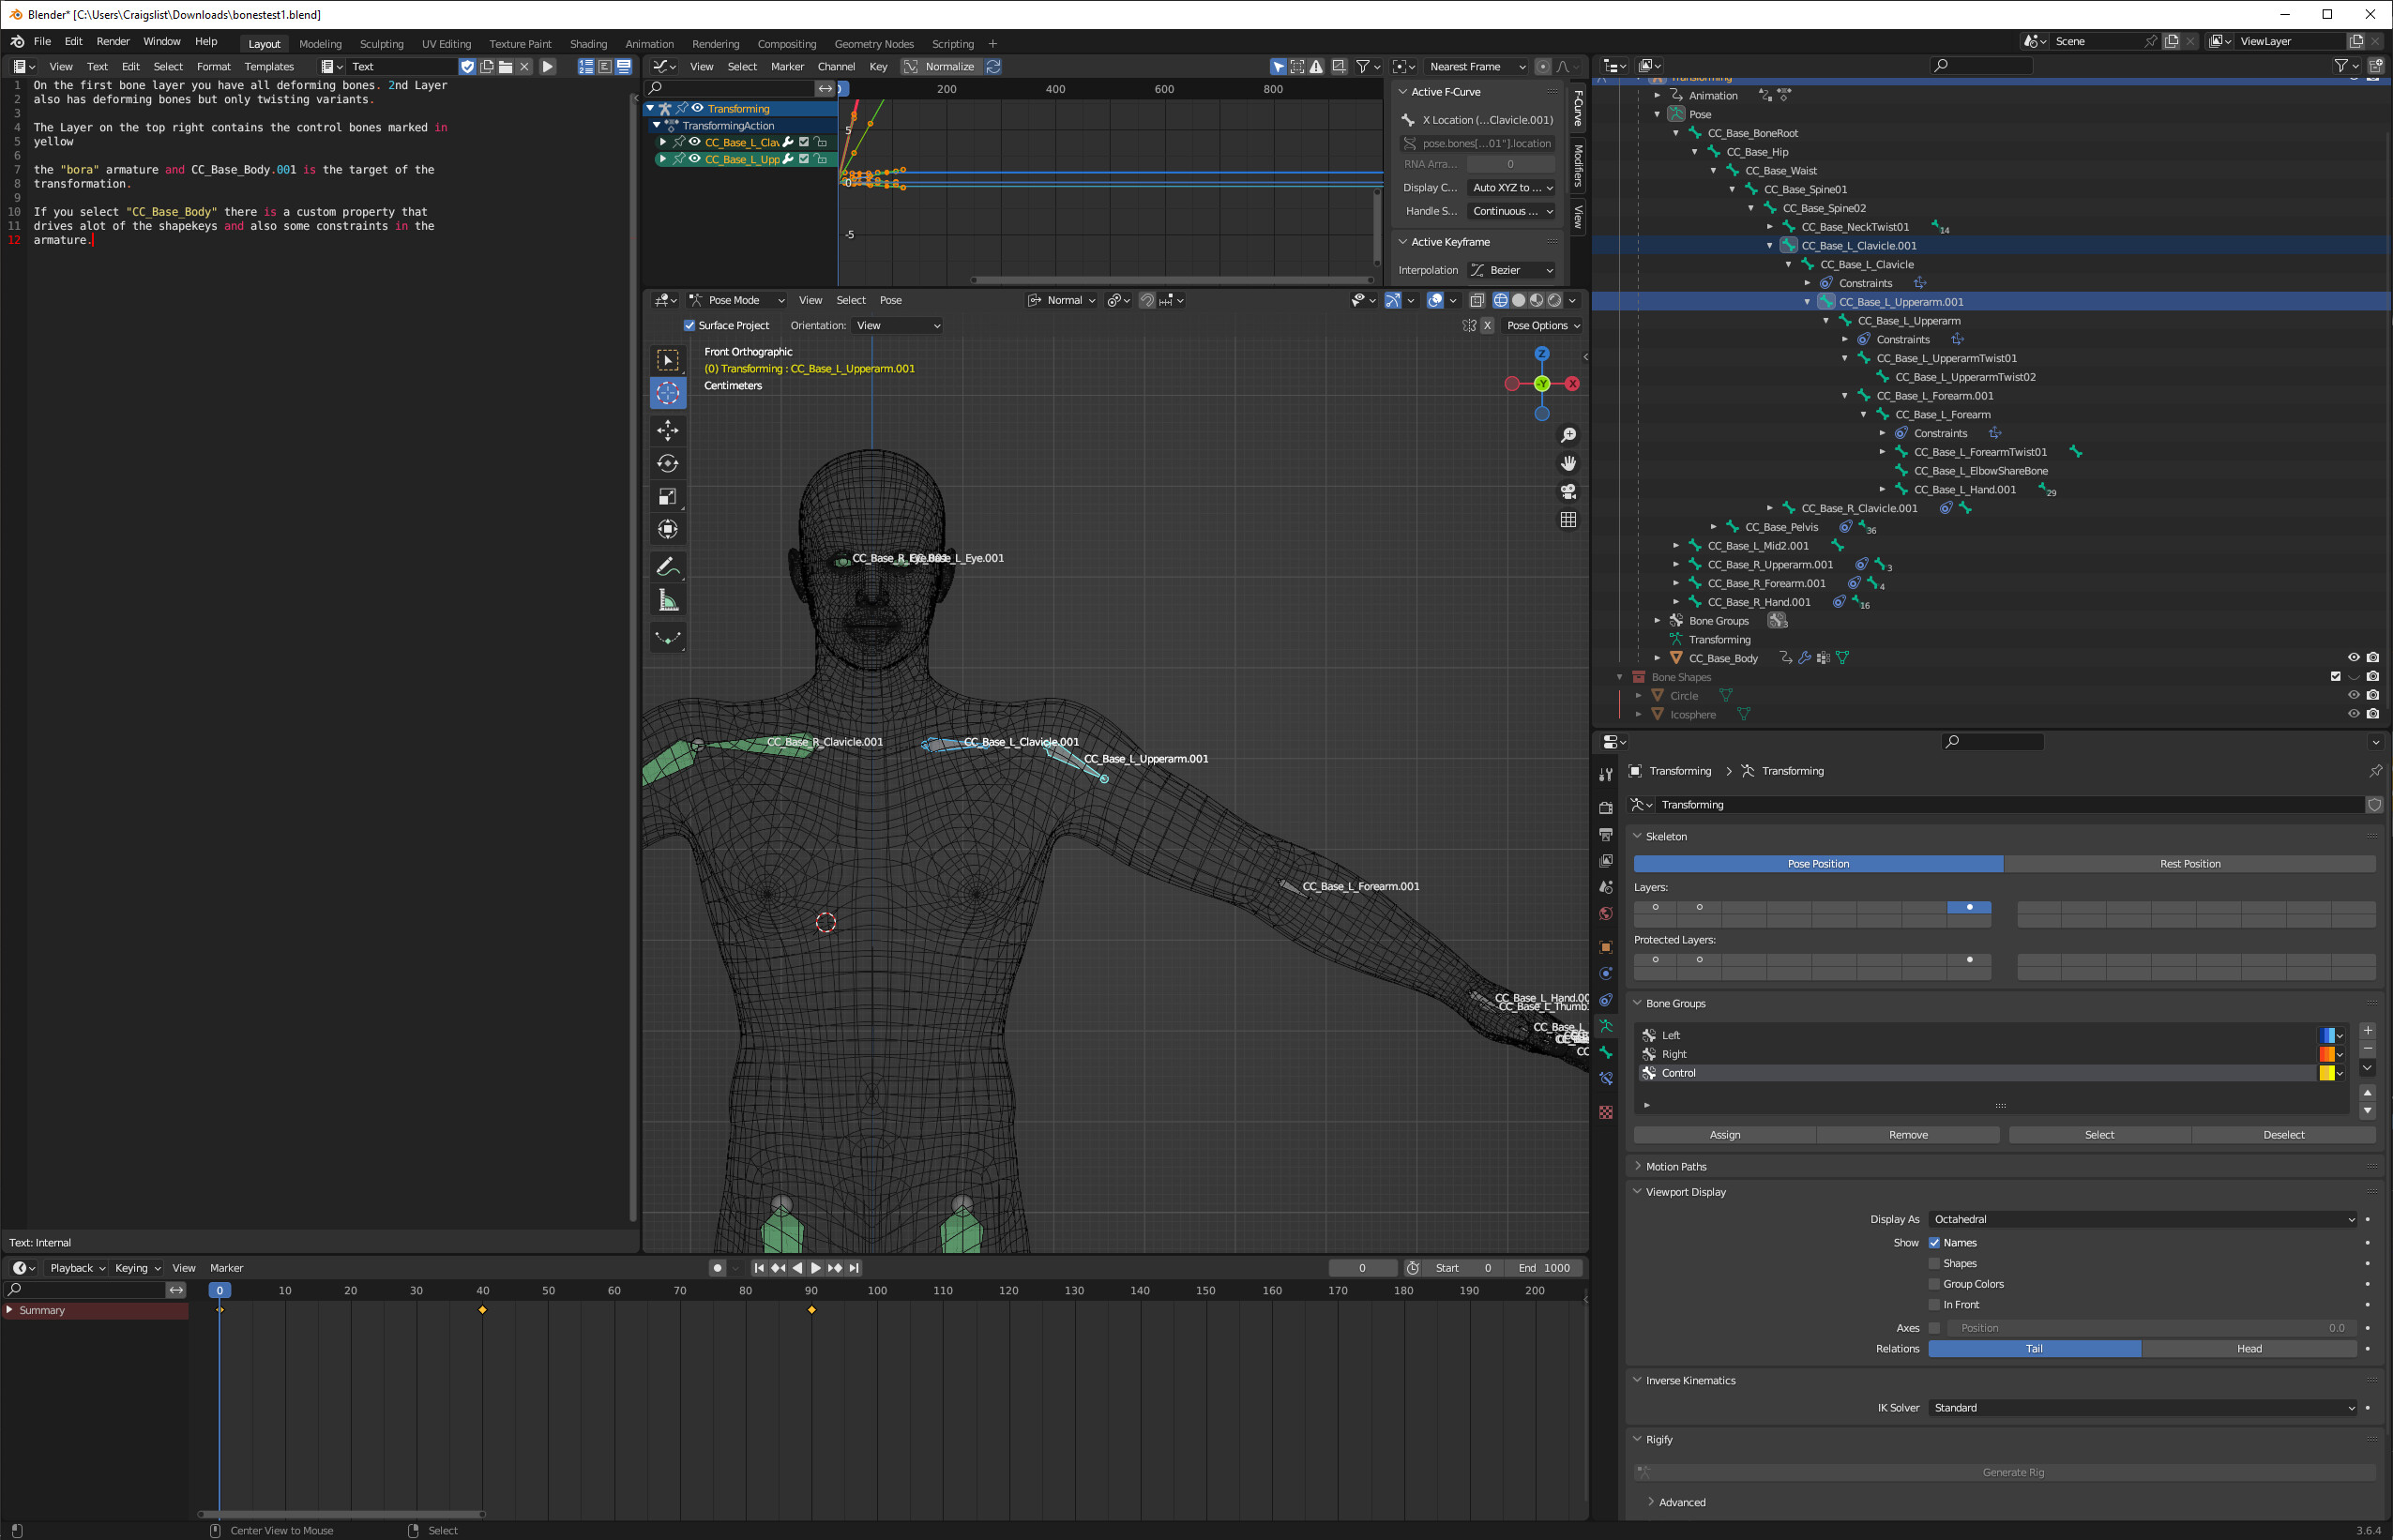
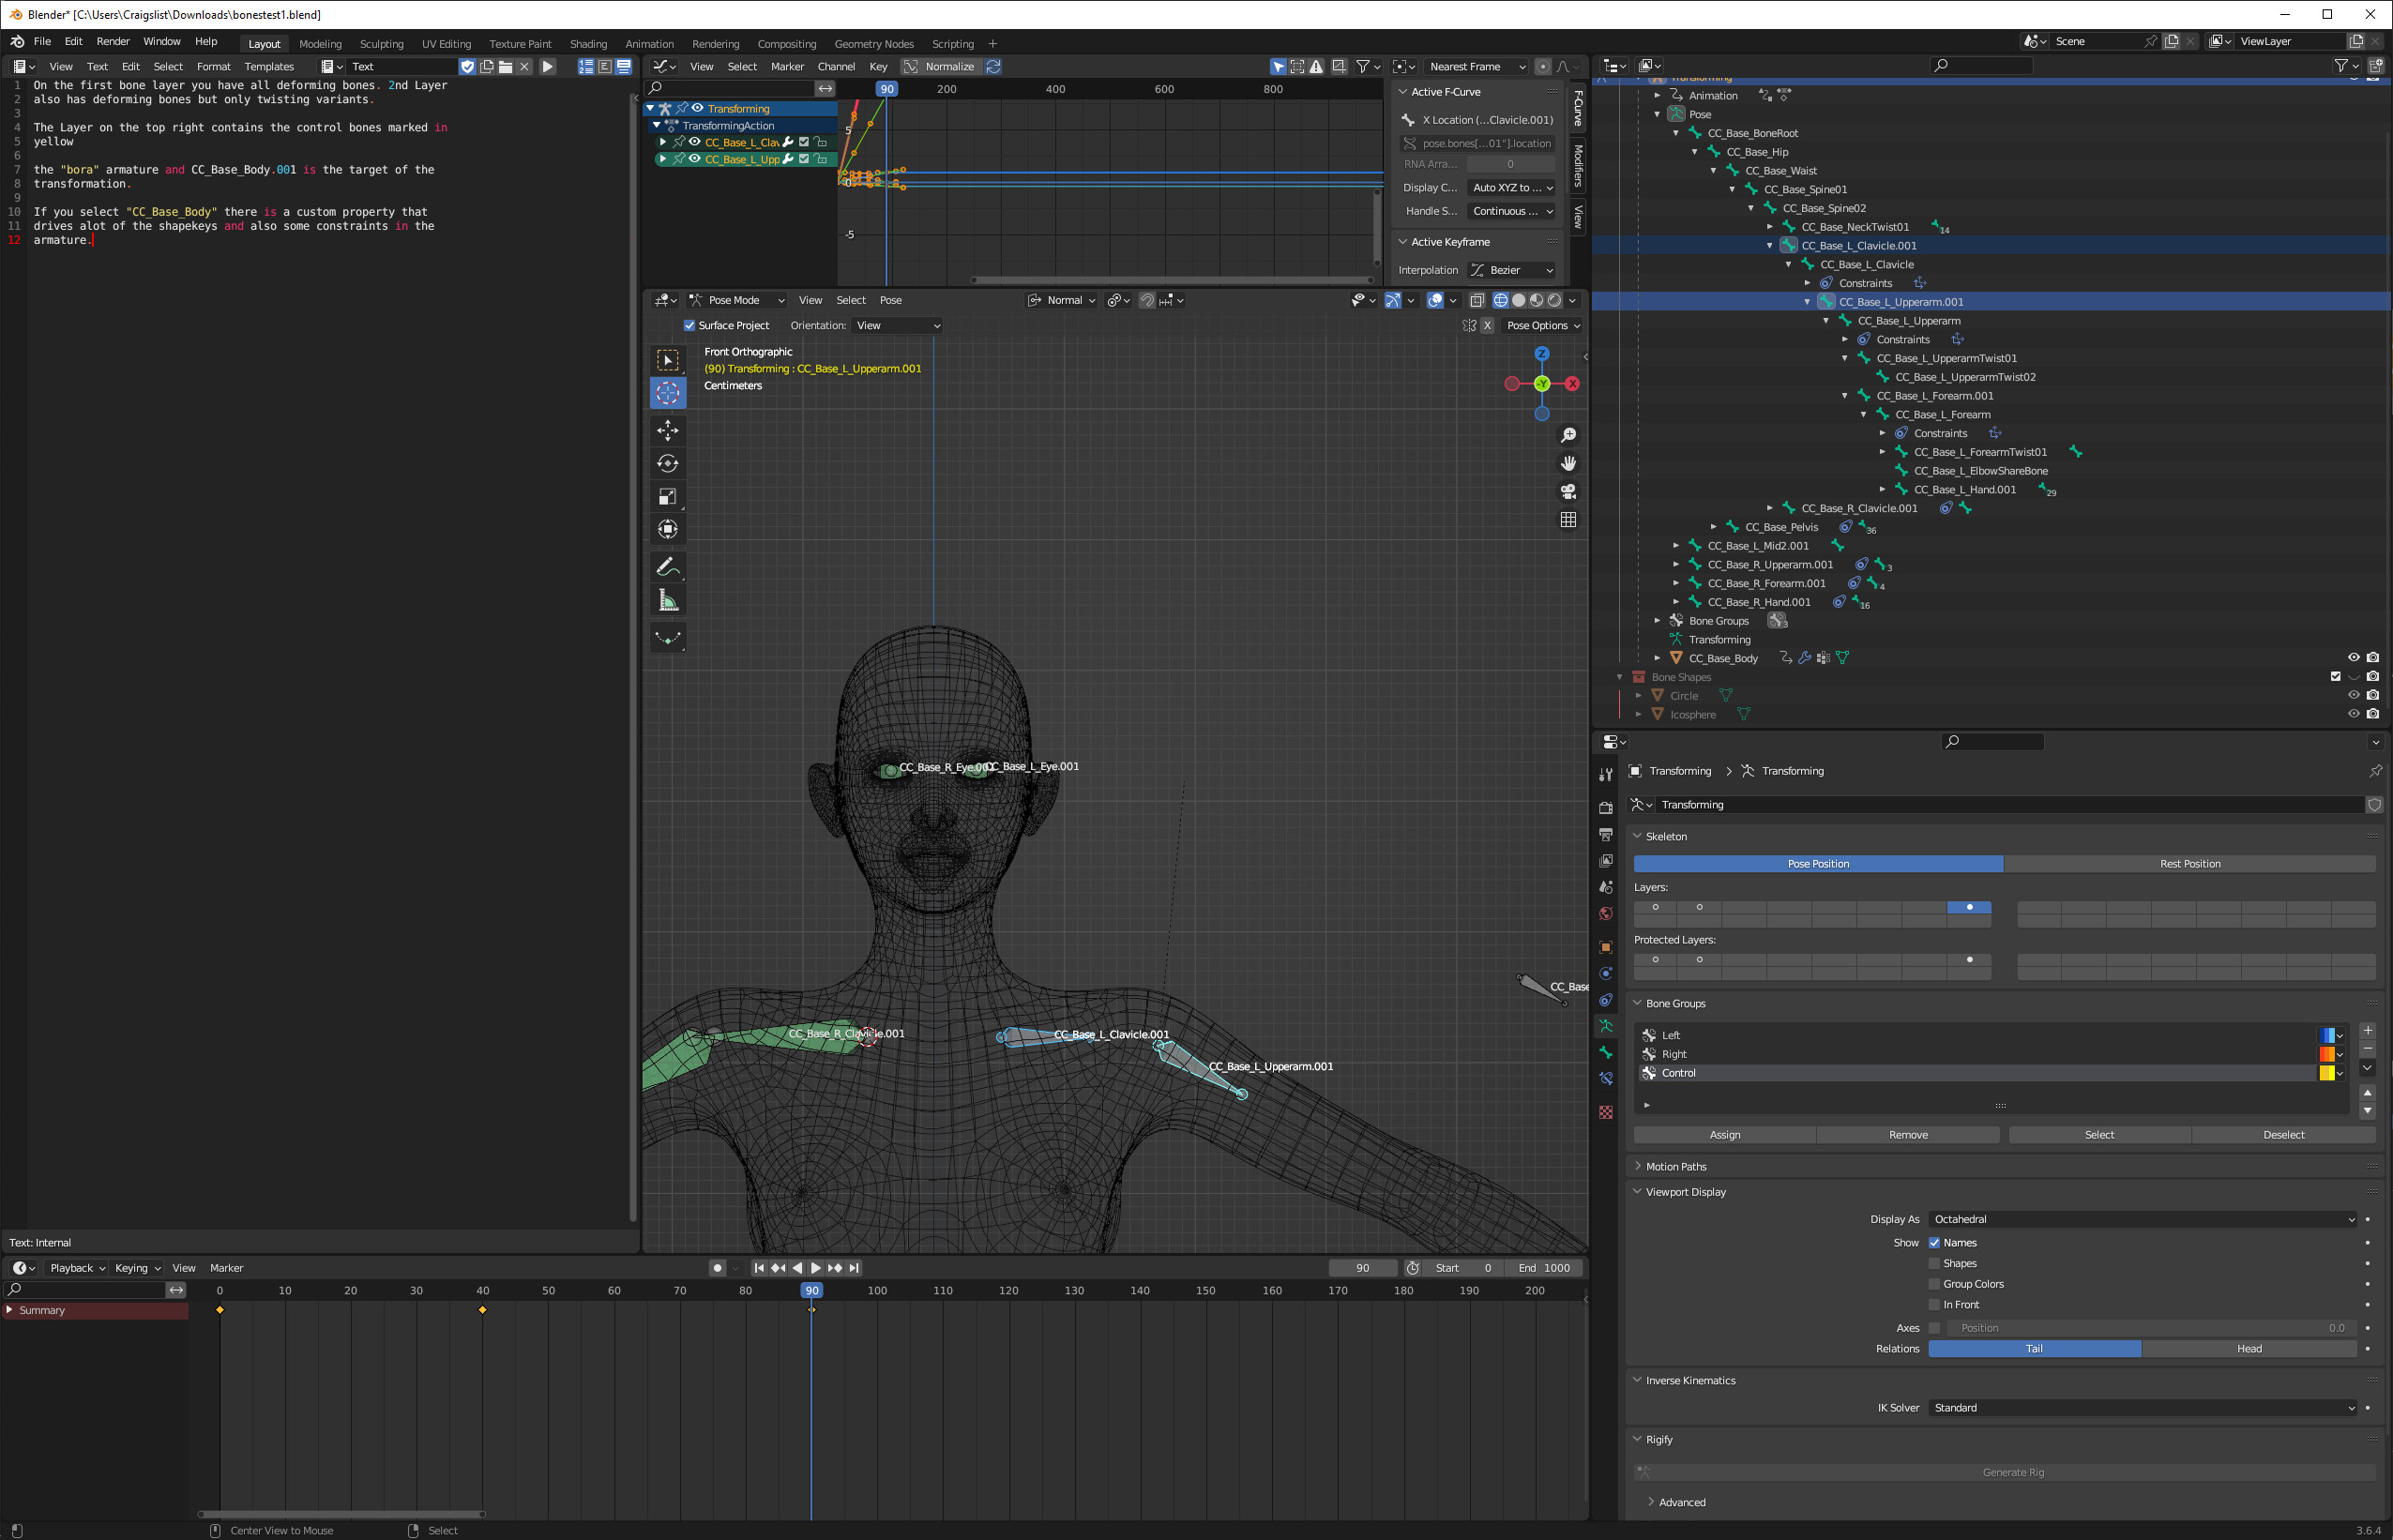
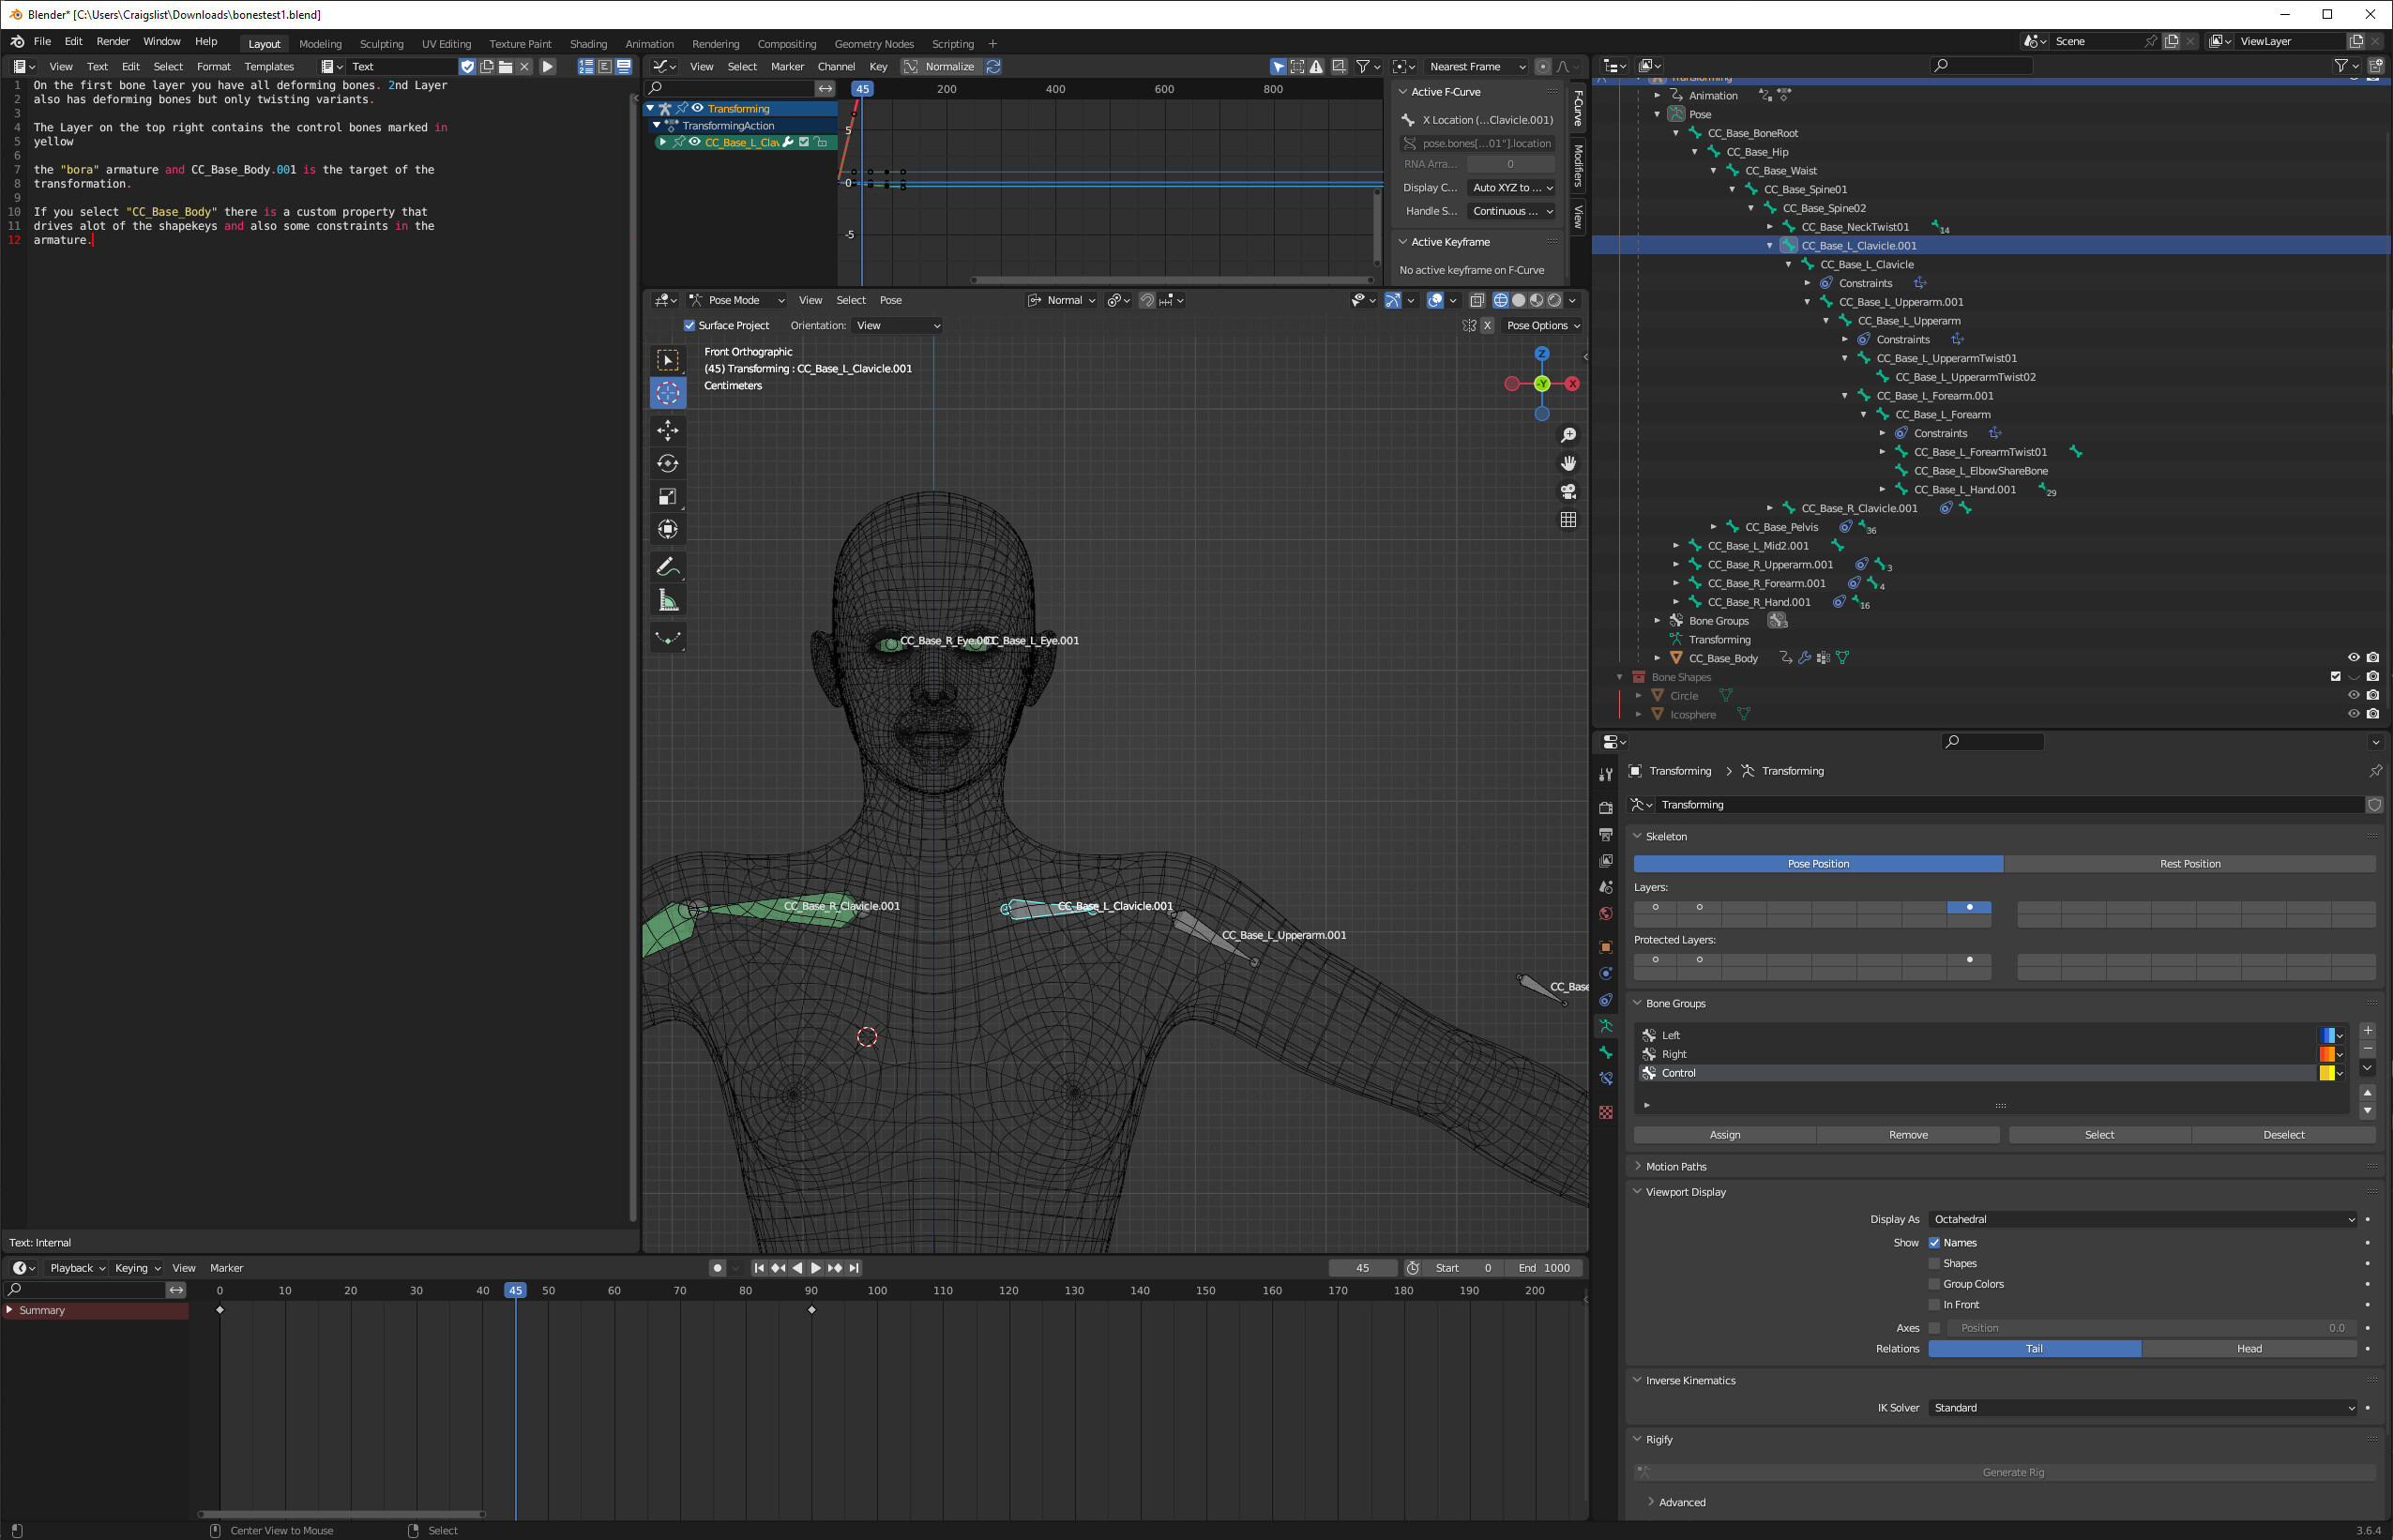
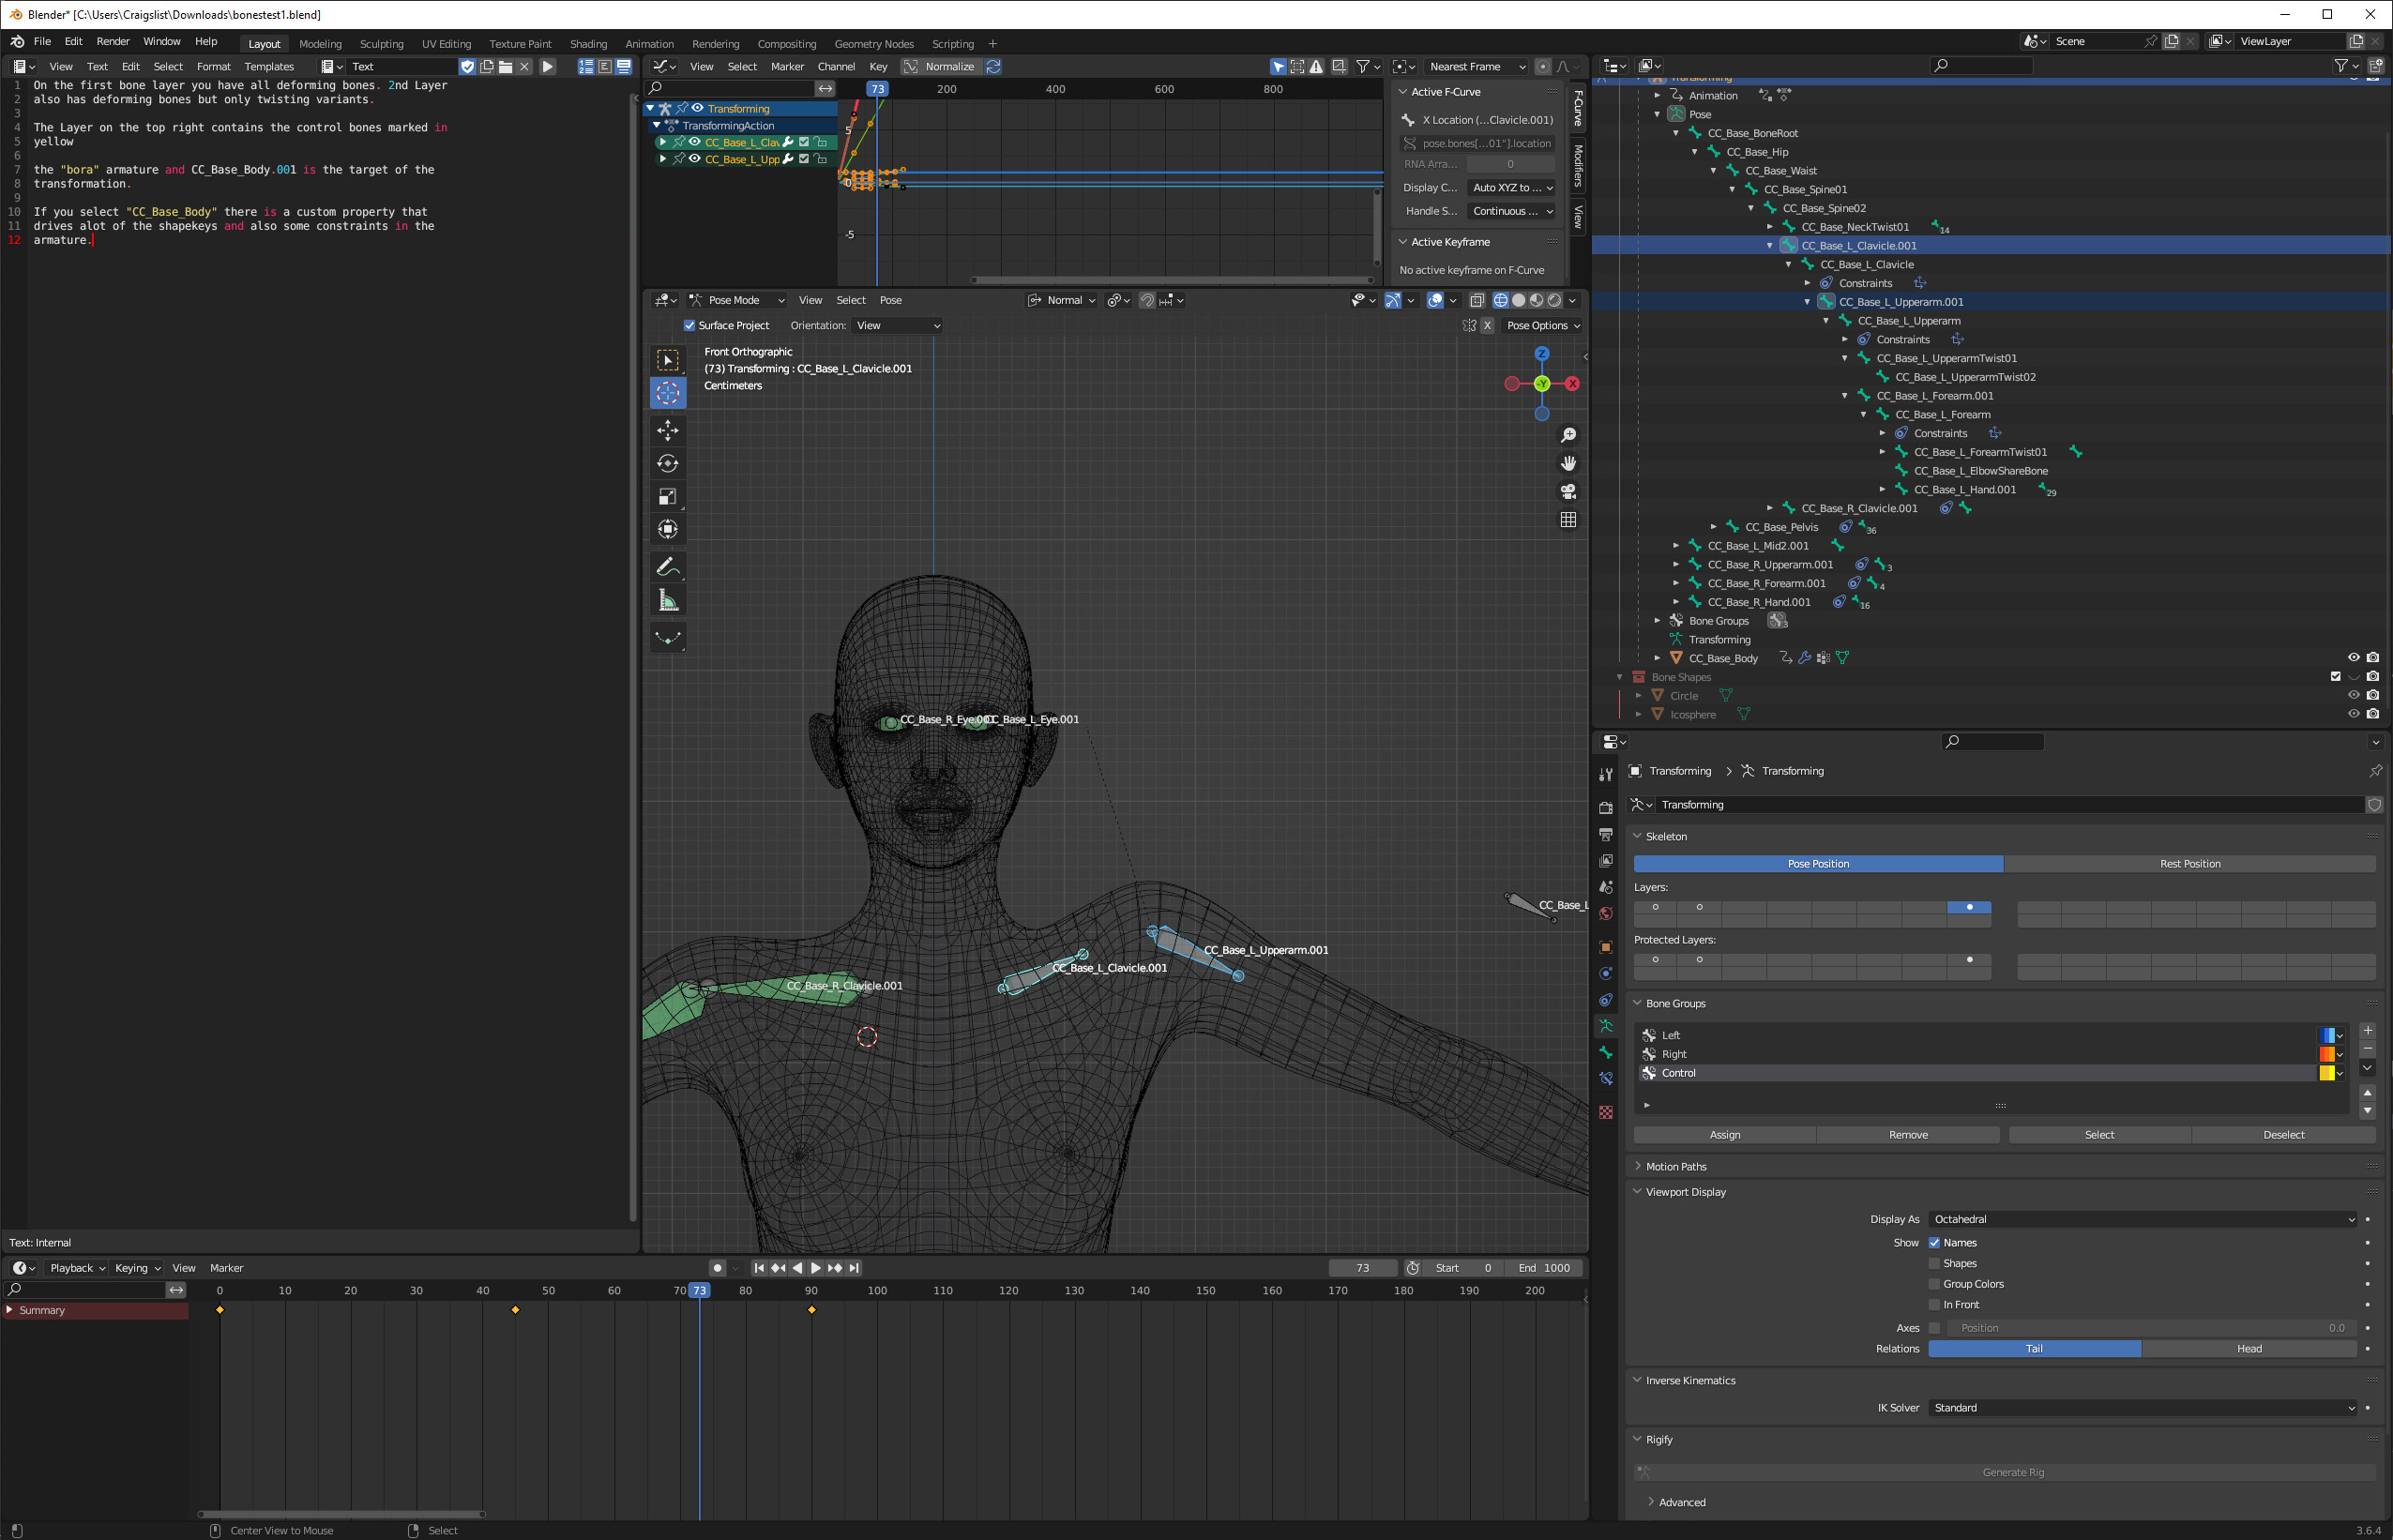
Alright I uploaded the file to ufile.io for you to take a look at it. I also added a text file describing some of what there is and what I’ve done. You should load it up with Blender 3.6 because 4.0 might breakt things. Thanks for doing this!
I’ve moved these bones to their new locations appropriate to the shapekey and keyframed their location. I change all f-curves to linear interpolation for convenience.
I really appreciate you helping me out here man cheers! By the way the copy transform constraints were merely there to to have the bones move to where they are on the other armature. I wasn’t trying to substitute the parenting.