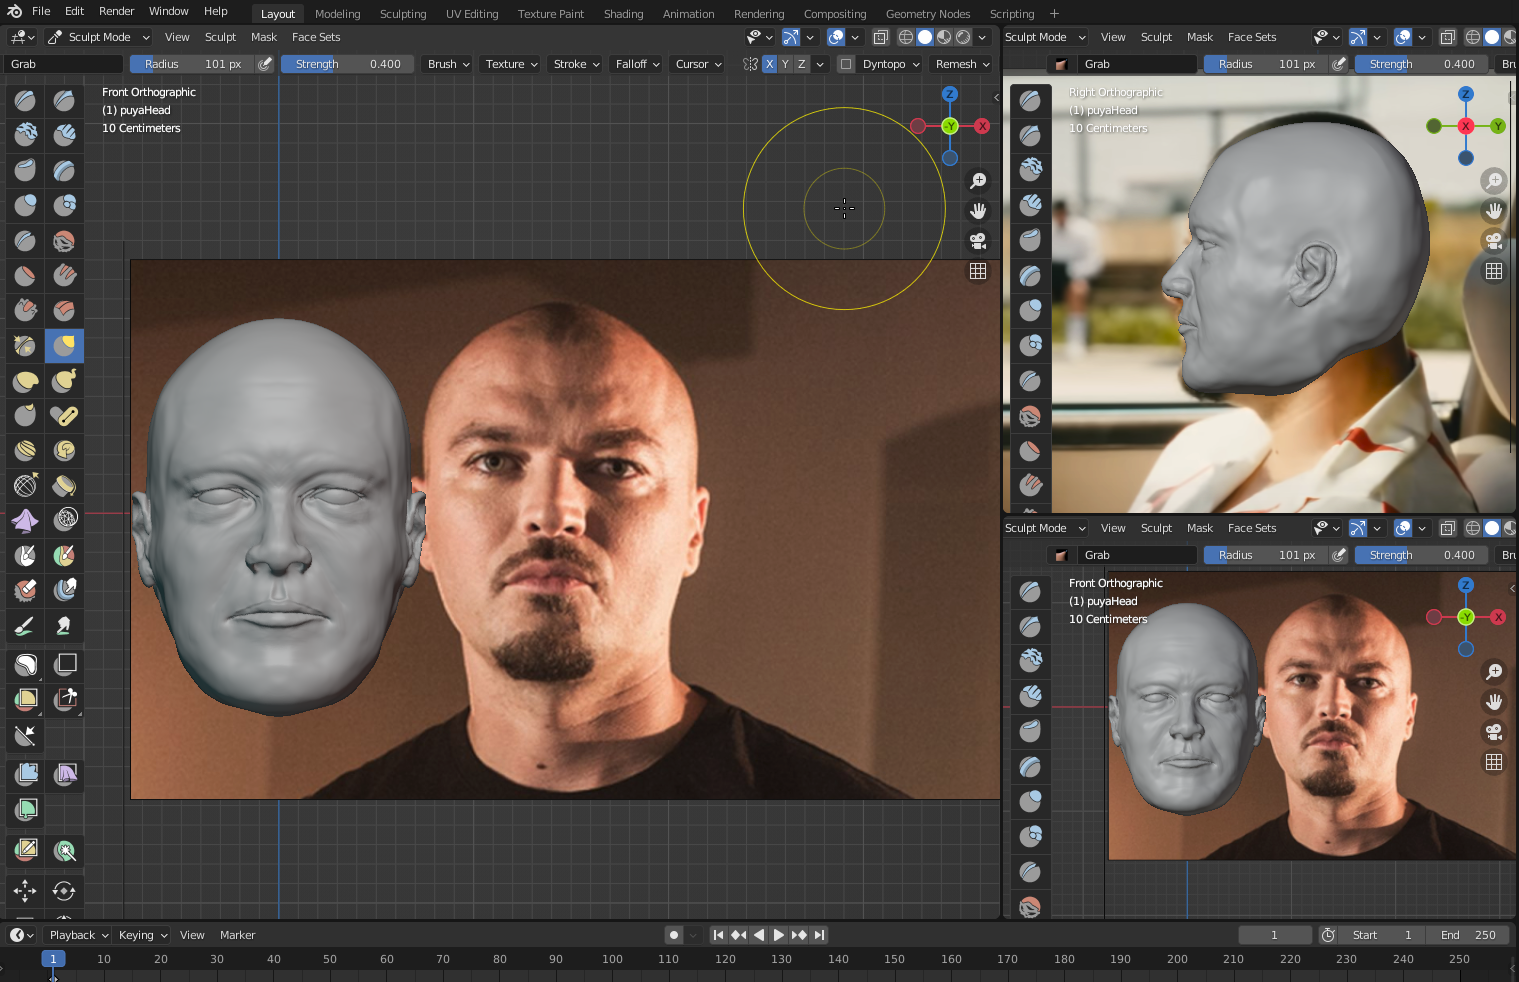
you would have to improve it mainly by adjusting the lips that right now are not exactly close to the original, then round abit the shape of the head, make bigger cheekbones less eye sockets (the guy in the photo doesnt have them so pronounced). The eyebrows are higher, the supraorbital ridge needs tiny adjustments. The nose must be enlarged a little, just a little. The chin is not that fat.
Then the rest you will do wth the textures that will give the real appearance.
@Magnavis is an expert on likenesses
Definitely wouldn’t go that far, but thanks! 
I’m still learning myself, and am slowly getting better, but I’ve learned a few things recently which have really helped.
Firstly, I’ll point you to this Artstation post which is super helpful: https://www.artstation.com/artwork/w8yrQO
You’re gonna need way more information than just a front and side image. You need a few different 3/4 views at-least, but honestly, the stranger the angle, the better. I’d also recommend getting PurRef, which is an excellent little tool for collecting and storing reference images.
I’m not sure who this is (I’m assuming they’re famous?), but Getty Images is always a good place to start for references for famous people, along with Bing images, which is so much better than Google! Collect as many references as you can, from different perspectives, and different lighting scenarios. You might also be able to find life castings of the famous person for sale on Etsy. You don’t need to actually buy them, but they often upload images from multiple angles which you can ‘borrow’ and use as reference.
Another tip, is to load the references into blender through the use of Cameras, and align them directly with your model. This is especially helpful for 3/4 angles. The general process is to add a camera, load a particular reference image as a camera background, and then do your best to match the focal length and angle. I find adding the 3d cursor onto your model, and setting pivot point to cursor helps a lot there.
This video/tutorial series is also excellent, and shows a little more what I mean about using your reference in camera. The video in question uses Zbrush, but the steps can be replicated in Blender, more or less:

One of the biggest things for me to realise is that time changes everything. When doing likeness sculpts, or any project like this, you tend to get tunnel vision, and you essentially go blind to your sculpt. Sharing with others is helpful, but for me, the best thing to do is to just let the model sit for a couple of days. Let your brain forget it, and then go back to it. You’ll be surprised how different, and potentially weird it looks. I recently finished something I really liked, but when viewing the sculpt a little while later, I realised a bunch of problems with it, especially anatomically.
Finally, I’d say you need to get used to seeing shapes, and approximating distances, and translating that from reference to your model. Whilst lining things up in camera is helpful, it’s not a shortcut. There is still a lot you’ll have to do through simple observation, and getting good at that is perhaps the hardest part. A simple trick that helps is to keep your model as low poly as you can early on in the sculpt. Focus on just the basic shapes, before moving onto finer details. You might also consider drawing over your references, and highlighting some of the basic shapes if you find yourself getting lost in details.
Hopefully this is some help to you, and I wish you luck! 
https://imgur.com/a/emamSzP I’ve made some changes again following your guidelines. what do you think?
i would firs examin what feels real and what not in all angles not 2
this is where an opacity slider helps abit .it does not make you understand form just line/landmark placement
an good object to study for heads is the profile view of 40 people
there you observe nose placement laft to right(profile view ) ear placement what shape the mouth has
i seen many 3d faces that lock perfect ffrom front but on the side the nose is shifted ,not to speak of the eyelids being 2d
I’m far from an expert… the rest of this advice sounds really good…
but can I offer - one ‘simple’ suggestion ?
Use your ‘Face’ as a texture… add that as a ‘Cube Projection’ onto the '3D Model - then light it frpm both sides - as your photo reference.
Try to match the lighting ‘exactly’… - then compare - shadows to shadows… ?
Does that make any sense ? - I hope so. ( Good luck. )
here is a quick example - just an overlay in photoshop…
you can see the ‘Mouth’ is too wide, the eyes are ‘off’ - and the head shape is more ‘egg’ than ‘head’
I hope this helps.
I see your updates… so I did another Photoshop overlay…
Looking Much better this time…
Eyes - Perfect
Head Shape - Perfect
Cheeks Crease - Perfect
Chin Shape - Perfect
Ears - a little too low
Lips - too high
Nose - is short and thin ?