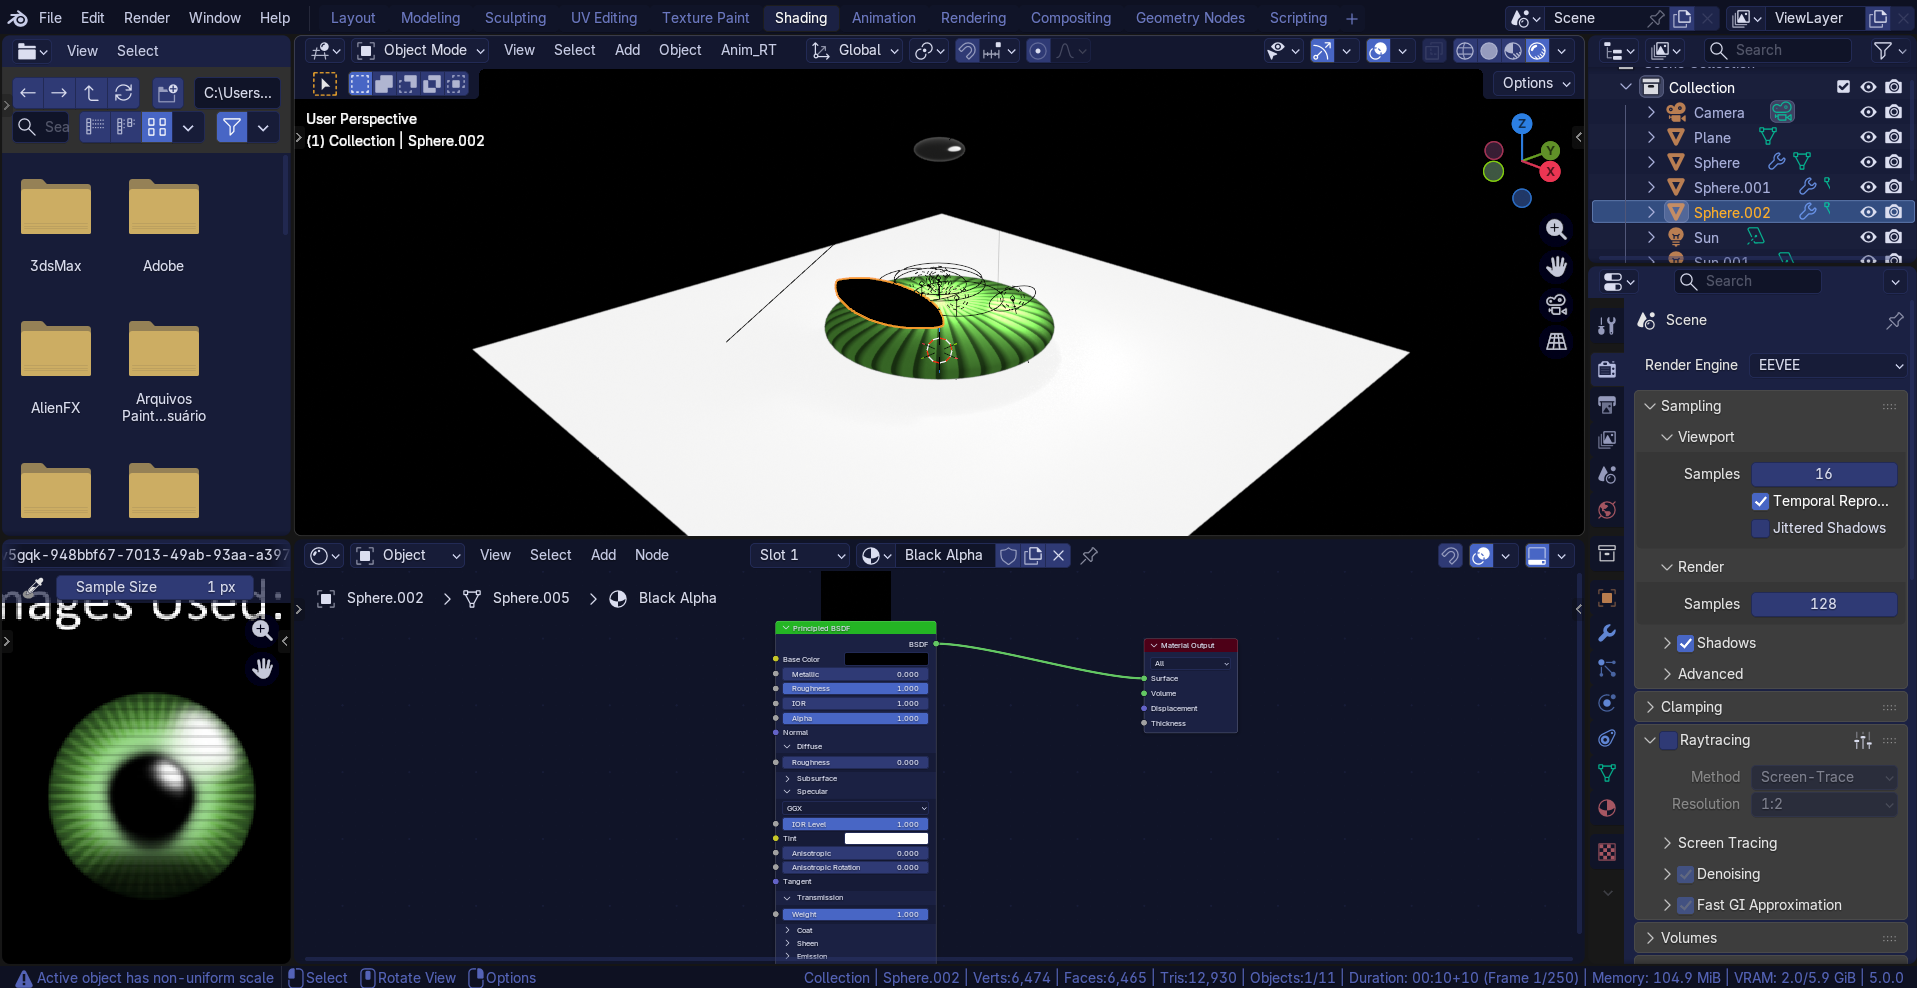
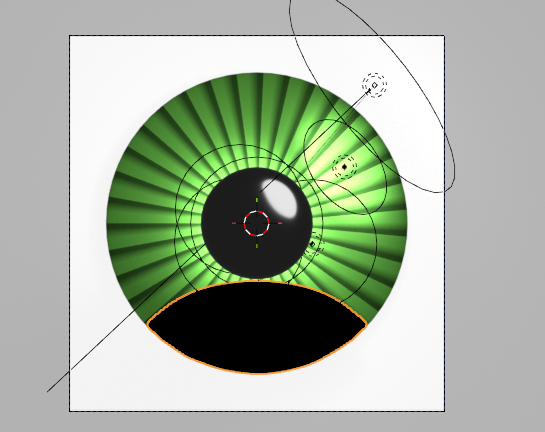
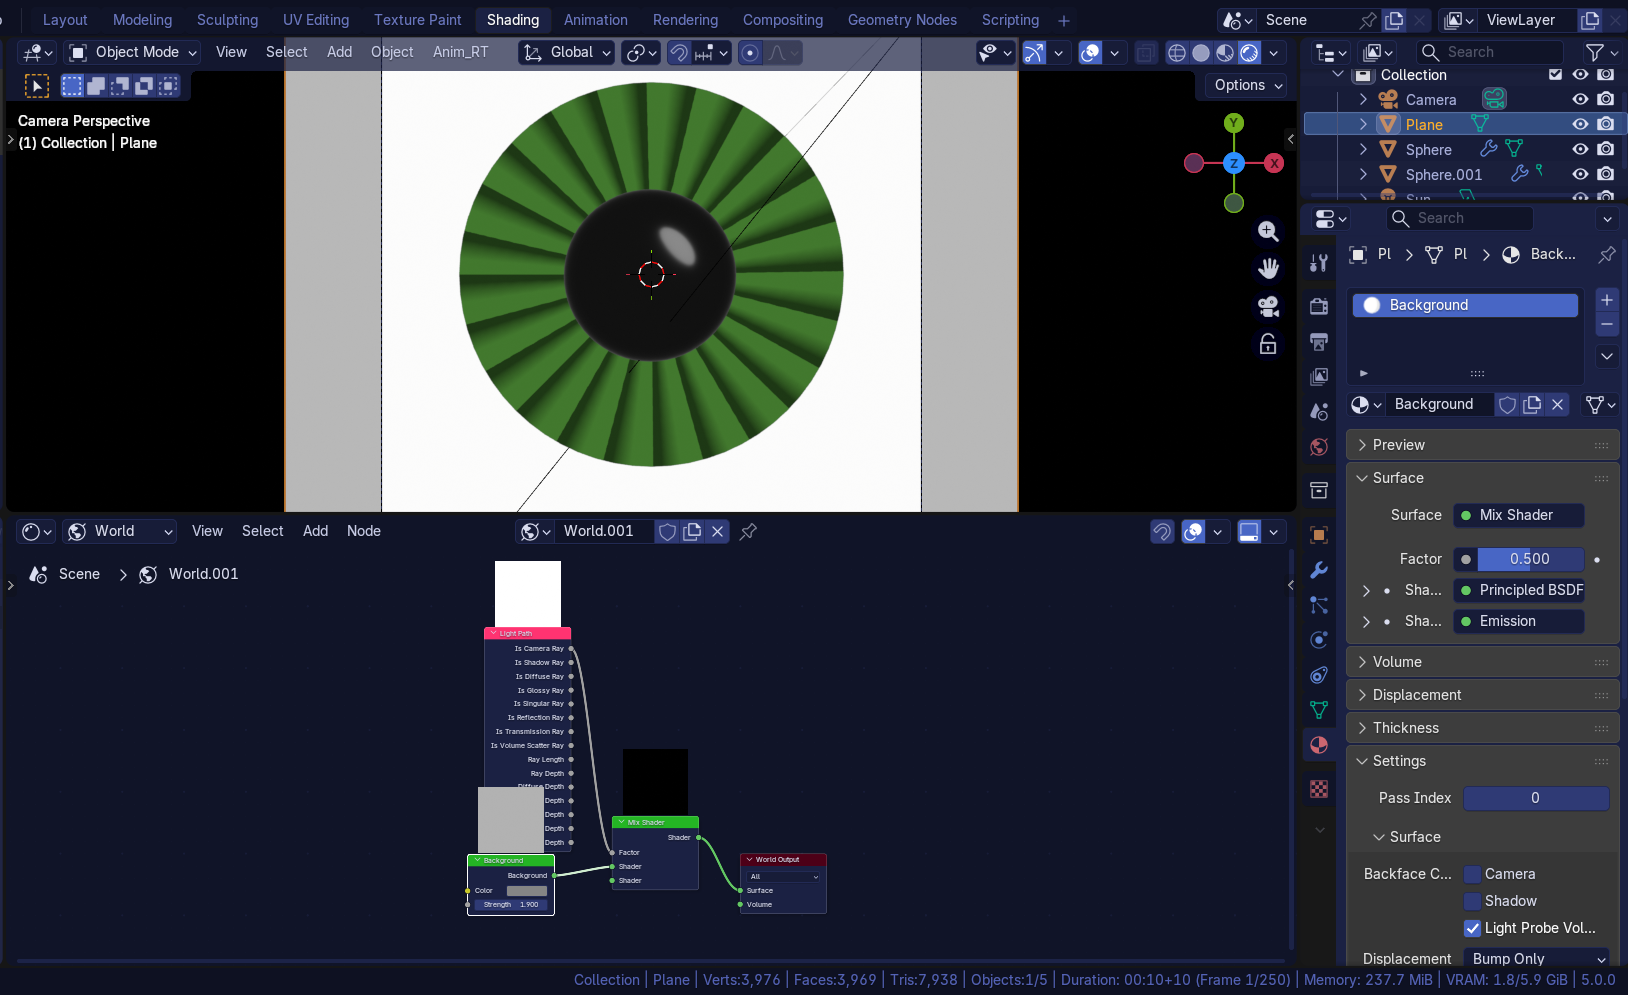
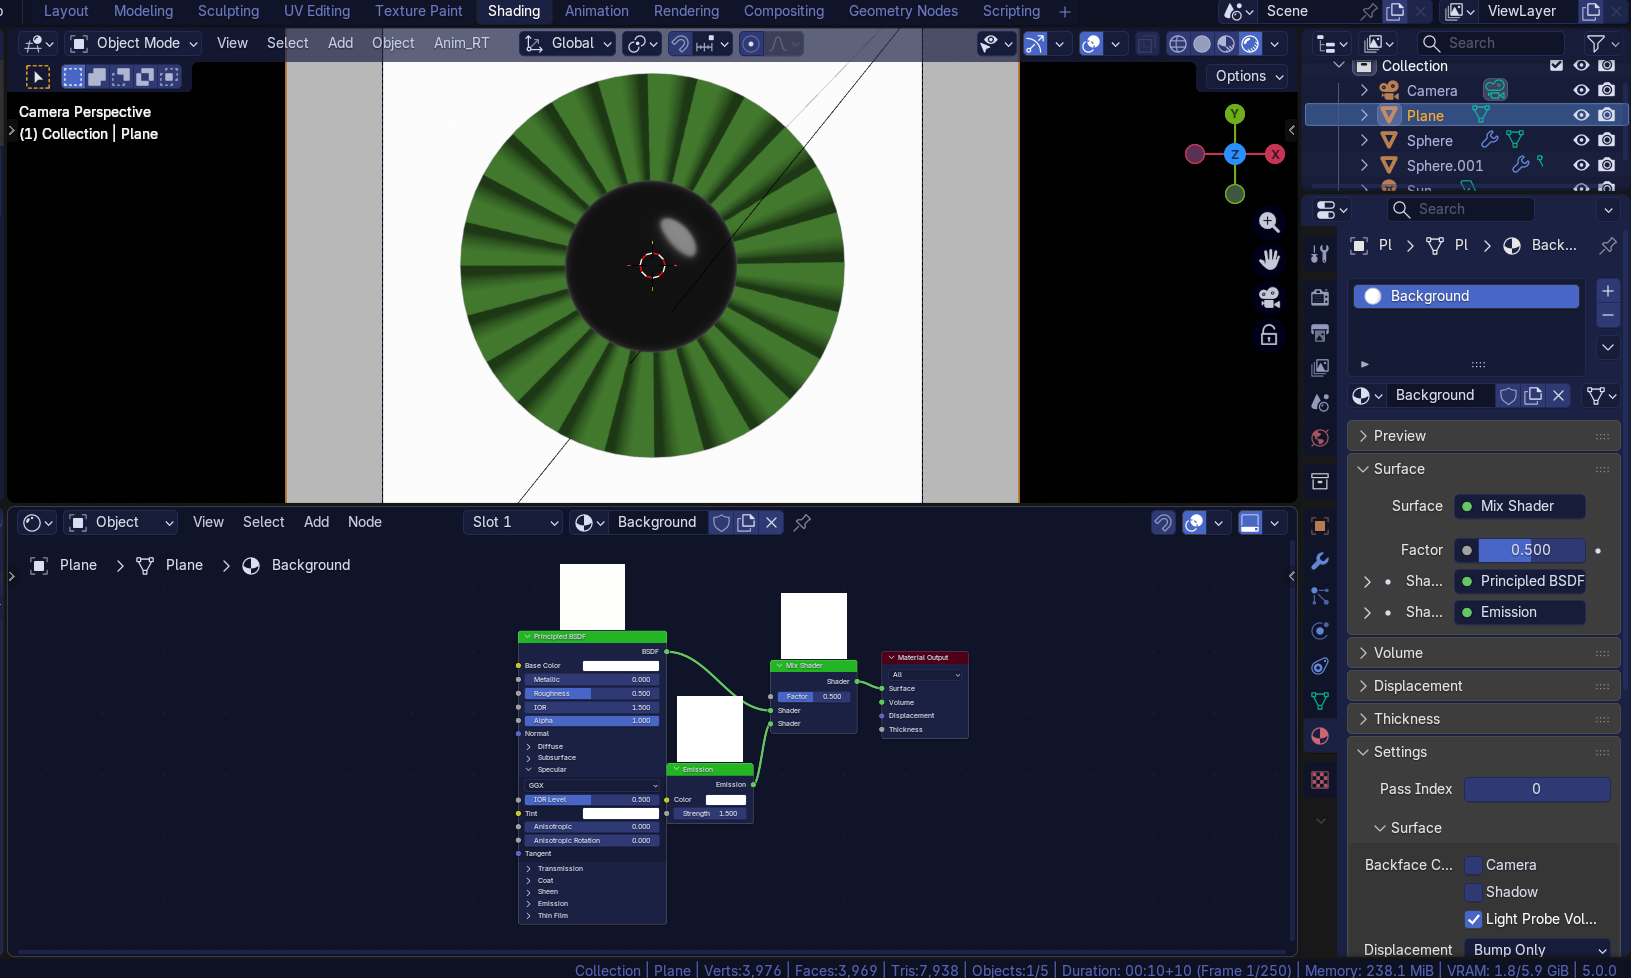
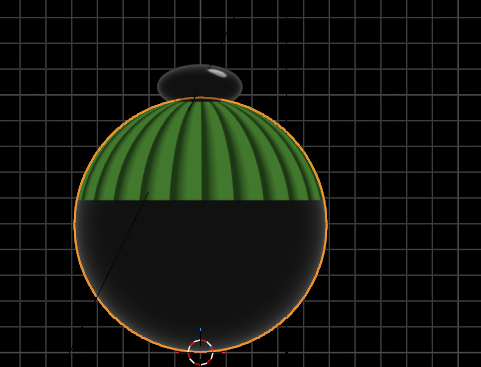
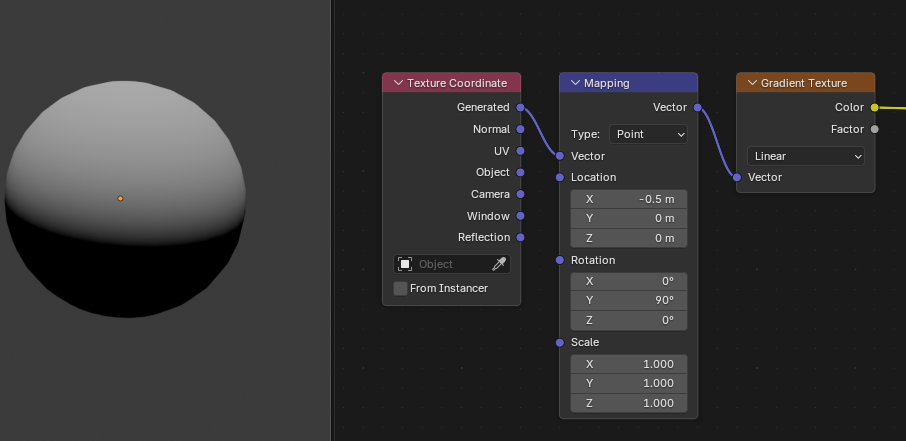
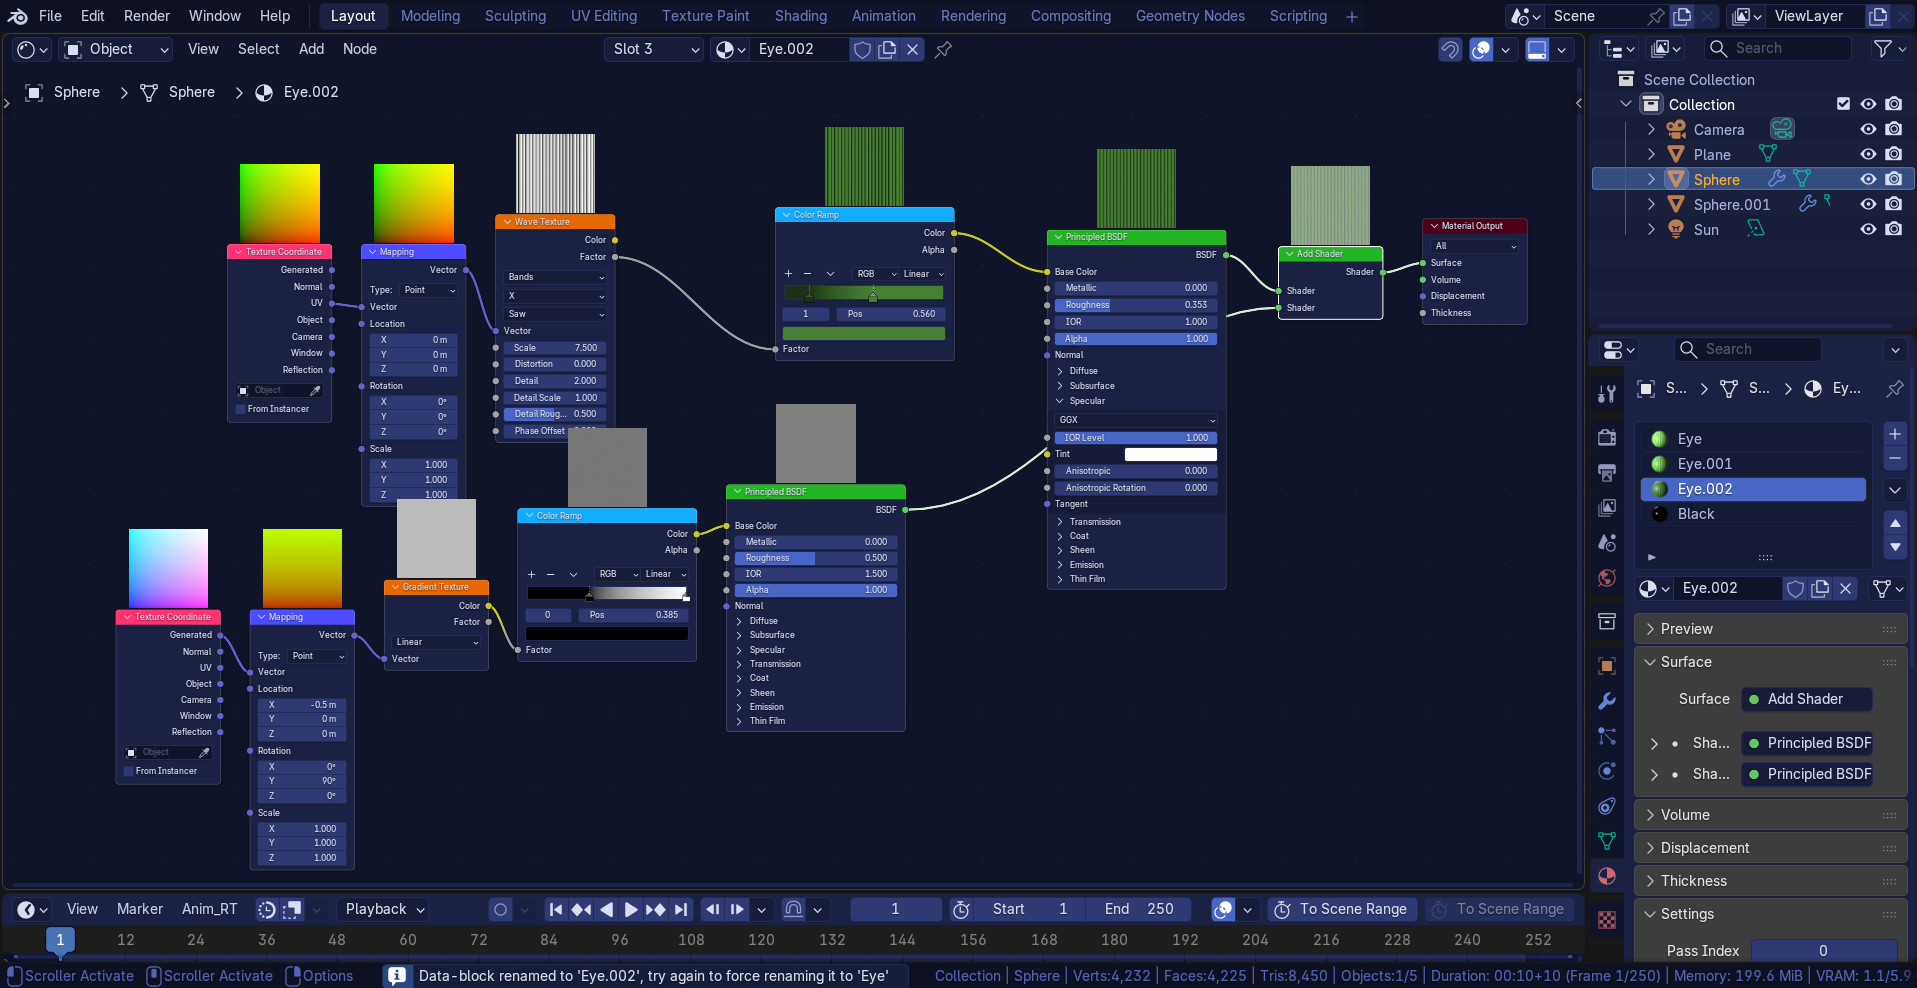
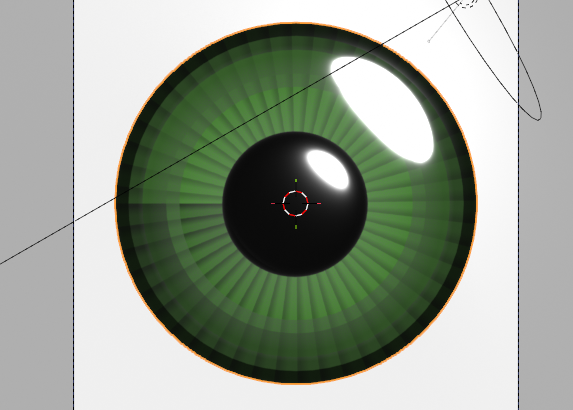
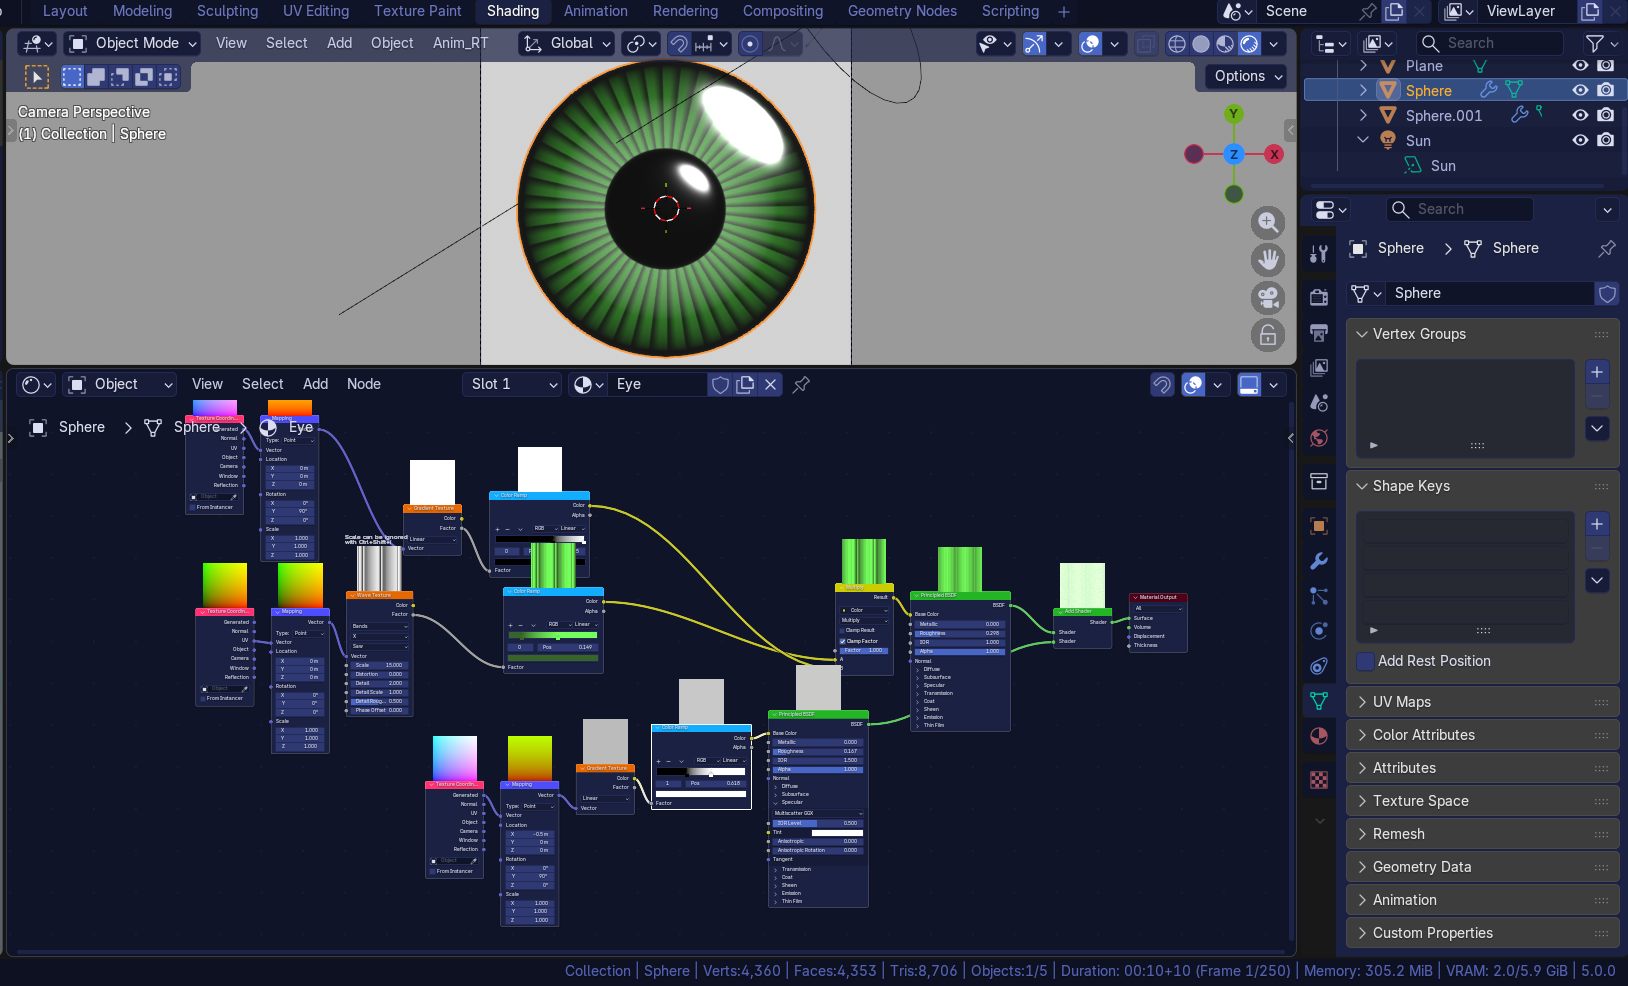
Hello, guys, after some hours trying to make tricks to make a FNaF: Sister Location styled eye texture in Blender 5.0 (which the texture will be used in another model of mine), I’d like to know: how can I make my version of the eye texture as accurate as possible to the original eye texture?
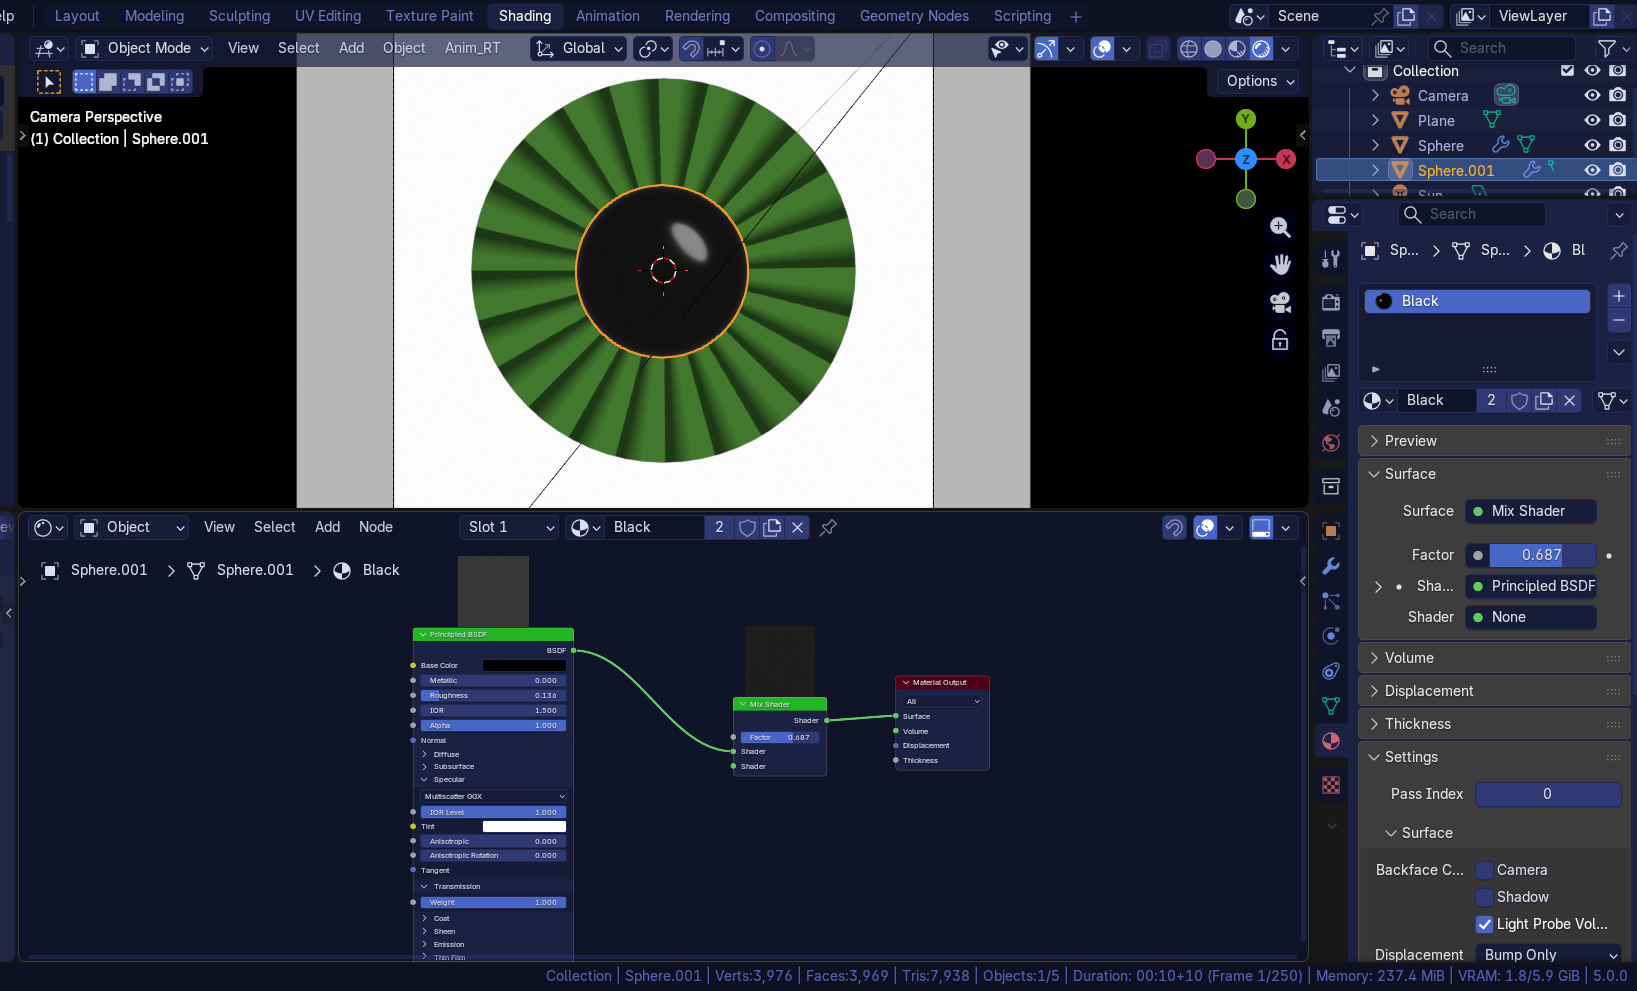
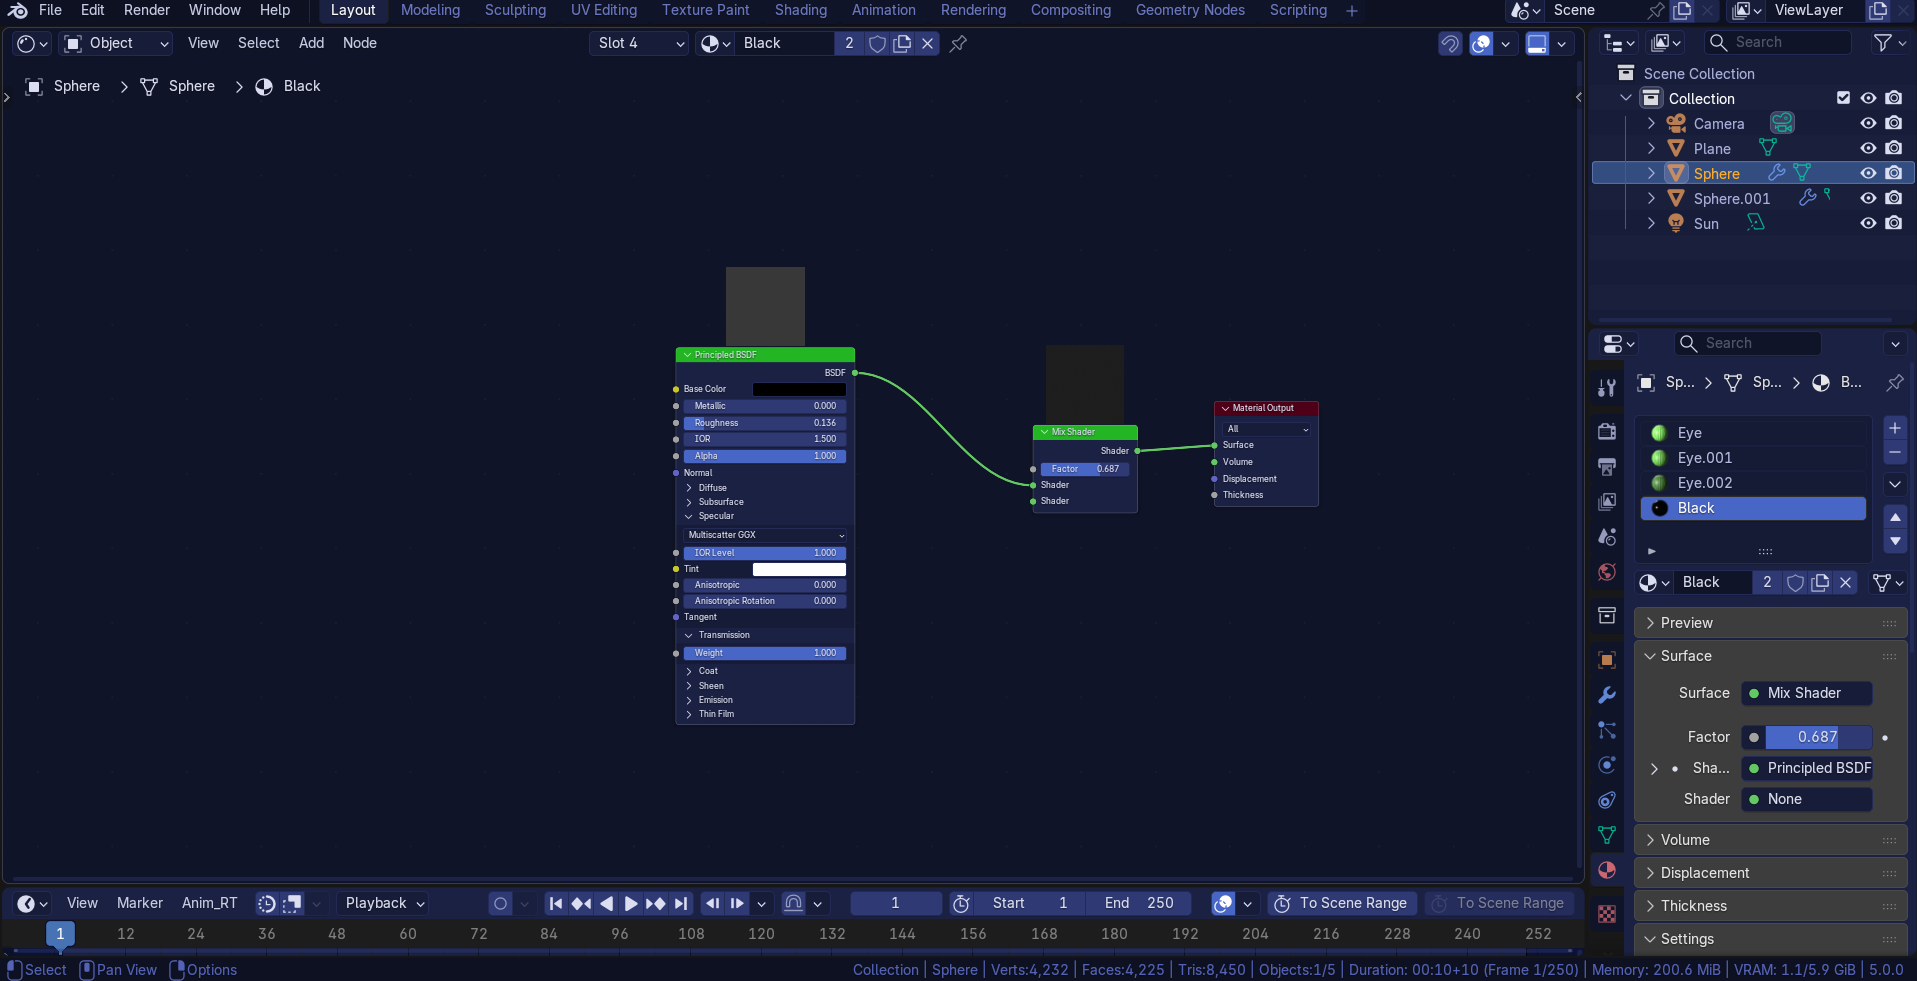
btw, in the last screenshot, I also would like to know how can I make the black object (a modified uv sphere) blurry and a little transparent like the original eye texture.
The original looks mostly hand painted to me, not rendered. Though you are pretty close, but you may need to do things a bit differently.
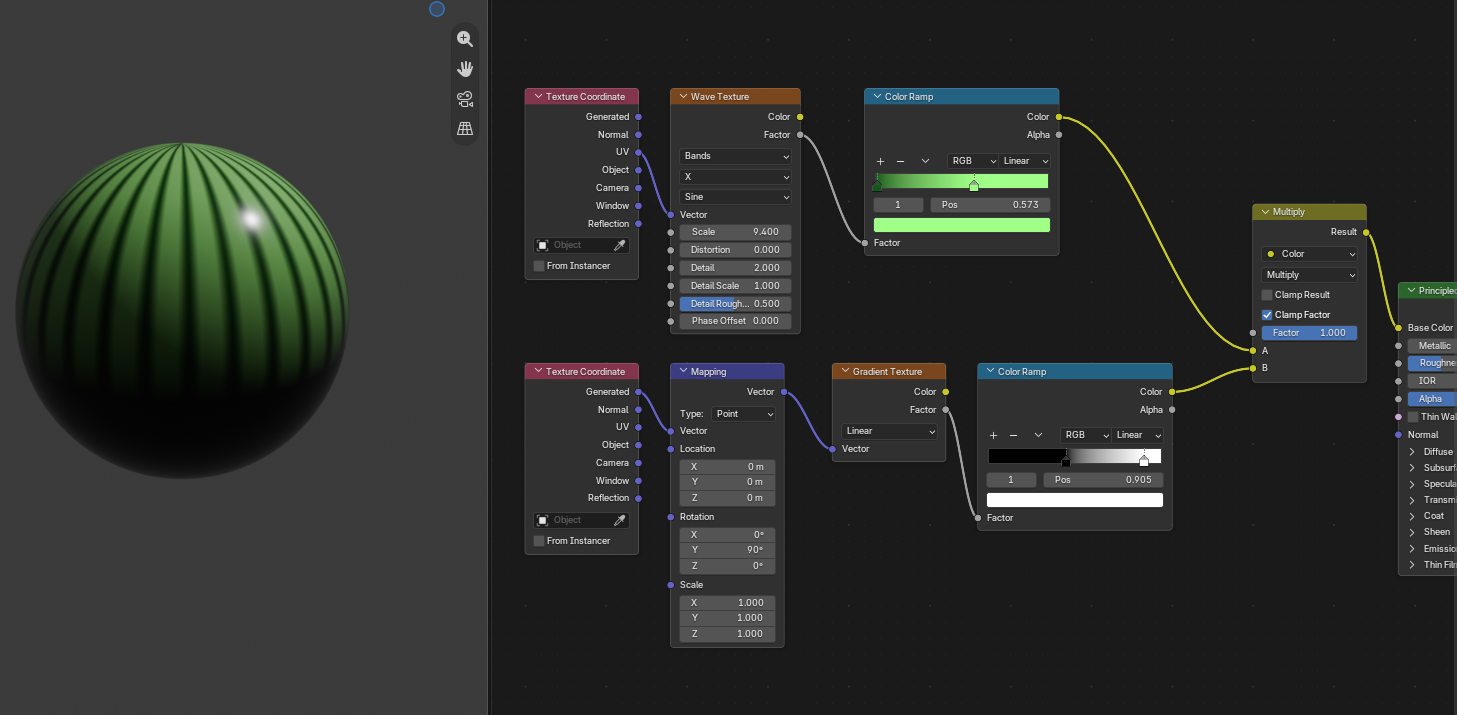
The green pattern going around is not the same. Are you using a wave texture?
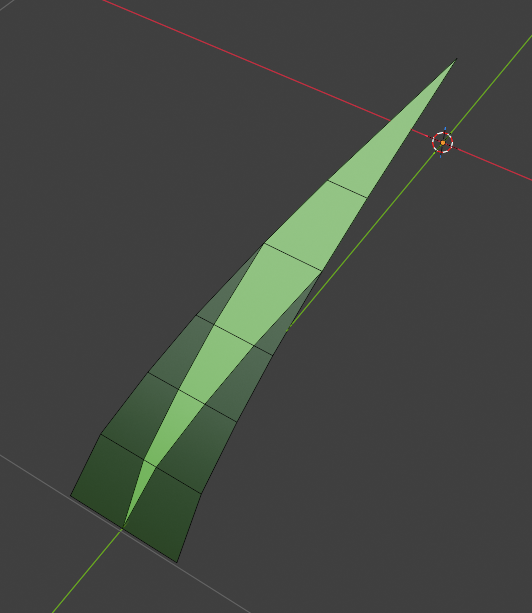
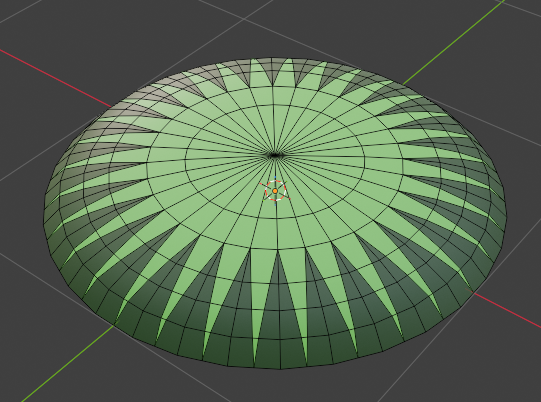
The original has triangles that go thinner as they reach the outer edge of the eye. I don’t think this can be done purely with procedural textures. I would model that in edit mode.
I would use a single slice of a UV sphere, then carve a triangle into it and give it materials with different colors.
I used the default 32 sides, but it looks like it would need more to be accurate.
The easiest way to get that dark gradient would be to do it manually in an image editing software by painting over the image, not in Blender.
If you still want to make it in Blender, you could try using a gradient texture on a plane, that will need some good understanding of the material editor. You could also try giving the object you already have a volume material and making it go progressively thinner towards the edges, that will cause a gradient too.
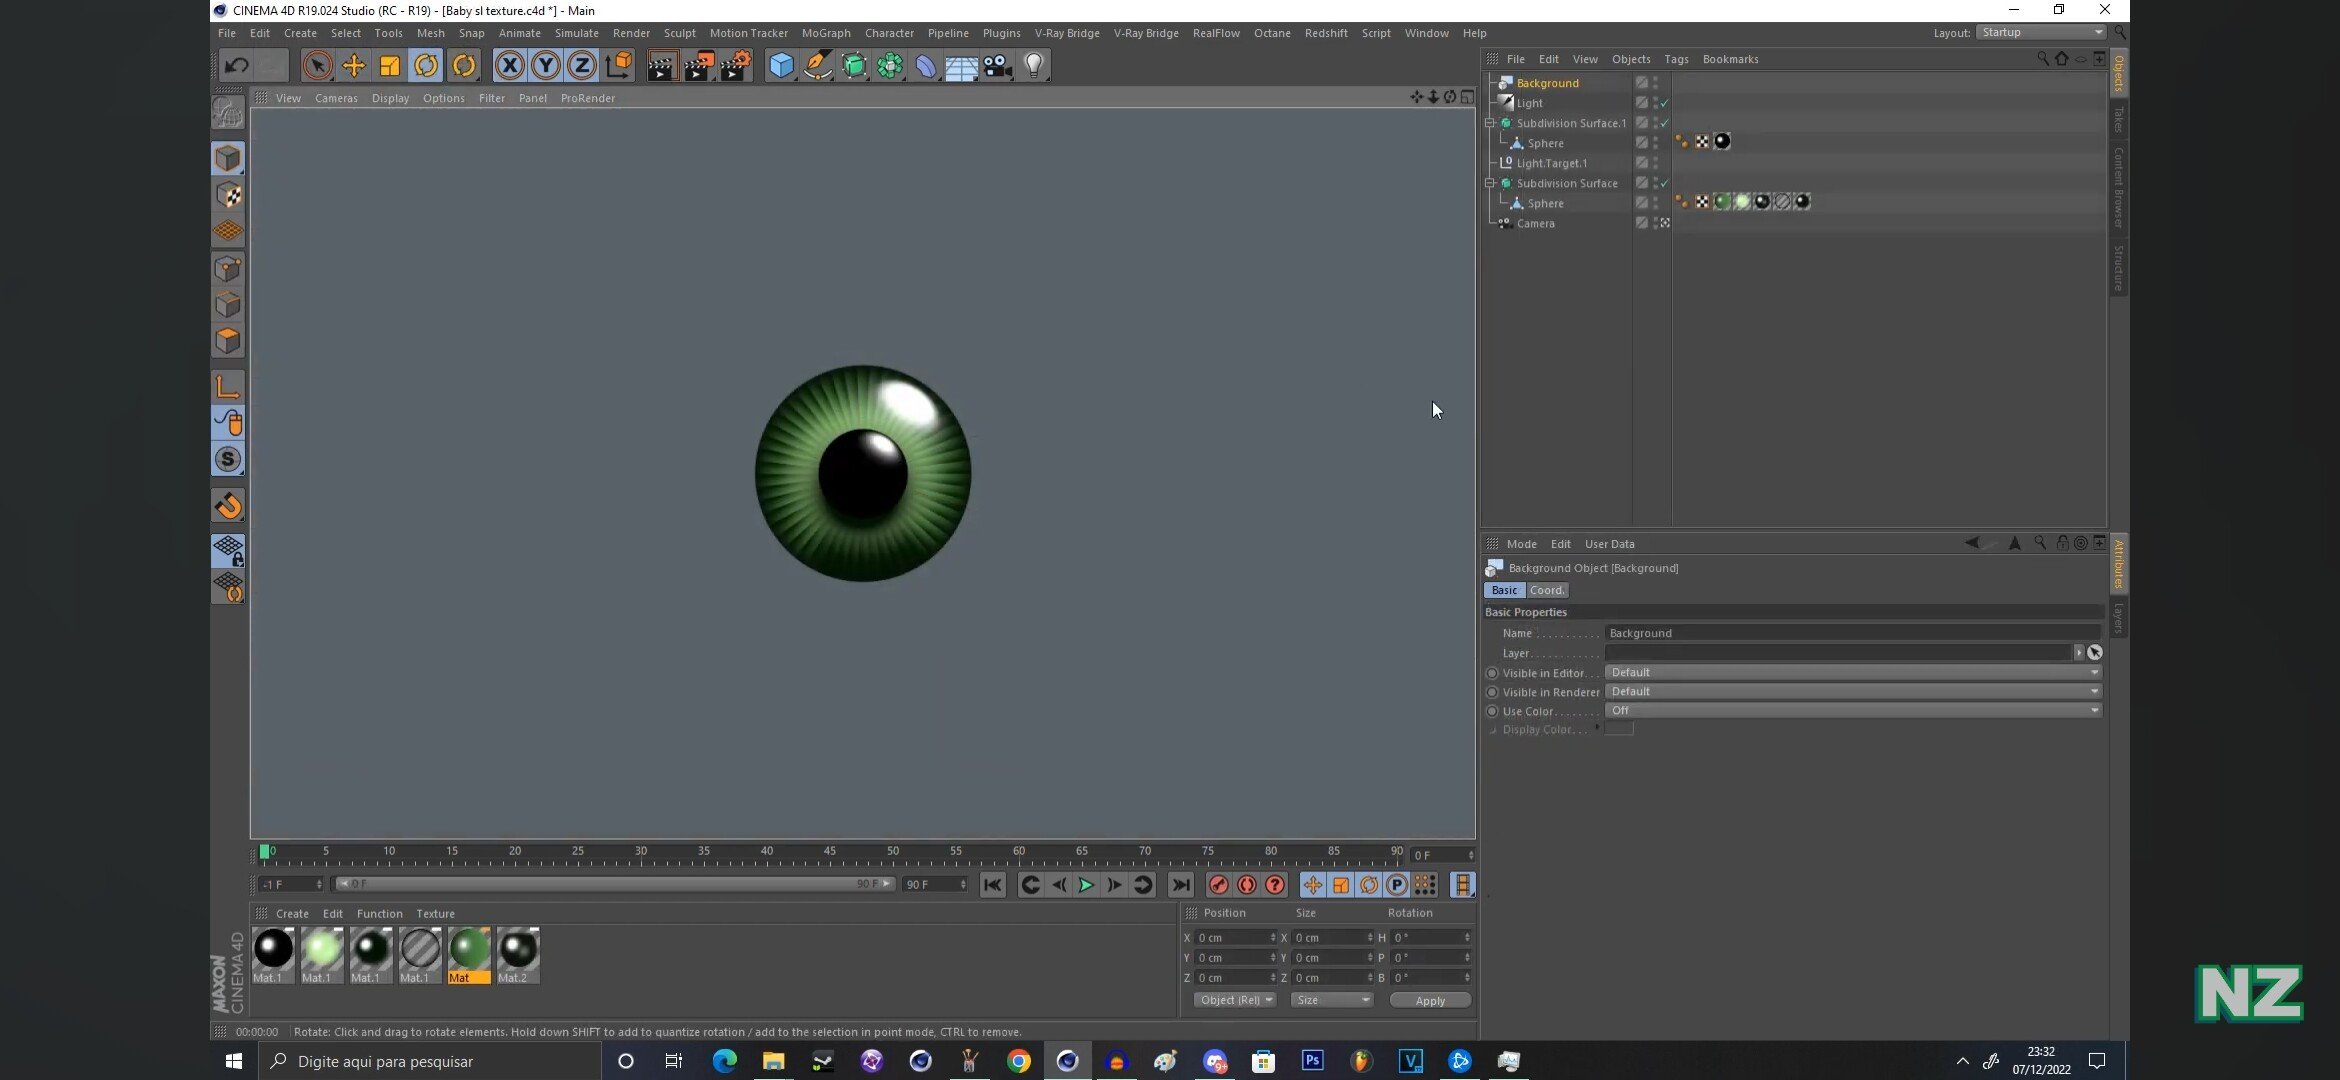
Hi. Thx for the info. In a brazilian video I was watching to make the SL eye texture, the guy shows, in the minute 16:47 an example of SL Location eye texture to show that Scott Cawthon originally modelled his eye textures. He also teaches in the minute 29:50 how to make a SL eye texture in C4D, which I was following using blender (altough many of the features are not the same in Blender)
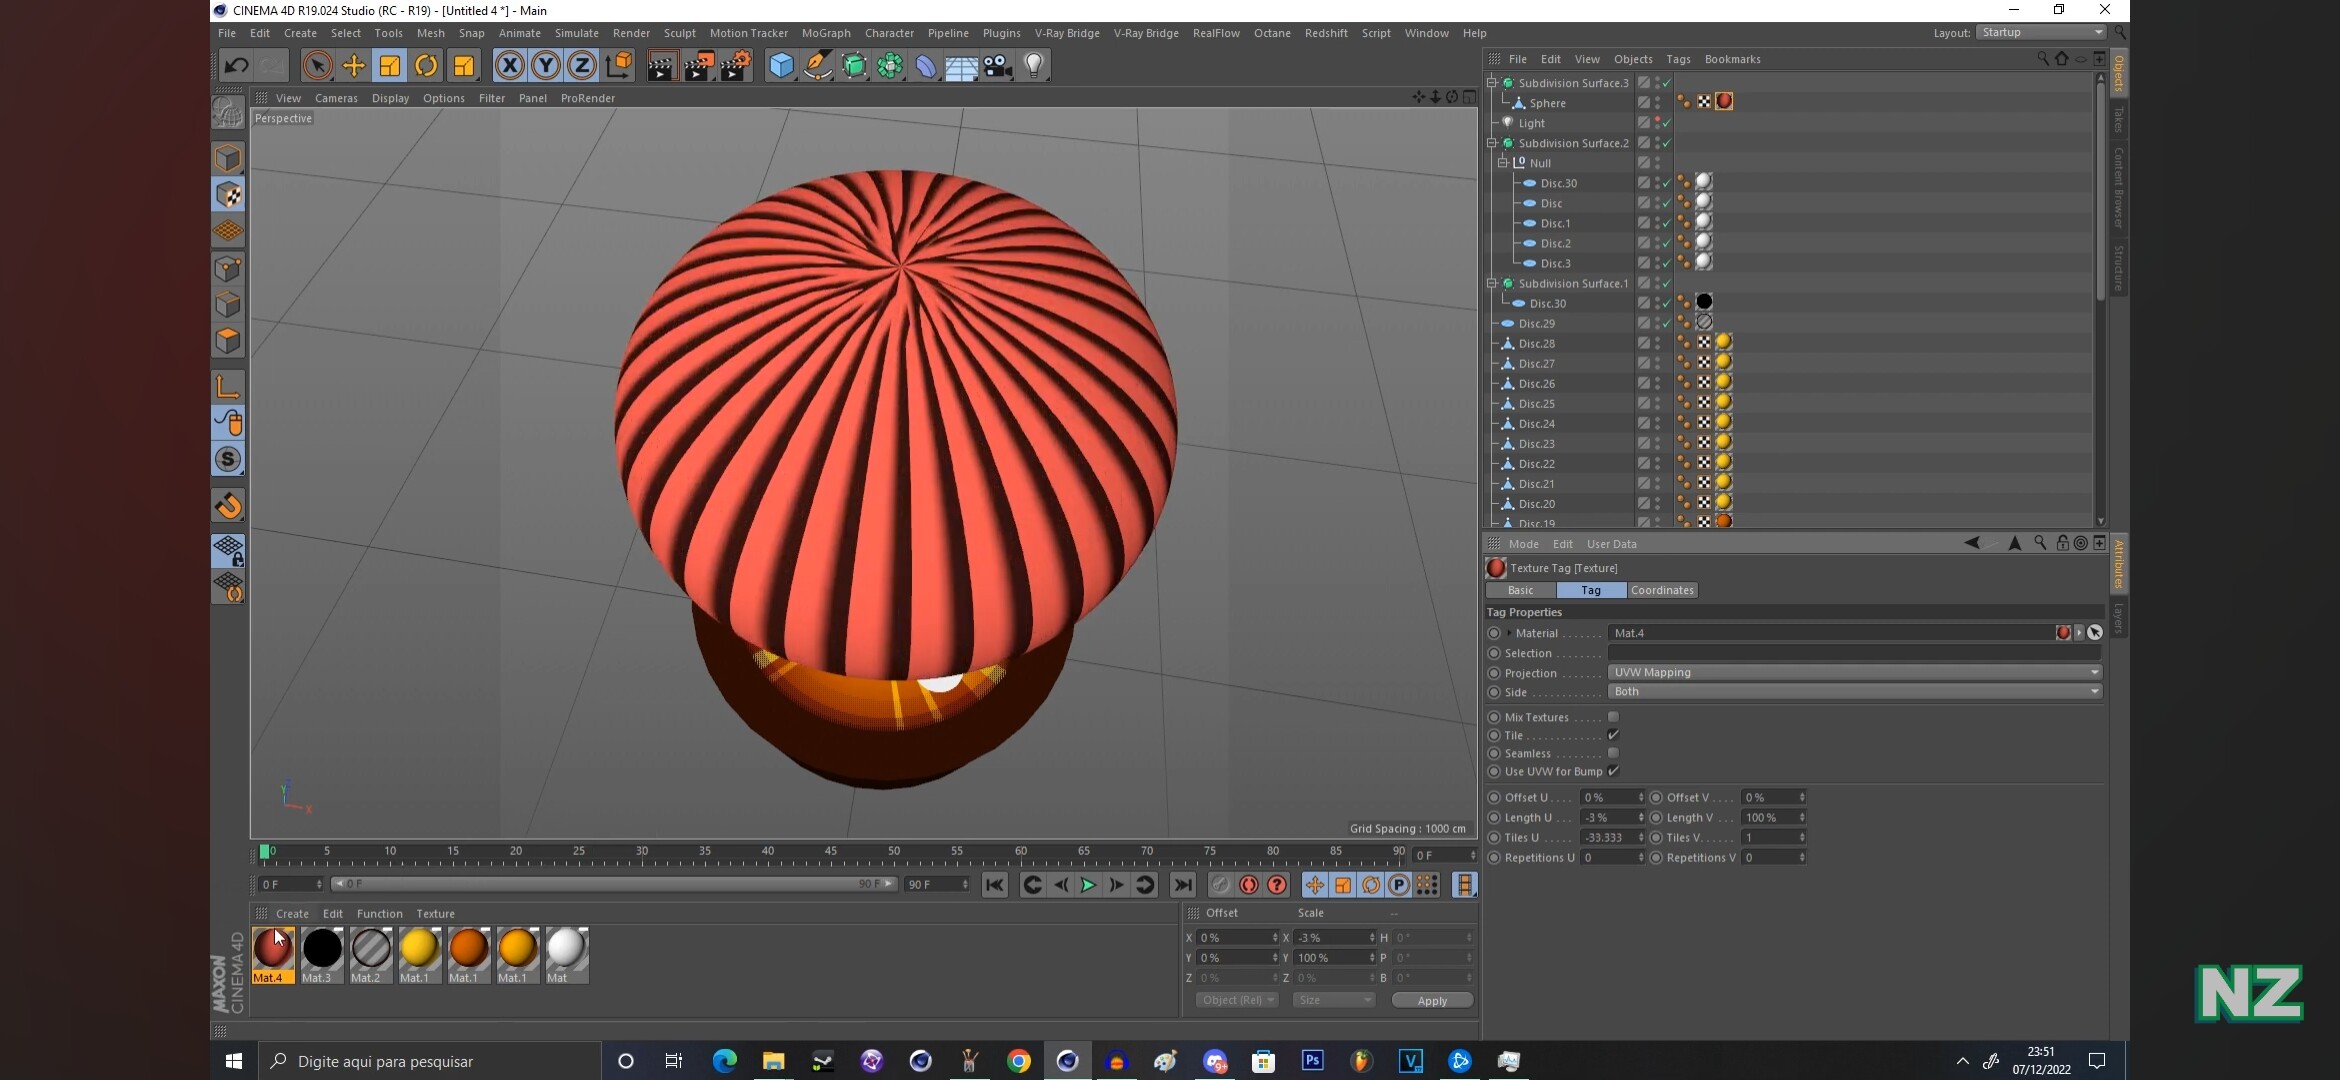
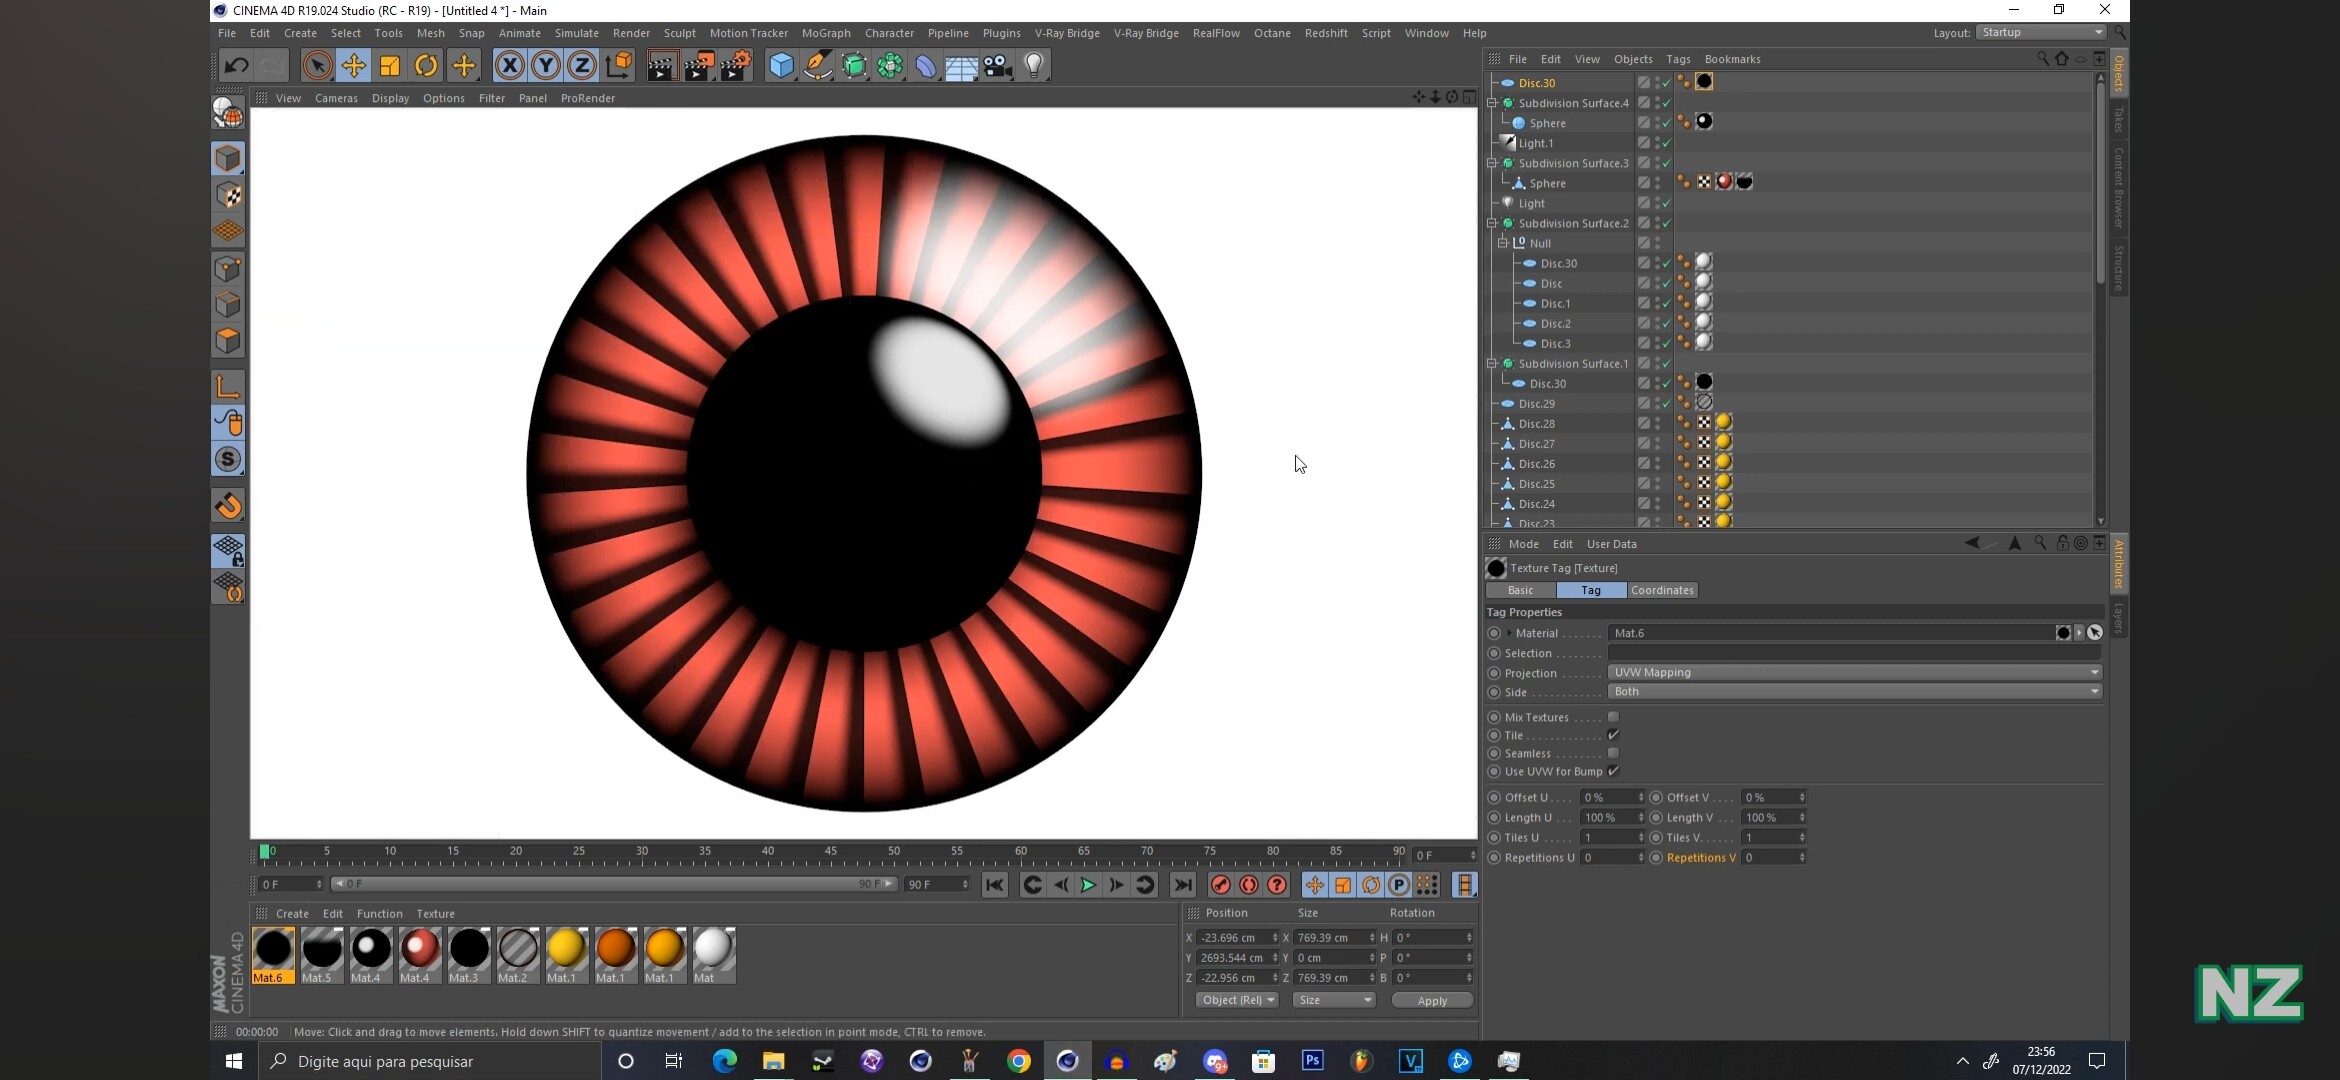
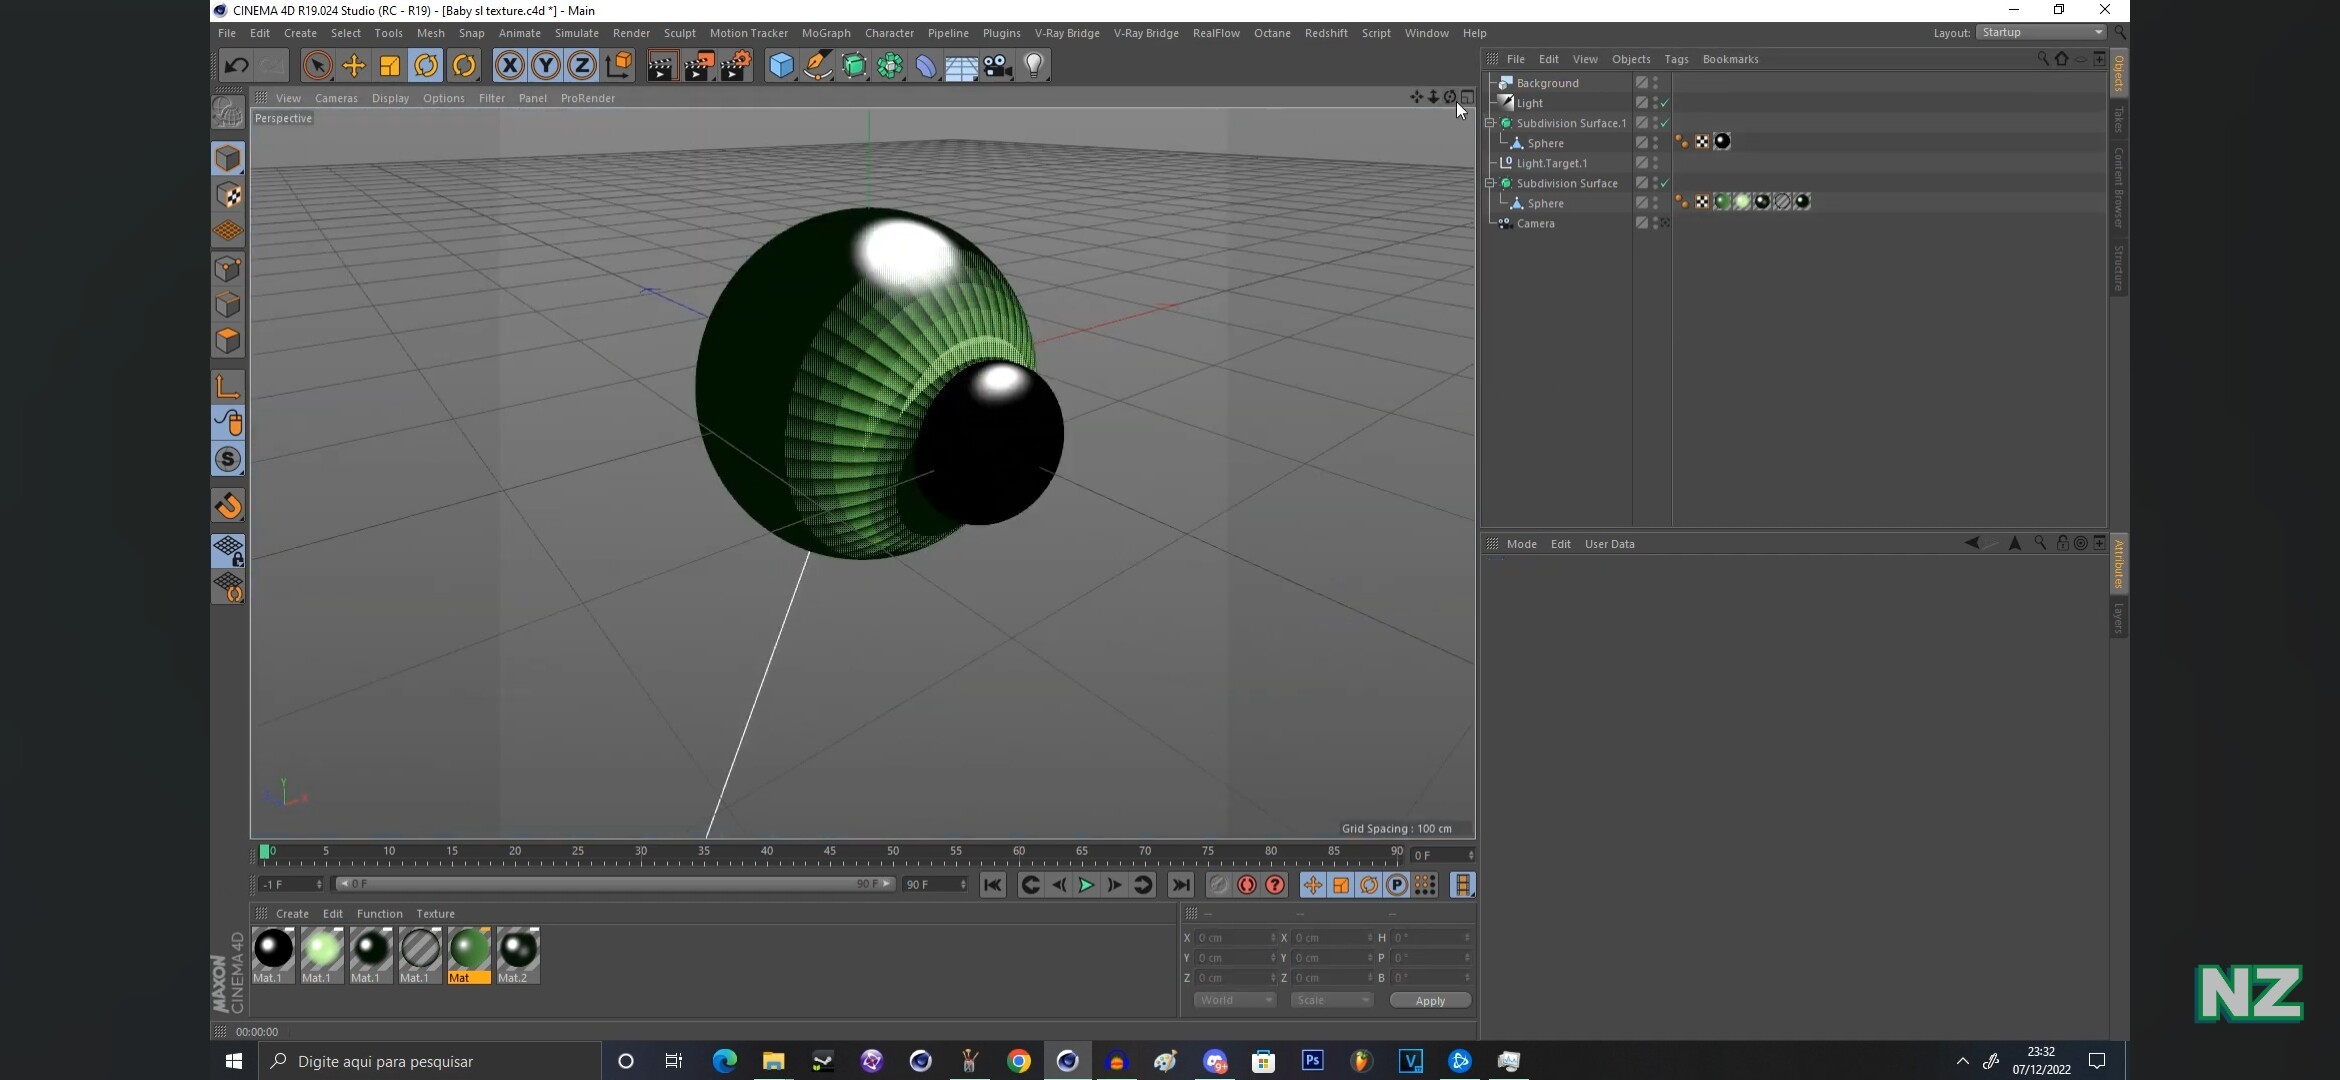
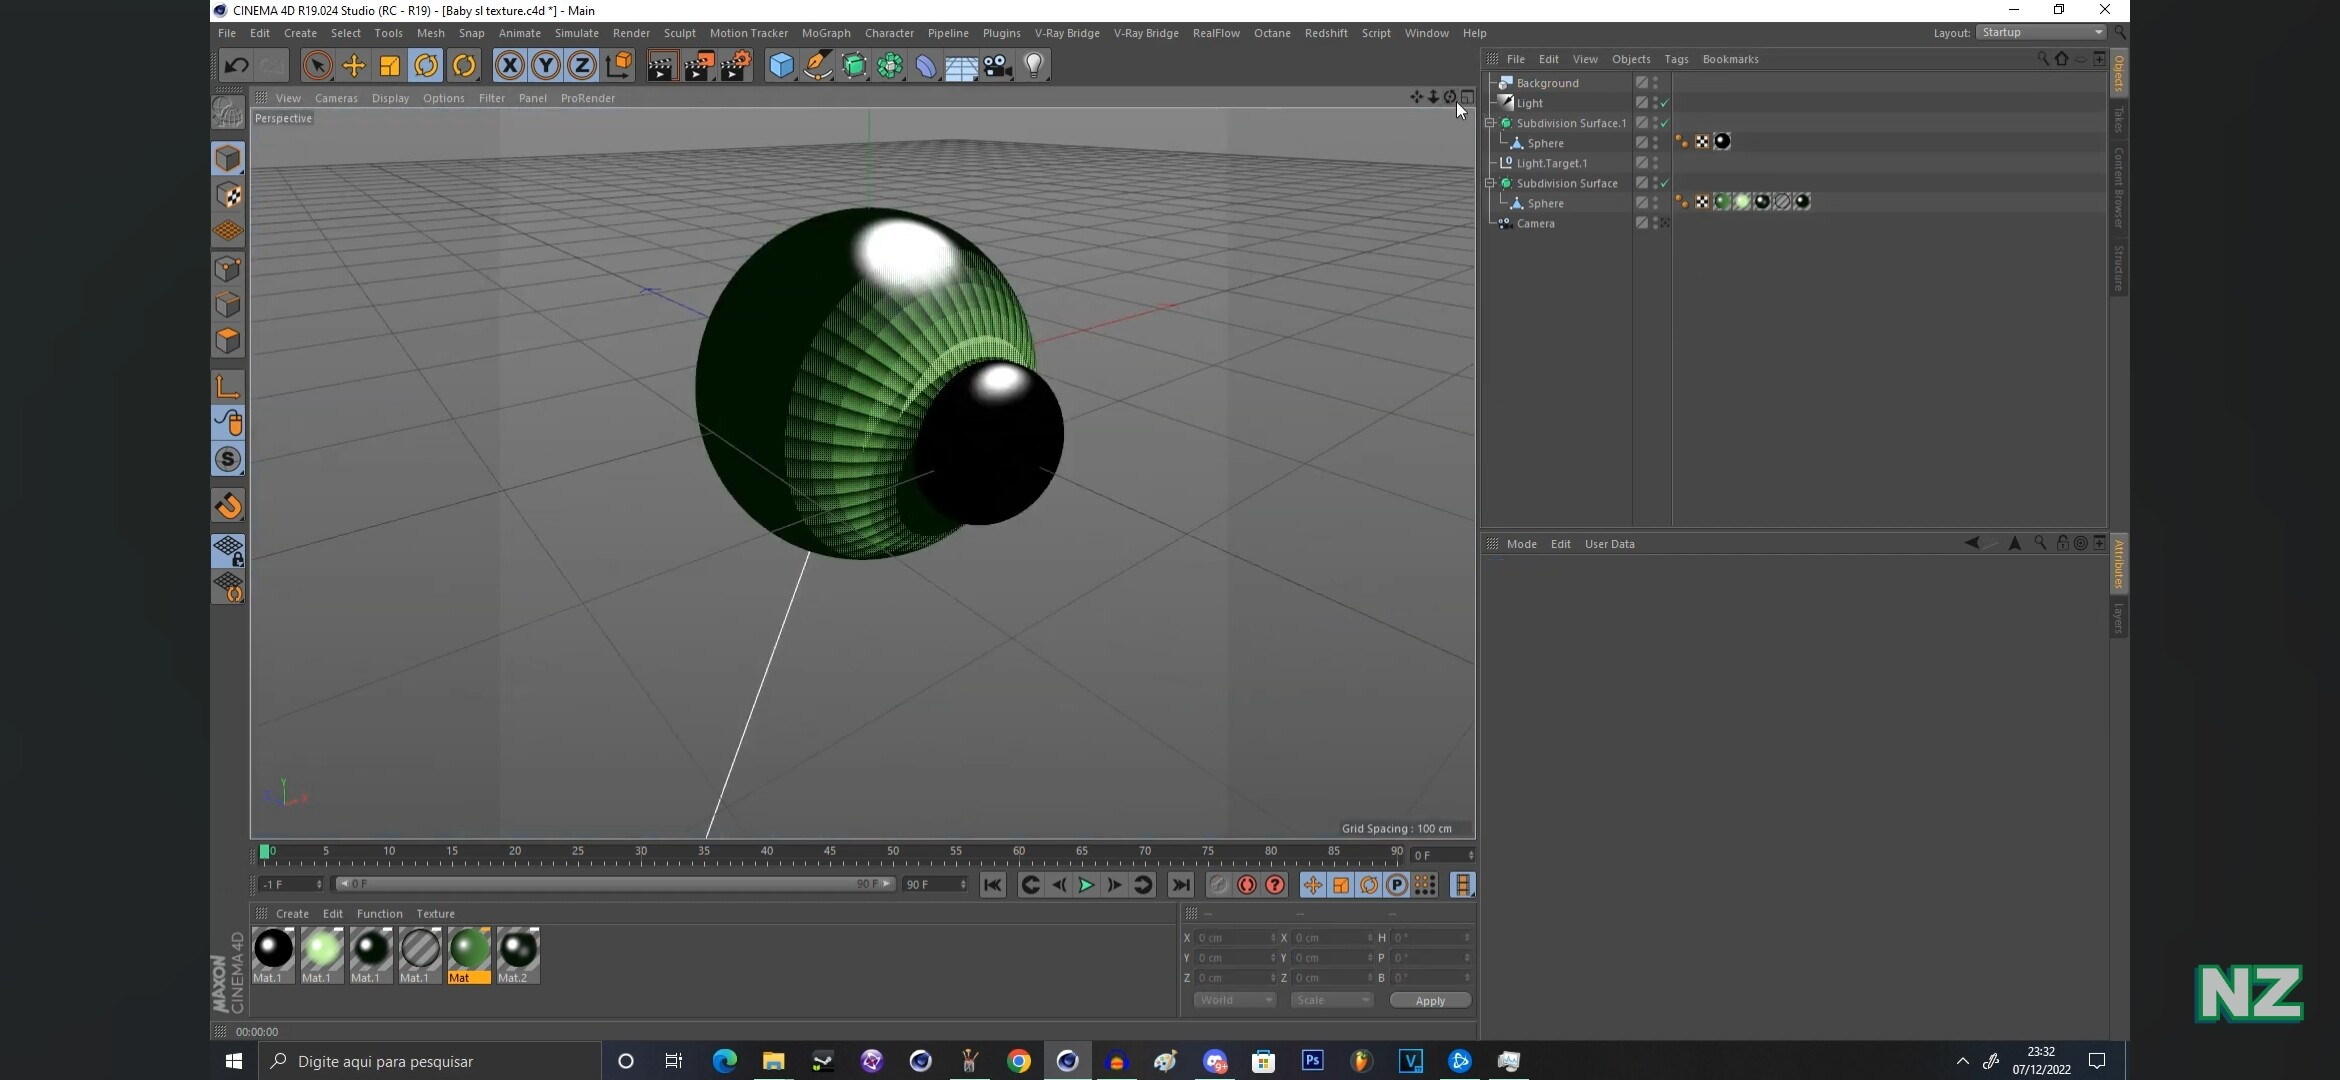
What I realized now is the result of what he teaches is pretty different from the project he show in the minute 16:47. Here’s some screenshots of what he teaches
This looks very similar to what you are doing, the main difference is that this seems to be using fewer light sources. Instead of trying to do the shading with a bunch of lights, this image looks like it uses the sphere’s natural shading. also, the pupil is touching the main sphere and that causes some shadowing that you don’t have.
You might want to try the wave texture, it just gives you the stripes instead of needing those extra manipulations. Also, it has multiple modes (sine, saw, triangle) that give slightly different patterns. You current pattern is the same as the saw mode, which rises progressively, then drops back to 0 suddenly, the other modes avoid this and give symmetrical stripes.
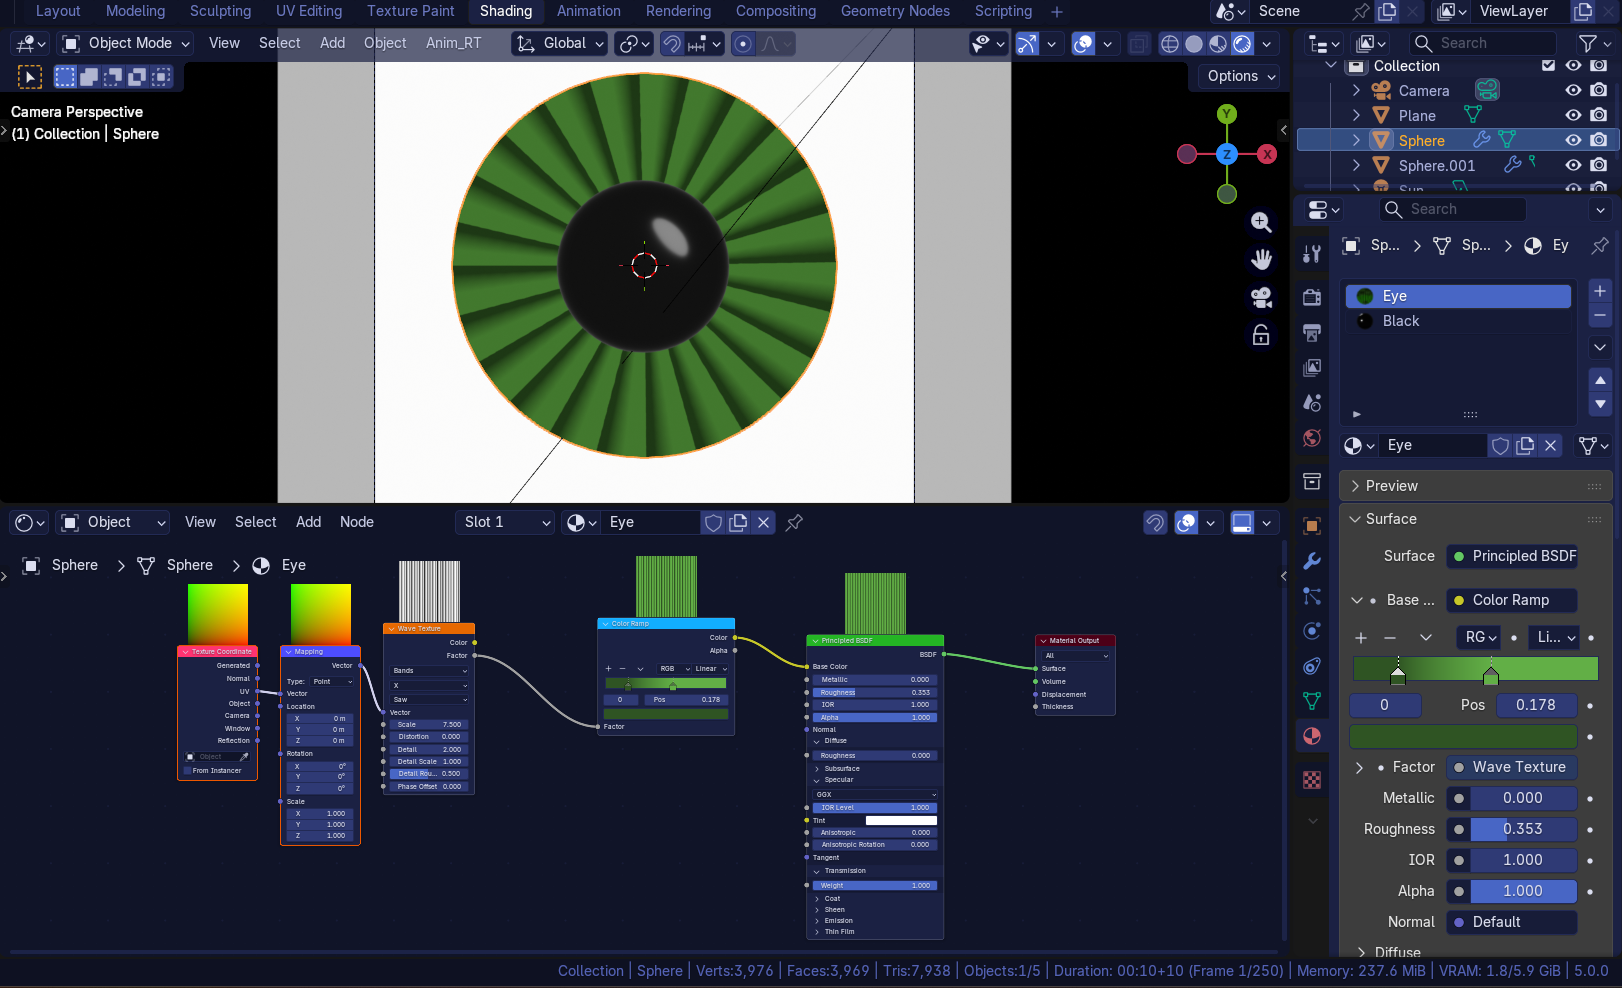
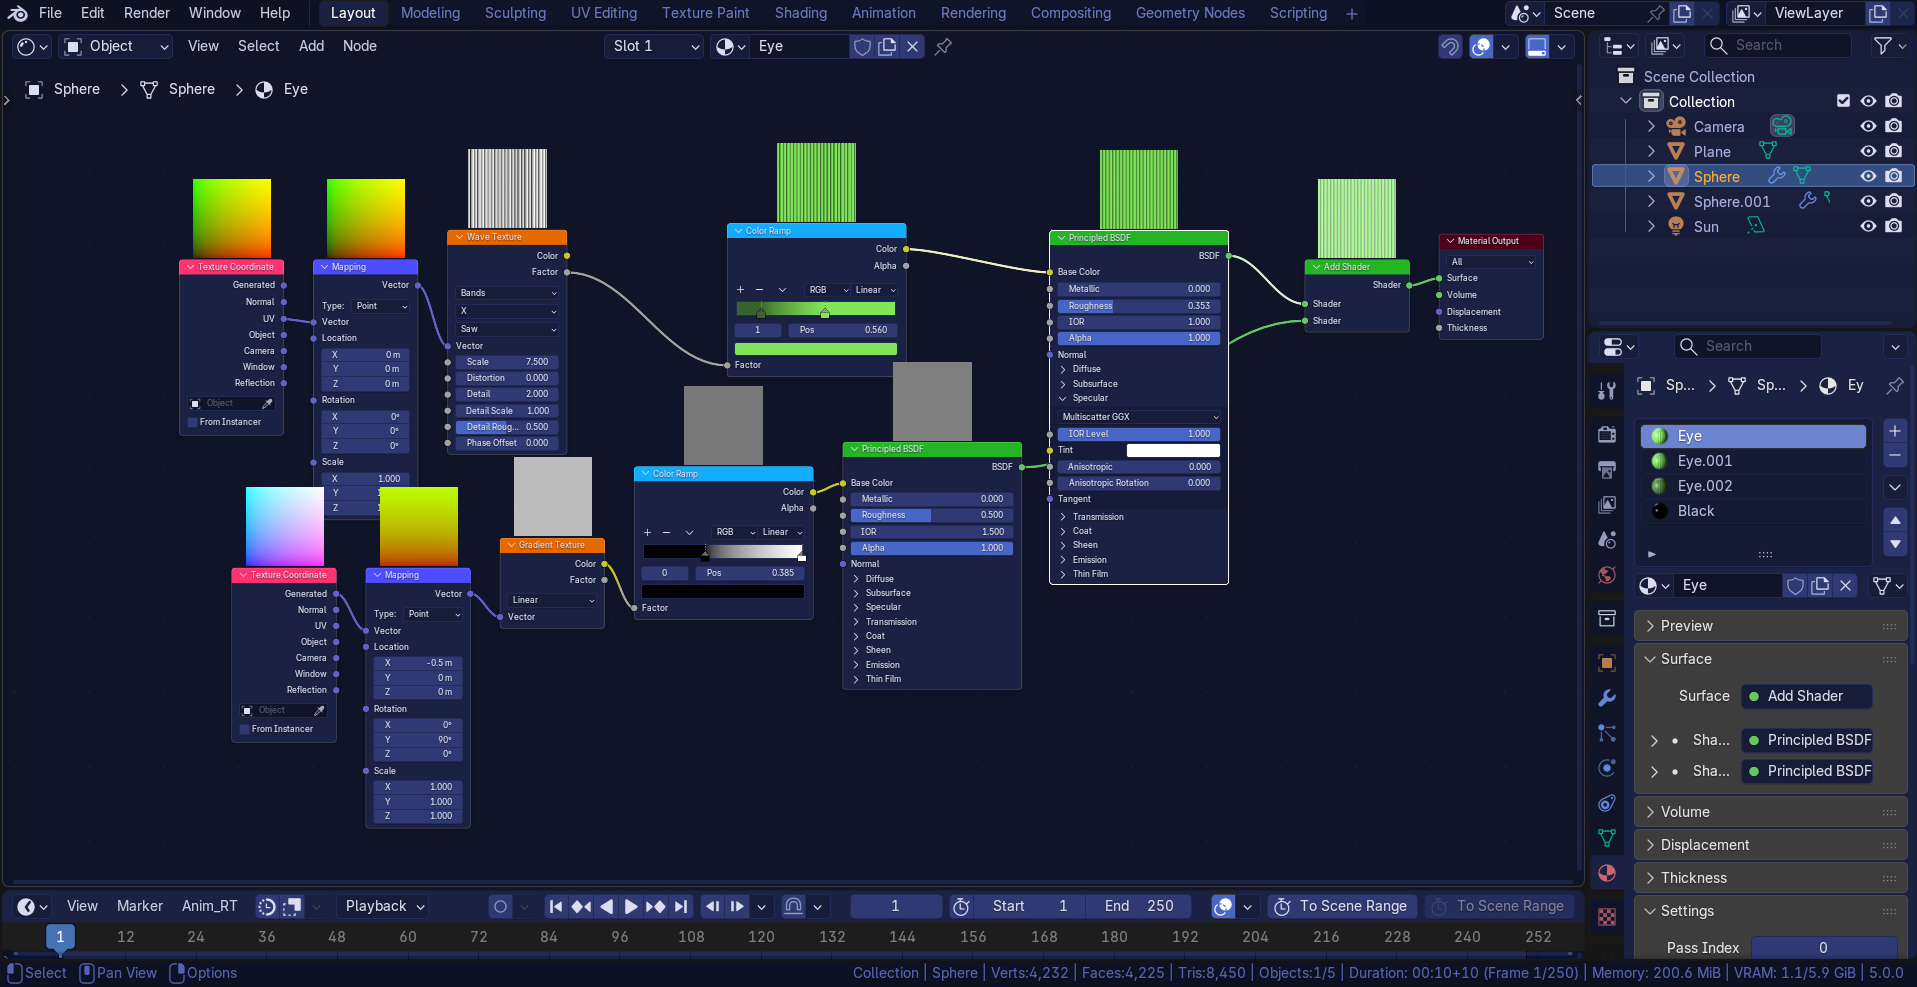
I decided to redo the eye in another blend file. I Appended the materials of the other file and modified some materials, inclusing the eye material which have wave texture now:
But I think my version doesn’t looks as accurate as the eye that the brazilian guy show in the video. Is there a way make the material and lights as accurate as possible from what C4D would do, but on eevee?
Why does the eye material have a transmission of 1? That means it’s a glass material, fully transparent. That’s going to remove much of the shading the sphere should be giving.
The eye material should also fade to a gradient on the outer edges. Or fade when going to the back if you are using a sphere like in the tutorial.
Are you using a sphere for the main eye? You probably should if you want the nice specular highlight.
I notice something else from your images, it seems you are using a strong light coming from the world background. That’s going to flatten the lighting and should likely be reduced. The tutorial you are copying is clearly allowing some shadowing to happen on the eye.
Try scaling the main eye sphere on the z axis. Try scaling it so it’s more stretched or flattened, that will move the specular but won’t change the shape as viewed from the camera.
In the same way, you could also do the same to the black pupil sphere to control how it reacts to light too.
Thank you. But I realized that the colors doesn’t seem as connected like a gradient (like the original texture). Do you think only one material (instead of 5 materials assigned to certain parts) can handle this? If yes, how?
Yes, the way I showed earlier with the gradient texture. You would need to combine this black and white gradient with the main color using a mix node set to multiply. That will make the main color that’s already there become darker in a way that follows that gradient.
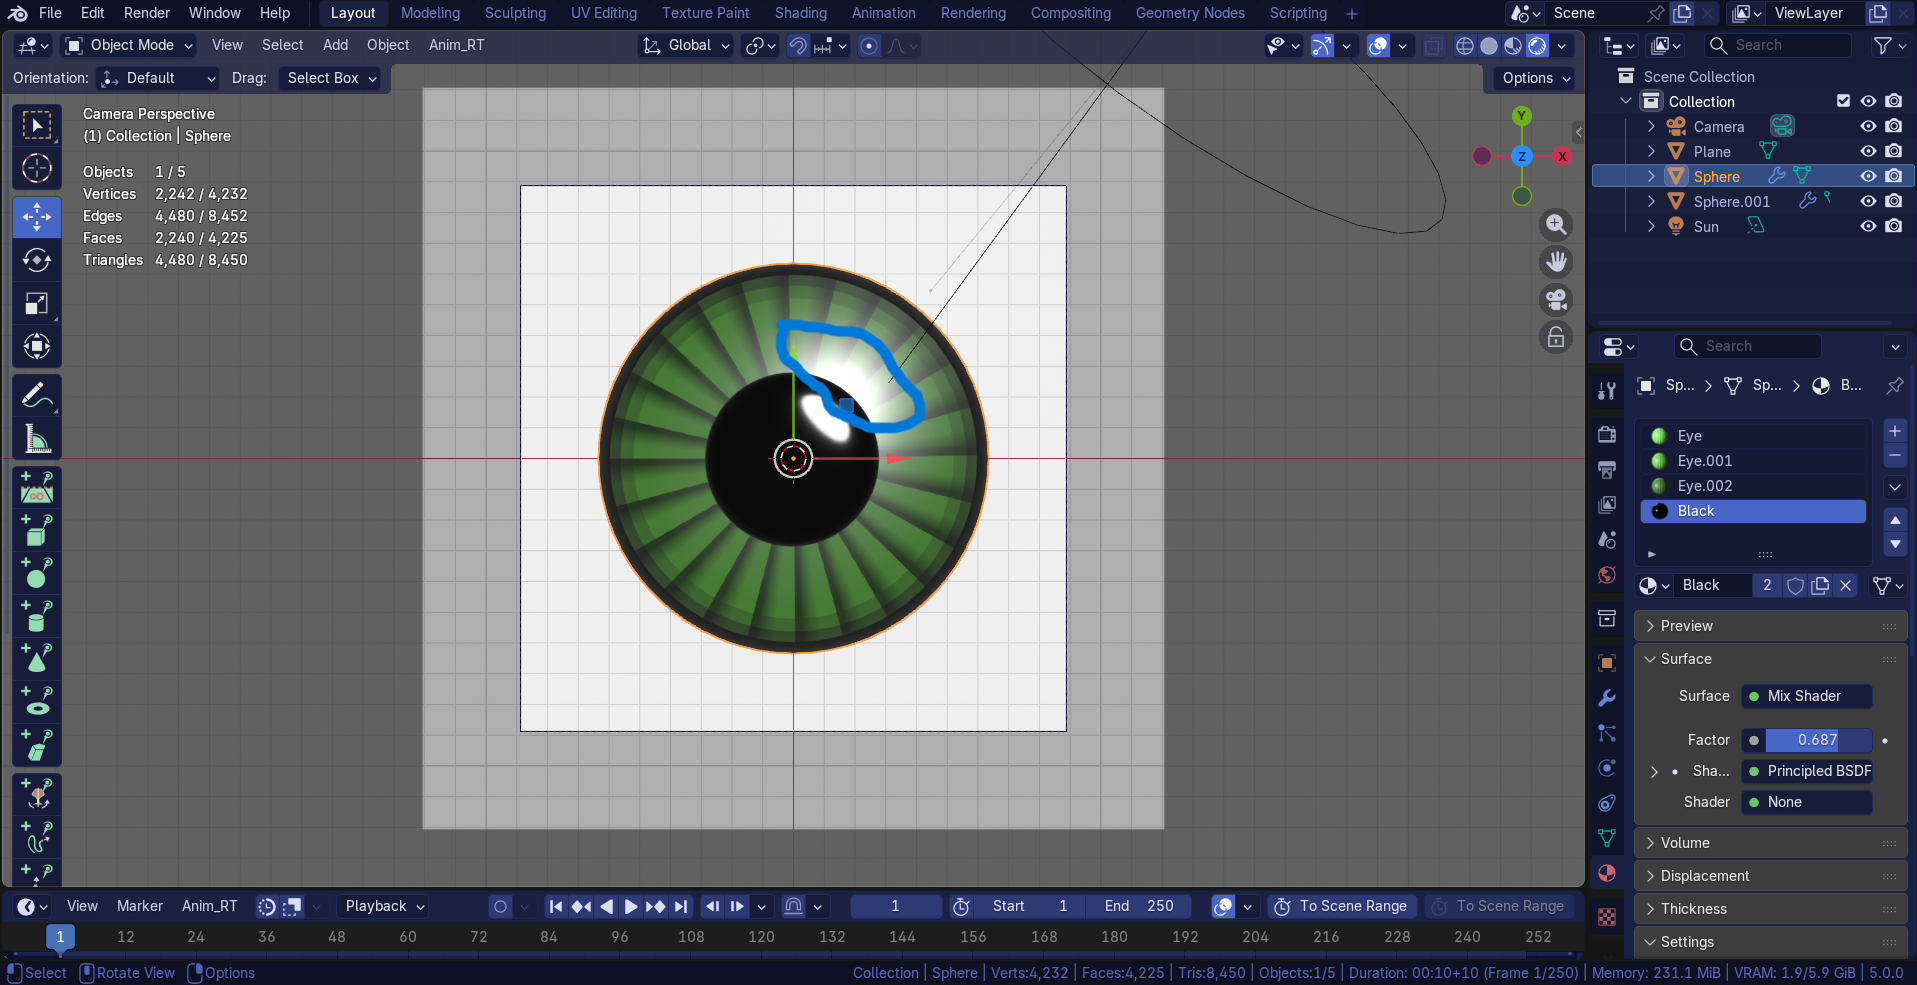
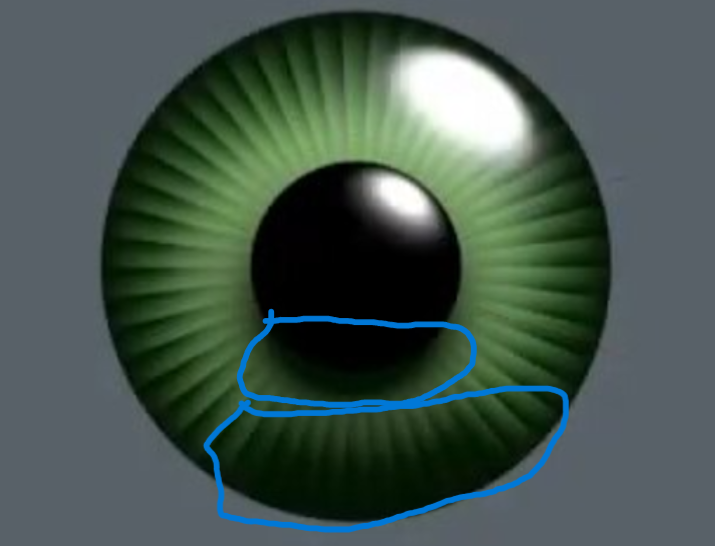
Thank you. there’s only one thing left: I tried using Paint(dot)Net to make those details I circulated below, but I don’t even know how to make on Paint(dot)Net neither in Blender.
Those details look hand painted on the original, a real shadow wouldn’t take this exact shape on a sphere, so I say you did pretty good. Maybe you went a bit more strongly than the original and need to go a bit more transparent on the painting, but that’s about it.
But you are at a point where you could use what you have and it would look close enough that I wouldn’t question it if I saw it in a fan re-creation.