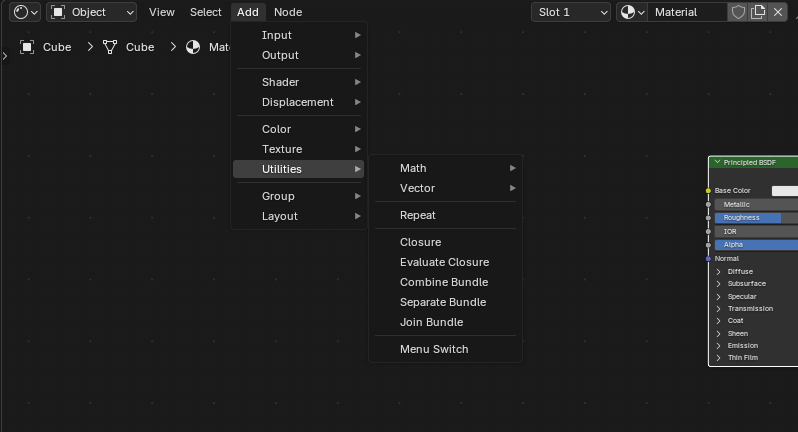
To put it simple: most of the time you will need texture nodes (noise, gradient, wave, voronoi, musgrave etc), texture coordinate+mapping nodes, mix node, color ramp node, math node, and ofc, shader node (pricipled BSDF will work usually fine).
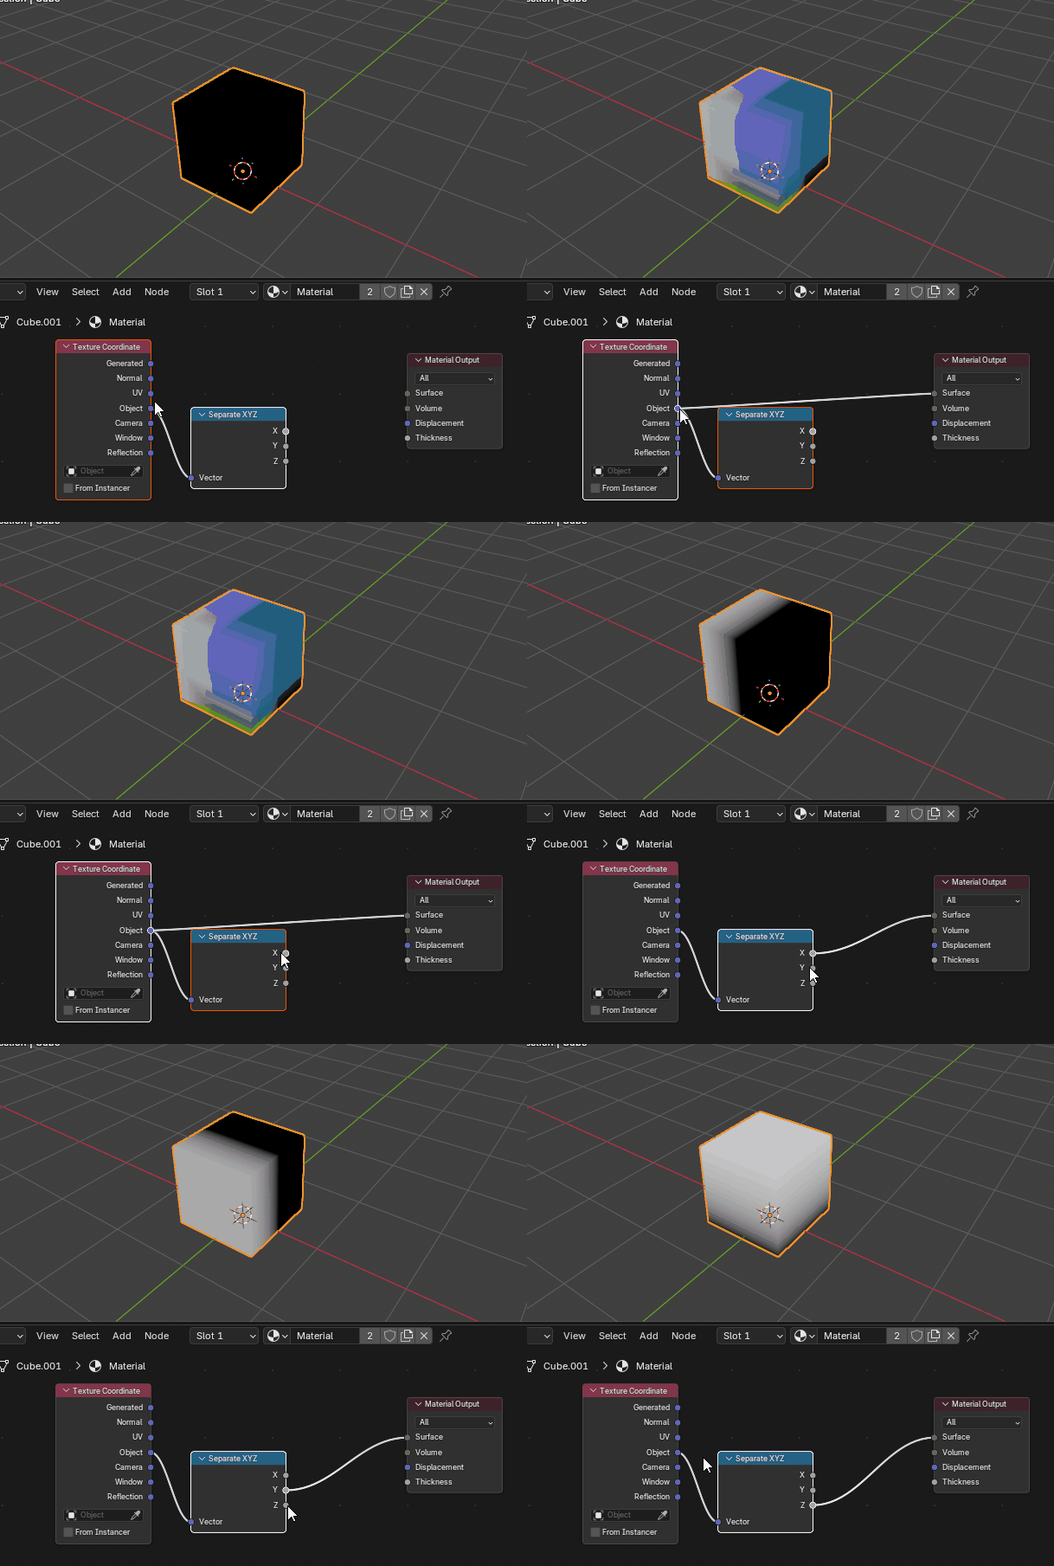
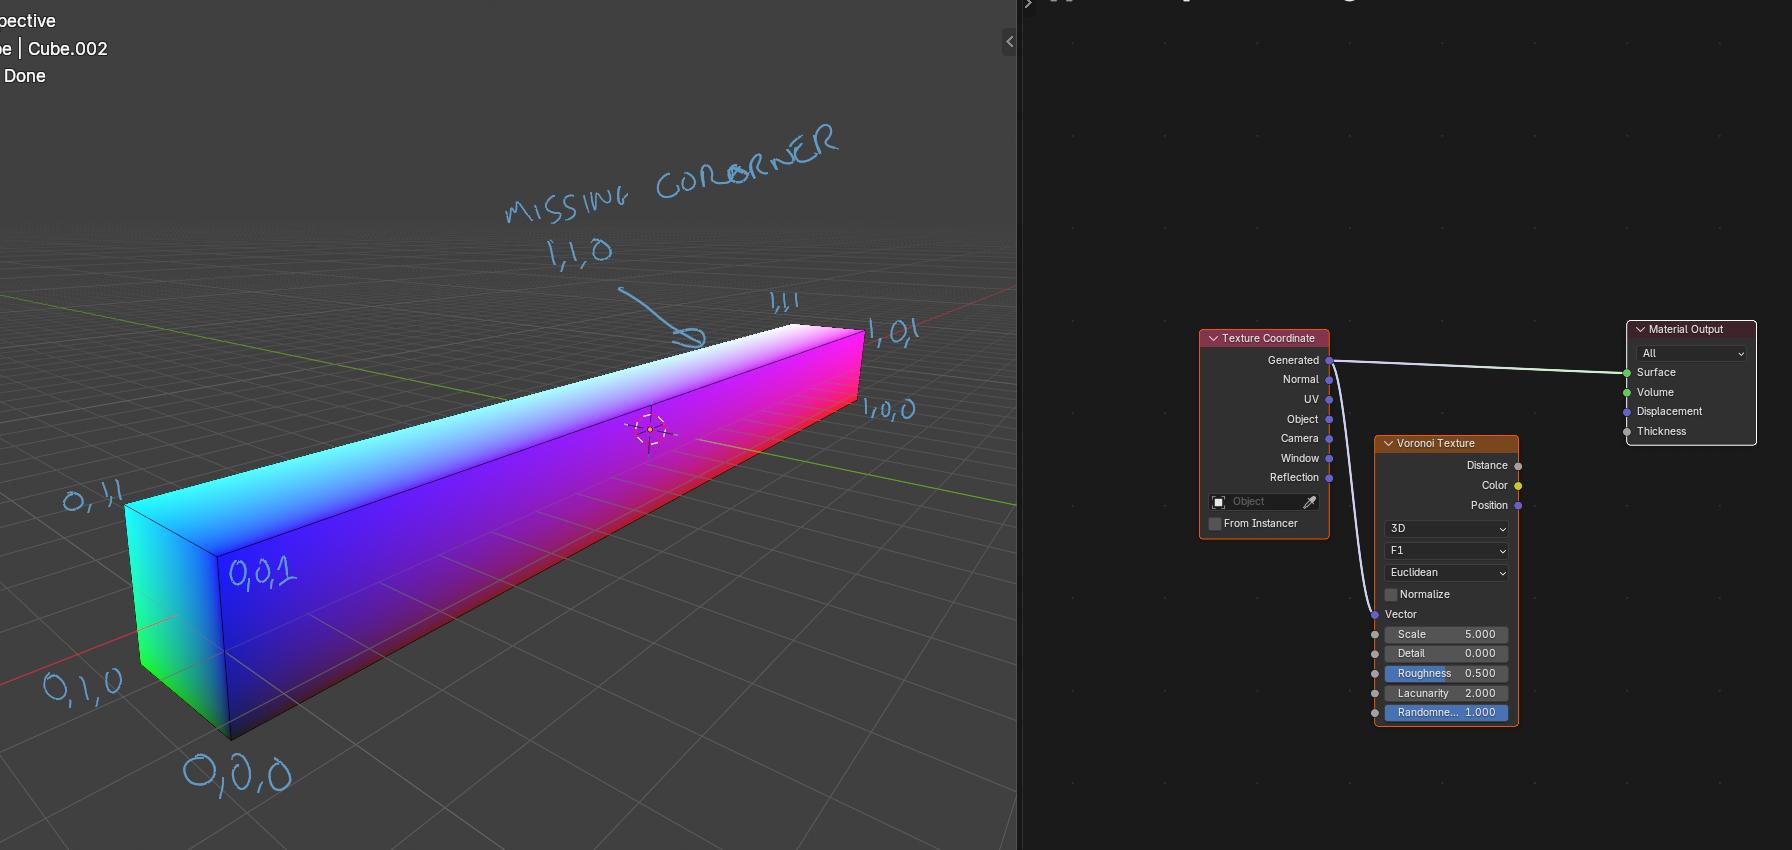
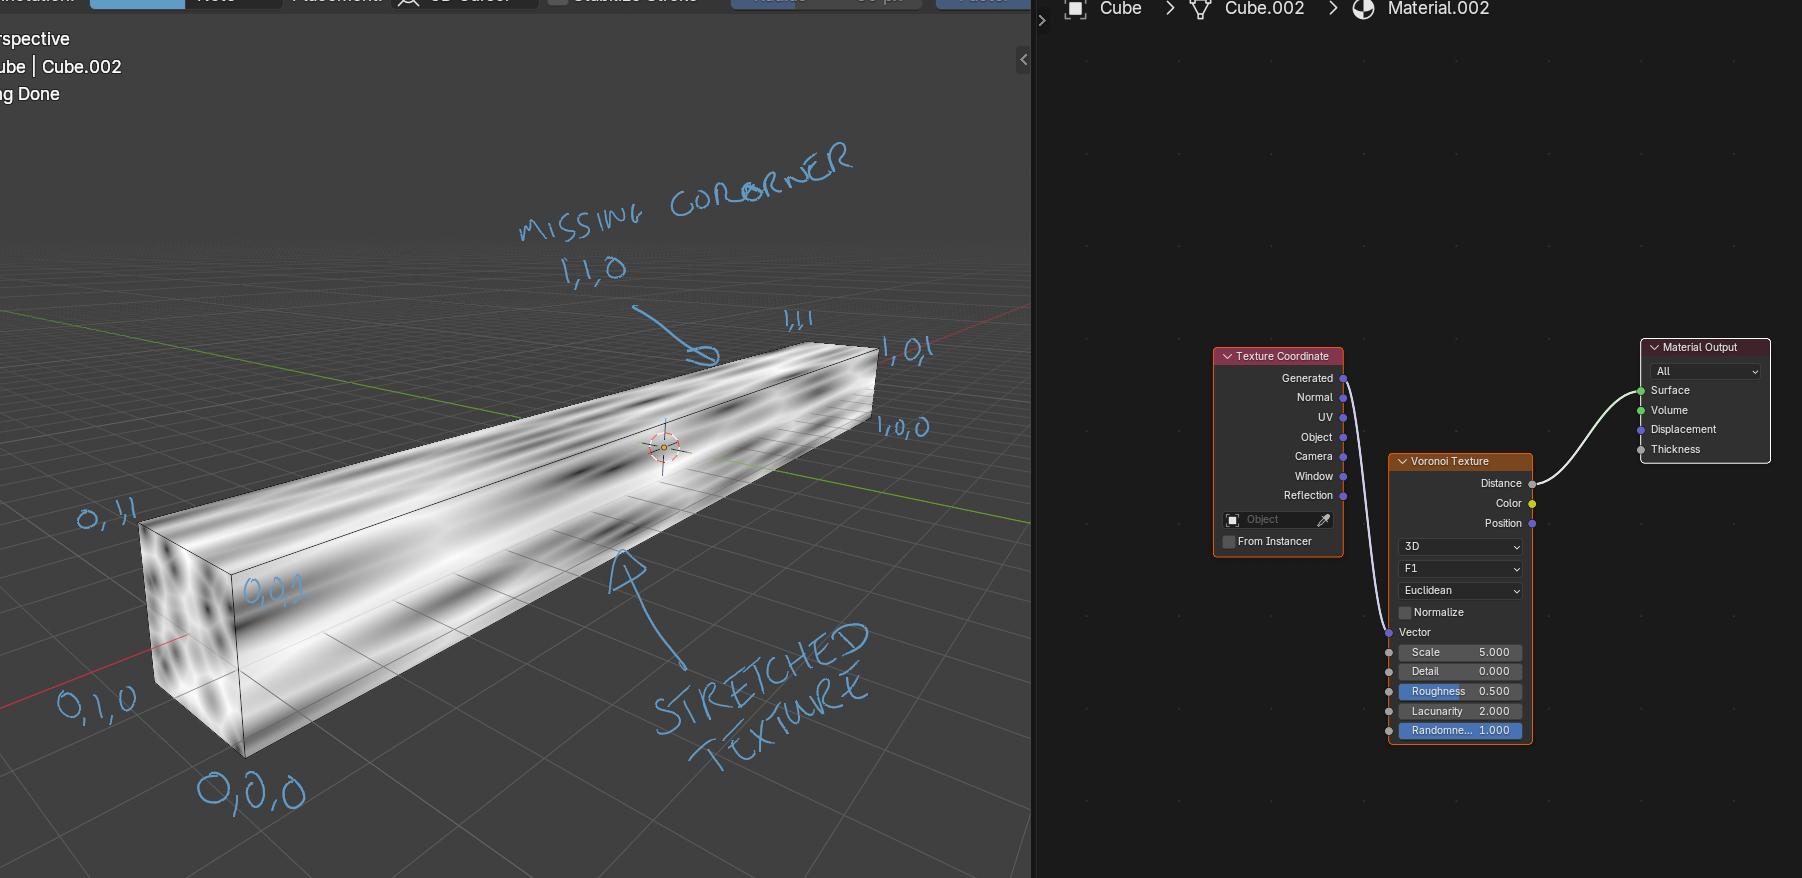
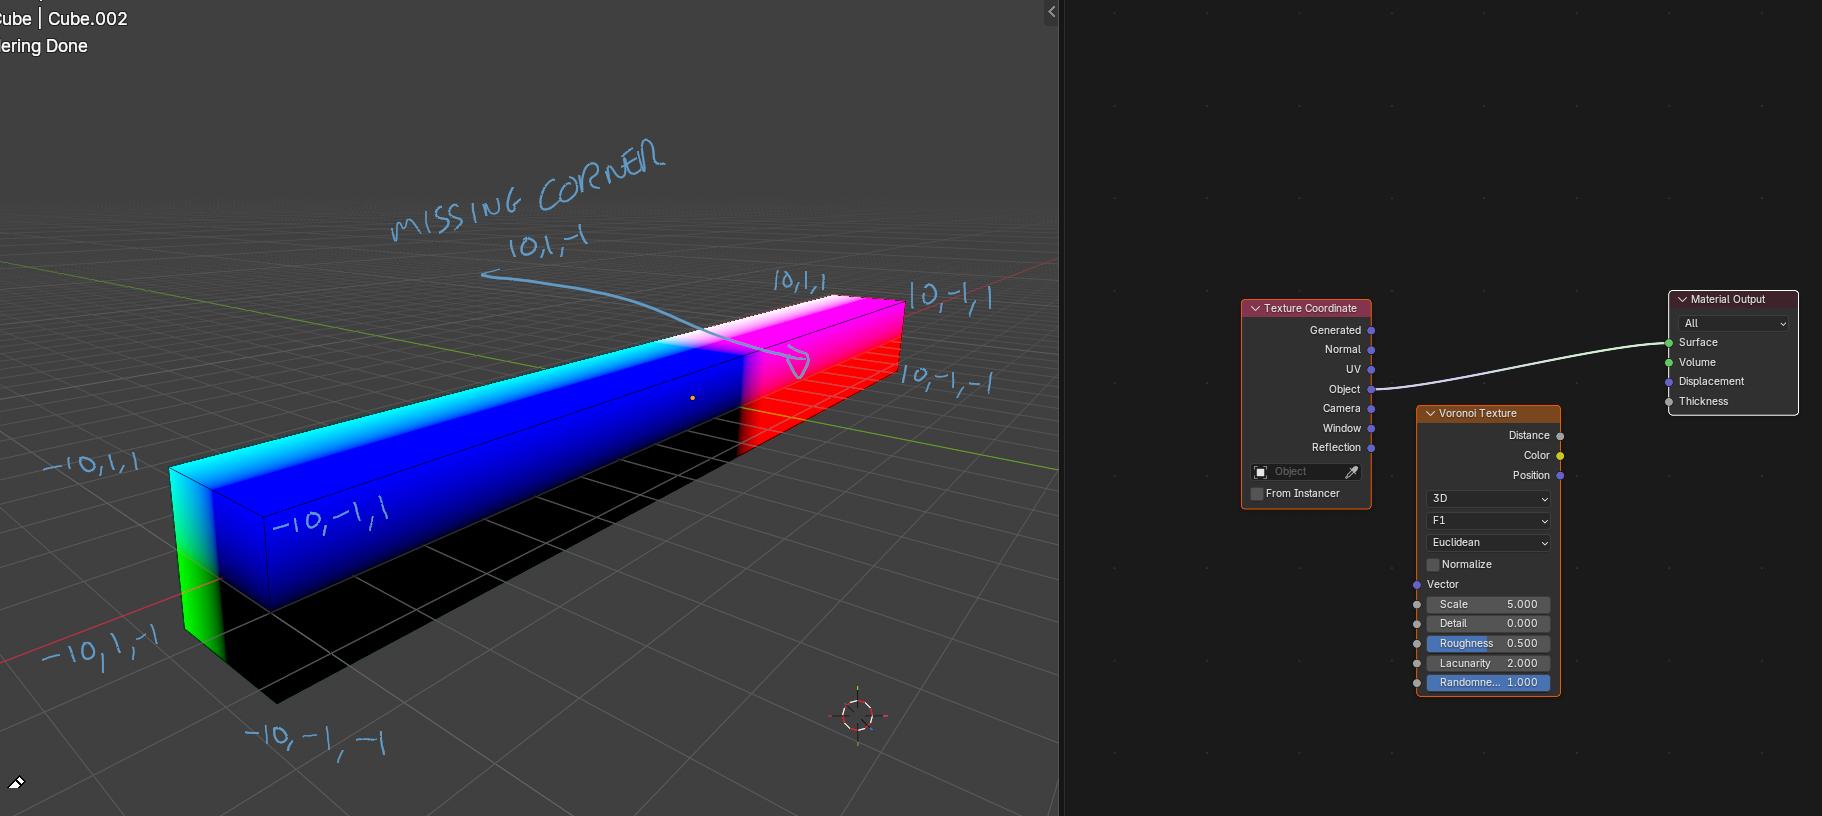
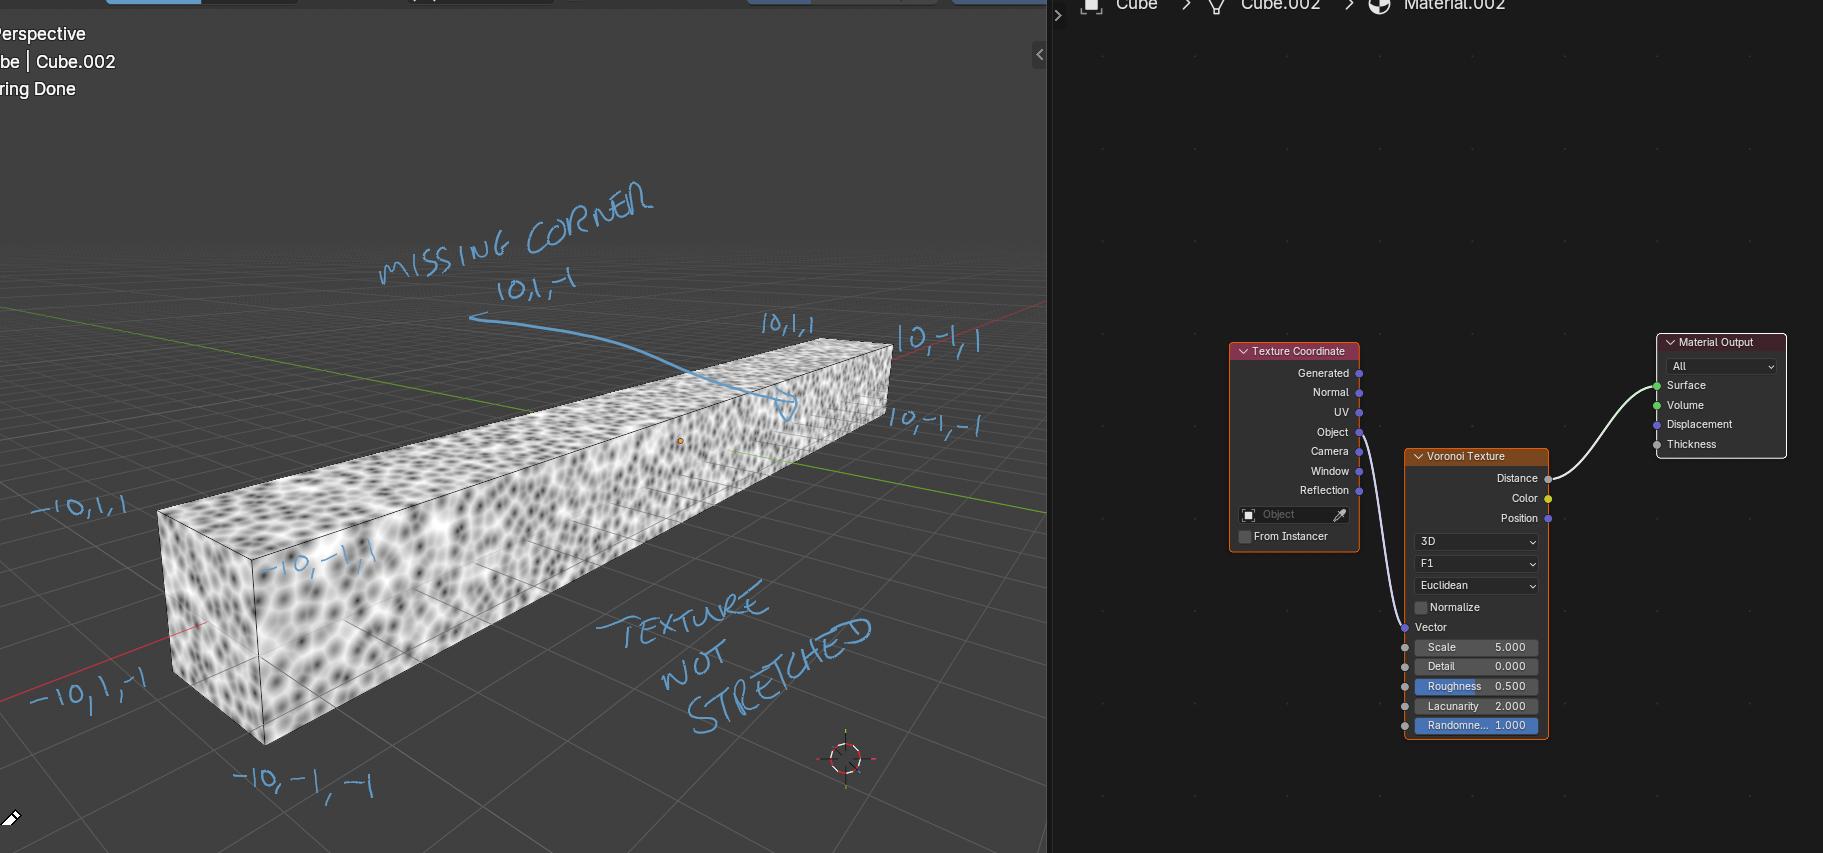
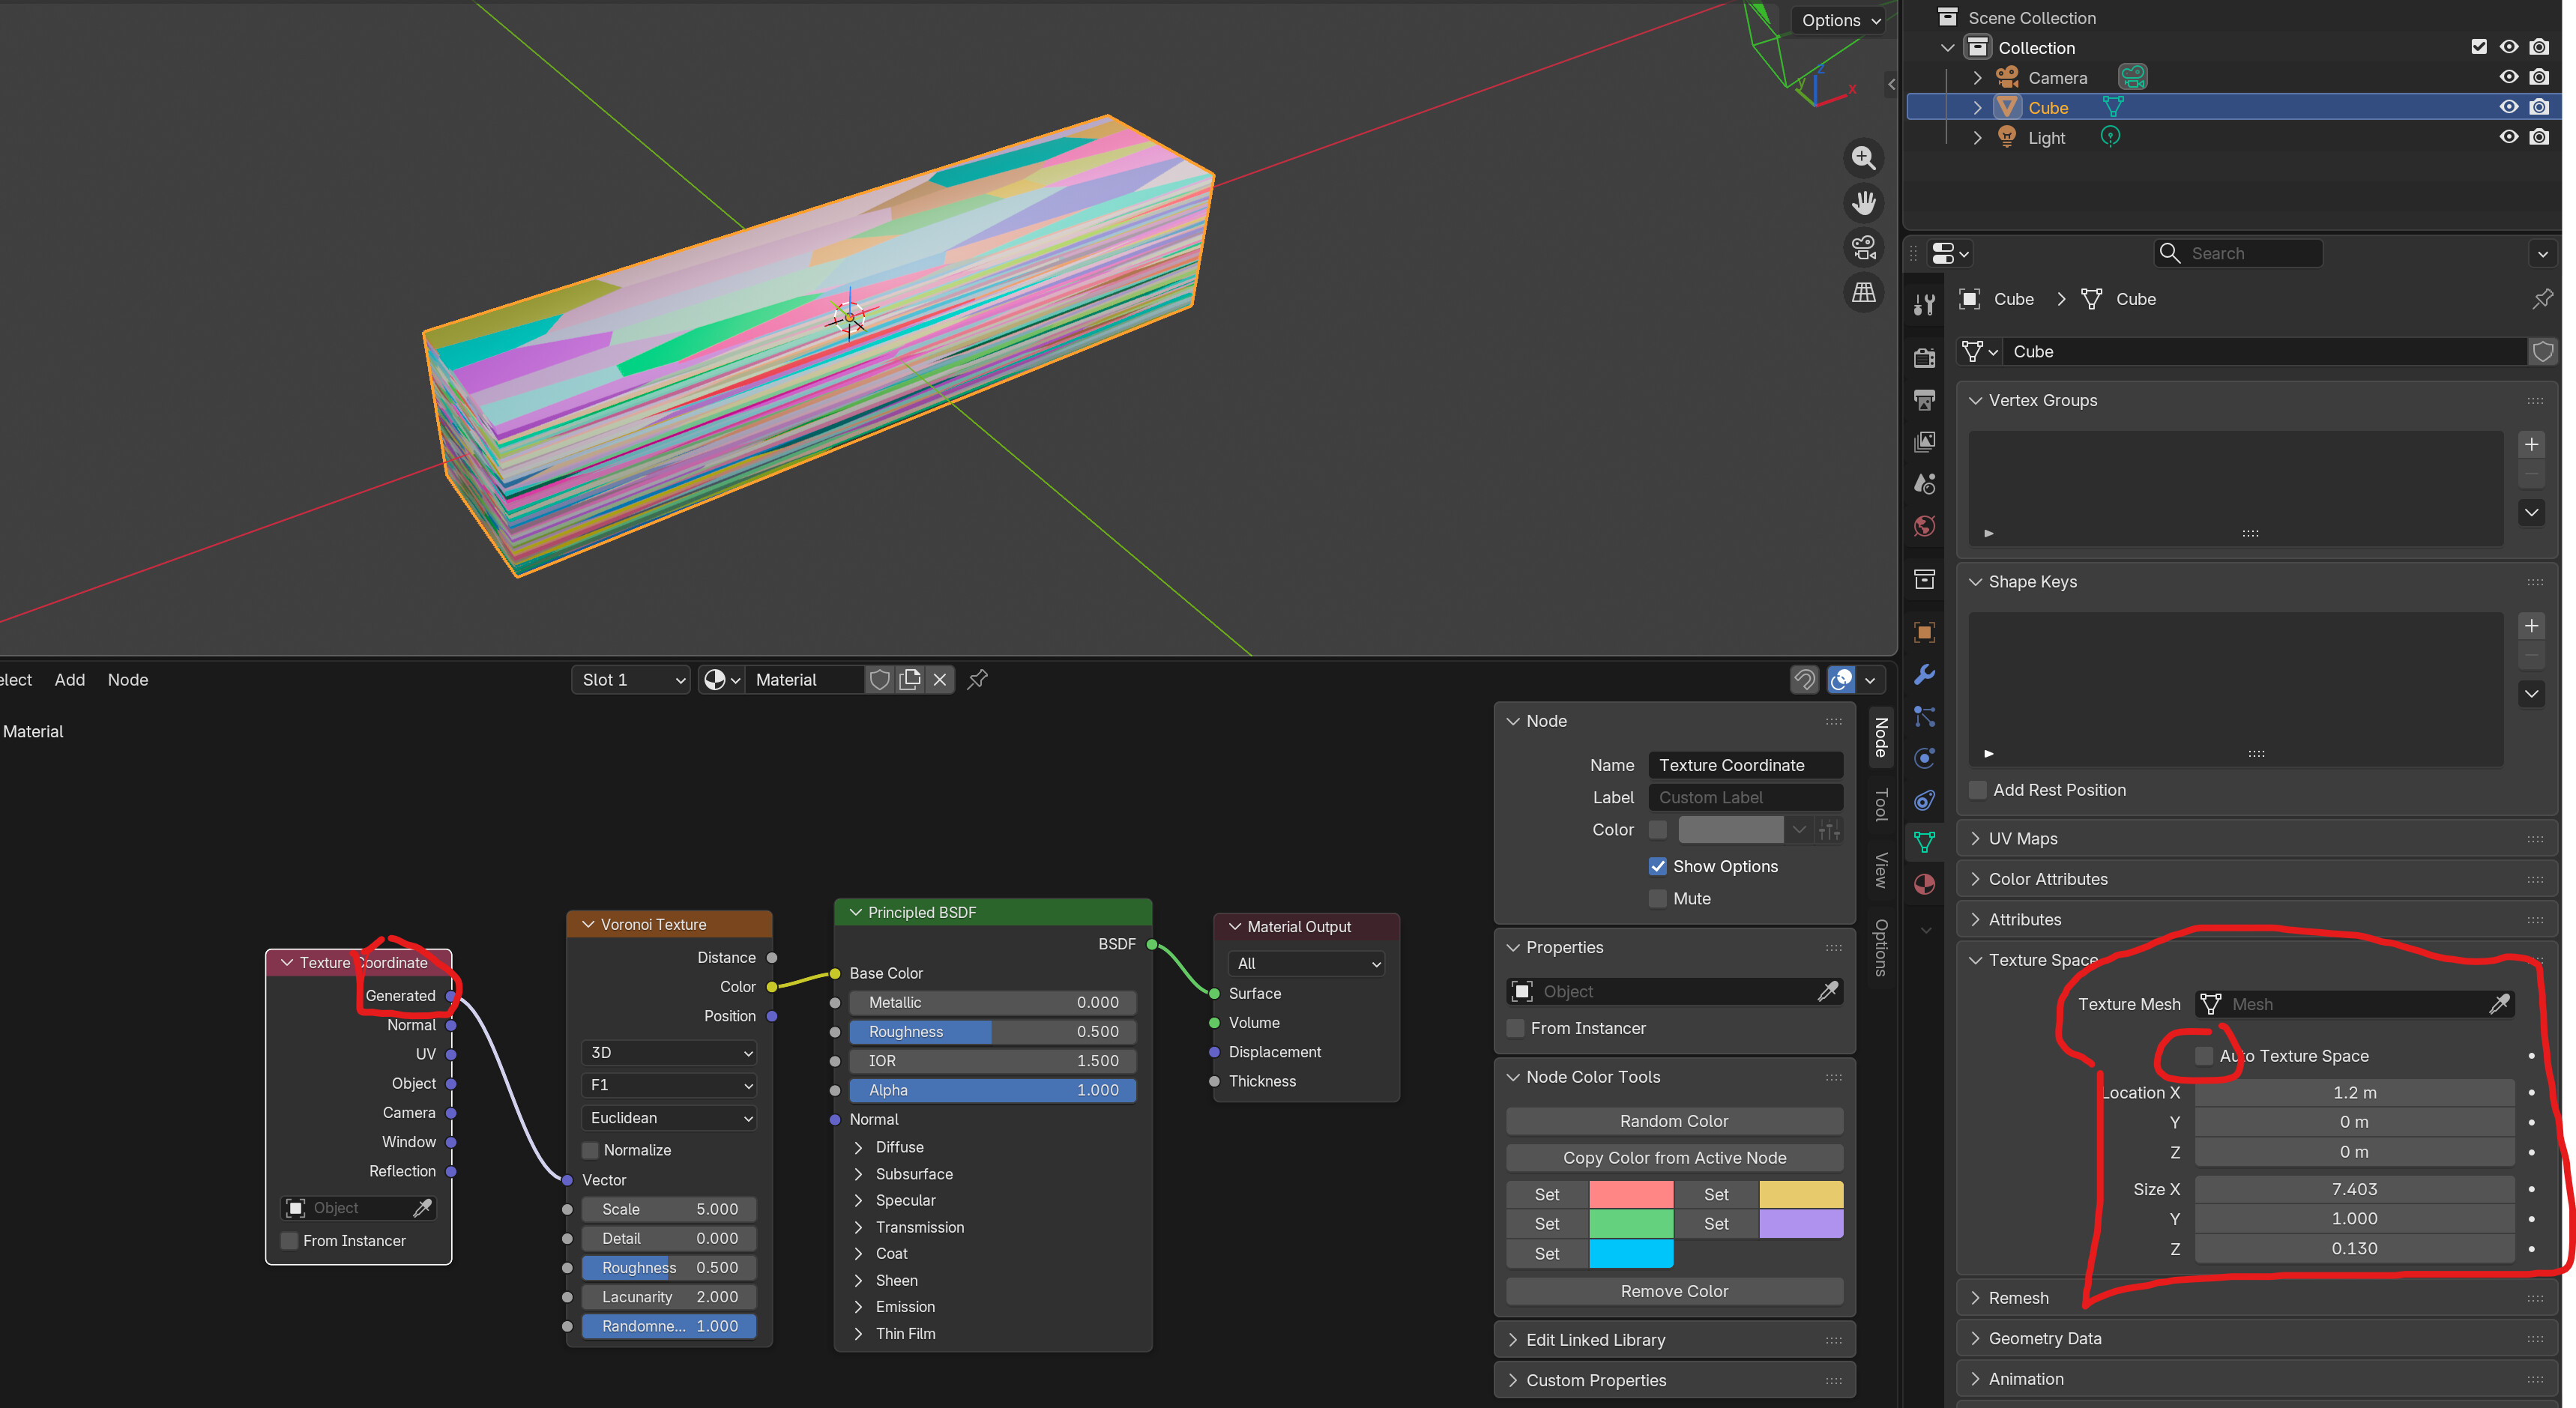
Texture coordinate will define how the texture will be put onto an object. Usually you will use either object, generated or uv. So it defines is the texture put on a uv map like image textures usually are, or in object or generated space. I don’t clearly understand the difference of object and generated, but both of them utilize the fact that procedural textures are 3-dimensional, so they will be seamless with those.
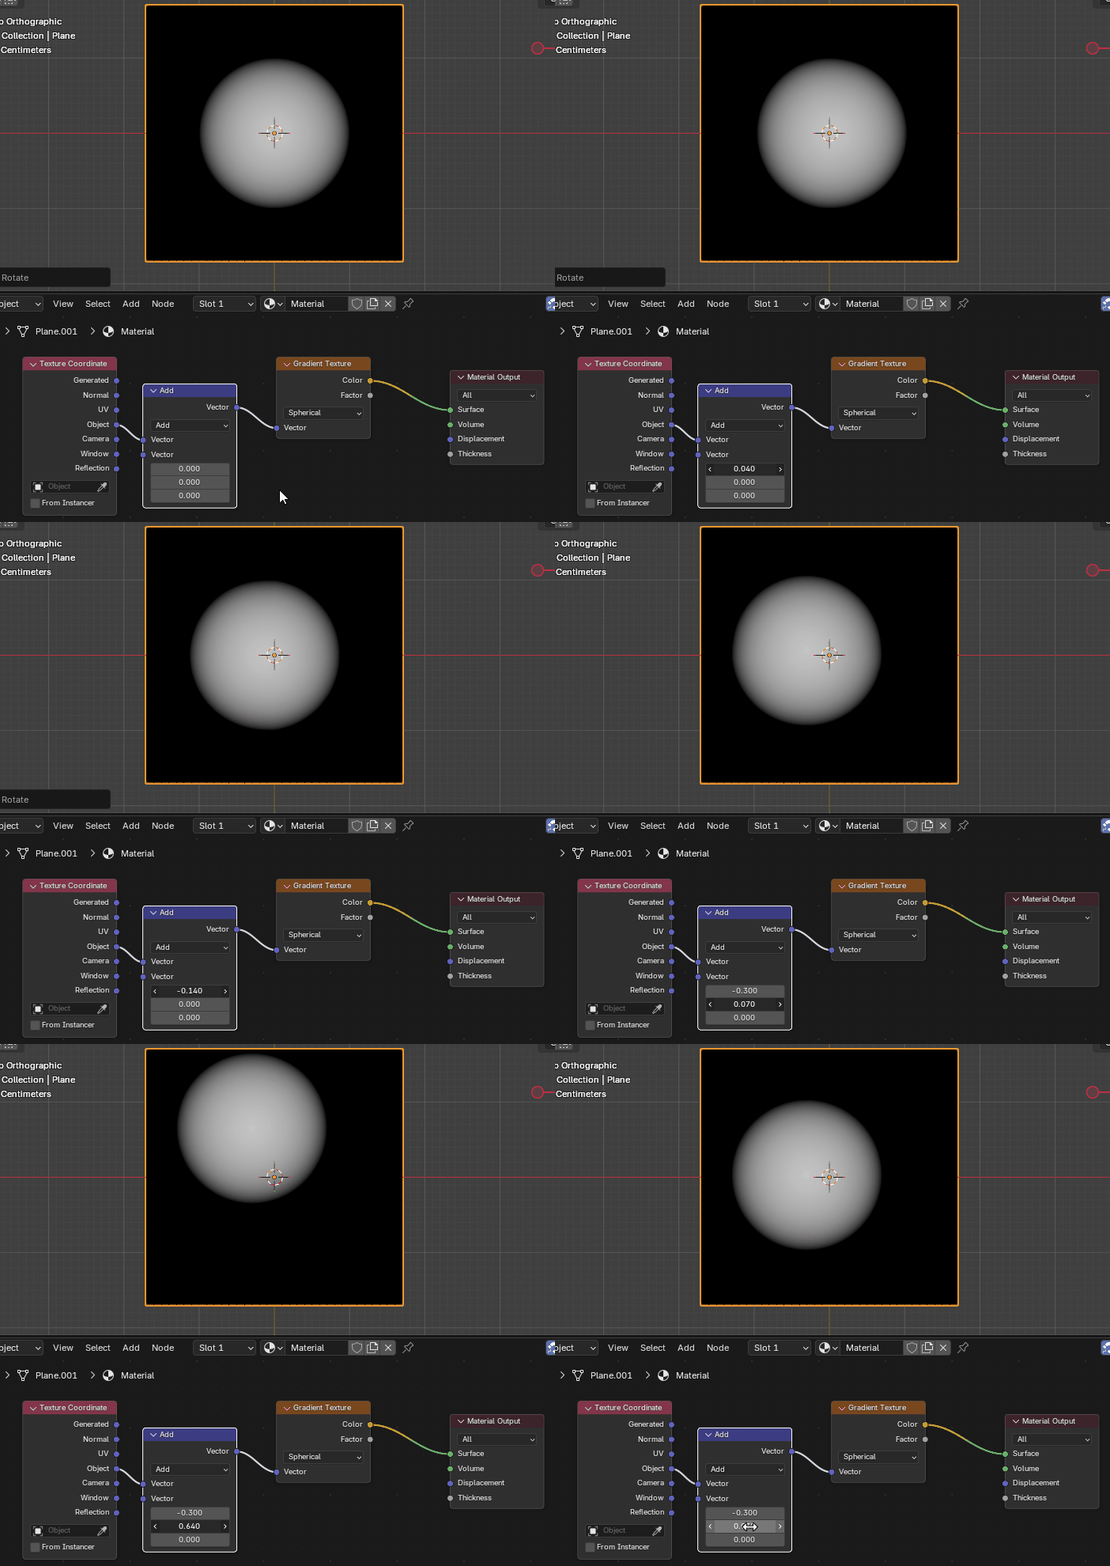
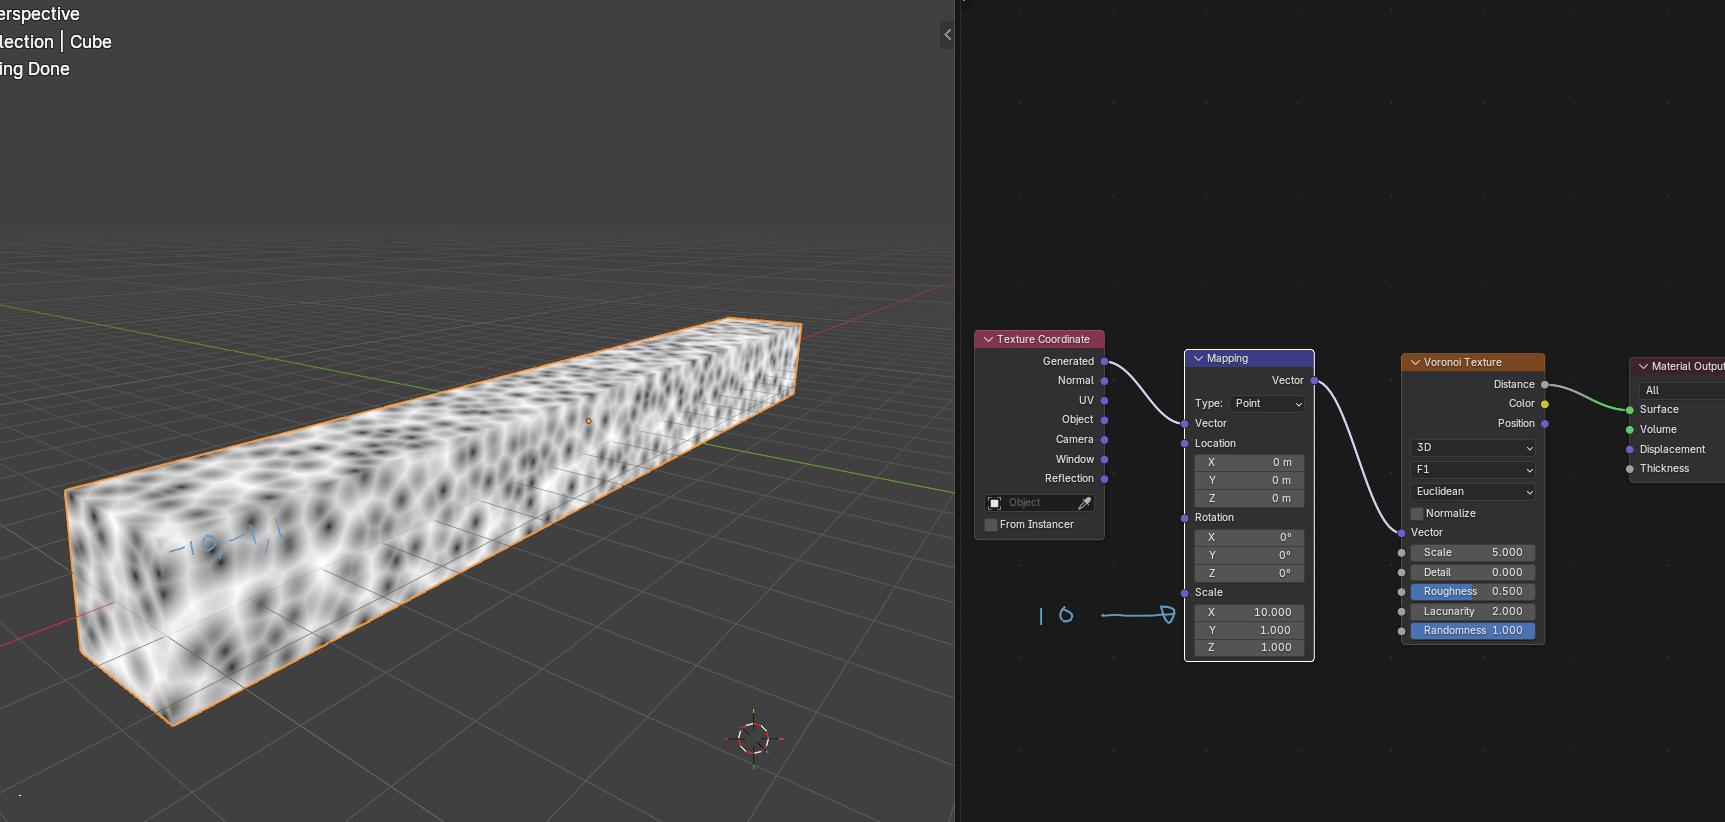
Mapping node allows you to move, rotate and scale the mapping of the texture. So you can move the texture, make it bigger or smaller, stretched or compressed, and twist it how you want. You can also use this to manipulate a texture without needing to change the uv map.
Generated textures have several of their own settings that can be used to manipulate them into many different forms. Some of them have both color and factor outputs, color is colorful and factor is black and white.
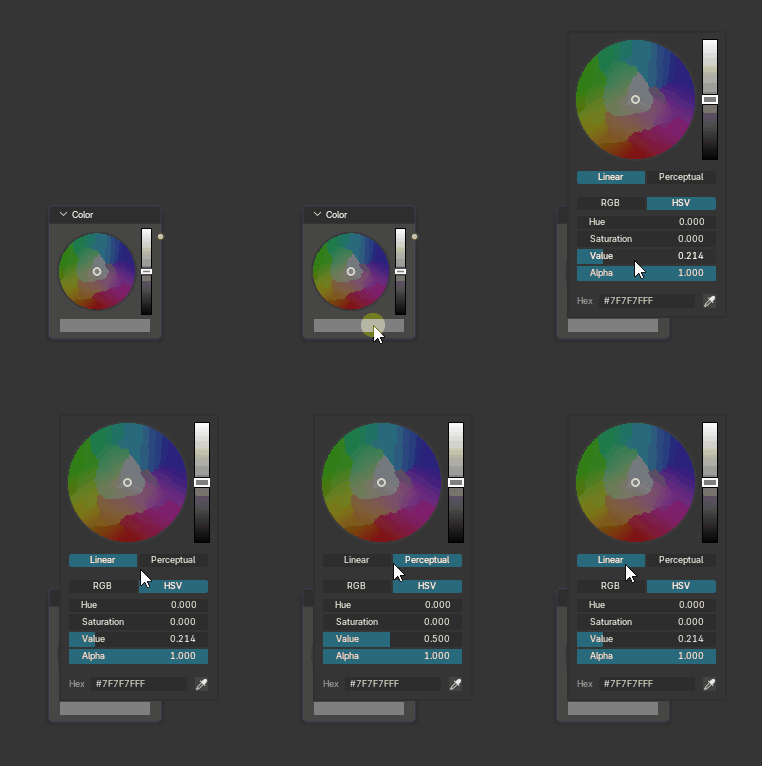
Black and white textures are mathematically maps of numbers between 0 to 1, so that black pixels are 0, white pixels are 1, and grey pixels are something in between like 0,5 or 0,67 etc.
Mix node has two colors/inputs and a factor slider/input. If you use default mix mode then the B color will be mixed on top of A color by the amount of the factor slider. If it’s 0, nothing will be added to the A color. If it’s 1, B color will fully overwrite the A color. In-between values make them appear on top of each other.
But often you will plug a texture into A or B color to mix two textures together, either procedural or image textures. If you use different texture coordinate/mapping nodes for each texture that you mix together you can control each texture separately.
You can also plug a black and white texture into the factor input. This way the mix node will mix the B to A by the brightness values of the factor texture: areas with pure white will get fully the B texture, areas that are black will remain A texture and grey areas smoothly have the mix of the two.
If you want to add contrast or control the brightness of a bw texture you can do it with color ramp or math nodes. Color ramp will have sliders between 0 and 1. If you slide the default white slider to the left, say to 75%, the texture will get pure white on all those areas (from 75% to 100%) that originally had some greyness in them. You can also change the color of the sliders, add new sliders etc to get very complex patterns if you want, but usually color ramp is used to add contrast and clamp into a bw texture.
Math node can be used to do math with the brightness values. If you have a greyish noise texture and you plug it into a first value of a math node set to multiply, it will multiply all the brightness values by the second value. So black areas won’t change because 0 times anything is still zero. But if you multiply 0,5 (greyish) by 1, it’s the same as before. But if you multiply it by 2, it will become 1 (white) etc. Add works similarly but it will add the value to the first value. And so on.
Mix node has two rules of thumb: if you have two bw textures and you want to add black from one texture to another, you must set mix node to multiply. If you have two bw textures and you want to add the white areas from one texture to another, you must use screen. Combine this with something like a gradient texture plugged into the factor input and you can make all kinds of interesting texture combinations.