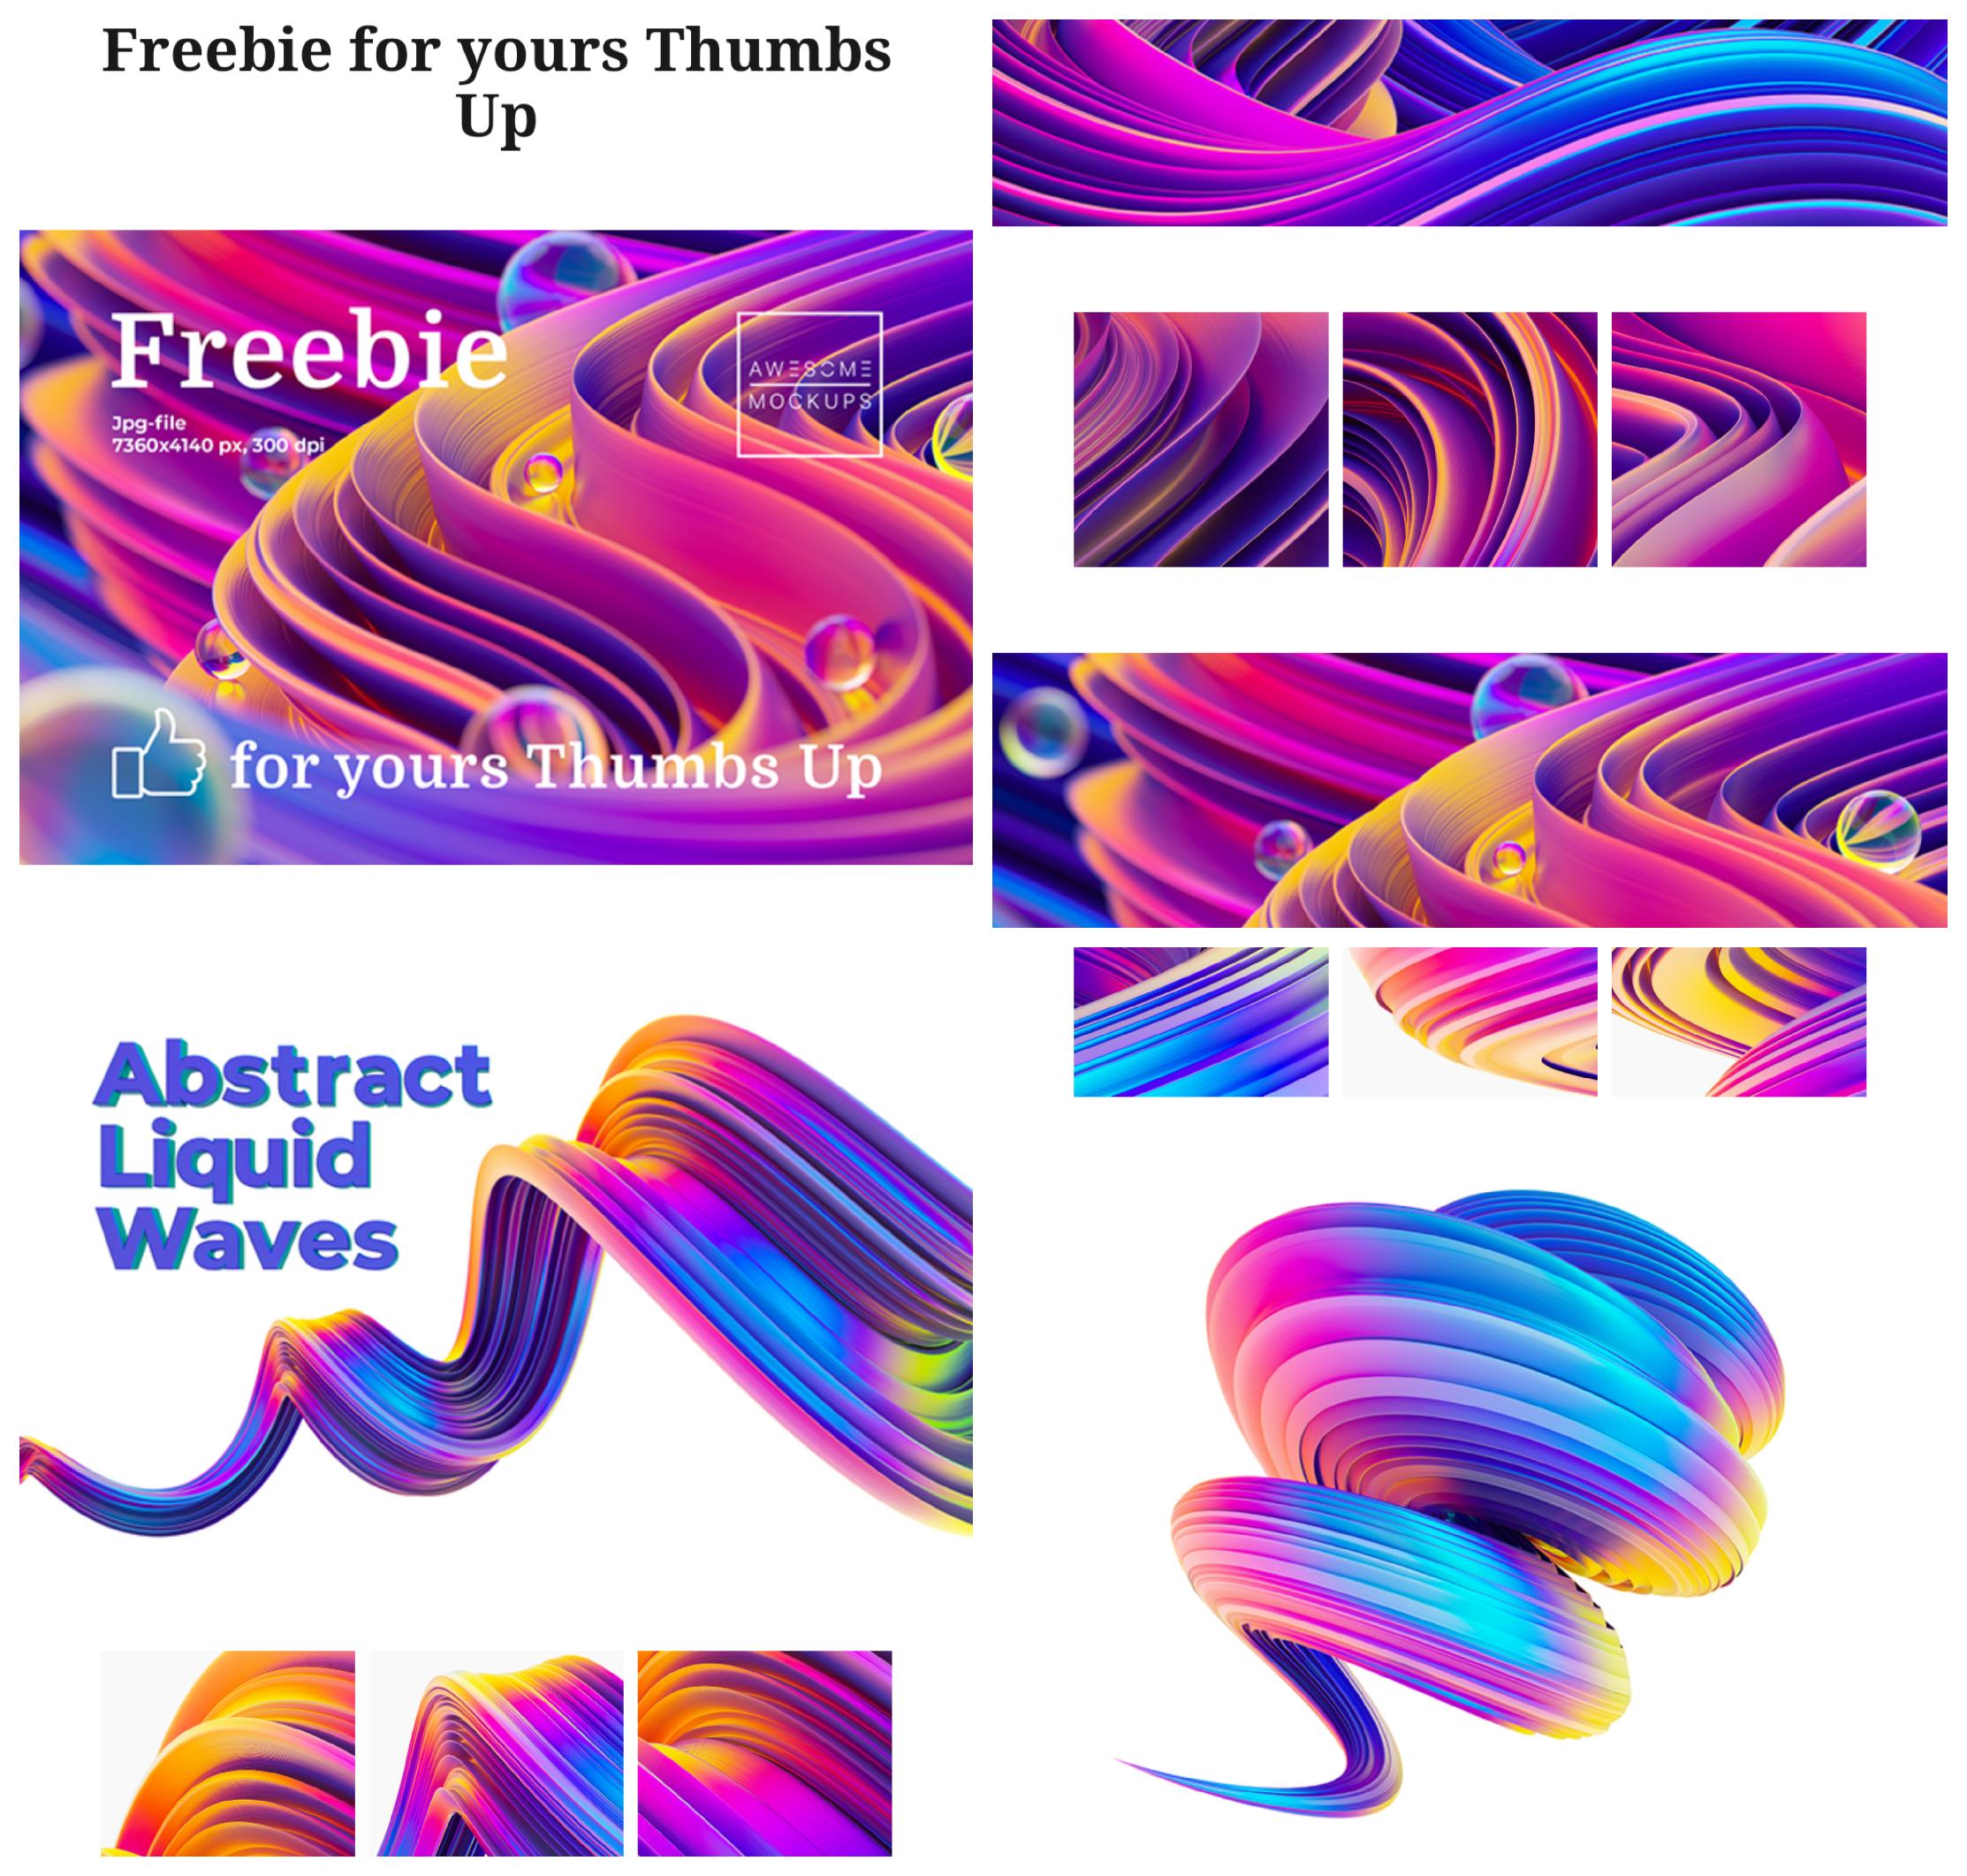
Hi guys, I’m quite new to 3D and I need to achieve the exact effects and shapes as the images attached. I also have HDR lighstudio which I’m learning to help with the lightning.
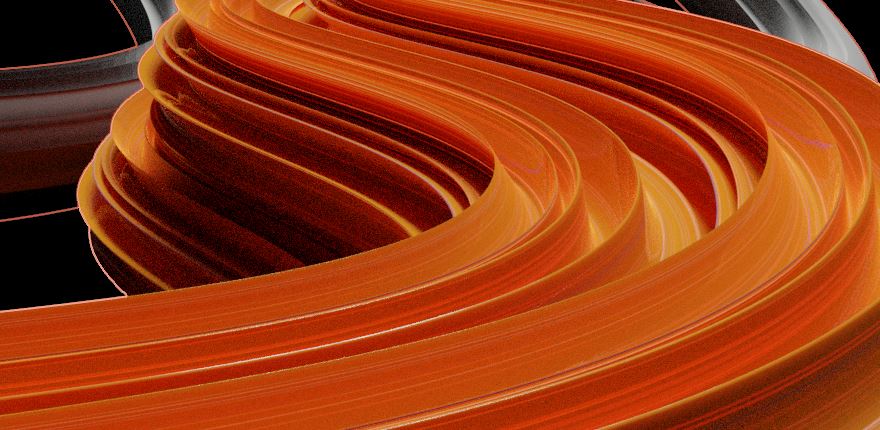
How do it best achieve these results? I need someone to really guide me through. If you look at the close up images you will also see the textured lines etc. I need to replicate this as close as possible with Blender and HDR light studio. I tried doing this following a YouTube video here, https://youtu.be/etxK5i7-DvU
but the guy used a node setup that dosnt quite give the desired effect.
Can someone please guide me on this using the most effect node setup for displacement etc using cycles or eveee or which ever is best.
I need to reproduce the exact shapes, displacement and colors as the images attached. I’m also on a tight deadline of 5 days to achieve this for my potential big client.
for geometry…
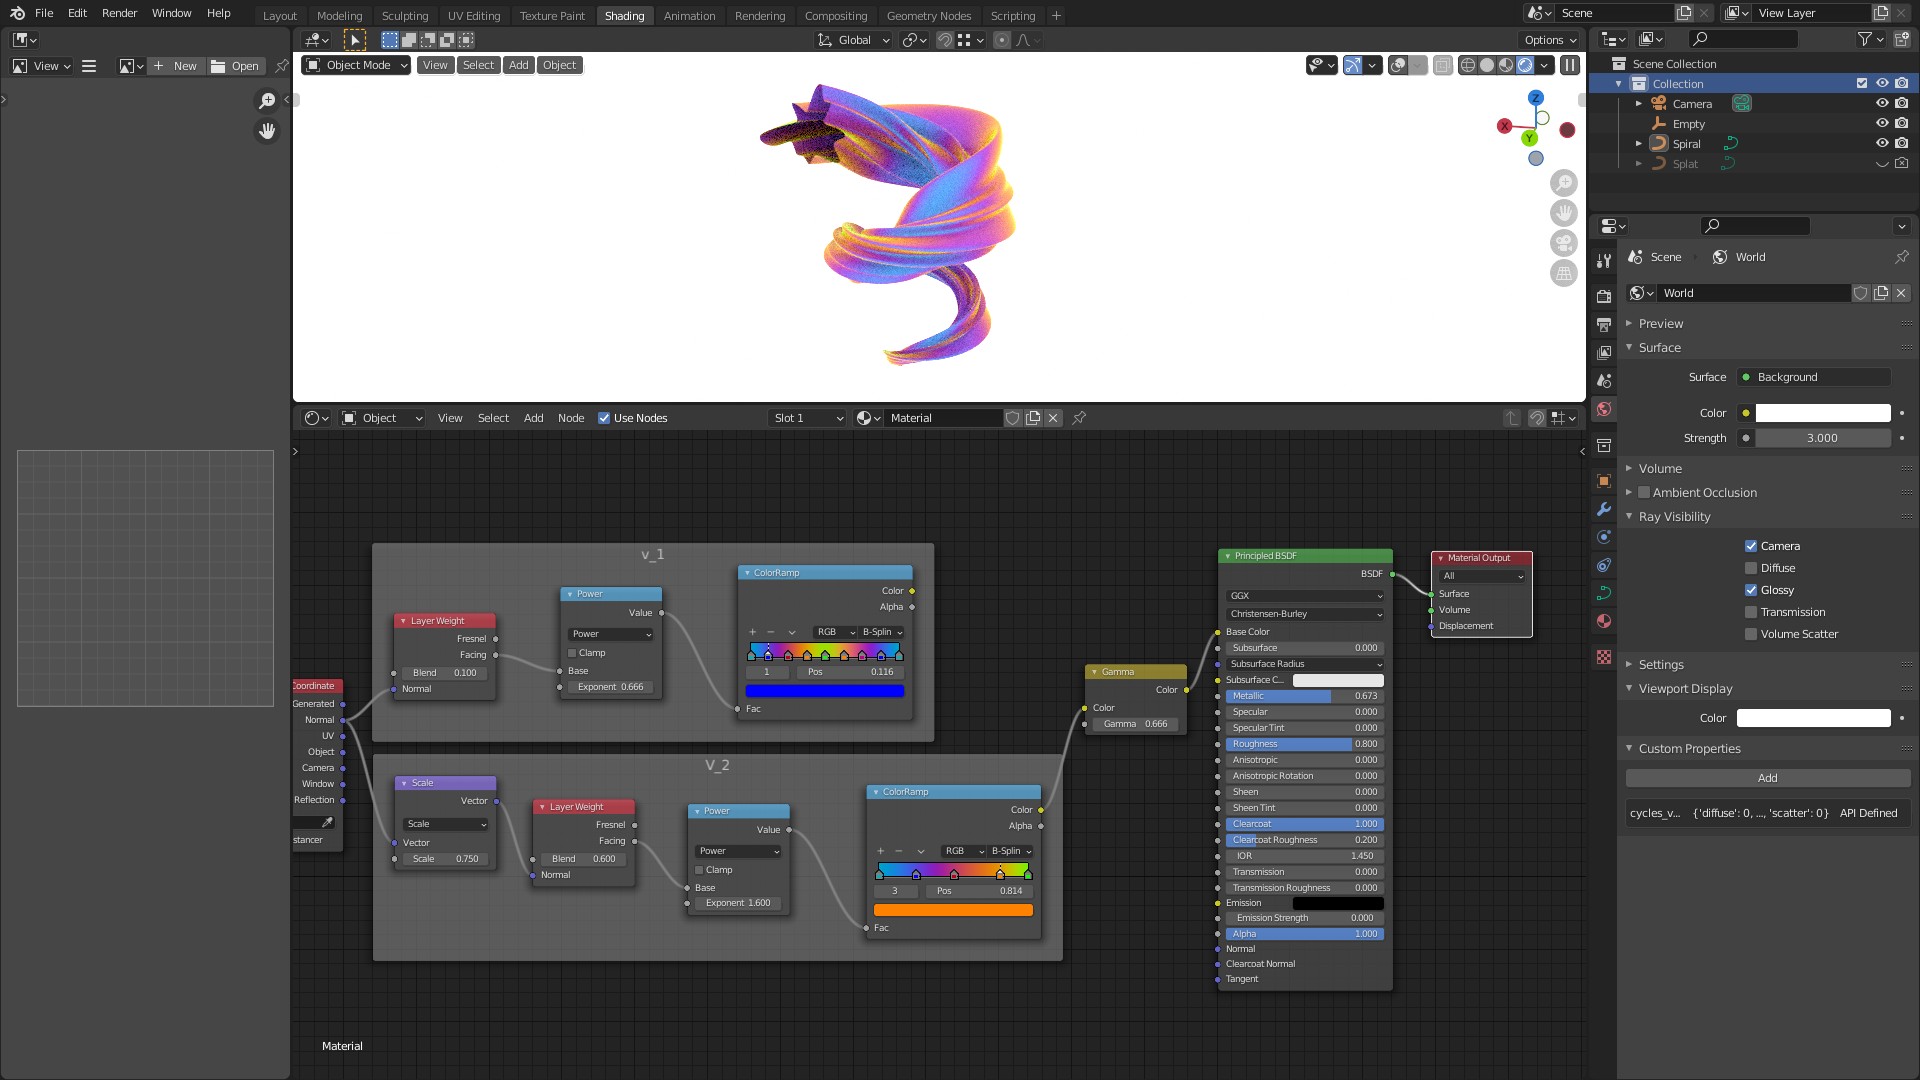
To me it is not displacement. It is just a base curve with a “Bevel Profile” Object used to get this shape.
The Taper effect can be done by scaling the points of the base curve in edit mode.
Just select the endpoint. Enable “proportional editing” and press “Alt+S”. Middle mouse - wheel for adjusting the “taper influence”. You can also rotate the Profile along the base curve by tilting the points of the curve or the profile Object.
There are some ways to get this shape in blender. The one above is just my idea to have most of control over the shapes and profile.
For shading it is another thing. I maybe could find it out but have no time. Looks like a “pointiness” or “reflection” or a mix of something with a colored gradient.
Hey Fred, thanks for that. I have got some decent results so far with the bevel profiles. Now i need to know how to get similar colors/gradients/lighting.
Hi mate, I am not sure if your were actually asking for help with this or not but I just went ahead and gave you these ideas in case you didn’t know already…
Hi mate, i achieve something similar just before you messaged me. I will also try your method. What i need to do now is figure out how to get those highlights on the edge of the bevels. I mean the yellow highlihts right on the edges. Any ideas?
My knowledge is limited regarding elaborate shading. Initial thoughts are to either try and create this with lighting, or make a separate shader for the yellow areas and use a mix shader to combine that with what you already have. Use a mask or another texture map to highlight the areas u want in yellow.
here is a little experiment for the shader.
And what ^ ErraticStatic says is also a good Idea. You can play with “metalic” and “roughness” and colored Lights to achive that.
Think it is a mix between shader and lights.
Maybe this interference shader could be a base for that.