Hey guys, im looking for the best way to make my walls less clean and 3D looking.
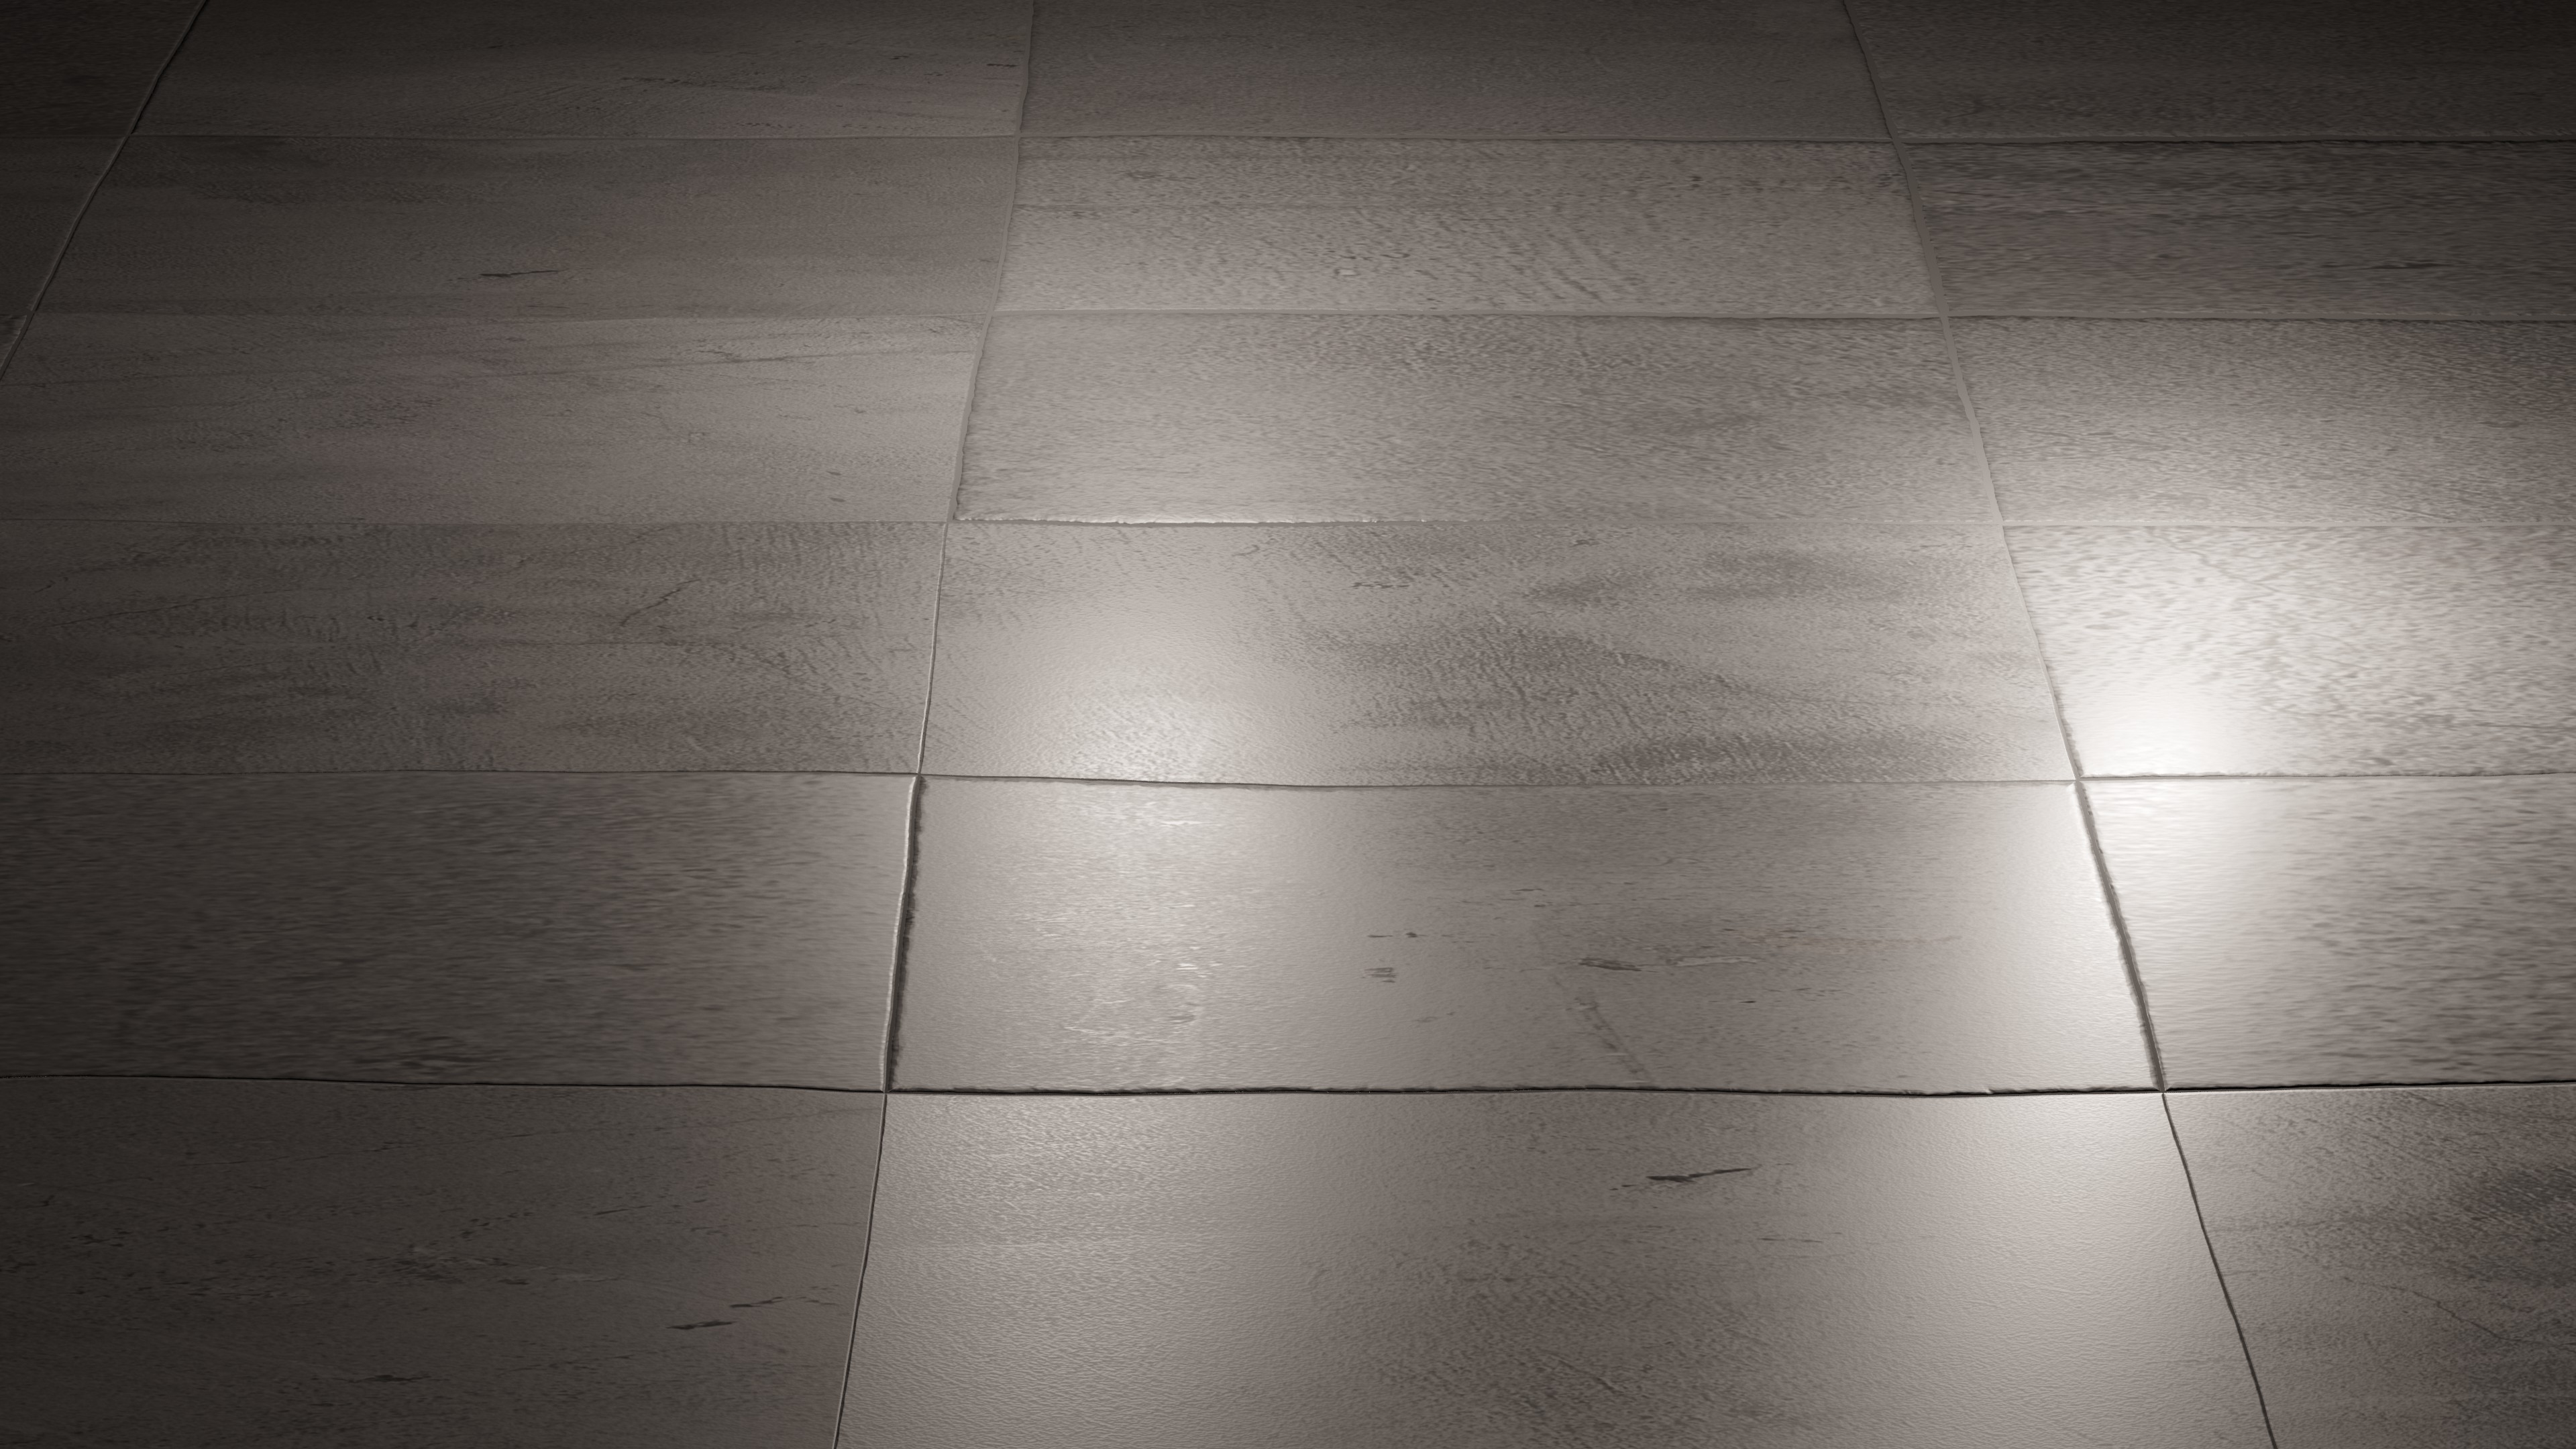
So I add a bevel, and give it a concrete material. But I also want to give the edges some wear and tear. To make it look like this:
is this a displacement modifier applied to just the side face?
and how would you just effect the edge (not the entire side?) So its not a perfect straight line
Use a bevel modifier followed by a displacement modifier in normal direction with a clouds texture. A vertex group can used to restrict the displacement the only part of the mesh. The latter might need some extra subdivision of the top/bottom planes, though.
If you don’t like the pattern you get with the clouds texture, tweaking it, e.g. with a color ramp might help.
It could better be achieved in the material/shader editor where you can create complex masks and feed it to displacement node.
There are plenty of ways creating those masks. Take a look at this website for in depth tutorial for such things: http://www.blenderinsight.com/1494-2/
What exactly are you trying to do? Make a single modeled slab look better, or a single flat plate with lots of nodes to make the different slabs look like slabs?
What Im trying to do eventually is… Is create a wall (for a modern house) for example. I want to add realisme, by ‘breaking’ the straight lines of the edges a bit. By giving it some wear and there. But only on the edges of the wall…not the faces.
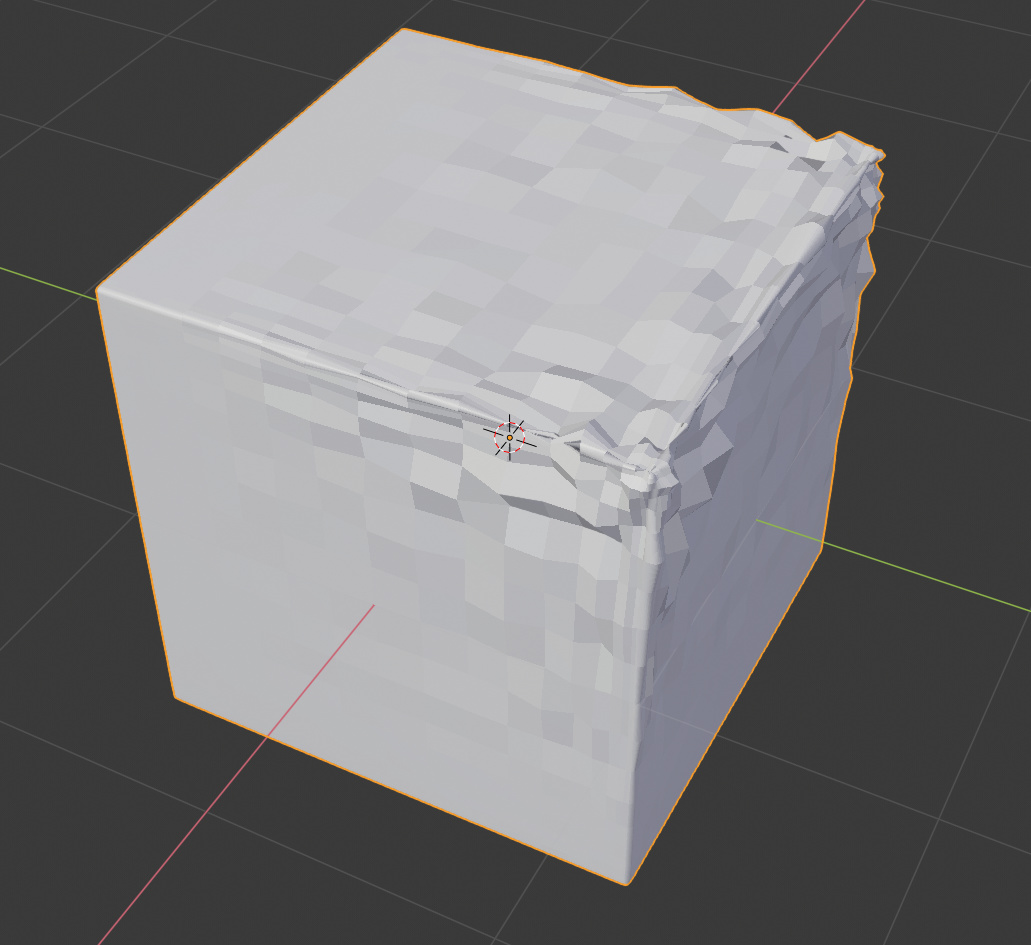
Im trying the first method first…with a displacement modifier. Just to test it I did:
What I did is…
Create cube, scale it
add bevel modifier
add subsurf modifier
add displacement modifier with cloud texture
then I selected 1 edge, give it a vertex group and choose this group in the displace modifier
Then im getting this effect: The effect is focused on the edge i selected, but it fades out to the sides. This is not what I want. I want the effect only to efect the edge part… nothing more. Just the area where the bevel is, maybe a tiny bit more…
I did these with nodes only - a few procedural brick textures for brick texture control and coordinate control, as well as some noises to break up straightness, brick mortar widths and smoothness, some bump nodes, and a big single image lookup texture for lookup.
but at least it is faster than microdisplacement. For large surface coverage adaptive microdisplacement is waaaaay to costly for me (like 40-60 GB memory for a simple scene).
For static displacement you should only add geometry where it is needed. Like manually subdivide several times along the edges, and leave a lot coarser detail toward the middle. But yeah, I tend to avoid it if I can.
The problem with complex nodes is the shader build times.