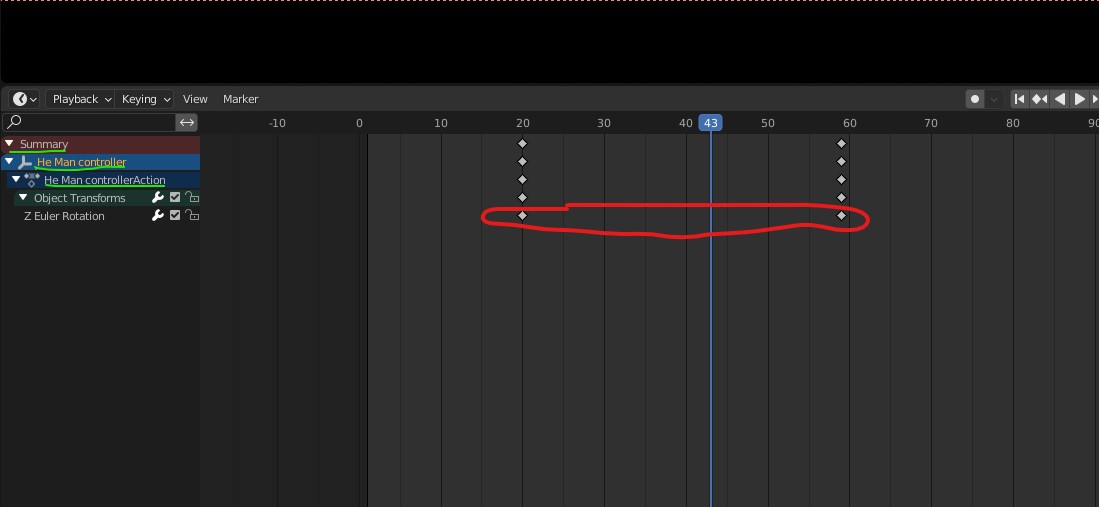
I’m animating an object in the timeline and frustrated I have to look at SO MANY keyframes. I’m animating ONE parameter on this object. The Z rotation, circled in Red. But I see 5 rows of keyframes. It makes it look like there are 5 parameters with keyframes.
I don’t believe so. In this specific example, just minimize the summary and you’ll have one keyframe channel.
As you progress and start animating more things/channels, lots of keyframes won’t scare you . Rather the multiple channels make it useful to see what is what.
another thing you can do, is switch to the curves editor with ctrl+tab while your mouse is over the timeline. Since you only have one property animated, it’ll only show the curve for that one, if you do decide to add other properties, you can select the one you want, and press Shift+H to hide all the other curves, and alt+h to unhide all the curves (this hiding/unhiding hotkey works for objects and faces and stuff too btw) Ctrl+tab again to switch back to your timeline view.
I don’t think there is a way to do that, but if you want to just work on one transform when you have a bunch of them, you can isolate that to the last group using the filter (search) at the top left.