How do I make a light from an emission surface shine through a glass pane?
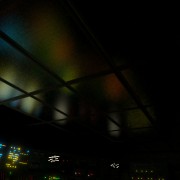
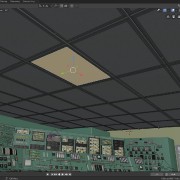
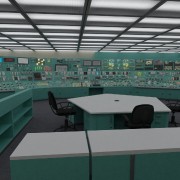
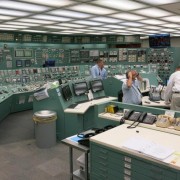
Each of the ceiling tiles here are made of a glass pane with a cylinder emission surface behind it, but the light from the emission surface isn’t shining through the glass surface in any of the render engines.
Why?
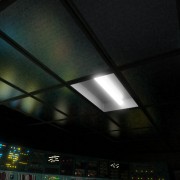
The 3rd image in this set, the glass pane has been removed, which is why you can see the light.
Add another 3D plane out side the glass (right under the glass plane) and make it invisible on camera. (under object properties) and add an emission shader.
The other method is to mess with the Shader.
Add Transparent and Glossy together with a Mix shader node, without using a glass shader.
You’ll want to enable caustics or else use “ghetto glass” (mix refractive with transparent on the basis of clamped is shadow ray + is reflection ray) to get full brightness.
So if it’s not working for you in Cycles, something else is going on. Simplify your scene to figure it out, or link a file.
Not sure if it’s possible in Eevee, I haven’t done anything with baked light volumes (which is what you need to get emission surfaces working in Eevee anyways), but it might be possible by setting shadow mode of the glass pane to “none”.
Don’t worry at all about what’s behind the diffusion glass. For things like this, I just “paint” the illumination onto the plane, and Shader Add it to whatever diffusion material is used. That however, is only for the camera rays (in some cases I will also use it for glossy rays it it has a complex pattern to it). For glossy and diffuse, I rely on area lamps with nodes that simulate locality rather than full Lambertian diffusion - some diffusor materials are near perfect lambertian, so check the data sheets of the luminary.
As a matter of fact, I have a node group somewhere which does this gridded glass pattern as well that I’ve used in some projects. Let me see if I can dig it up in a while, but I’m rendering out a couple of more shots right now.
Here is a modified setup with reduced amount of custom node groups, utilizing some 2.81/2.82 nodes: CeilingTileLight.blend (2.8 MB)
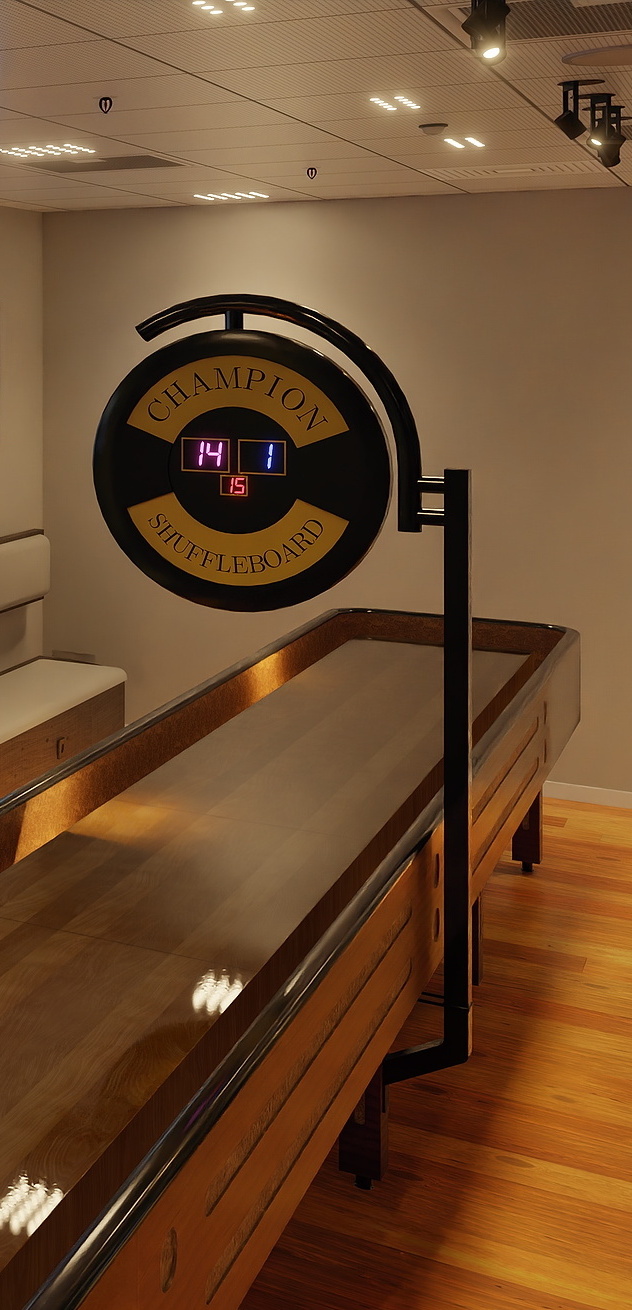
And here is an attempt on a real project using this technique, although for these lights instead. I had to crop the image, but you get the idea - separate diffuse and glossy where the diffuse is much easier to sample because it uses an area light, but allowing light directionality (only on diffuse here). There is probably 1000+ light sources in this project in total, so trying to do the real thing isn’t feasible:
No, we don’t make shuffle boards, this is just from a recreational area in the office And I just realized I forgot to add something to the board, arrgghh - always something.
The easiest way to simulate the kind of lit ceiling effect in the photo a few posts above is to simply make the panels themselves emissive.
Trying to light a scene by placing actual lights behind a transparent or translucent object is asking for trouble.
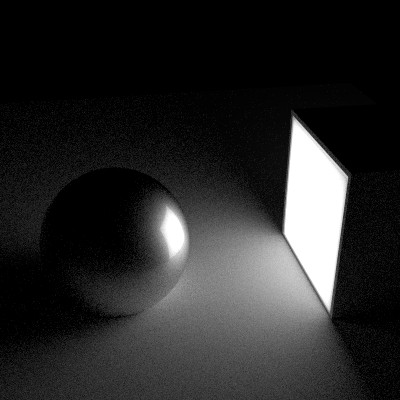
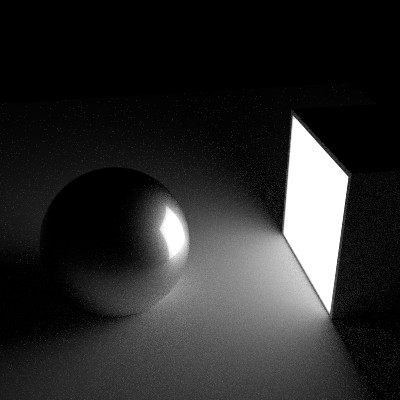
I made this test for another thread a few years back.
The first image has a light source behind a translucent panel. In the other, the panel itself is emissive.
The scene lighting is almost identical and could be made even more accurate in the second image with a suitable gradient texture to simulate the slight falloff in the corners of the translucent panel (this was a quick and dirty test - so I didn’t bother). The key thing is however that the emissive panel image rendered much faster and needed only around 1/4 the number of samples to get a comparable level of noise (600 vs 150).
Of course this was before we had denoising, so the problem isn’t as bad these days, but every little helps. It would also simplify your scene geometry as you wouldn’t need to add or model lights behind the panels.
Even faster if you use an area light in front of it for diffuse only (and volume if applicable?), perhaps with a directionality control. Leaving the rest (camera, glossy, transmissive visibility) for the emissive panel. The camera one you need to keep under control anyway, to avoid step aliasing at high powers. This becomes more evident like in my case above, using tiny holes of light and tons and tons of them, compared to if you have a simple scene with a couple of decently sized emission planes.
My advice is to stay as far away from emissive geometry as possible. Only use it when it simply can’t be done anyway else, and even then try to optimize/fake it. This would be far more convenient to setup for typical emissive planes, if we had camera visible lamps and area lights with barn doors (or snoot/grid etc).
Same with translucent surfaces really. Only use them when you really have to, and try avoiding having to rely on them for actual lighting. I.e, I might use translucency for curtains because you pretty much have to, then add a fake support area in front of the curtains to provide much cleaner direct light rather than the indirect light translucency provides.
Of course, you can choose to do things realistically. But be prepared for a long wait. Guess it depends a bit what kind of business we’re in. We’ve had major sales based on pure AO images, so… Doesn’t always have to be ultra realistic to get the job done.