Hello, was just wondering how I can make the metal gloss less glossy.
and I have several component where i choose to glass material. But some of the do not have a transparency. Respectivley 1 & 2 in the image. Using the same material for all glass elements.
(ps they are called mirrors only because that is the name for them. I didn’t add any additional reflection to them)
Lastly #3, how did i get those geometric reflection and how can i ditch them?
[ATTACH=CONFIG]269823[/ATTACH]
Thank you all
D
Hello, was just wondering how I can make the metal gloss less glossy.
Increase the Glossy BDSF Roughness value or increase the mix shader factor to add less of the gloss shader in the mix.
These two options will give different results, try and see which gives more of the effect you’re looking for
Its really hard to see what result you are after with a grey background and little to reflect. Try adding some other objects into your scene for your glossy to reflect - or add a HDRI environment map (which will give both reflections and a patterned background).
Glossy/glass materials rarely look good with a plain grey background.
k thank you all will do.
A great upcoming week to all!
D
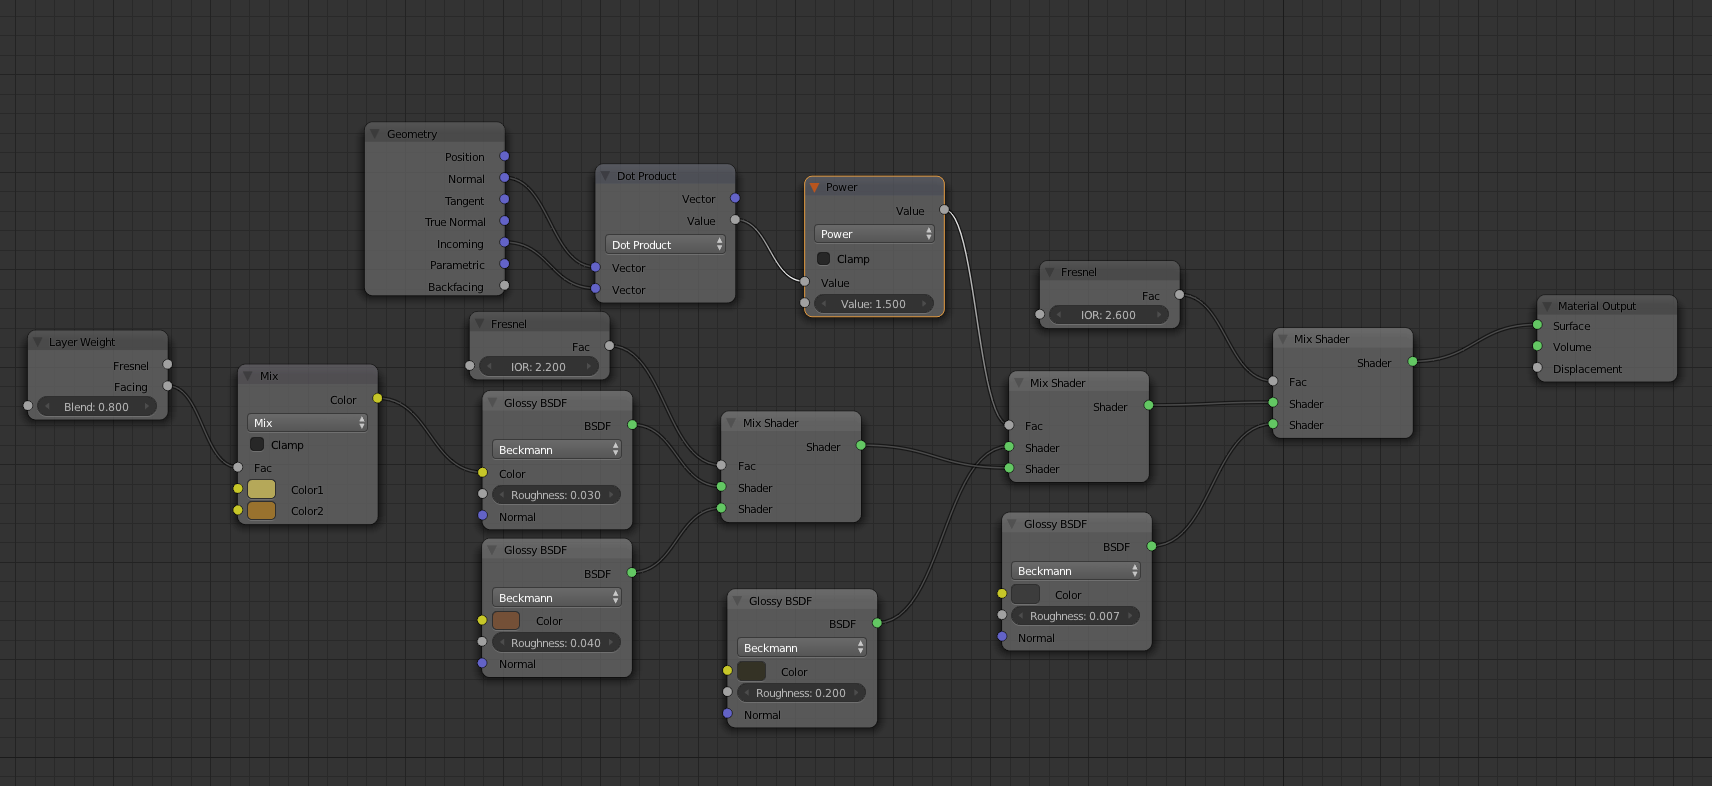
Yeah, get a good environment texture and maybe try using a layer weight node to drive the glossiness. Just plug it into the fac of the mix shader.
Something i whipped up real fast. try this on for size. (NOTE: “dot pruduct” is a vector math node and “power” is a math node)
try this on for size, let me know what you think.

I thought I would post this here rather than start a new thread. I got the time to add a background and work on the nodes.
I used 500 passes for wip03 and 1000 for wip04.
I am wondering if:
- it’ll just take way more passes for items like the glass Suzanne head to not look grainy, or was it something else?
- At the bottom of the sextant main body, the curved edge, I seam marked it, uv unwrapped it and and tried to add an image indicating the measurements (notches, number etc) but it didn’t show up at all.
Can anyone point me to a tutorial on how to place the image over just a small part of the object?
Also any other advice on how to improve on the render will be appreciated.
[ATTACH=CONFIG]271384[/ATTACH][ATTACH=CONFIG]271386[/ATTACH]
Thank you
D
[ATTACH=CONFIG]271387[/ATTACH]
and this is the one thousand passes in cycles render.
check some corners on your isntrument we can see edges!
can you show nodes set up for image on instrument
did you do the UV unwrap ?
happy bl
Hey Ricky, the middle image has the nodes for the sextant body. I did uv unwrap it. wip05.jpg to be specific.
I have two image nodes. the bottom one the xparnt png texture I wanted to add to the curved lower part of the sextant.
Thank you
D
Hey Ricky and thank you for the advice.
Didn’t get a chance to return to it till now.
thanks also for showing the sextant you created.
but what do you mean by normal map? I seamed the body of the sextant. Where is the “normal map” node?
i can see adding meshes for letters and number but was hoping to use a map & bump it to create the notches.
Thank you
D
for the letters you could make a real 3D model then bake it to a normal map and use it in cycles
or you could make a bump map too
but the normal would give a much better render i think!
it’s up to you to choose on method and try it see what it gives
happy bl