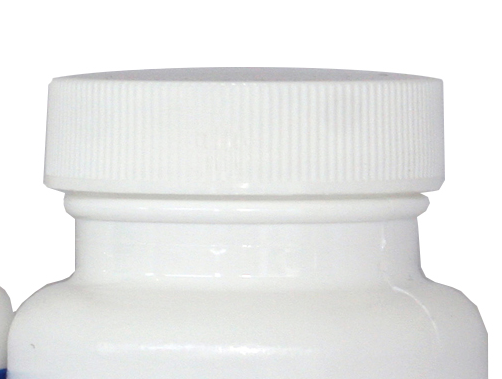
Hello! I’ve been using Blender to create 3D images of bottled products. I’m not sure how to model the tiny grip “ridges” around the lid. Could anyone point me to a good tutorial, or explain how? Seems like there’s should be a simple modifier to produce the results I’m looking for. I’m on 2.4x on a mac.
There’s no modifier, but you have some options. Also, I think with 2.5, you can add a ‘star’ ( hopefully i’m not thinking of something else. But anyway, a star with lots and lots of points would be the starting shape for the ridged sides. If you can’t add one, you can do this: add a circle, with at least 64 vertices I would think, select all those verts, and create a vertex group. Now subdivide, then, select just the vertex group, and scale a bit inward, or outward, to get your ridges. Of course, that is alot of polygons, for a little lid. So, you may also wish to look into ‘normals baking’, with which you can take a lower poly version of the lid with no ridges, and bake the normals of the high poly one onto it. The illusion should be pretty convincing if you do it right.
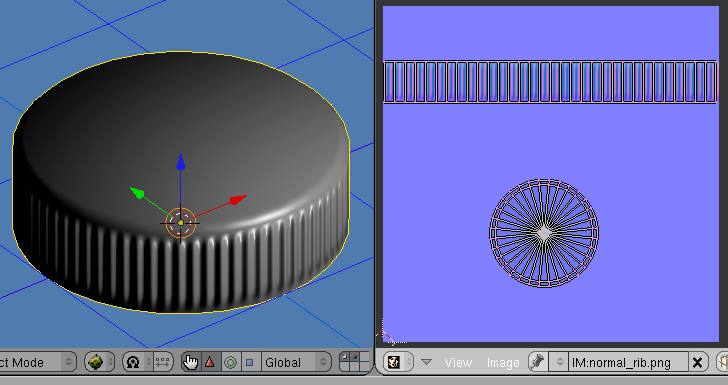
For small detail like ridges use normal map. Repetitive pattern like this can be drawn quickly using Gimp. Here I used gimp normalmap plug ins to transform the image into normal map. Just unwrap the cap and apply the normal map on the cap object.
Ridix,
Thanks for the tip!
I’ve created a striped pattern in Photoshop and now I’m trying to transform it to a normal map. Could you point me in the right direction to learn how? Also, once I create the normal map, how do I apply it? I’ve unwrapped this portion of the lid and applied the pattern image.
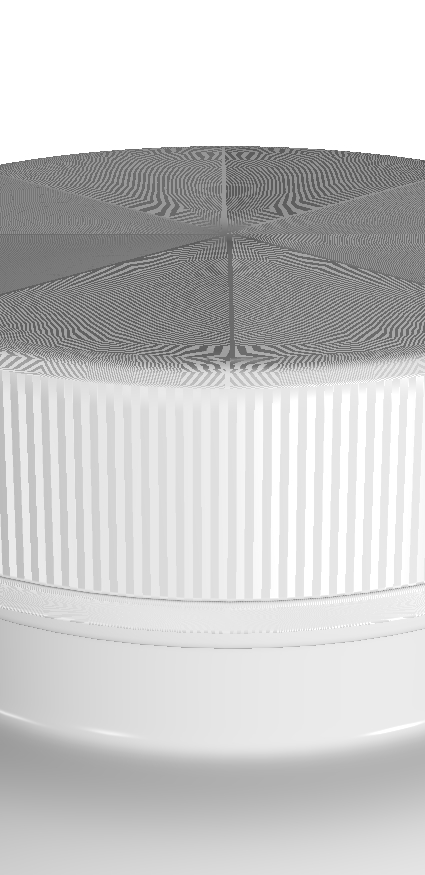
OK, this seemed to work well, but now there’s a texture remnant on the rest of the lid. From a top view, the seams are actually showing up also. I have the Map Input set to “UV” and “Flat”, and the Map To set to “Nor.”
The unwrap is only the faces going around the lid with the vertical ridges. Shouldn’t the texture stay within those boundaries?
The texture will affect the entire object, unless you create a separate material for the parts you don’t want affected. Another way to fix it (and I would probably do it this way) would be to add a seam along the upper edge of the cap, and unwrap the rest of the cap as well, then just place the uv-map so that the top faces aren’t in the area with the ridges