I have just started to rig, and I have found this tutorial: http://www.blenderguru.com/videos/introduction-to-rigging/
It has been very helpful, but the person in the video tutorial uses a premade armature. I have no idea how to do it from scratch. I need to because I am making a robot rig. I can give a screenshot if needed.
Could someone please direct me to a tutorial, and/or tell me how?
Also, in the tutorial, the model is one object. Does it have to be?
Hm, ok, I guess this is kind of situation specific, as I have no idea where to start.
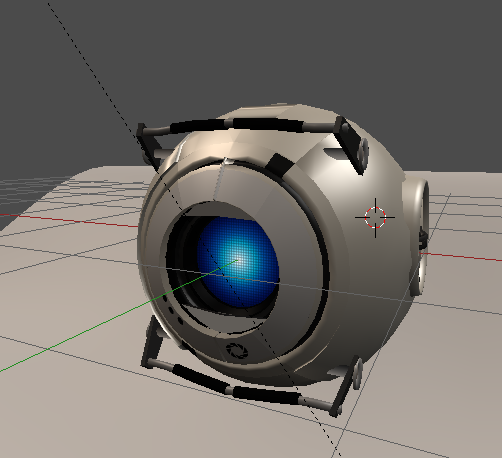
I’m making a model of wheatley from the game portal 2:
I need the handles to move up and down, the eyelids to move up and down, and the front face panel to swing. Like I said, no idea where to start, esp. for the face panel.
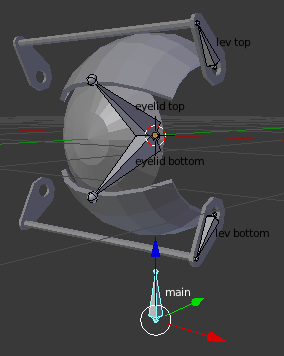
Here is the basic set of bones to start the rig: you need eyelid bones for the top and bottom eyelid. The root of the bone needs to be at the center of sphere. Handle bar needs a bone to pivot. Here again the root of the bone needs to be at the hinge pivot. At the bottom is the main bone that parents all bones. Main bone is used to move the whole assembly around the scene.
yep… In Edit mode… select all the faces that you want separated into there own object… then hit ‘P’… and pick ‘selection’…
Also if you don’t want to separate it out into its own object… you can select those same faces and create a vertex group … then name the vertex group the same name as the bone you want to control it…
But you will need to add an Armature modifier to the Mesh…