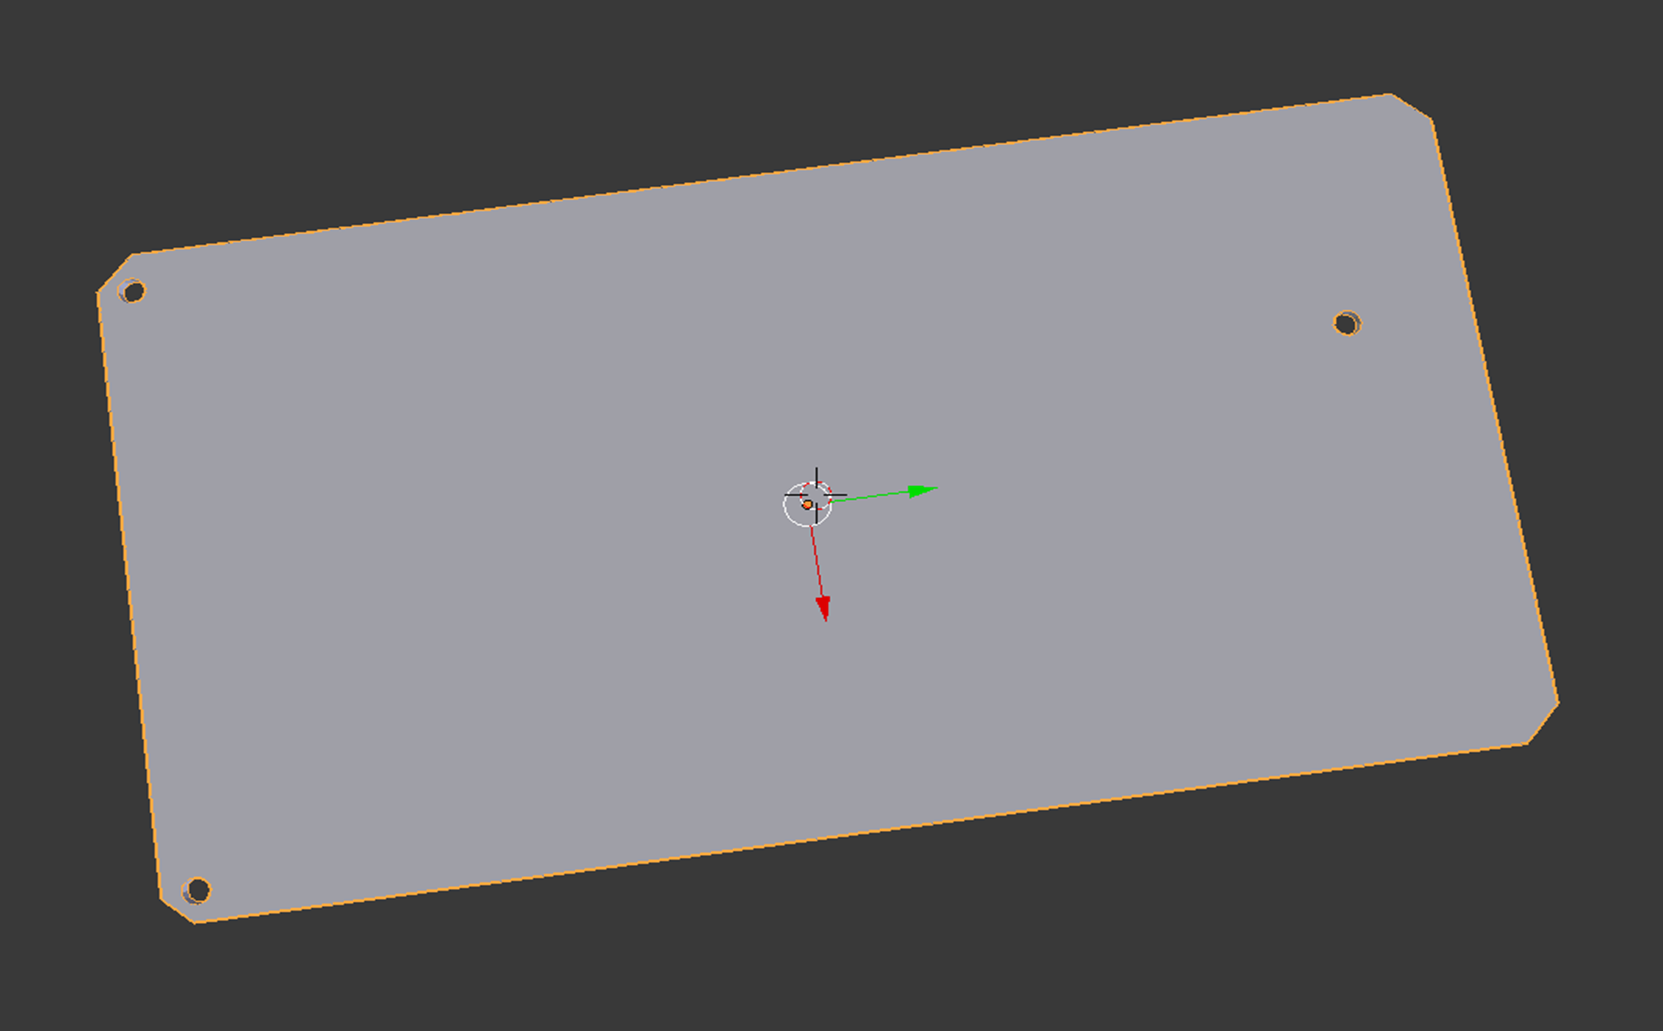
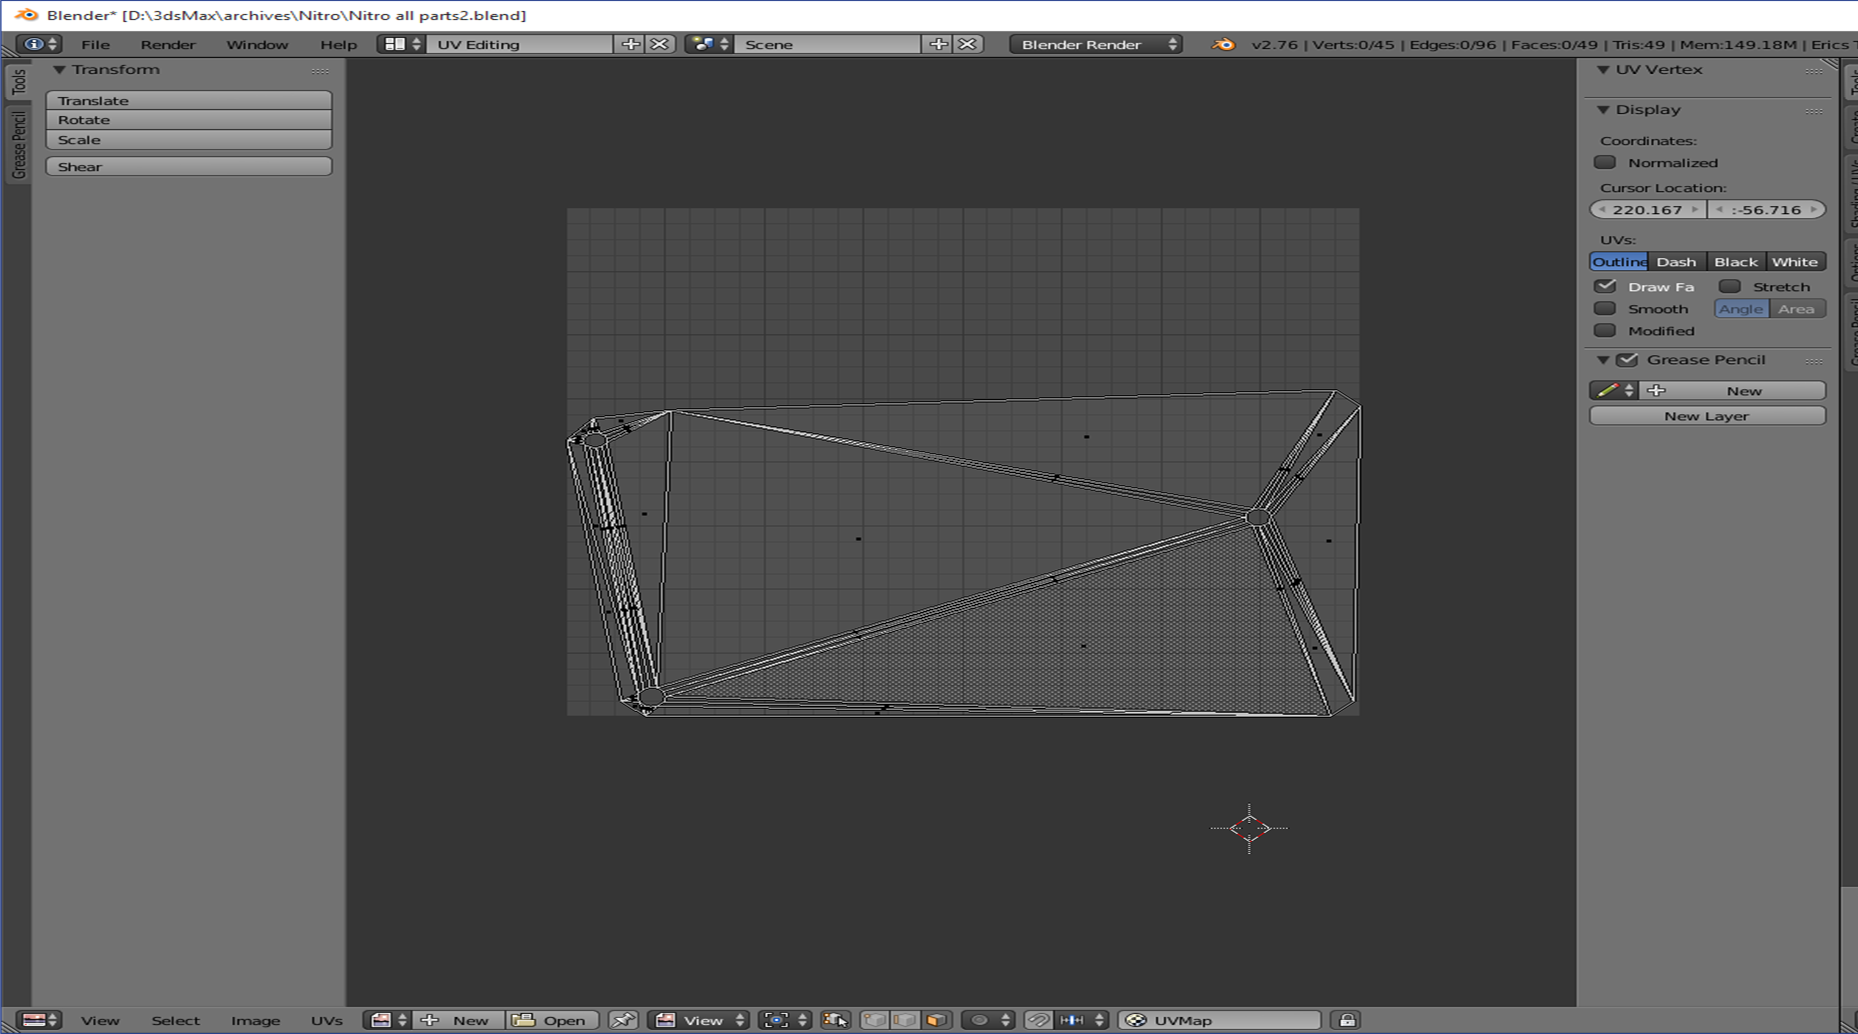
It’s a simple rectangle with the three wholes just like in the picture which I’m going to use as a texture. The problem is when I unwrap the model It’s this terrible looking rectangle.
And when I import the picture It’s longer than the map. So I moved the vertices of the corners to the corners of the picture and moved the wholes to the wholes ( one vertices at a time because I don’t know how to move more than one) and matched it best I could. But the texture is very distorted in some places especially where those really thin rectangles are in the map. How do you move more than one vertices in the unwrap editor and what steps should I take to get this texture on the model right?
Because “Project From View” does exactly what it says…
So, if we assume that your circuit board lies flat in the XY-plane and you want a straight on orthogonal UV unwrap, top view is a logical choice.
Project from view transfers (more or less) your object as it appears on your viewport to the UV map (try using it from other views to see the difference). Unwrap tries to do some kind of “smart mapping” that you can guide marking the edges where you want a texture seam.
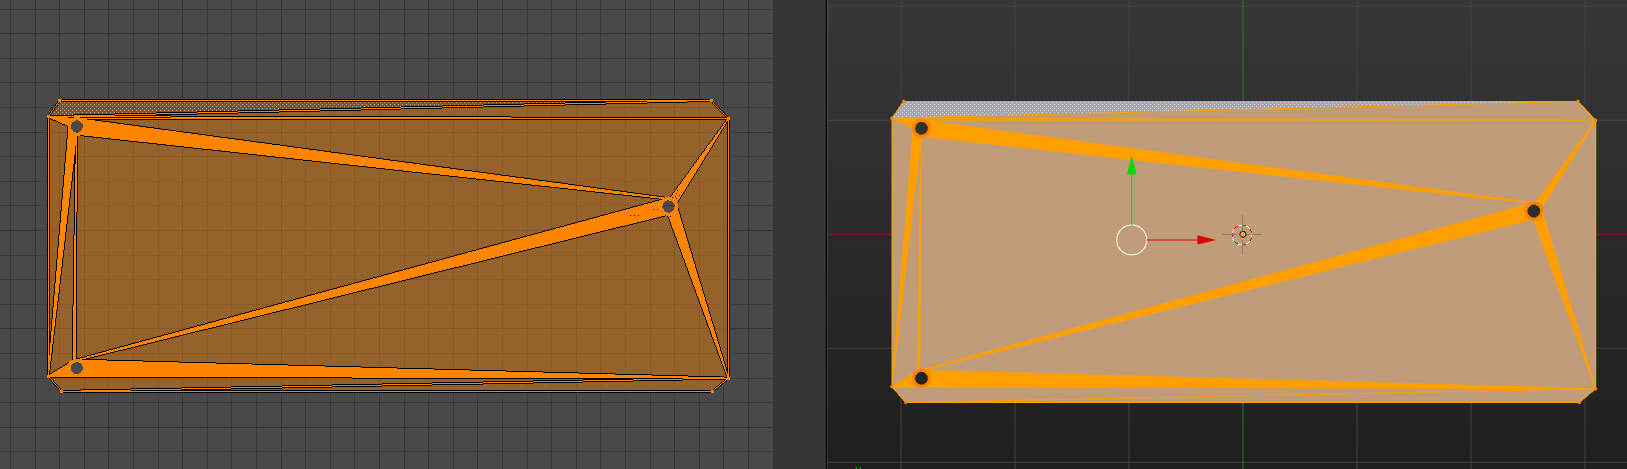
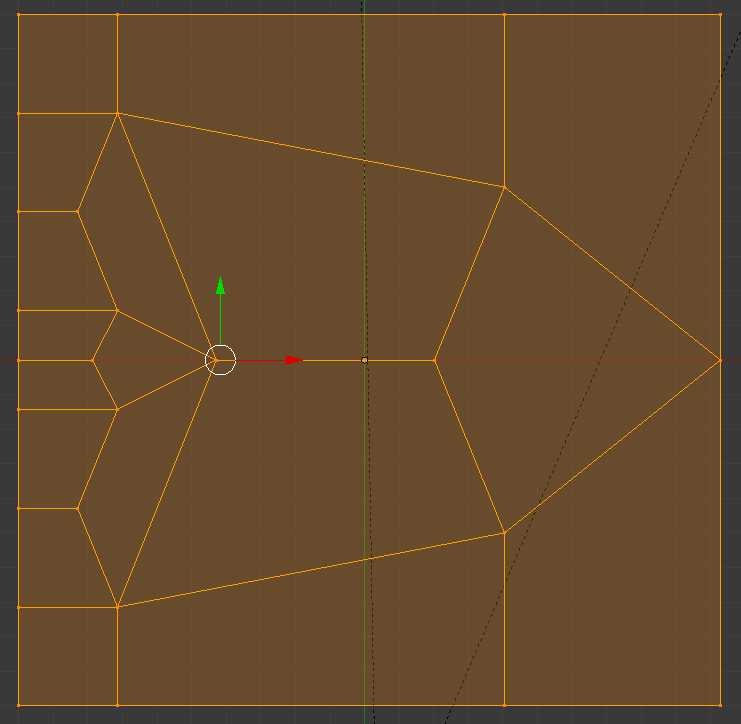
If it was me, I’d model the holes properly. That looks too much like booles from the geometry. Instead, model the holes, reduce the polygons, then drop under a subsurf. Your geometry will be much cleaner. Don’t use polygon reduction tools, it’s easier and cleaner to do it by hand. e.g. the following shows reduction from 8 to 2 polys whilst maintaining good quads. (and for the purists, I know the quads should be about the same size, this is an extreme example using a stock plane object to illustrate the point. In life, use it with smaller steps)