The part I’m stuck on is how to select an entire instance and control what material is applied. Right now I am only successful at selecting random faces of each segment instance- which is cool, but not what I’m hoping for
I’m also not happy with the geometry. I’d like it to be more rounded. The original idea was to have a high number of points around the curve with lots of overlapping cube instances. That has a lot of aliasing and looks really bad.
I’m thinking of either trying to randomly control the length of a curve and “extruding” a random diameter circle along it. Or making a straight line of randomly sized rectangular prisms and then applying a curve modifier afterwards.
Any suggestions as to which of these approaches is more likely to work- or a better approach?
Regarding the random material per instance, I can at least provide this workaround here, for the case that all instances have the same number of faces:
What you can also do is work nit in the geometry editor but in the material editor.
If you add an Object info - Random node into your shader, it will also work on instances let that be geometry nodes or the old particles.
With that node, you can control variety for all instances at once, for colour, textures, etc… You can use a white noise, voronoi, or similar texture with a color ramp to plug it in. E.g. texture rotation you can create with a random node, voronoi, vector math to Add random and colour together, then use a vector math multiply to set a random number for the Z value.
Then go in a color ramp, plug it in the rotation of a mapping node. Then said texture will randomly rotate in patches for all instances.
Just an example, but long story short, material variety I would personally control in the shader like that
(I still struggle figuring out what to expect the output of nodes to be, and how to visualize/debug them. Especially in the geo nodes as there’s no obvious way to see what a noise texture “looks” as you tweak the parameters.)
I have a few works that use this method, I am happy to share some stuff later
The Random node is always about random of what actually
But randomness is only to drive the details of another node.
E.g. random goes into the 4D “W” of a white noise, or voronoi, etc…
I will try to share some examples a bit later, hopefully this evening
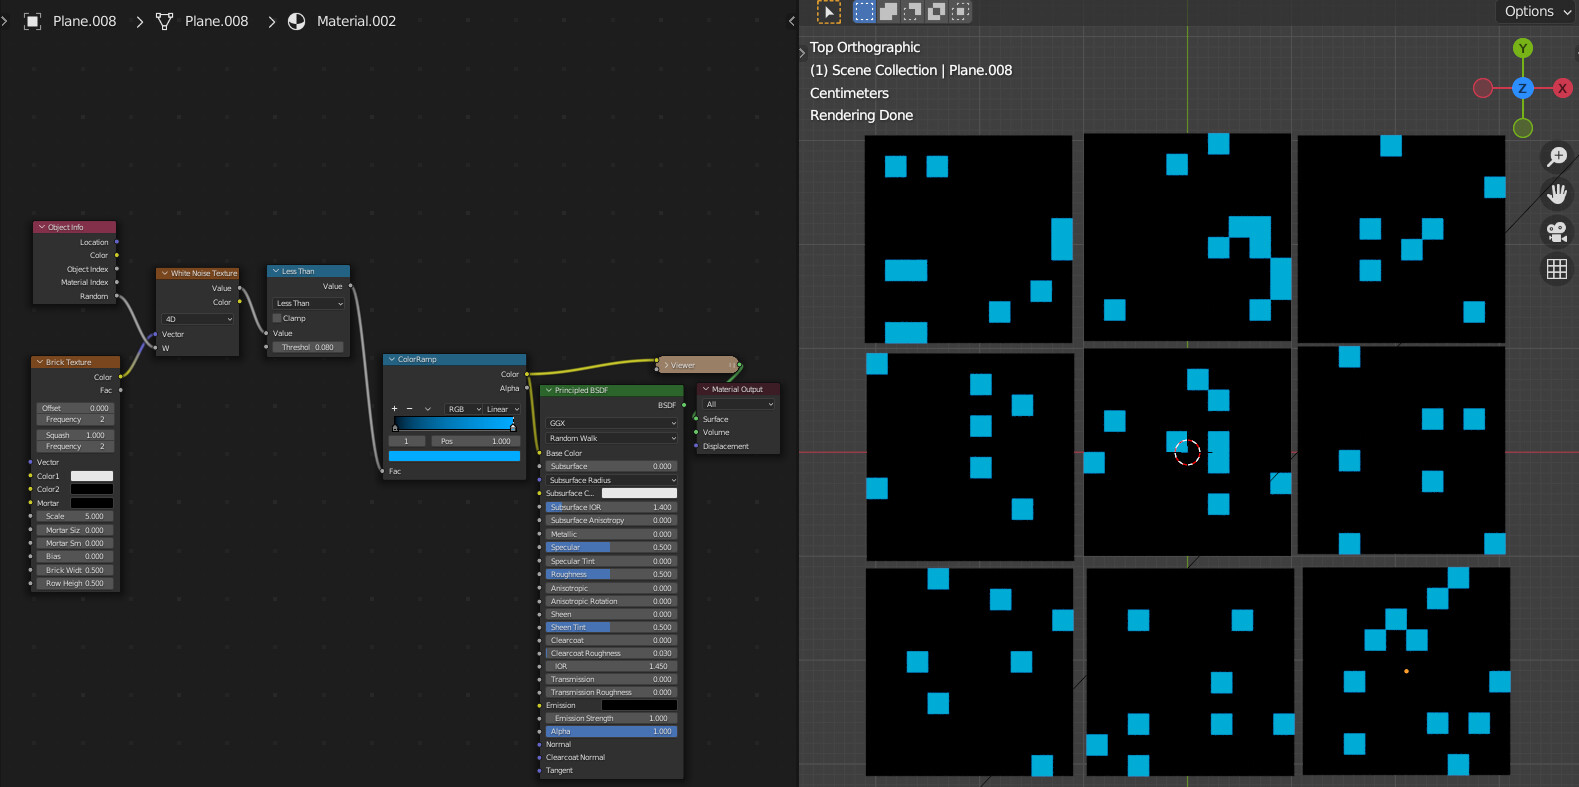
Hi, @KiwiKid, sorry for the late answer, I am a bit busy nowadays. I share two very quick examples, that should also work with geo node instancing (I just duplicated).
You can use the Random node for anything really, if plugged into W. Imagine creating rocks, same type but different shape. You can drive even the displacement like this.
In the second example, the white noise is basically the randomness base, and a math node cuts it down to a few tiles only, similarly to your original post. The amount of the blue tiles is the same, but always elsewhere.
Also, you can use a Vector math Add node as well on the vector line, to add Random to anything really, including size as well, I used to do it before. E.g. to randomly scale your textures. You can take it much further, whatever is needed to be random, but adding it everywhere can severely affect render time though