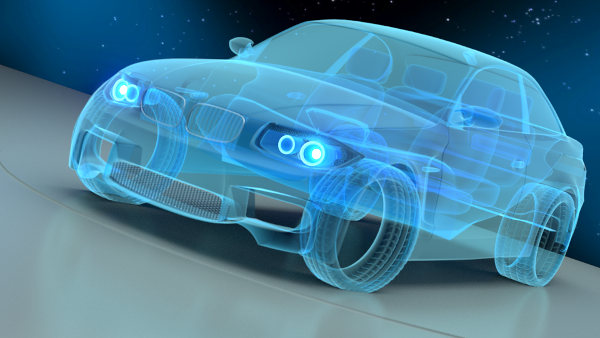
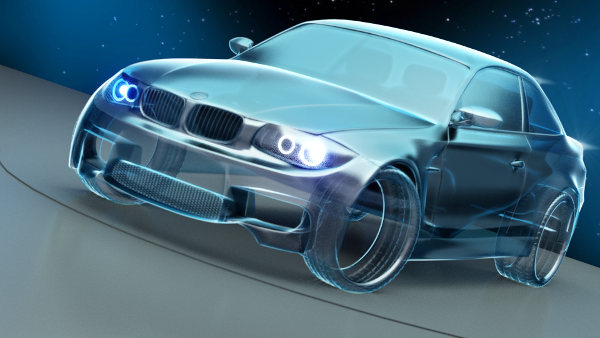
do you’ve an (different) ideas how this car material/effect can be achieved?
My firts impression is, it’s a colored transparent shader with some layer weight on the edges,
on top of that is a sharp glossy shader with low opacity. The sharp white lines are maybe painted over,
rendered as NPR image on top or are colored real geometrie?
The thing is, i failed so hard at my first attempt so i am asking you
for some more ideas or shaders.
I’d go with a glossy with a roughness of 0.2-0.3 instead of diffuse. There seem to be some specular reflections on the car that a diffuse shader wouldnt recreate.
I also think a second mix shader with a sharper glossy overlay (almost like a polish layer) would be required - perhaps plugging the Fresnel node into the fac slot to give brighetr reflections at glancing angles.
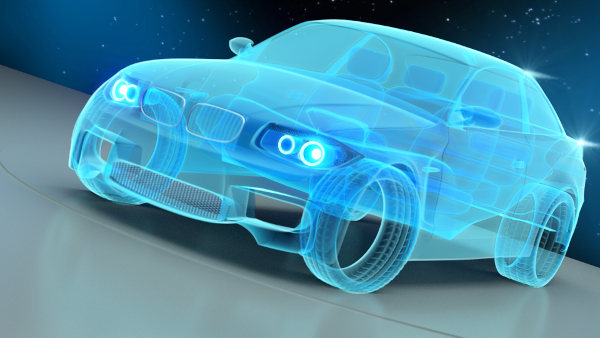
That picture is almost certainly composited, externals and internals - car and seats - rendered separately and layered later with equal weight, highlights are probably also added in post. Notice that there is absolutely no sign of the fourth wheel.
Diffuse/transparent/glossy with high roughness mixture should do it. Those very long even white lines though might need to be added later.
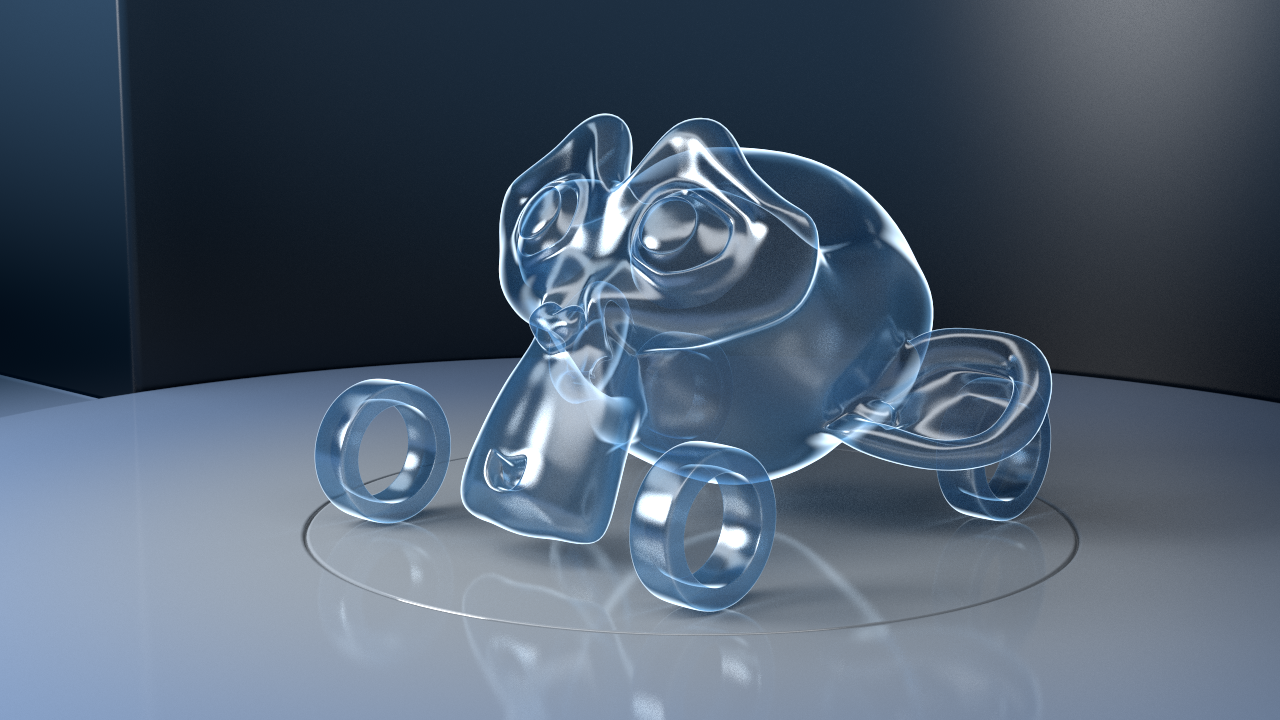
Well I did a small test to see if Suzanne could be made to look like a high performance automobile. The results were ambiguous but here they are.
The first pic is the render from Blender (cyc) Rather than trying to get the whole effect in Blender, I preferred to get the blown out effect by running the pic through the GIMP, resulting in the second image. The very simple shader is in the attached zip. (In retrospect I wonder if I used any ‘experimental’ nodes in it but the principles should be applicable no matter which version of Blender you are running.)
The second pic looks like you are along the right lines. You could probably achieve that look inside blender using the compositing nodes.
I still think you need an additional sharp glossy layer over this initial material give a slightly polished look - there look to be sharp reflections as well as diffuse specular reflections on the car picture.
Indeed - I would even question whether any elements of it were rendered at all - it does have a “digitally painted” look about it.
Of course that doesnt mean a material couldnt be designed to approximate this look - but OP has to be pragmatic about just how close they are likely to get.
Another important aspect in recreating the look of the car picture will undoubtedly be the lighting, background and any “off camera” geometry designed as reflectors. Take a look at this tutorial about studio lighting a car:
The material I made uses ramp shading to put some light at the edges of the shape which is made of a mix of transparent and translucent mixed a touch of some gloss. The color also uses ramp shading to increase the contrast and there’s just a little trick to attenuate the gloss on the back faces, so that the outside shines more than the inside. There’s no environment texture but the 2 only mesh lights I used suggest it. (That was the nice surprise Cycles made me for my first render.)
Now, I’m gonna watch that tutorial on studio lighting for cars. (I never do cars.)
@RickyBlender, if you’re asking me, I think it looks good. I’d like to know your nodes if you been able to do in a simple way
@Kaluura, thank you very much. I learned a lot with your nodes.
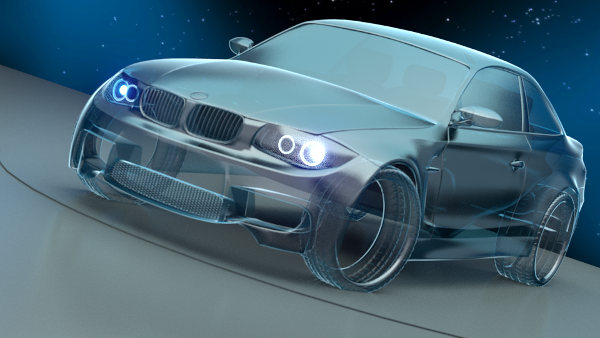
Here the Mike Pan BMW scene (the license of this scene allows me to use it, right?), with exactly the same node configuration that you have used, but some different values I’ve been adjusting while I looked in render view:
I do not know why it has not been as good as your monkey. Or actually I know, I’m just learning Blender and Cycles and I must have made many mistakes
This one with Max Bounces=0
And this one Max Bounces=0 and with post-processing in GIMP, Rodilius filter from G’MIC plugin:
PD: Sorry @ MattMump to invade your thread, but have been very interesting what you have proposed here
@Kaluura, But if you had thought about it, we would not have been able to see the excellent Suzanne-on-wheels, I love that scene!
@RickyBlender, thank you! Many things that I have not used yet, so I’m going to give a try to keep learning.
The tire is on the layer #11 (I think that is #11 tath layer, if I counted correctly). I was a long time to realize it
Edit: RickyBlender, these nodes labeled “Dot Prod” and “Power”, are node group?
Edit2: I found Dot Product under Converter > Vector Math. I’ll keep looking the other
Edit3: So, Power in Converter> Math that I had already used :spin:
Hey Guys, thank you all.
You showed some really interesting and especially different methods. The last post from Yafu looks really nice. After playing with your setups, i created my version of a “Mystic Shader” i will work with. The last thing which is missing are the thick white lines but i will paint them over in post with my wacom.
Here is my final shader:


 I’m glad to see my node tree was useful.