Almost always when I see people in tutorial etc using the bump node they do it wrong, they are using the Strength slider instead of Distance ![]()
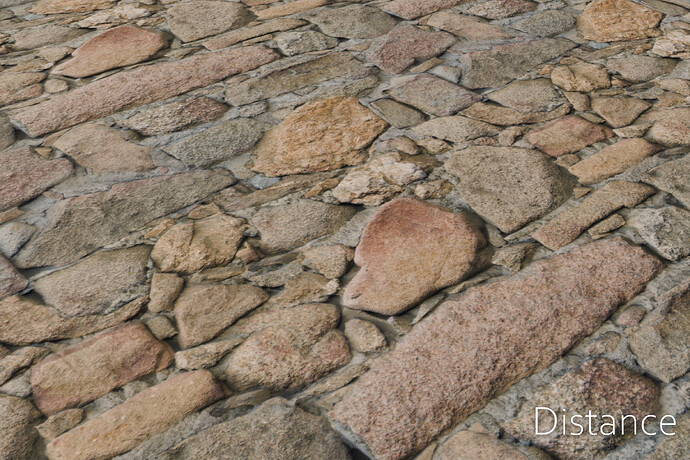
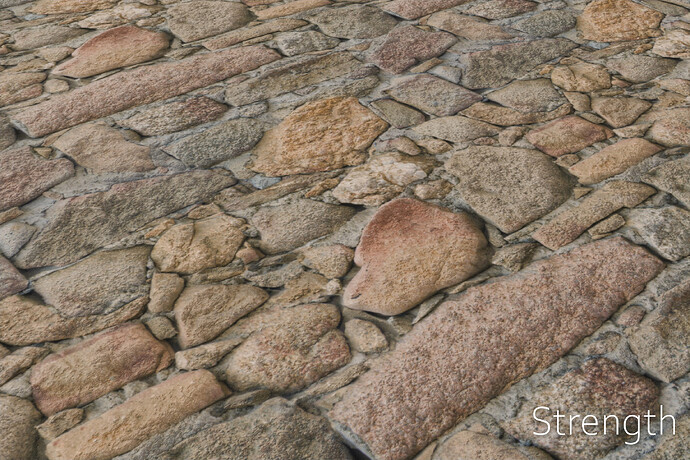
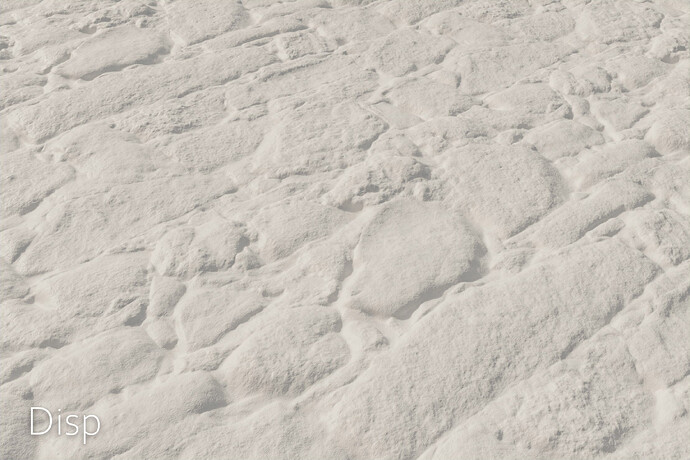
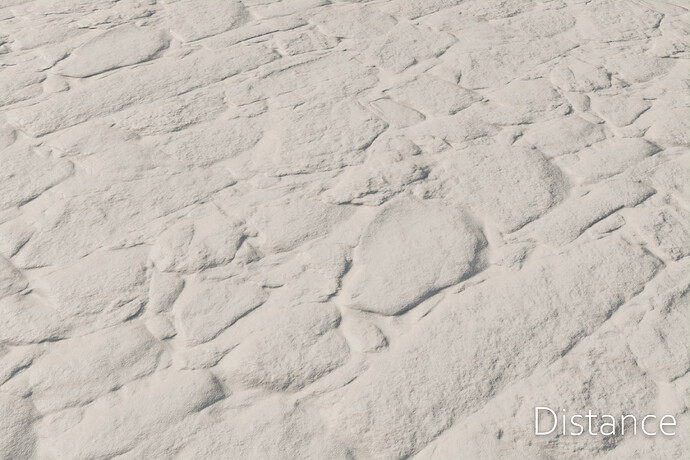
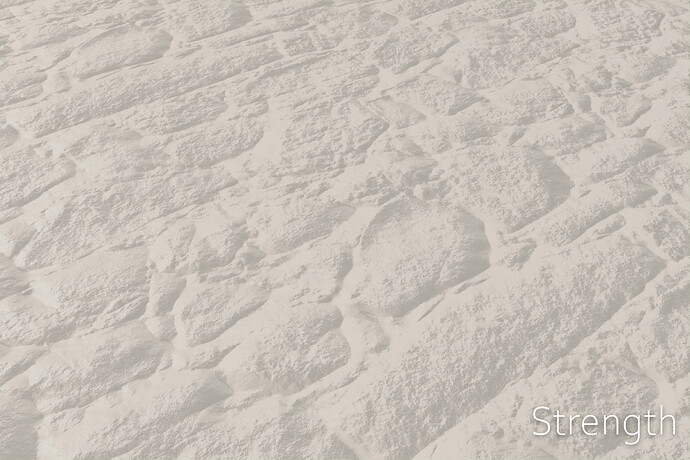
Below I have a example of some a stones texture put into a Displacement Shader with a strength set to 0.03 (which means it’s distance between top and bottom is 0.03m if using a height map that’s normalised between 0 and 1) compared to a Bump Node with a Distance also set to 0.03, and then the same displaced compared instead to a Bump set with a Strength value that I tried to match the displacement as good as possible with a value to 0.27, which as you can see still don’t match. It’s especially in the shadowed regions that you should look at. It also sort of feel like the strength-bump has a generally “clamped” feeling to it.
Of course using Bump and Distance ain’t perfect either since it’s just faking the normals, so you don’t get self shadowing, self light bounces or any parallax, but seeing that it’s way cheaper than displacement and it looks almost the same using Distance then that’s really the way to go!
The reason the Strength slider is bad is because it just fades (or “lerps” as it’s apparently called) between whatever you set your Distance to and a flat normal which is the wrong way of doing it. Not sure why they even have the Strength slider really, at least it should be labelled in a way that makes people prefer using Distance instead. But the main “problem” with Distance is that depending on what your doing might have to set that value to something really low like 0.001 to make it look correct, since that surface is only supposed to be displaced 1mm, and I guess most people try using the distance but it still looks wrong at 0.1 and the Strength slider shows a lot of difference set to the same value they will go for that instead.
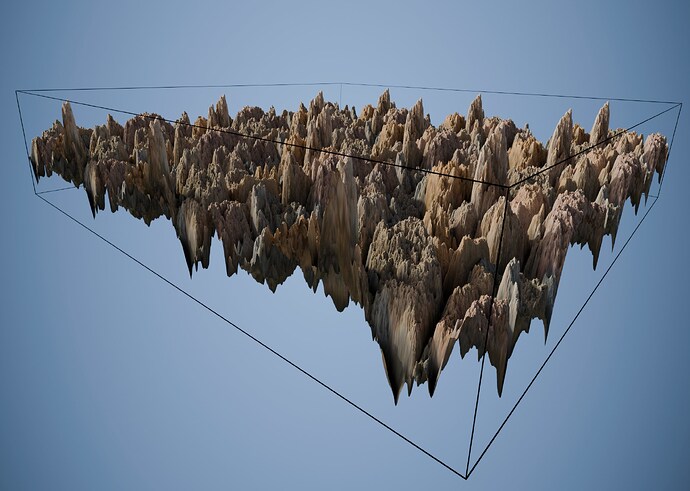
Btw, here’s just a view of the displaced surface set to 0.5, with a box that 0.5m high just to show what the Strength slider in the Displacement Shader does, and what the Bump set to a Distance of 0.5 is supposed to mimic, which also shows why Bump often looks really bad with a high Distance value ![]()

