Hey guys, im trying to put a label on a bottle. The label is an PNG, completely solid with no transarency.
I would like to make this label so it looks a bit more like an actual sticker material…so a bit shiny and maybe with a paper feel to it.
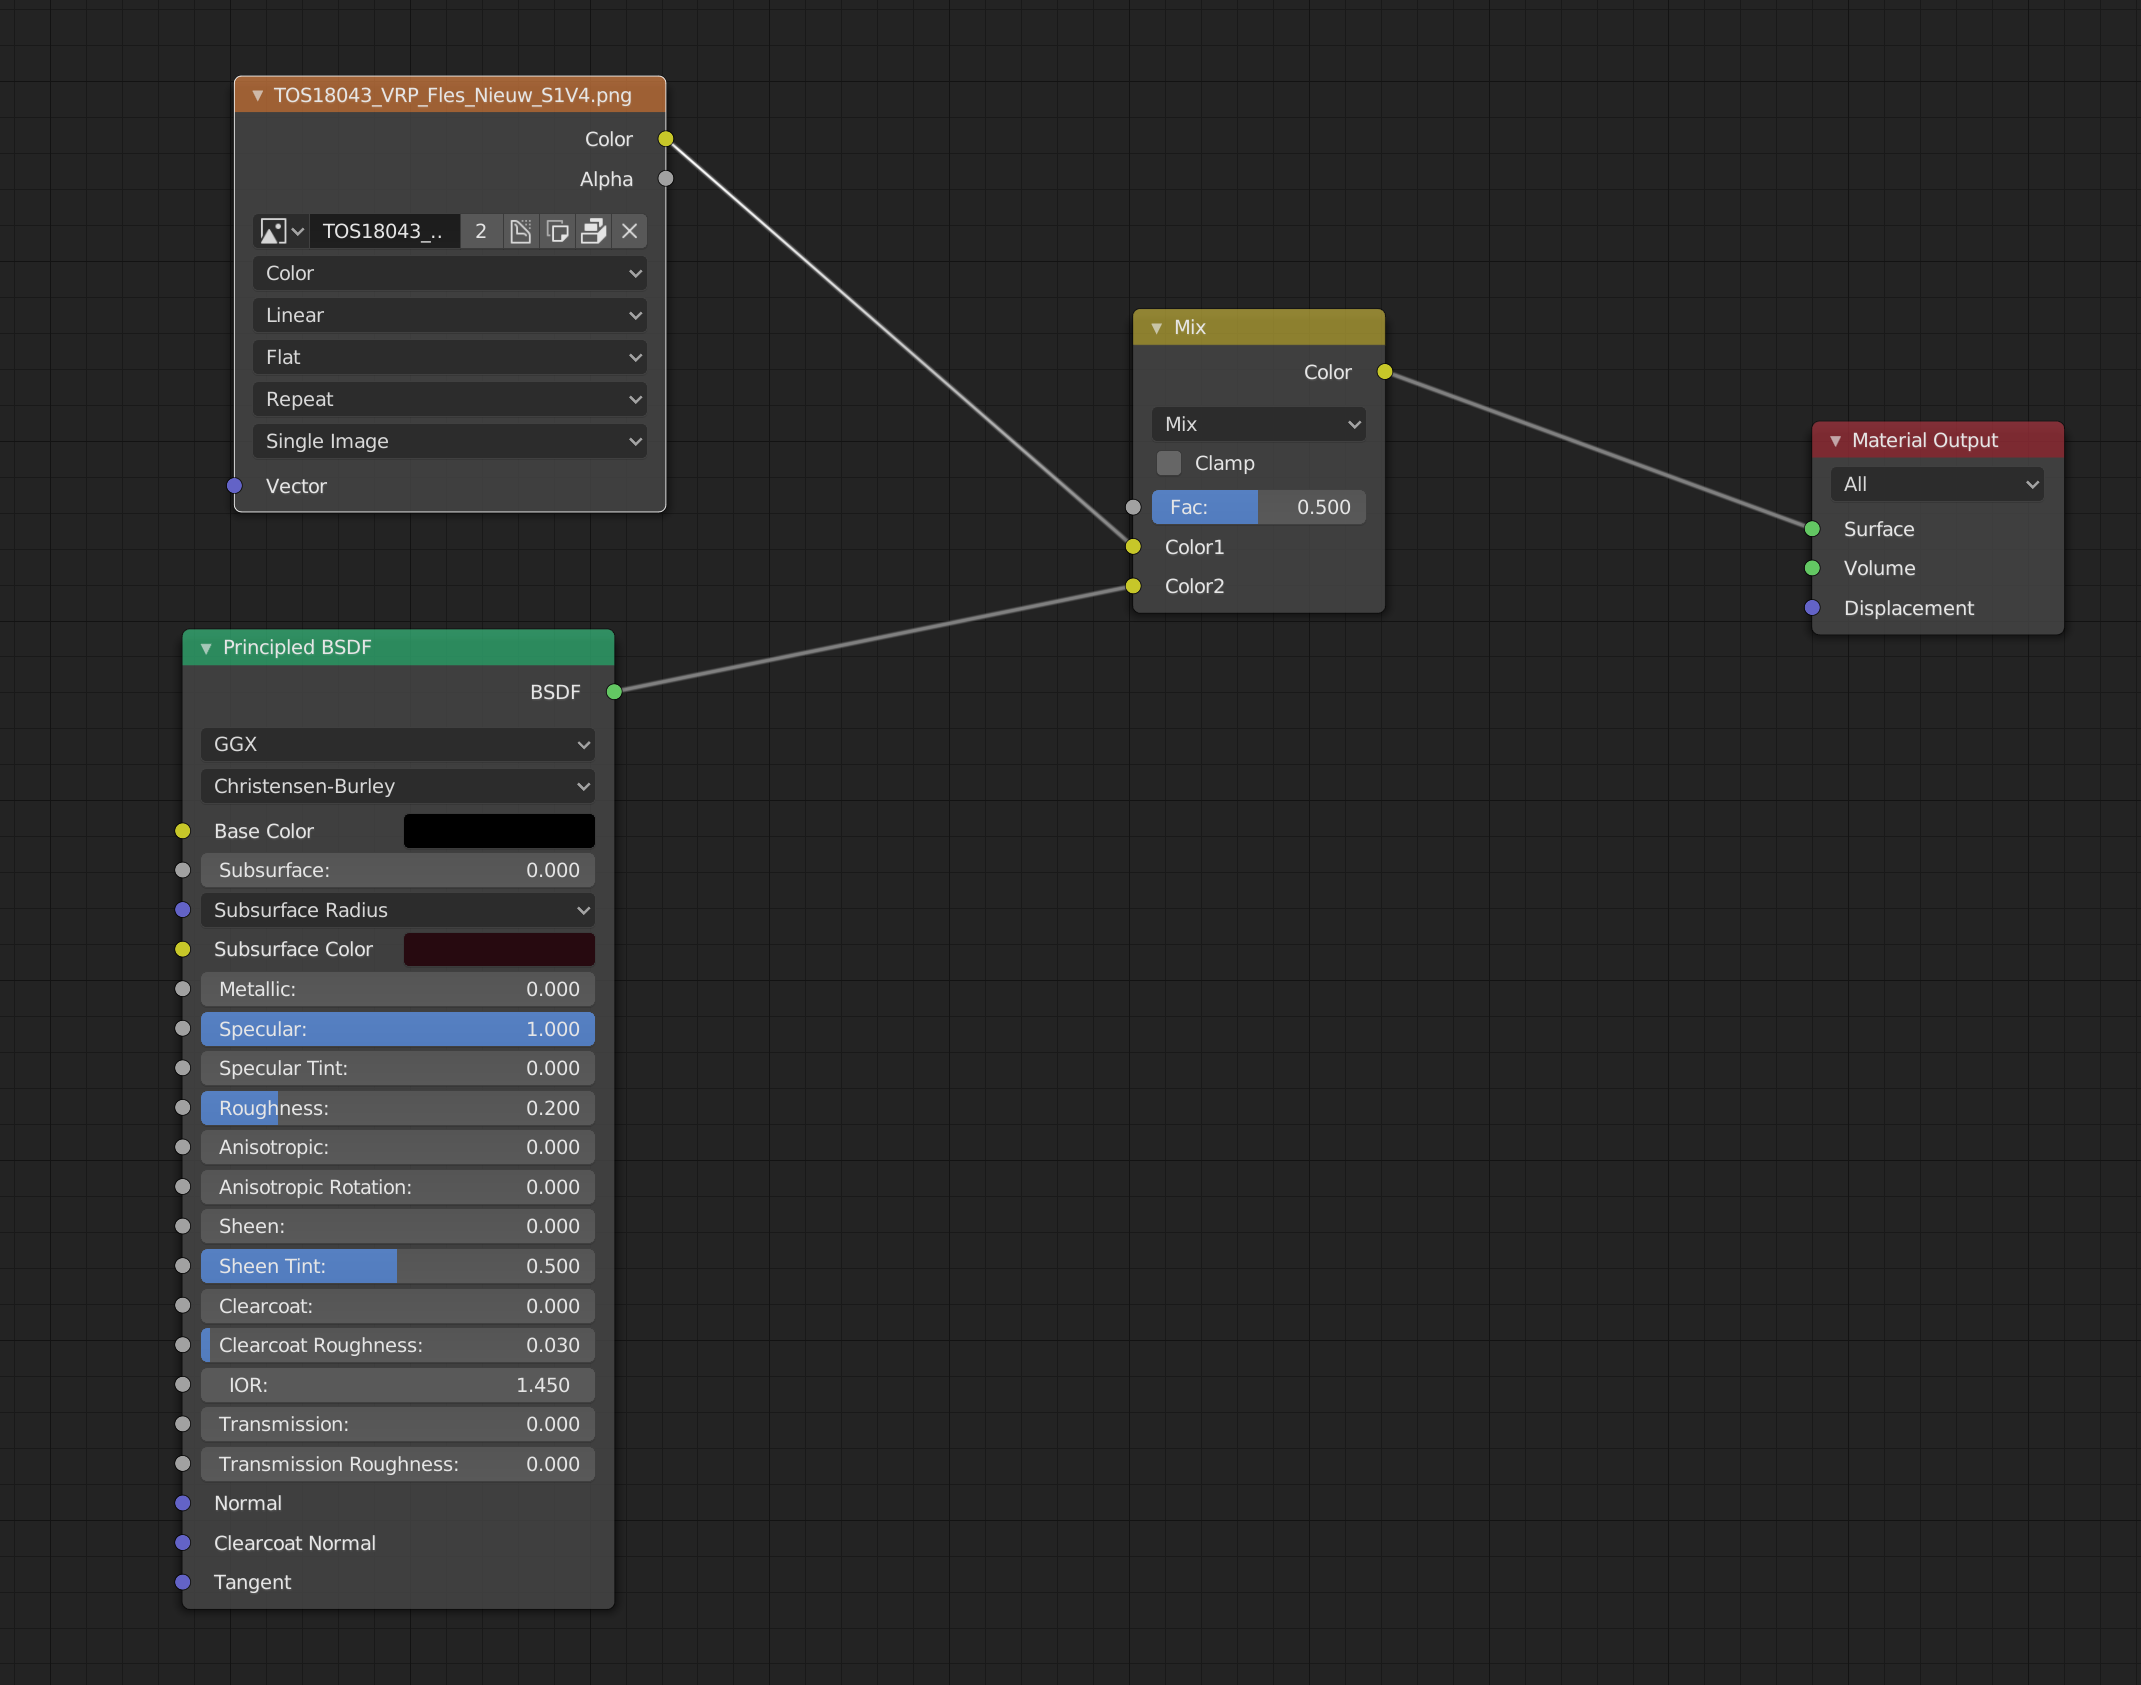
To add the shine, i tried combining it with an principle BSDF node. But I dont know how to combine these so the shine of the BDSF will be applied to the image texture
You don’t need Mix node at all. Principled shader is what accepts the color input, in this case image texture input.
It isn’t clear if you need transparency or not but if sticker is actually modelled then it should be as easy as adding image texture to the sticker mesh and maybe plugging roughness map into the Principled shader to add some roughness variation. If it’s non-metal sticker put Specular down to something 0,4-0,5.
I also don’t get what do you mean by “shine” in this case. If you want some glowing effect then it’s better to do it in post-production with Glare node.
I plugged the image texture in the color input of the BSDF shader, and it got me the result I was looking for. Much simpler then I thought …and with shine i meant a reflective surface… So its not completely diffuse.
But when you say… add a roughness map to the bsdf shader… Can you tell me how i can create a roughness map to use in the principled shader? Do you create it from the image texture or is it something generic you can create in Blender?
Generally roughness map assumes everything black is shining and white - rough. So you can use ColorRamp node with 2 or more color stops to create basic roughness map just inside Blender. Advantage is that you can use it to create roughness map from procedural texture in Blender on the fly (and of course converting can be more complex than just one ColorRamp).
For cases when Blender nodes isn’t enough you can use other programs like Photoshop / Krita (just general image manipulation, you need to know what colors are you aiming to), AwesomeBump, CrazyBump etc.
 …and with shine i meant a reflective surface… So its not completely diffuse.