How to add texture via scripting

I’m reading an addon codes. It’s used to automatically add an image(texture) on an model and render out an image. User can feed any image and model. Here is the code snippet:

def addMaterialImg():
for img in bpy.data.images:
    name = img.name_full
    material = bpy.data.materials.new(name= name)
    material.use_nodes = True
    #create a reference to the material output
    material_output = material.node_tree.nodes.get('Material Output')
    Principled_BSDF = material.node_tree.nodes.get('Principled BSDF')                                 

    texImage_node = material.node_tree.nodes.new('ShaderNodeTexImage')
    texImage_node.image = img
    #set location of node
    material_output.location = (400, 20)
    Principled_BSDF.location = (0, 0)
    texImage_node.location = (-400, -500)

    material.node_tree.links.new(texImage_node.outputs[0], Principled_BSDF.inputs[0])
    material.node_tree.nodes["Principled BSDF"].inputs['Specular'].default_value = 0
    material.node_tree.nodes["Principled BSDF"].inputs['Roughness'].default_value = 0.5
    mat = bpy.data.materials.get(name)
    mat.blend_method = 'CLIP'
return mat

What I’m confused is, how addon find the particular mesh which I want to add image(texture) on? Here it seems the addon follows the node location. If so, what the value (400,20) (0,0) (-400,-500) mean?

I need to make it clear, because I’m creating models for it. There must be some standards should be followed.

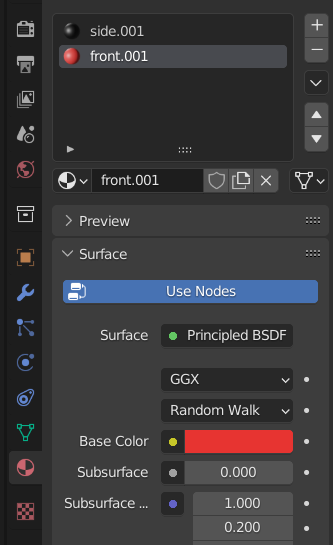
The developer figure out that the models here should be merged into one mesh so the script could operate them. I checked the sample model from the developer, there are 2 material slots. The image mesh is on one of them.

So the addon should know which material slot and which node, right? How?

You can iterate all materials first and find one that has the image node. This one should have the image changed.

Another is you could check materials based on their name. However this might not work all the time, if materials are named in any possible way. At least you can rename your material right away to front.001+ZZZ to tag it, and then as you run the script, to iterate again all materials and add the image node to only that one that is tagged.

For me personally, is better to have a template material, you create once and know what it does. Then reuse it all of the time or copy it when needed.

In this example I have three images loaded, and a material created with an image node. I just swap data and have the desired effect.

import bpy
def set_image(image):
    # do not use render result
    if image.name_full == 'Render Result':
        return False

    # get specific material
    material = bpy.data.materials['Material']

    # get the shader node
    bsdf = material.node_tree.nodes.get('Principled BSDF')

    # get the image texture node
    teximage = material.node_tree.nodes.get('Image Texture')
    print(teximage)

    # set the image
    teximage.image = image

def render_image(image):
    bpy.context.scene.render.filepath = '/tmp/render'+image.name_full
    bpy.context.scene.render.image_settings.file_format='JPEG'
    bpy.ops.render.render(write_still=True)

def render_all_images():
    for img in bpy.data.images:
        set_image(img)
        render_image(img)
        
render_all_images()

If you have any other questions let me know.