Hello, I was wondering if anyone would be able to help me with applying some tread to a car tyre, I just cant seem to figure it out.
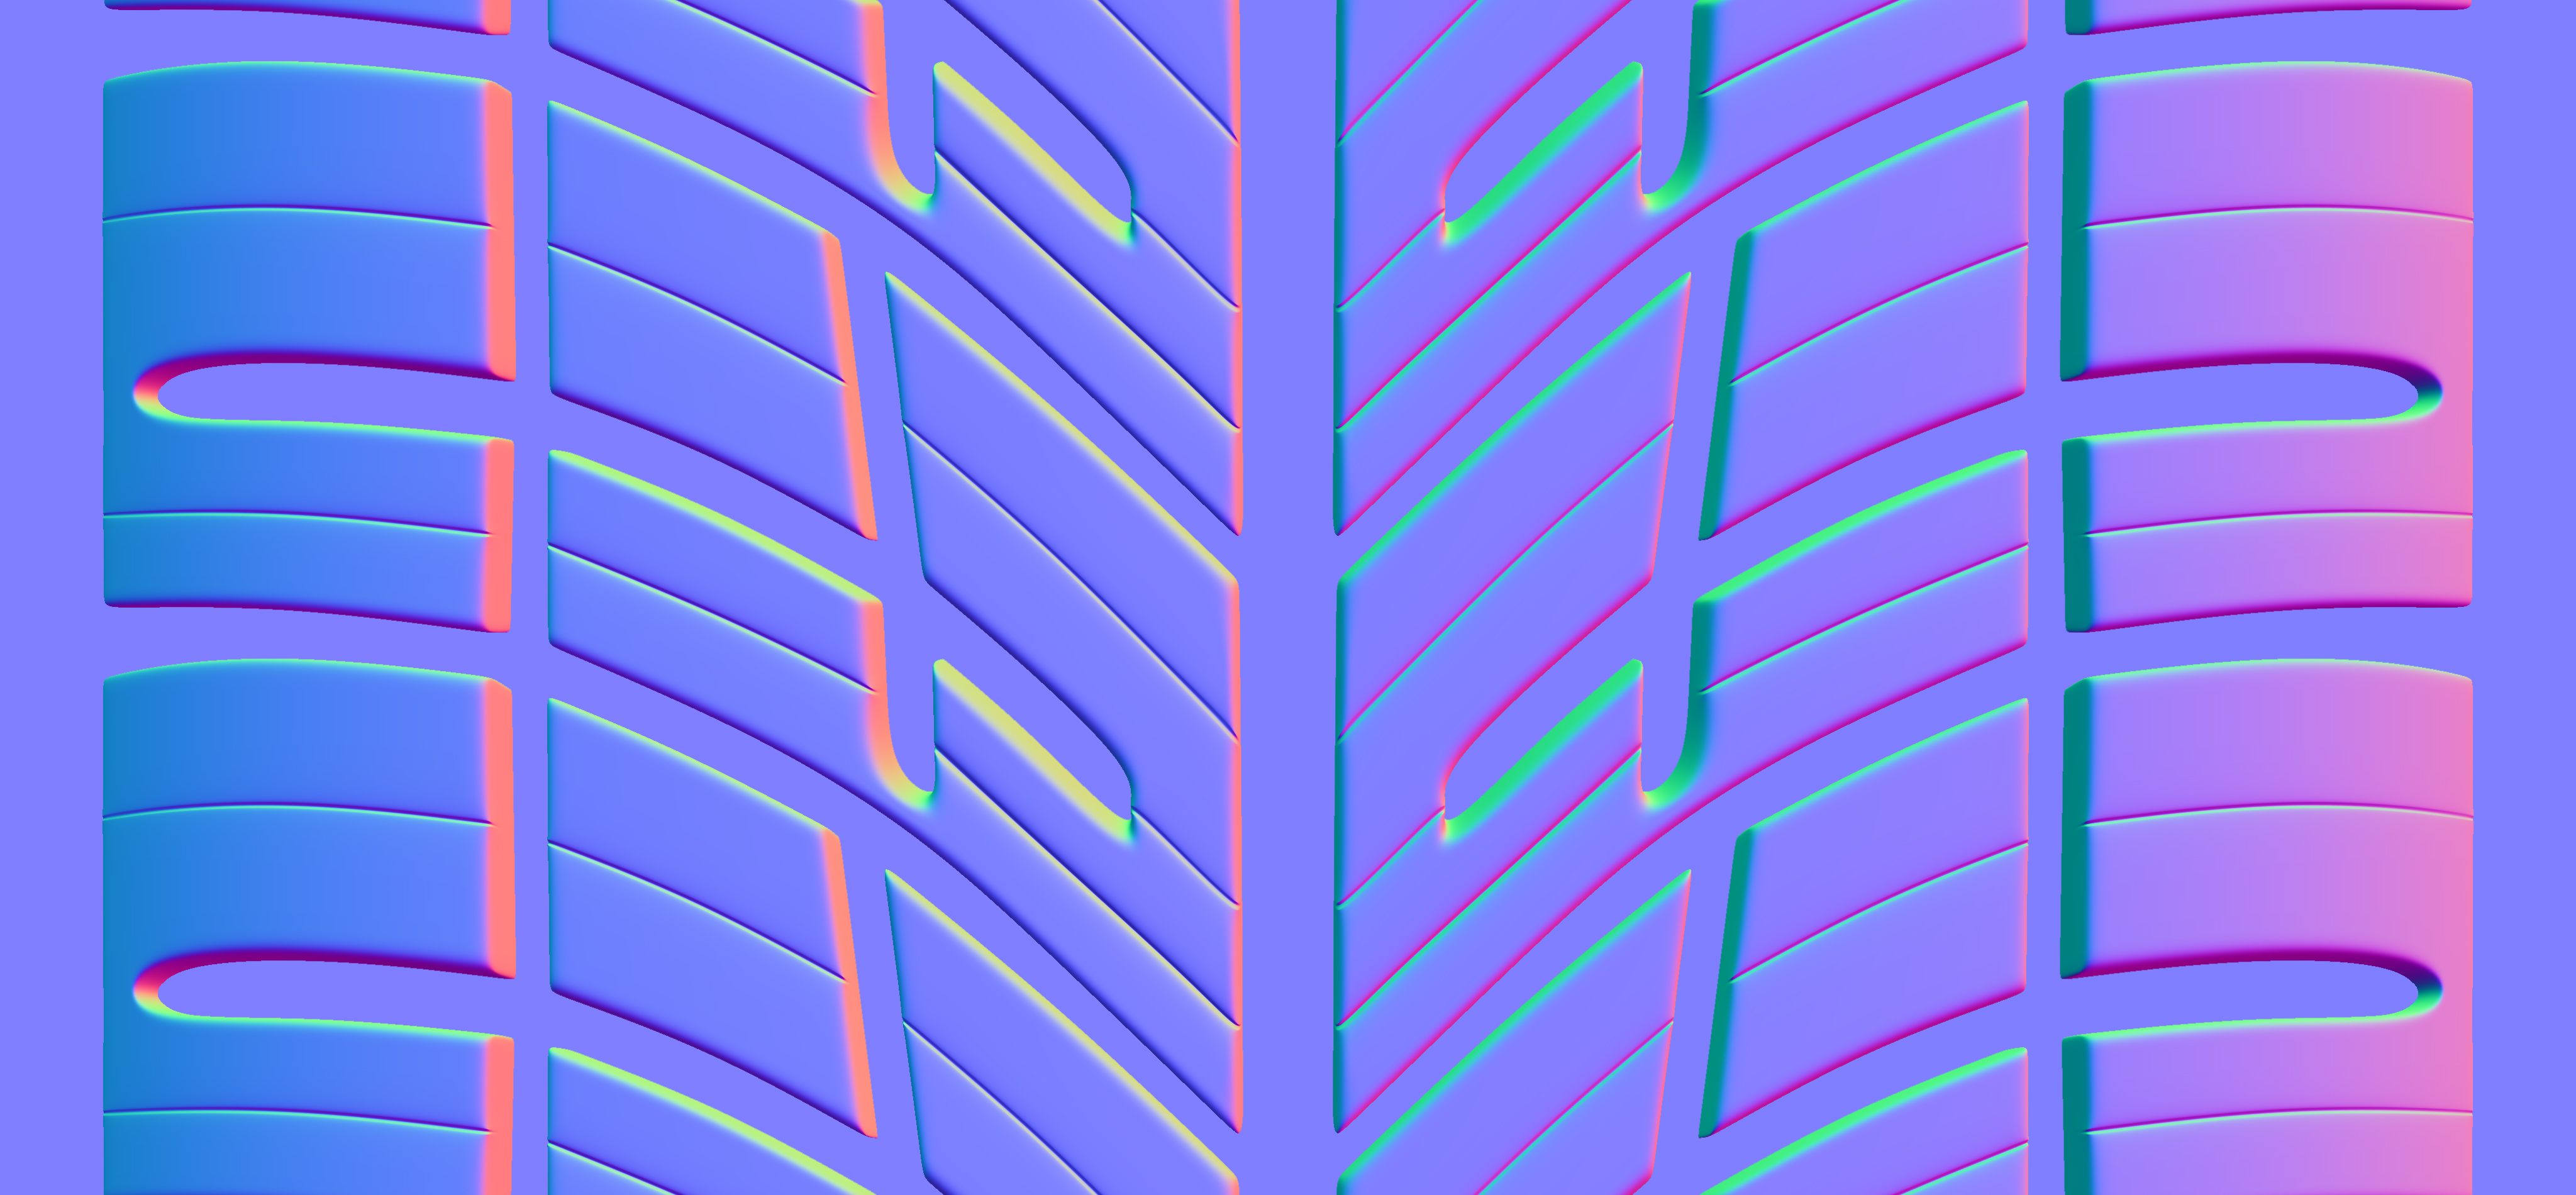
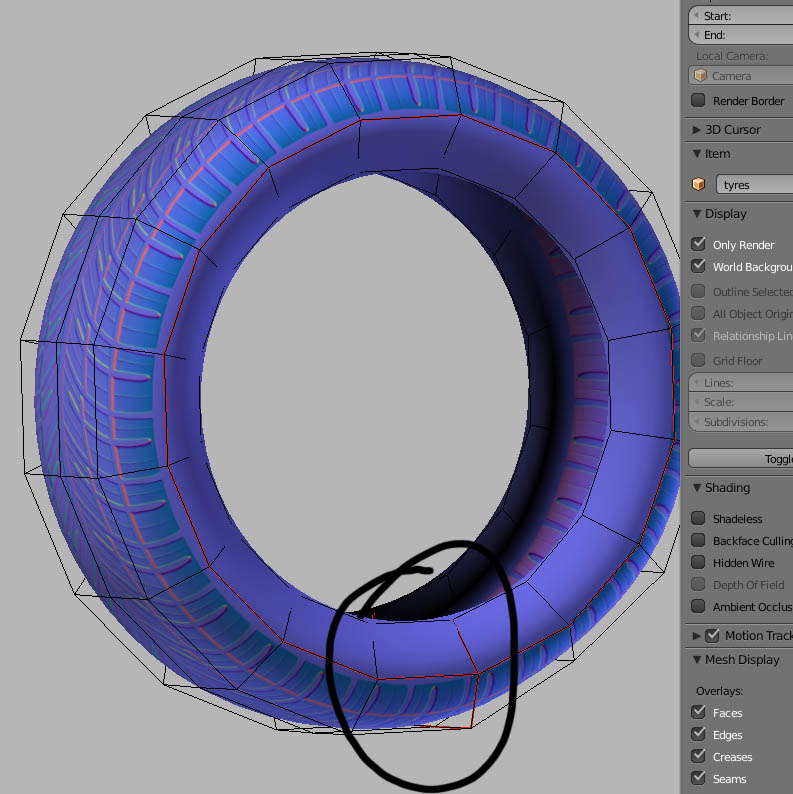
I’ve used substance painter to apply a basic material (pic 1) to the tyre but I cant seem to work out how to apply a normal bump map of a tyre tread to this, in substance painter or in blender nodes. Whats throwing me is how to apply the normal to the top part of the tyre only where its usually seen but still keep the material set up from substance painter.
Anyone who can help will be much appreciated, or if theres a better way I should be using - texturing and materials are still new to me
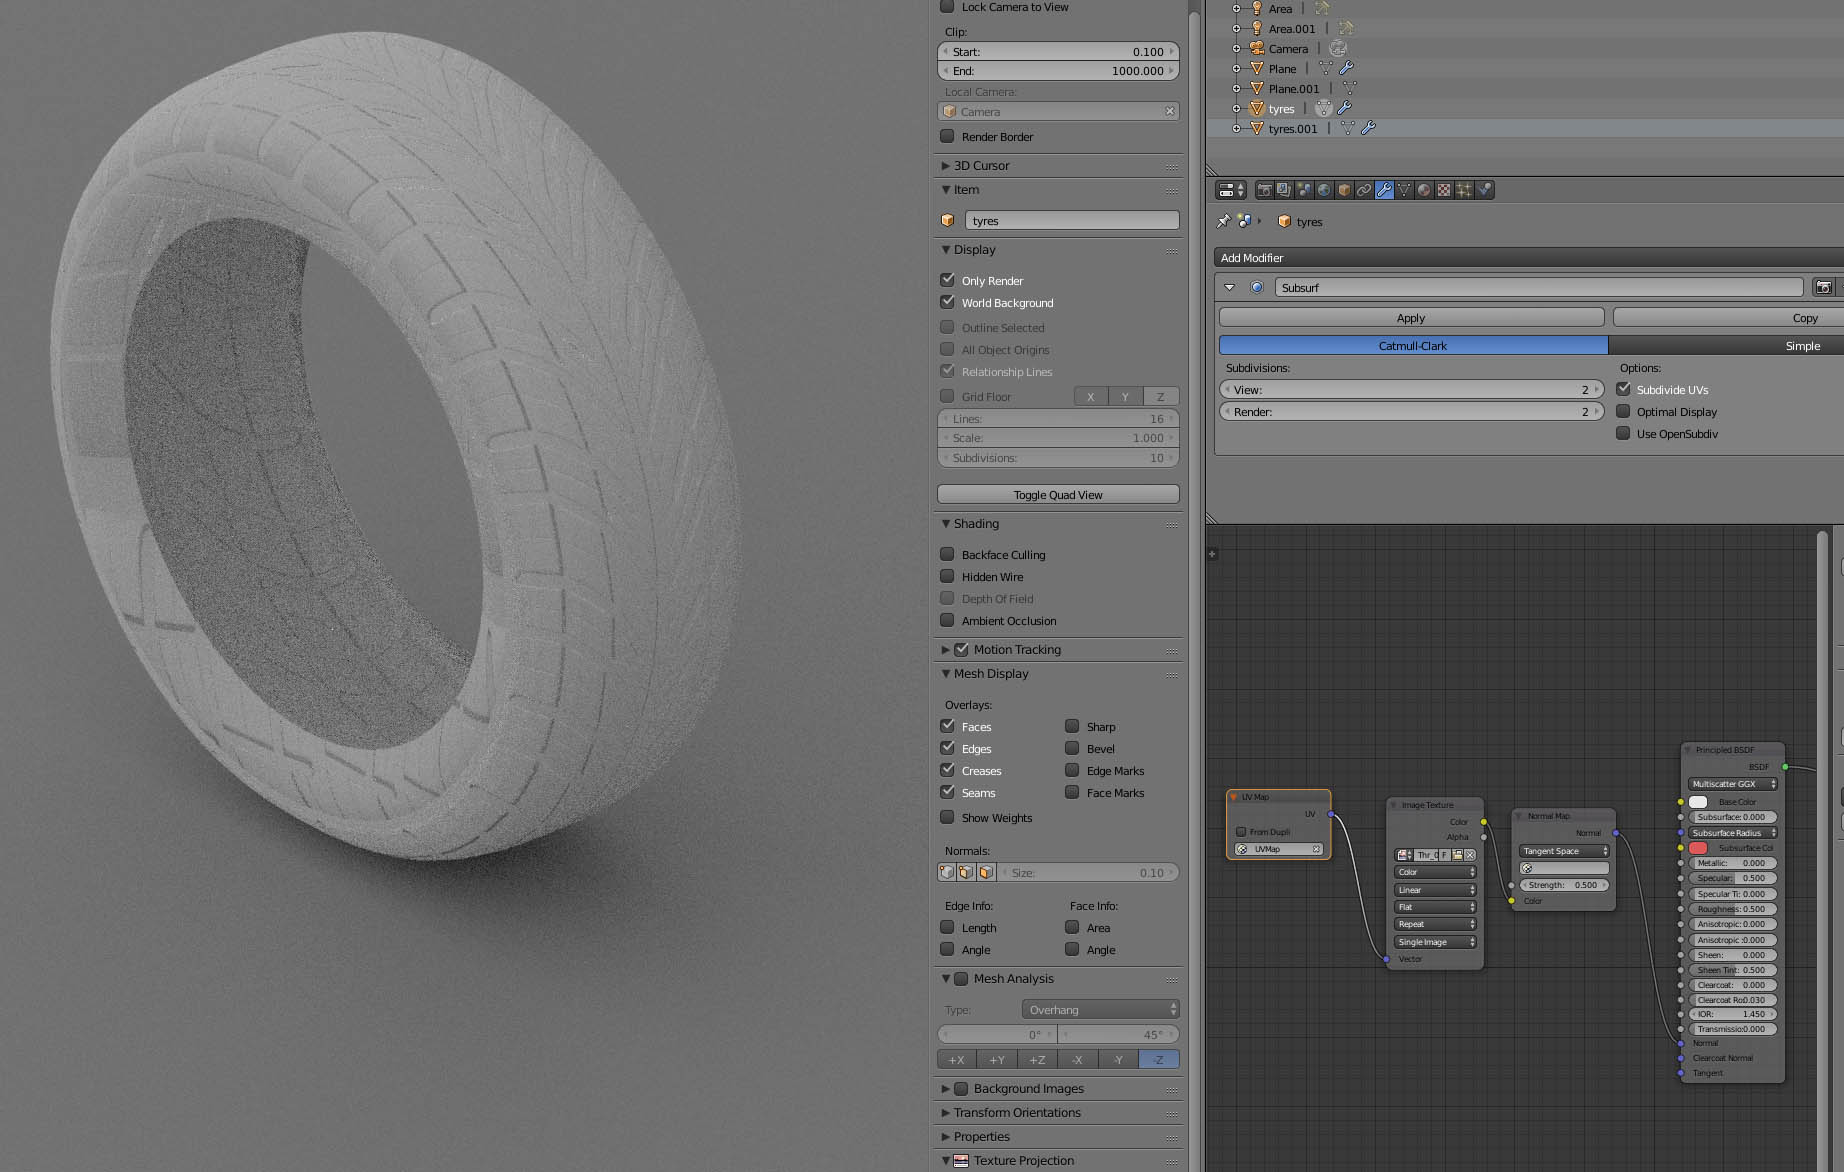
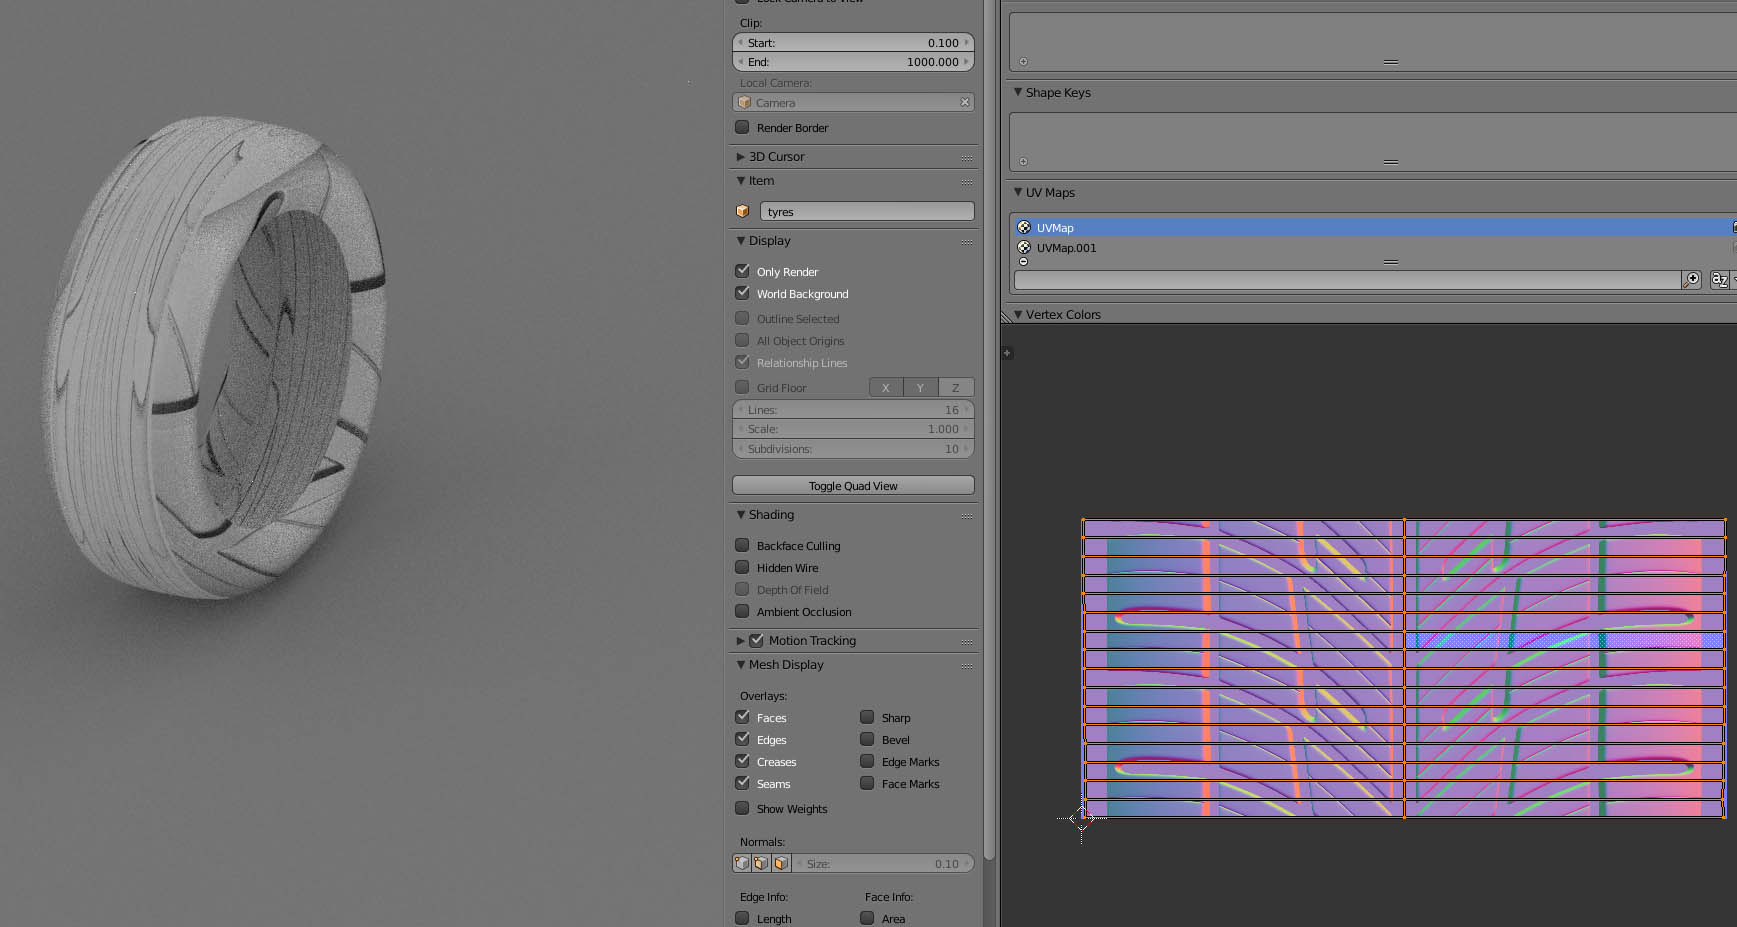
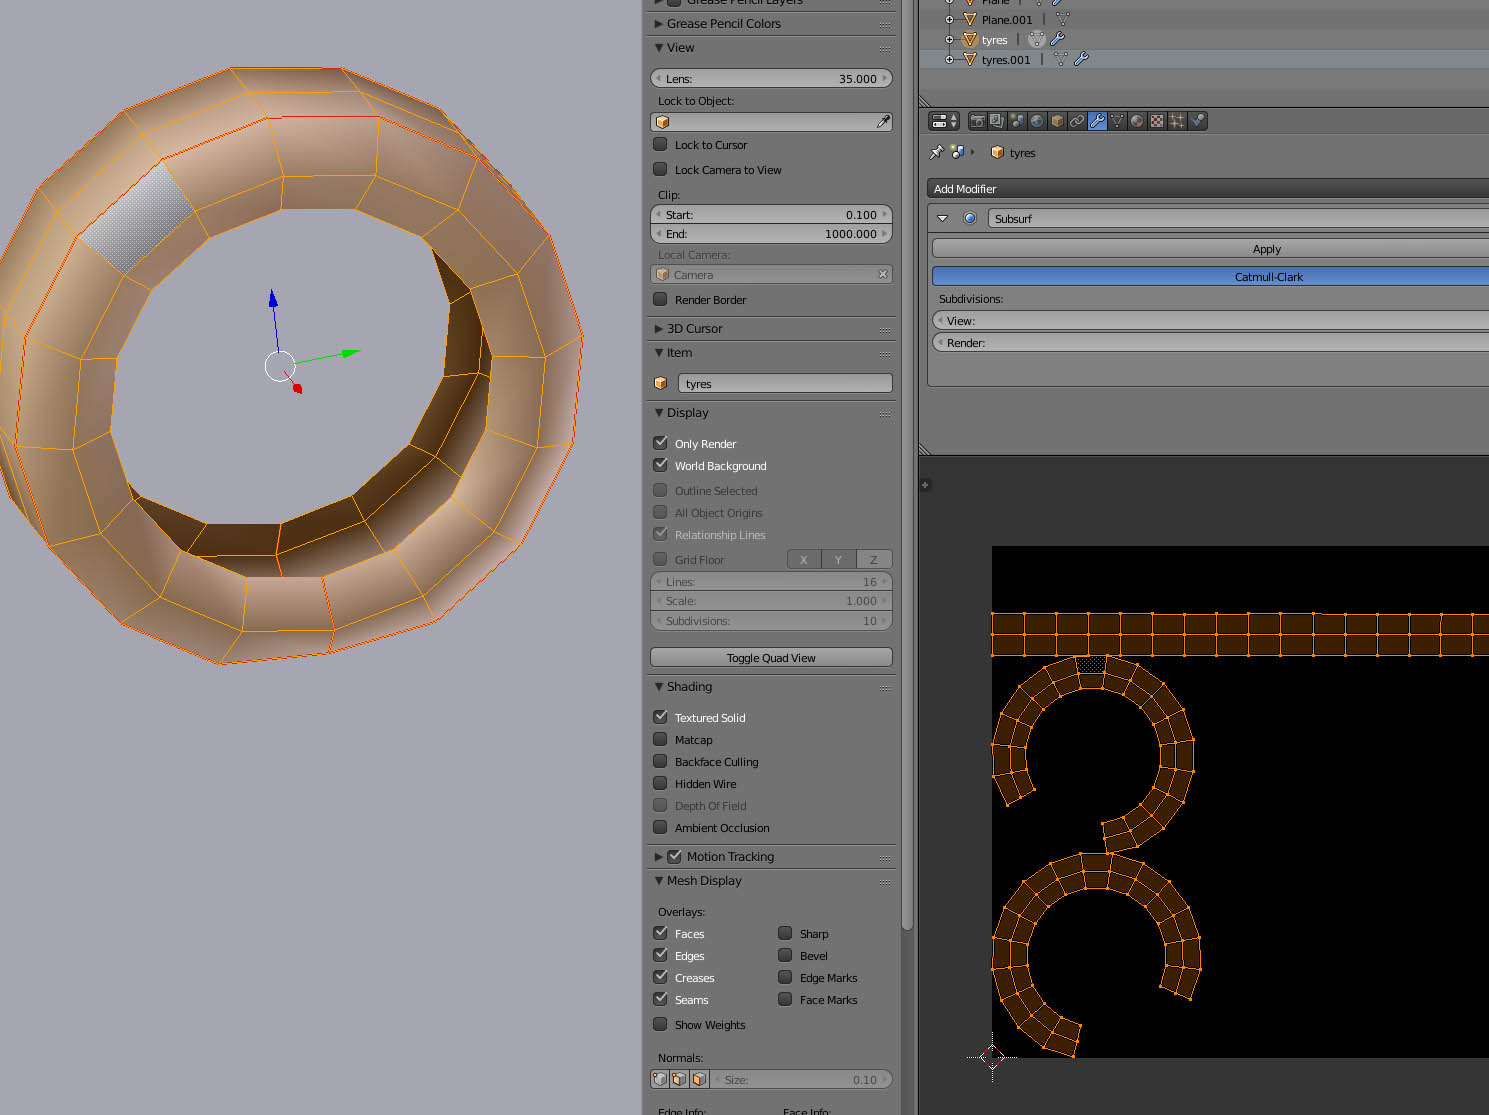
Use the Follow Active Quad option to unwrap your mesh into a squarish shape. From there it’s a question of moving and scaling to fit the texture. To prevent applying the tread on the sides of the tire, just shrink them down on the UV map and place them on a flat section of the normal map.
hey JA12, sorry you might need to go a little slower, sorry to be a pain… so is my current substance painter set up not gonna work at all with adding a tyre normal? And also, how would i set up a new uv layout if my current one is already in use?
Hey, I gave your idea a go but the results arent like yours haha. I cant seem to just unwrap the top part where the tread is suppose to be and for some reason it unwraps everything hence why the texture appears everywhere.
I still couldnt figure out how to actually use and create 2 separate uvs even though I tried from looking at your image. Sadly still not sure
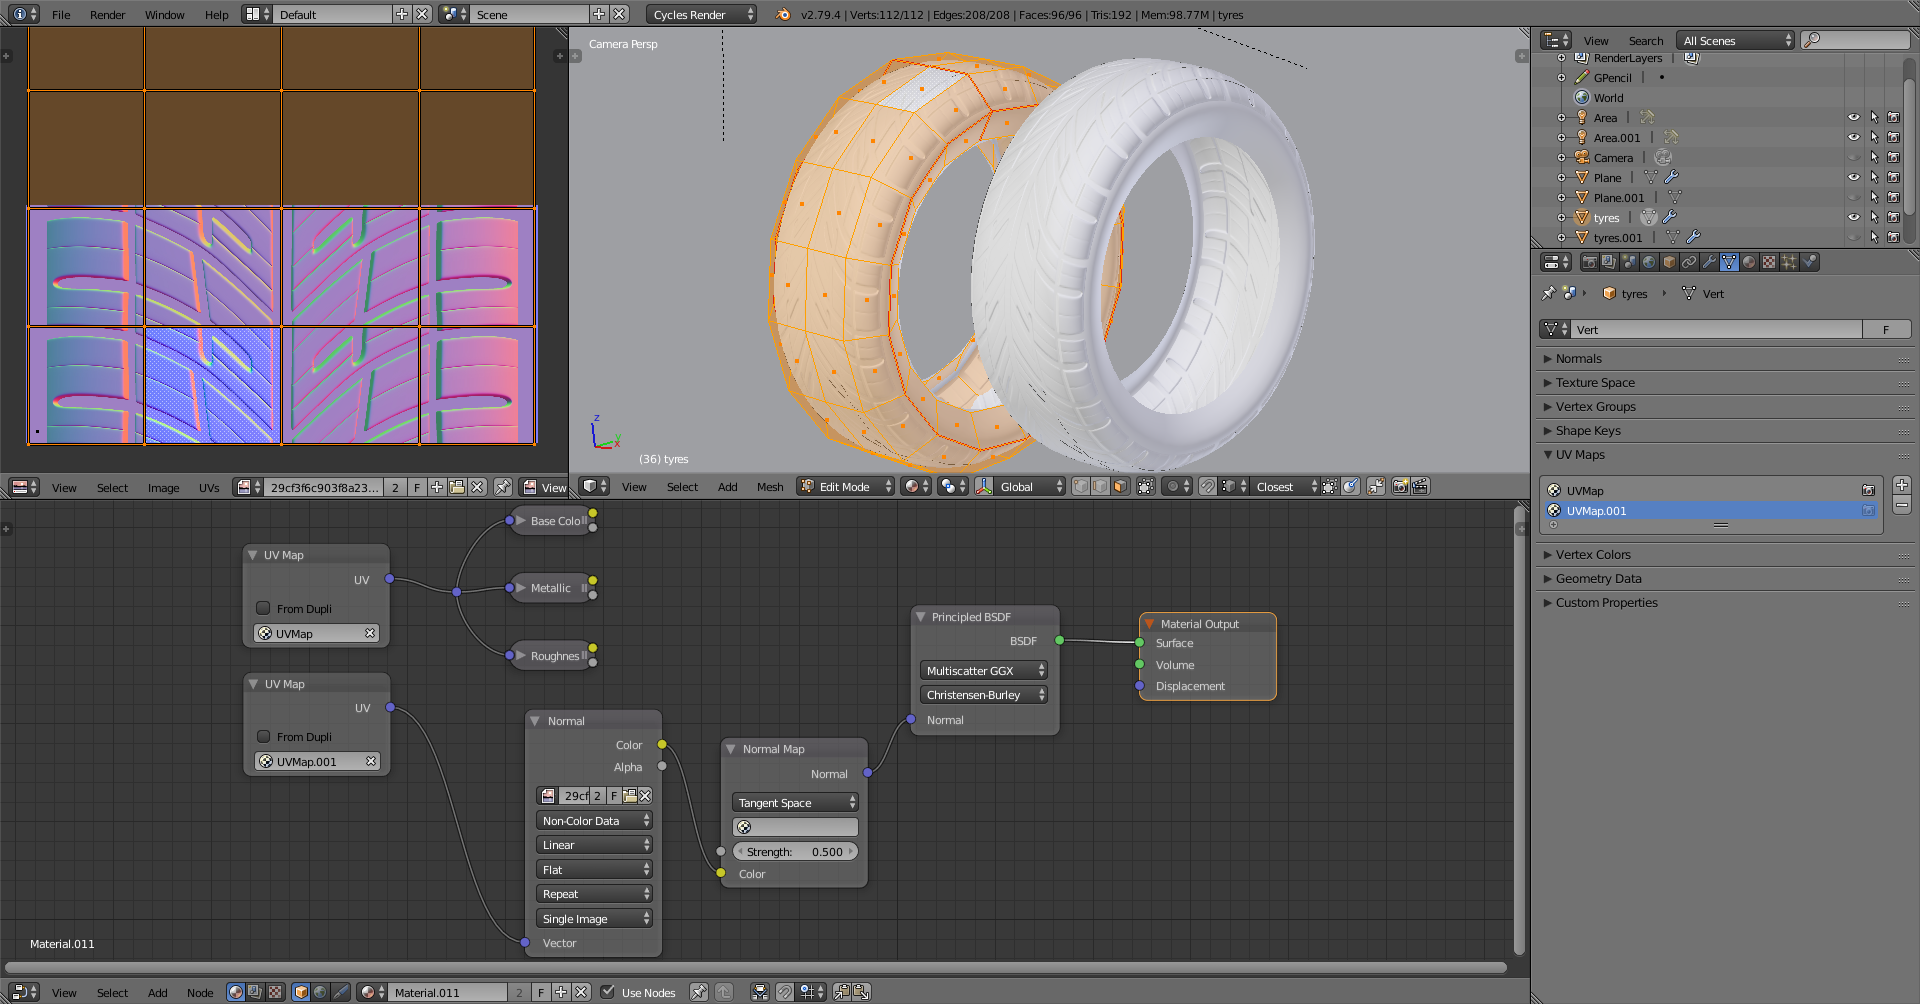
To create a second UV set just hit the plus in the UV set list (in the properties panel, object data tab). To use it in a shader, you have to use either the Input->UVMap node, or the Attribute node and connect it to the image node’s vector input.
Thank you so much Piotr for your help with this! How did you isolate the top part of tyre to be unwrapped only? I tried unwrapping with just seams along both side edges but when the texture was applied it went everywhere…
Ahh yeah I saw you did the same then… however I cant seem delete the inner circles when I unwrap like you have. When I select the whole tyre from your file the inner circles dont appear. When I do the same for my file, the appear and it causes unwanted texturing on the inner tyre… Any suggestions? Again thank you for taking the time to help
They are not deleted. You can’t delete things from a UV map. They are there, scaled down very small on the left side of the UV map. Select the edge loop at the rim, hover your mouse over the UV editor and press period (.) on the numpad. You’ll see it.