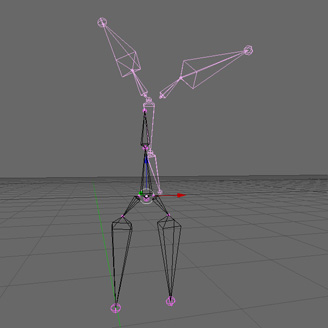
How can I get these bone roots together? When I try to connect them, they join only in a tip of one of them (which makes the animations go wrong). The problem of being separated didn’t affect the movements until I re-shape the armature…
Attachments
How can I get these bone roots together? When I try to connect them, they join only in a tip of one of them (which makes the animations go wrong). The problem of being separated didn’t affect the movements until I re-shape the armature…
off the top of my head you could try placing the roots where you need them and parenting them to the main bone using “keep offset.”
That way the result in Pose Mode is even worse. Thanks anyway!
Not sure that there is enough info here to really answer that question correctly, care to attach the .blend? Since (jay)'s suggestion didn’t work (which it should’ve) I’m thinking there are other things affecting this.
When I try to connect them, they join only in a tip of one of them (which makes the animations go wrong)
So does that mean that these bones already have keyframes set for them? Are they part of an IK chain? Are there any constraints on them at all? And what is your final goal, do you wish the roots to not move at all? I’d have to look at the file closer with any animations you have to make a good suggestion. Also, note that changing a rig that already has animations on it will affect the animations…
Randy
Ok, more info…
These bones are the legs and the pelvis of a character. They worked together, but now that I re-shaped the armature to fit other character, they work separated in Pose Mode (which causes weird animations). No IK chain, no constraints…
My final goal is to get these bones working together in Pose Mode, I thought it would be a quick way to ‘weld’ them in the roots.
I can’t show the full file (it’s a commercial asset) but here’s a link with essentially where the problem is. Switching from Edit to Pose Mode, the bones get unconnected, and believe me, that causes weird animations because the movement involves the whole body (see Action.001). The position downwards of the armature is part of the animation, the problem is… how to connect the bones ‘roots’?
http://www.sebasmartin.es/Artfolio/boneRoots.blend
I’ll need to re-rig avoiding reshape that part of the armature, which gives the issues 
Thanks for trying to help!
try this
go to pose mode, select all bones (A) then pose/ clear transform/ clear user transform (W)
Here’s what I see as the major stumbling point: the bones you want to connect have keyframes for their location set. So if you connect the bones as you want, you would have to delete the location keyframes. This is probably why when you followed (jay)'s advice, things got worse. Once you parented the bones as (jay) advised the action got worse because now the bone’s location keyframes are evaulated in relation to the bone they were parented to. Not sure that is clear. The pelvis bones you want to connect have no parent, they get their location from the location keyframes set for them. Once parented their location is now the location of their relationship to their parent + the location keyframes set for them.
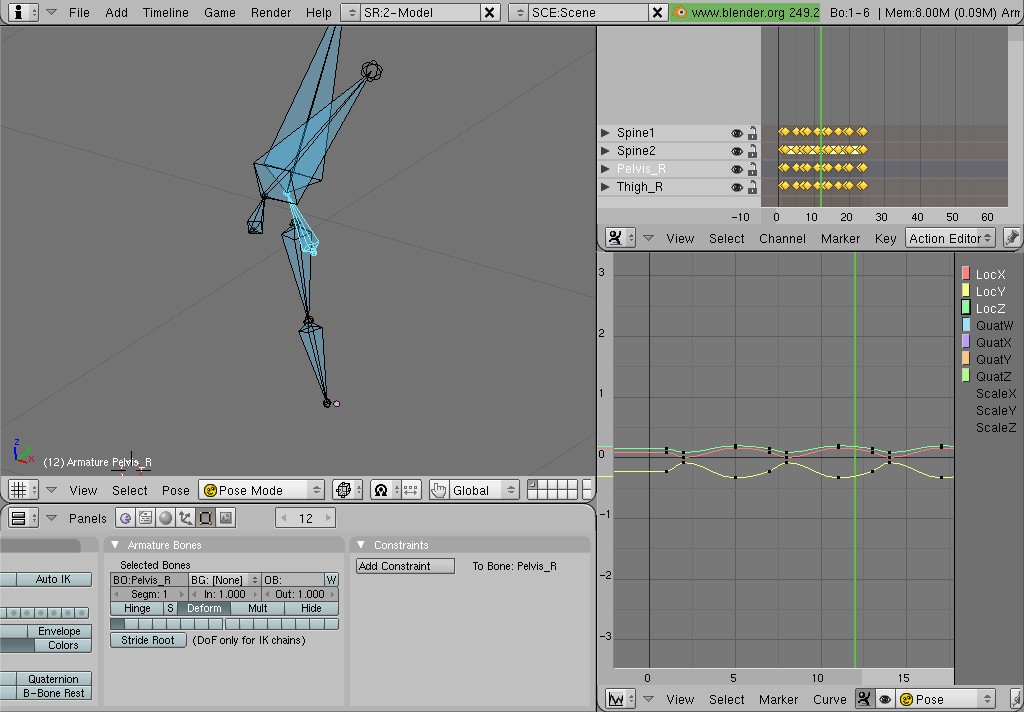
Another interesting problem I noted was that at frame 12 of the animation, the thigh bones cross. A screenshot showing this and the location keyframes for Pelvis_R is attached, look at the ipo window to see the keys I speak of.
This is likely the result of you taking the rig from one character and using it in another. For example, say I have a tall skinny character with an armature and I take the armature and try to use it in a short fat character, to accommodate the changes from the two meshes, I would probably need to change some of the bones around, scaling them in size to fit the new mesh. Well if I change the bones in edit mode, I don’t change the animation data so it won’t work. Say the tall character has a walkcycle animation in which each stride is 2 blender units, if I change the armature for the short character, the animation data is still going to want to make each stride 2 blender units, but the short character with short legs can’t take the same steps as the tall character due to difference in leg lengths.
I’m not even sure if what you are trying to do is possible, but I’ve not really tried to recycle a rig before. Best approach I can think of is to start over, take the rig and place it over the new mesh, then in object mode, scale the rig as needed so it fits the new mesh as best as possible. Scaling in object mode scales animation data, I’m thinking.
Other ideas I have might work, but I’m afraid they are too complex to deal with and keyword here is ‘might work’.
BTW, is this some sort of mocap animation?
Randy
@ sx-1: Tried it, but no luck 
@ revolt_randy: Ok, maybe I will re-rig it scaling that zone in Object Mode
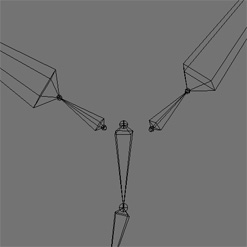
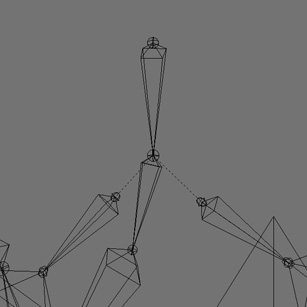
The best solution that I have found is to move the points in Edit Mode until it looks visually right in Pose Mode (the attached pic shows the armature in Edit Mode and in the frame 12). The overall is not bad, but in the character mesh doesn’t look like good enough. Btw, no mocap, just frame to frame by hand.
Thanks for everything!