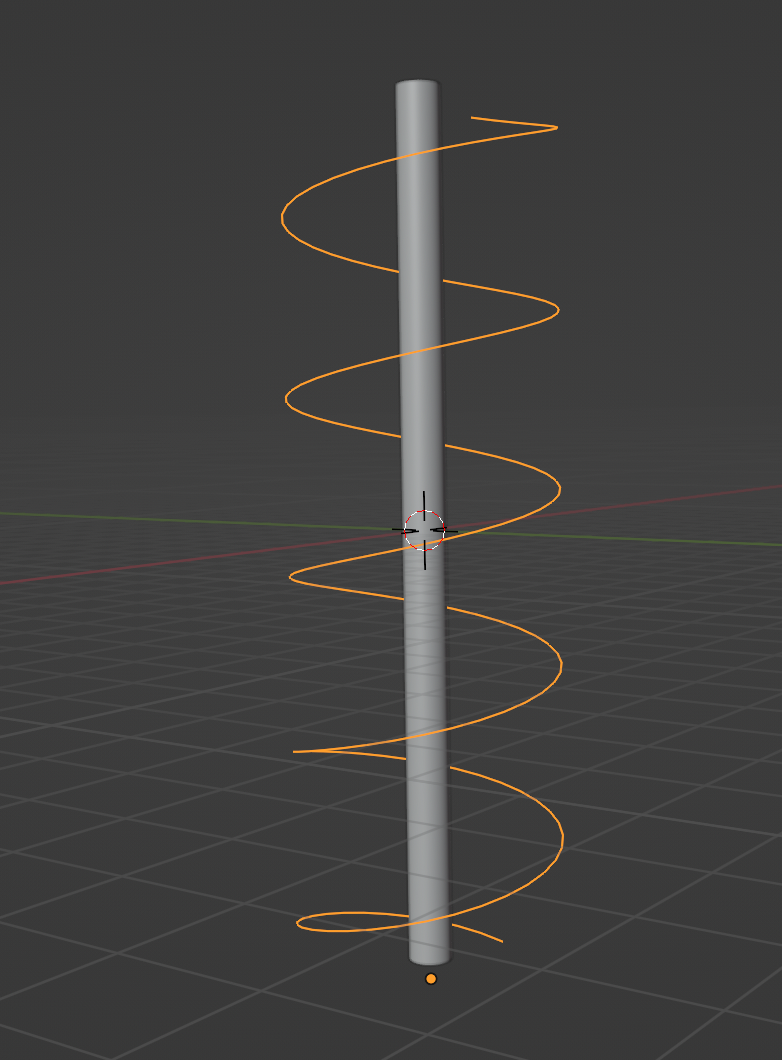
I’m trying to get a straight cylindrical mesh to deform into a spiral. I feel like Geo Nodes would be the most sensible way to tackle this, but after searching around the forums I’m coming up a bit short on the best way to approach this. Any help would be much appreciated.
1 Like
You can also get the length of the spiral with spline parameter node.
This maybe handy if you want the overall length to stay the same.
Ask here if thats what you want…
Thank you, that would be great for creating something that looks like a perfect spring. The problem is that I need to use a specific mesh, so while I know that I can effectively recreate a smooth spring, the mesh that I’m trying to deform is quite specific (and animated at that).
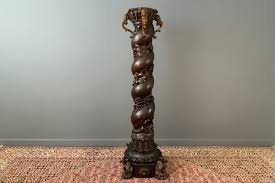
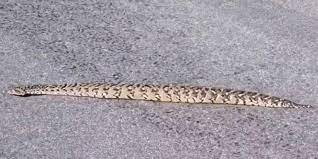
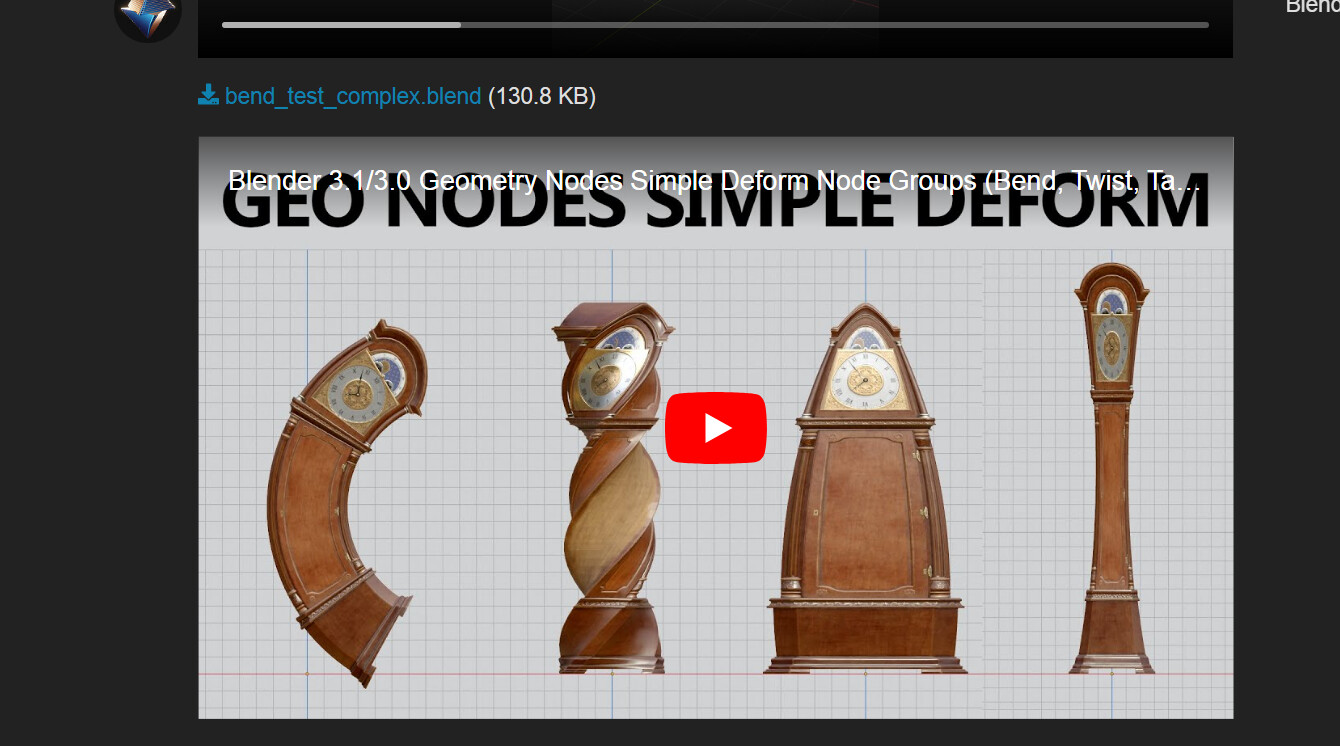
Imagine for instance that I have a very detailed model of a snake in a straight position, and I’m trying to get the snake to wrap/climb around a non-uniform column, so I would like not only to retain as much geometry detail as I can with the snake (obviously there will be some stretching etc. to the original mesh), but I’m also trying to fine-tune the shape of my guide curve to conform correctly to the shape of my ornate column.
I hope that makes some sense.
(images below as general reference…not actual geometry)
Well, thats a completely different question.
2 Likes

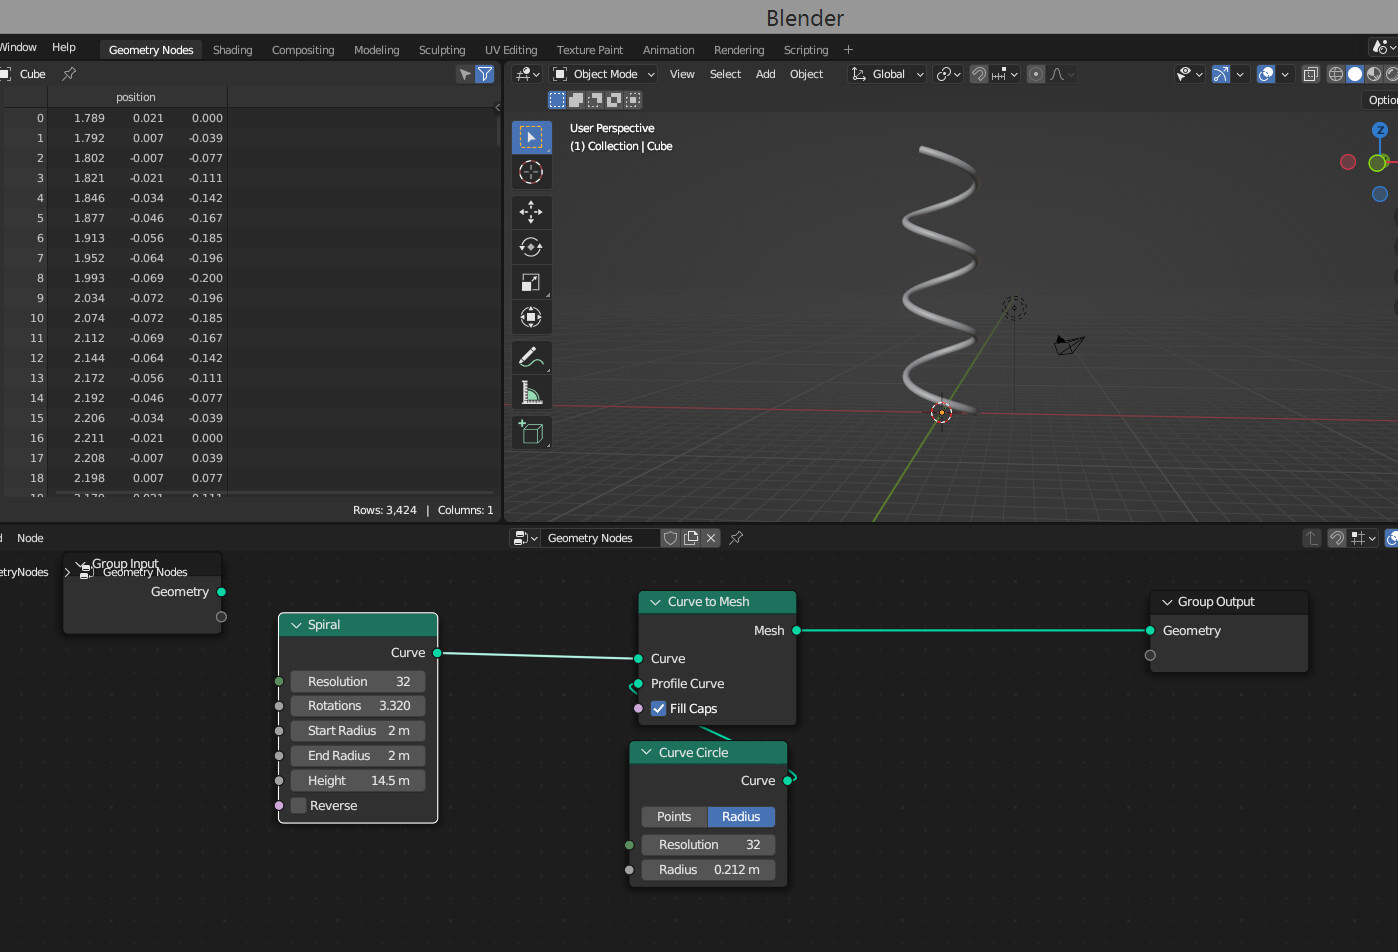
5 Likes
Thank you, this is working quite well!
My next challenge is – how do I adjust the influence of the setup so that I can animate my geometry to either follow the curve or remain straight?
Ideally I would love to be able to keyframe the shape blending from the original to the “spiraled” one in a similar way that I could with a regular deformer.
Many thanks!!!
If your spiral runs fairly vertically, could you scale the curve to zero on the x and y axis? that’ll turn the spiral into a line, while being fairly animatable.
2 Likes
You can just use a mix node to blend between the original position (capturing that at the beginning of the node tree) and the final position. Of course this will move each vertex to the other position in a straight line, which might not look good depending on the twisting of the shape.
Edit: just saw your previous reply, and you are right, it might work better to blend between the point positions of the curve instead of the deformed mesh.
2 Likes
When I scale the X,Y of the Curve it does indeed turn into a straight line, but for some reason the GeoNode network doesn’t update the shape which is likely due to the fact that I need to change the scale values in Edit mode and not from the Object Properties, but I can address that with a Transform Node.
However when I do that, my Geometry start position changes and moves, which means I would need to change the Offset or the Center simultaneously which feels a bit clunky (unless I can configure a Node to do that automatically for me).
I feel like I should shed a bit more light on what I’m actually trying to do since the snake/column was a simpler way to describe what I need…but it’s actually a bit more complicated than that.
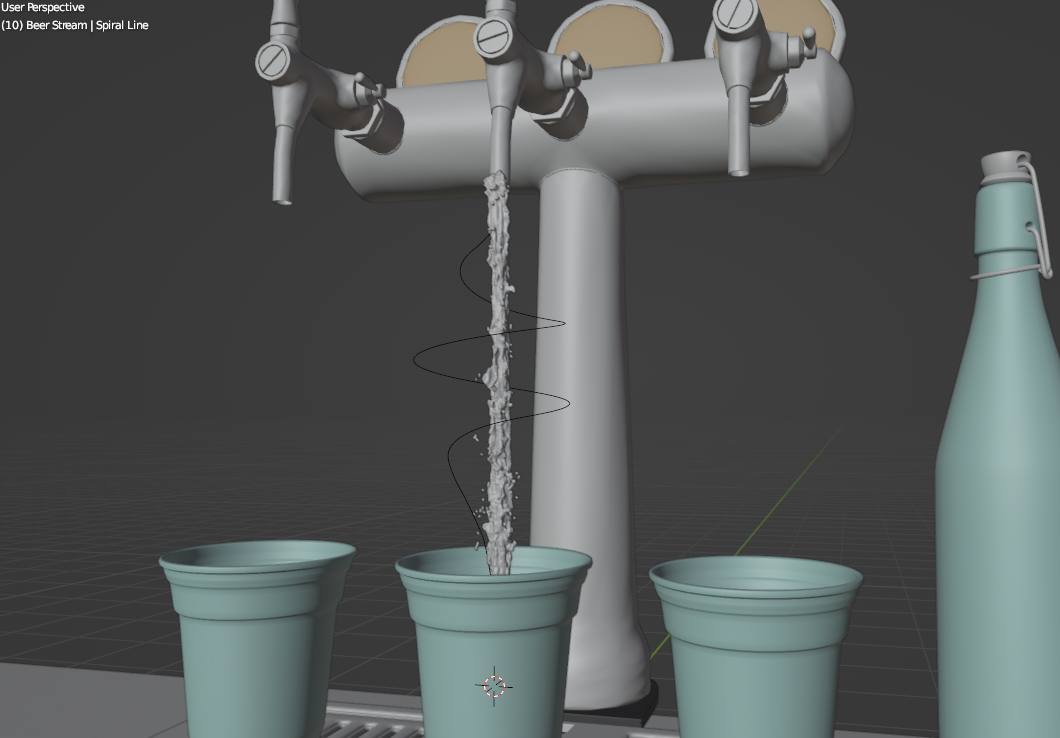
Basically I have a beer spout and beer is pouring out of the spout, it starts out as a straight line, but then, on a musical beat, it curls into a spiral shape.
I ran a fluid sim in Houdini which I then imported into Blender as an Alembic file, and now I’m trying to figure out how to make the rest of it work.
Before trying the GeoNodes way, I was doing it with a Lattice Deformer which was working ok, but wasn’t happy that I was losing a lot of uniformity on my fluid and it was looking wonky and not quite as art-directed as I want.
Here are a couple of screen shots that hopefully illustrate what I’m trying to achieve…just imagine that the liquid need to animate back and forth between straight and curved on a beat (which I can keyframe manually).

1 Like
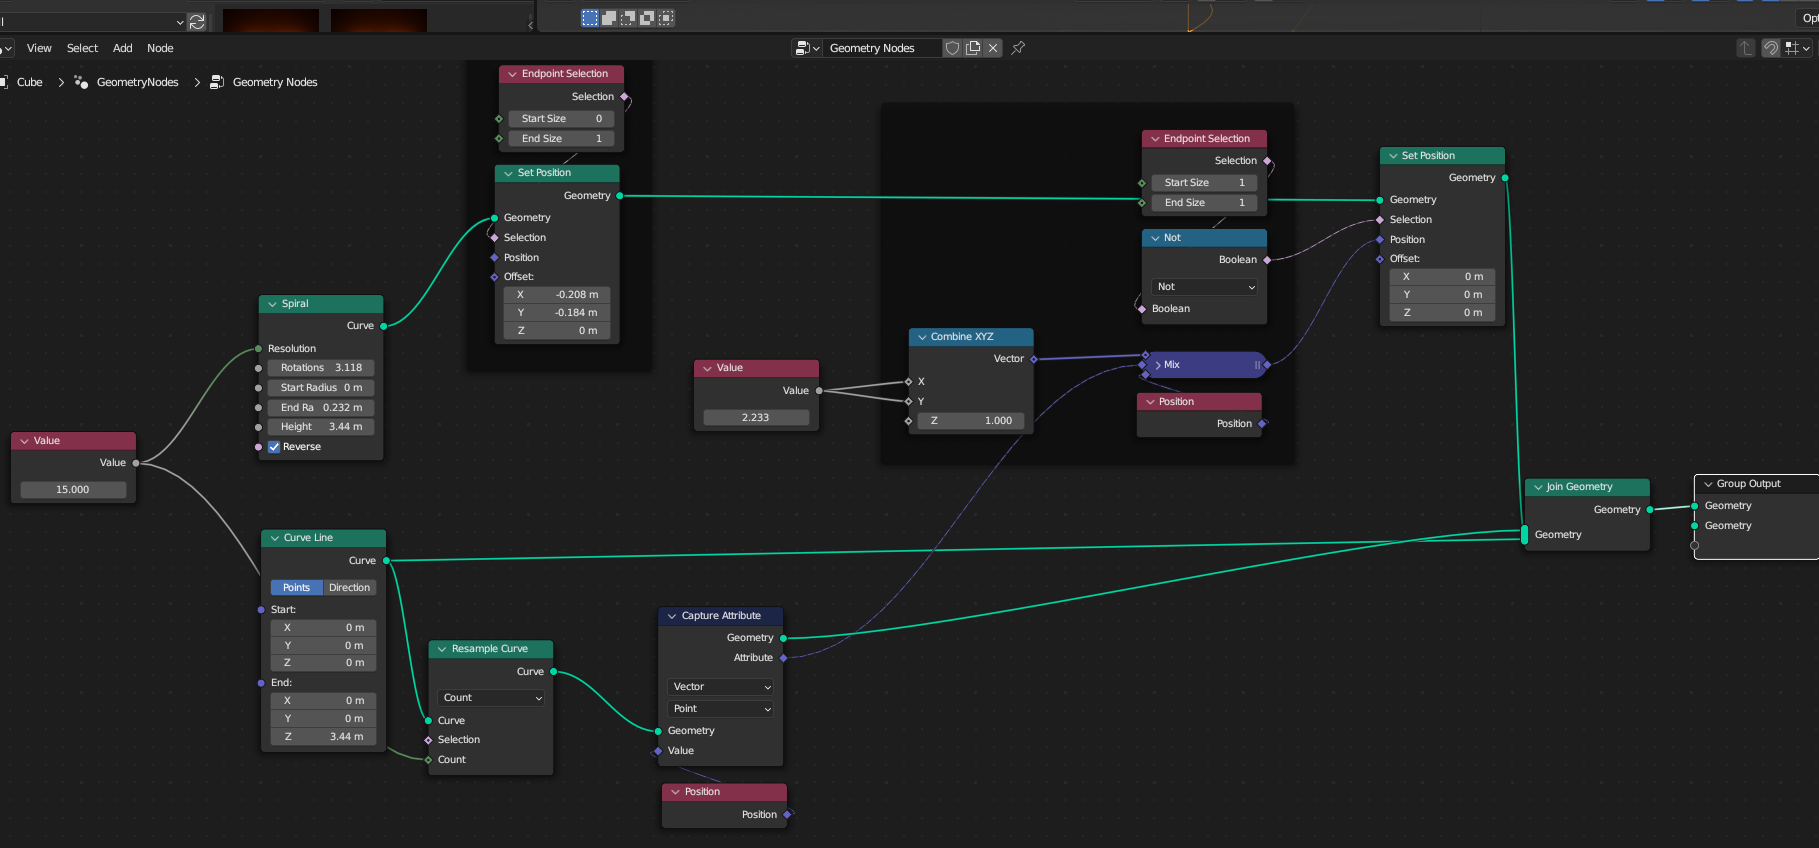
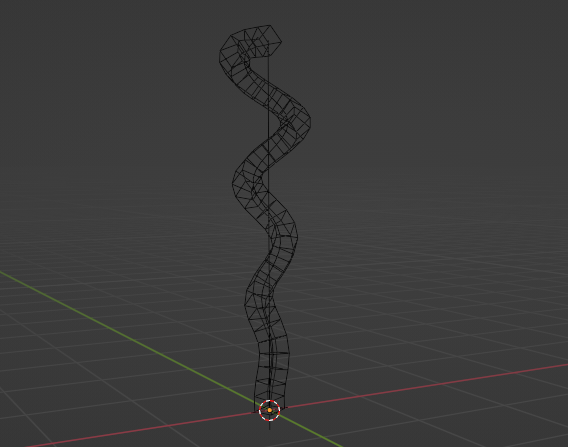
You can lock the start like this and morph to another shape with the same number of points by mixing positions.
Hope that helps.
1 Like
That first setpos is to line up yr start position vert,

2 Likes
Looking good!
1 Like