I have looked on the web but as you folks know, Blender keeps on evolving. My goal is to learn how to display the UV seen below:
That image comes from UV Mapper, a very useful free tool, which sadly seems to be abandoned:
I have 4 target applications: Maya, 3ds Max, Cinema 4D and Blender. This is what I have so far:
- Maya: Select object, UV Menu | UV Editor | UV Sets
- 3ds Max: Modify | Unwrap UVW | Open UV Editor
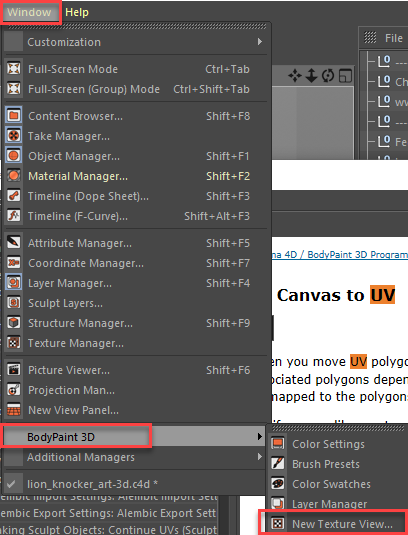
- Cinema 4D: See post below
- Blender 2.80: ???
Feel free to be very specific, I am still struggling inside Blender, a wonderful tool.
TIA,
-Ramon


