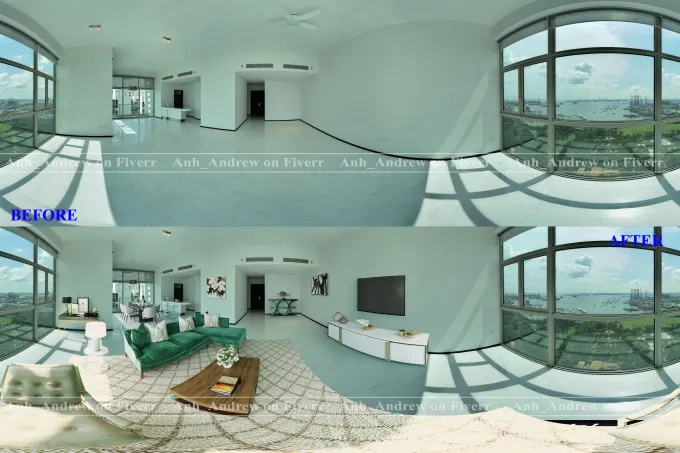
Here i’ll use this image as an example.
Beware, that there are probably 10 different ways to do this, but one workflow that i think will work is to set up the HDRI as an environment texture, then place objects in 3D space, and re-render it.
Here are the steps. First off, i load the HDRI into blender, then im setting up the camera. And i’ll show you how i do it in this GIF, then i’ll also explain it step by step:
https://gyazo.com/a27bb9234e80f26bc03ac532c704e224 the gif wont load, so im putting it like this
So, i start from a fresh scene, and i use blender Cycles for this whole process.
Note, that im using Blender 2.79. This should work the exact same way in 2.8, and if you use 2.8 then i strongly advice you to figure it out there instead of using an older version of blender, the only reason i use 2.79 is that i havent made the switch yet.
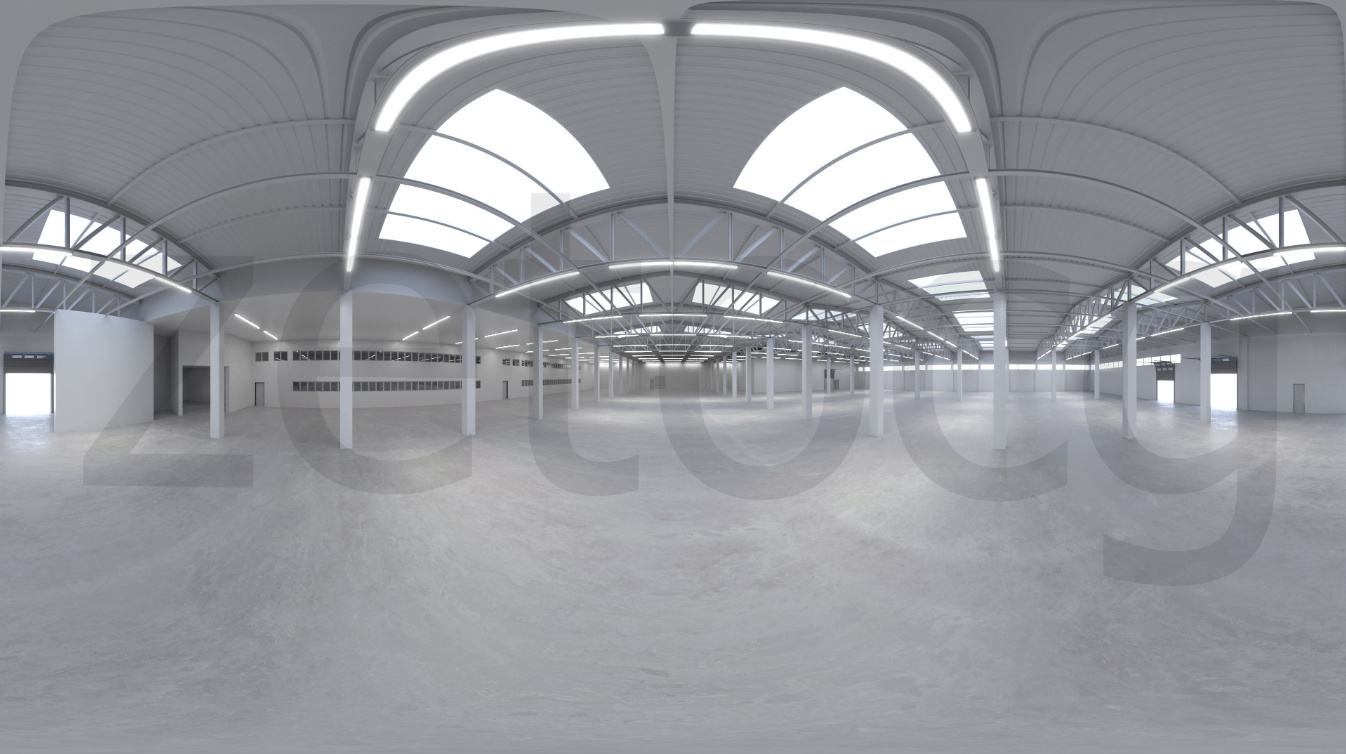
So, use Cycles, then set up an Environment texture with the HDRI.
Reset the camera location, and rotation, then make it face in the positive X direction, as such:
Note, that this could be wrong in your setup, all i want to ensure is that the camera is set up such that a default render, yields the same result the original HDRI, without having change any additional settings.
as you see, with this camera setup, and a simple Render, will produce the same as the original image.
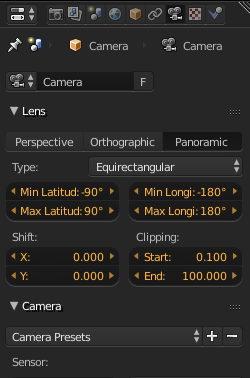
the camera settings should not matter, just make sure its set to Equirectangular.
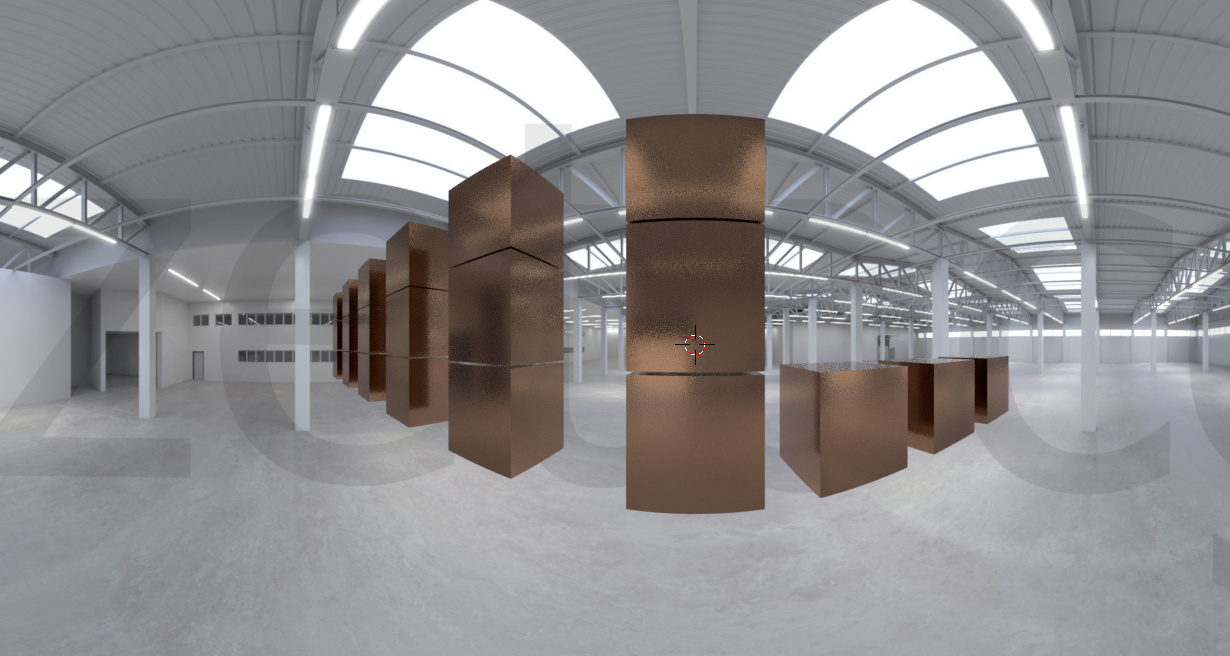
At this point you should be ready to go. Just add images, and see where they get placed in the camera viewport.
another gif that wont load https://gyazo.com/63ac35cd2ad2067d11fd1538a0512d46
Notice, that in this image, the cubes seem to be floating. So one advice would be to try and set up a virtual floor as a reference, so you know how low the floor should be.
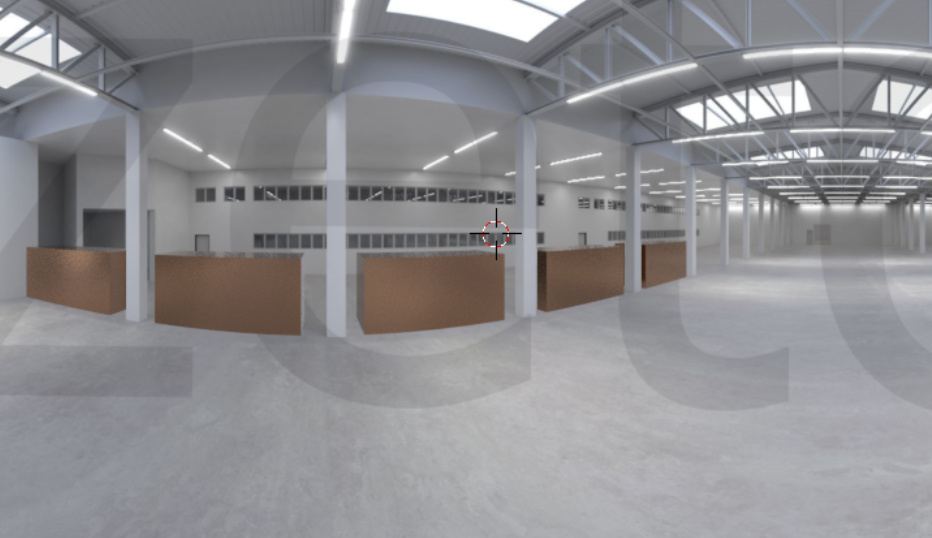
In my case, i found that using the polls in the background to be a good place of reference:
So i moved the camera up, along with the cubes, and the virtual floor.
This will give you a good place to start.