On that new version of the Minion World station ID the main goal is to fake a Cycles rendering as close as possible, since I don’t have neither time nor patience to wait 12-24 min for every single 4K frame to render. On Eevee it takes me a 1-2-3 seconds to render one 4K frame, and it’s awesome. This kind of rendering speed wasn’t in the books only a couple of years ago. Since the project is a cartoon series, I don’t need a true super photo realistic rendering. Some fake Cycles will do. Let’s see if I can achieve (fake) that. Fake it till you make it.
What I’ve investigated eevee, it is not bad. You don’t need much of faking while it has similar shaders by default. You can work with Eevee using PBR materials and high dynamic range lights.
There are some differences, example I can’t use nodes in lights so I need to convert it to light intensity. Transparent materials need to tuning with fresnel and so on. So using eevee, you trade modelling time with rendertime.
Simple shortcut to “fake” is to use cycles to bake global indirect lights to everything what is static. Like background image that doesn’t move, background enviroment map or all static objects and lights, and then render eevee while animating dynamic objects.
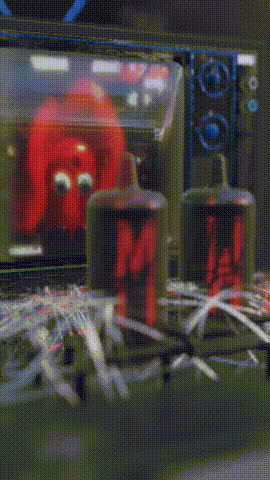
I like that idea of baking some stuff in Cycles, now I have to figure out how. Baking global indirect light to the static elements sounds like a bit of a puzzle to me. Anyways, the modelling phase for starters. An old TV, some tubes for the cooling, some tangled wires for more realism and an old tube for coolness.
By the way, just discovered that if I use the snipping tool on my PC to make a screenshot, it’s very easy to transfer that screen shot to your BA forum post. Ctrl+C in the snipping tool, ctrl+V when writing your post. Here we go, just snapped it from my screen:
I thought one approach about using everything on eevee that can be done and if there is something really diffucult where eevee doesn’t cut, render those layers on cycles and then composite.
Basically it is good idea to split collections that what are dynamic and what static, what belongs to background and what foreground. Then it is possible to render every collection separately as layer and composite.
But it is the catch that simple scenes adding rendering passes it just makes overhead to total rendering time.
Sometimes yes, some other times no. On my pretty good system 1 second of 4K animation takes 192 min to render with Cycles at 24fps. That translates to 11,520 min of rendering for 1 min of animation. My goal is to produce 1 episode per week. That would be impossible with Cycles.
Even if I render only bg images with Cycles, it’s still going to be a serious amount of rendering time, though in some cases it might make sense. As a matter of fact, I made one MW segment that way. I only rendered a short animated loop for each character separately, then layered everything in a video editor. Everything else was some static images. I did all renders in Eevee though. In that particular case the elevator’s interior could be rendered with Cycles, since it’s just a single image.
Here is a screenshot, Mary and friends in an elevator, all rendered with Eevee, each character on a separate layer:
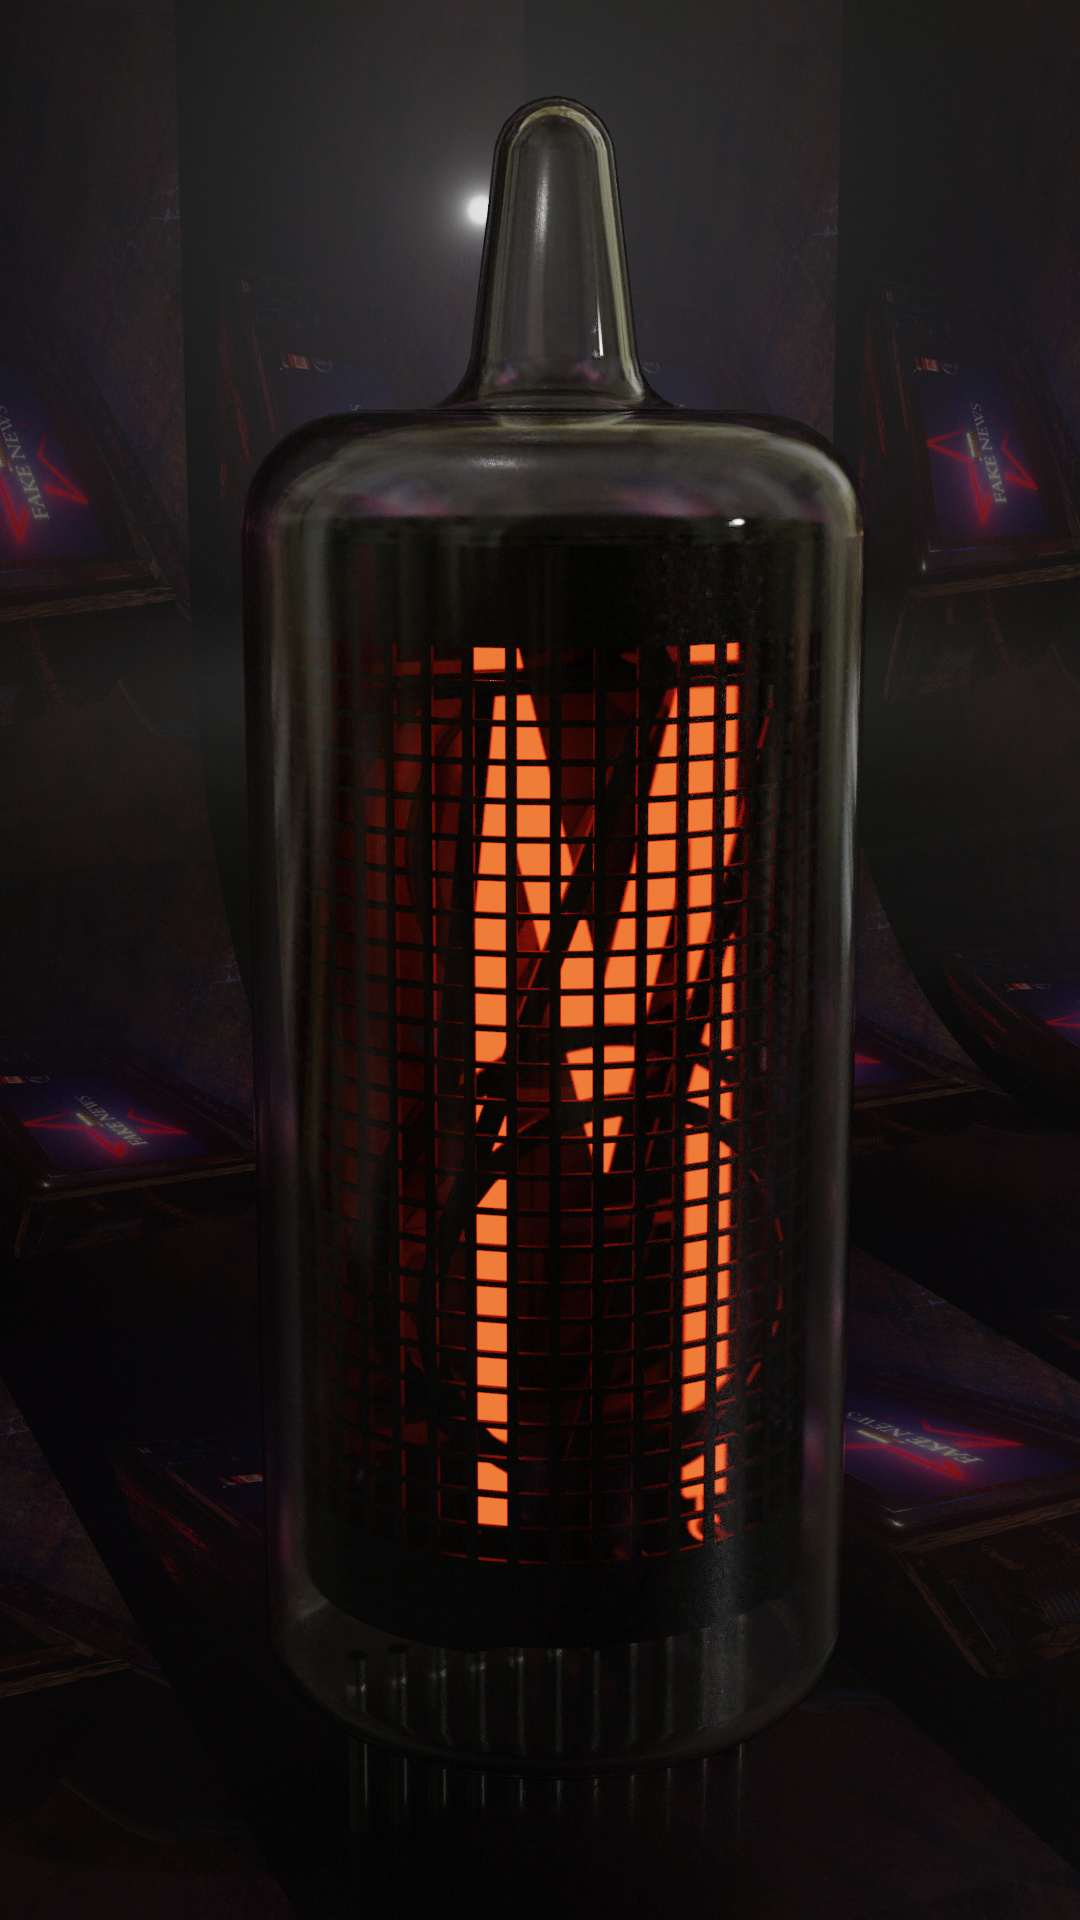
I think that would work if you bake tube interior with cycles and use same glass material with eevee with alpha blending, without refraction, only with reflection.
To simulate refraction, just make some fresnel where transparency goes to black.
To my way of thinking, "the most incredible thing about ‘open source’ is that we actually have this(!) kind of choice. For free.
EEVEE uses the computer’s graphics hardware in the way that its designers intended for it to be used. Cycles uses the same hardware while turning everything – both the fundamental algorithm, and the application of GPU hardware – completely on its head. And yet, both of them produce great results.
(Or so they say. My MacBook Pro turns on its cooling-fan so quickly with Cycles that I do not attempt to use it. But, hey, I don’t have to. )
The only thing I miss … is “Blender Internal.” Yes, the venerable old original renderer, still valuable to me with regard to legacy projects, and … I would argue … “still valuable.” I still want to see someone “give it some 21st Century Love” and bring it back, new and improved and re-imagined, better than it ever was, as yet-another available rendering choice in our drop-down menu.
in Blender in general I miss an easy way to output some extra passes to a separate file. Like Z-pass, mist pass, DOF pass, motion blur pass and so on. I needed to add some noise to the z-pass on this little experiment and that wasn’t easy at all. I had to do all kind of tricks in Compositor and then mix the output with the render in a video editor.
May be there is an option to apply some effects like noise to the render output, but I just don’t know how?
I see that you like it. Besides adding DOF, mist and applying some noise to the mist pass, what else can be done? I am out of ideas and it looks to me like there is not much more to be done. Anyway, after applying all those tricks, the difference is dramatic and to my uneducated eye it looks like a Cycles render now. Or at least 80-90% like a Cycles render. Which is fine with me. The rendering time difference it dramatic though, even if one considers all extra step taken to match a Cycles render. With all extra rendering work and extra passes, it took me about 20-25 sec per 4K frame to render it with Eevee. If I rendered it with Cycles that would be 18-20 min (1,200 sec) per 4K frame. That’s a 4,800% difference. I take it any time. And I don’t really need my renders to be super realistic and 100% physically correct. FAKE It TILL YOU MAKE IT!
Here a close up after applying the noise pass -


 )
)
