Hello! I have a problem I am not sure how to fix, though I know where the problem originates. I will use pics to describe since its a bit difficult with words. But the the short summary is that an error in the base geometry, that when fixed in ‘Edit Mode’ on the base geometry, leads to a crazy explosion of the mesh in multires levels.
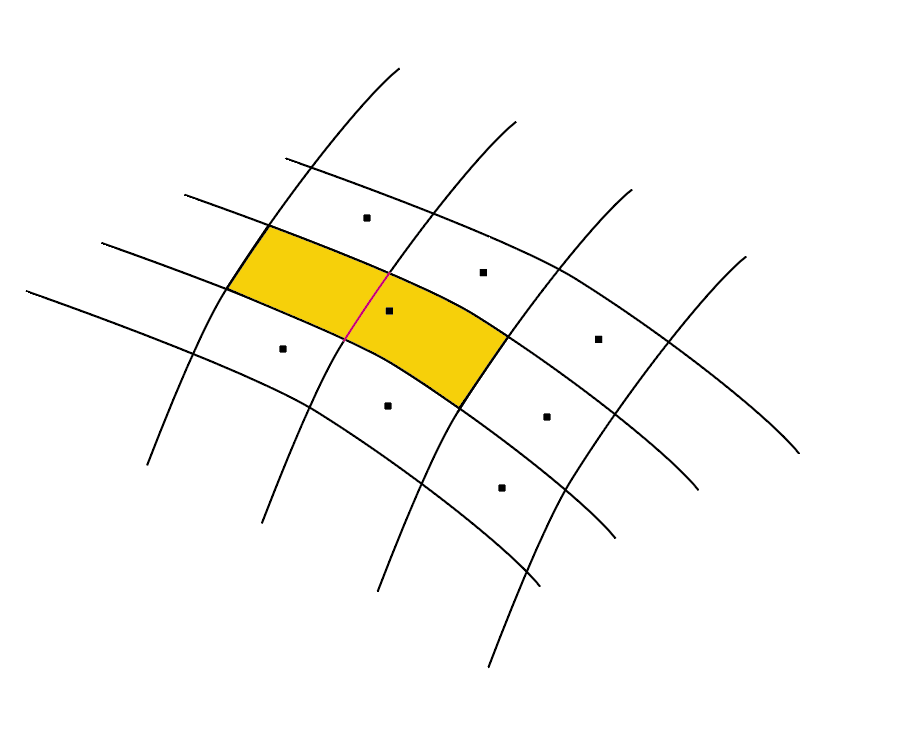
The base mesh has the problem that some faces were not subdivided, though they looked like they were. The red line in the pic shows a line connecting vertices that is actually not subdividing the underlying face when it should have.
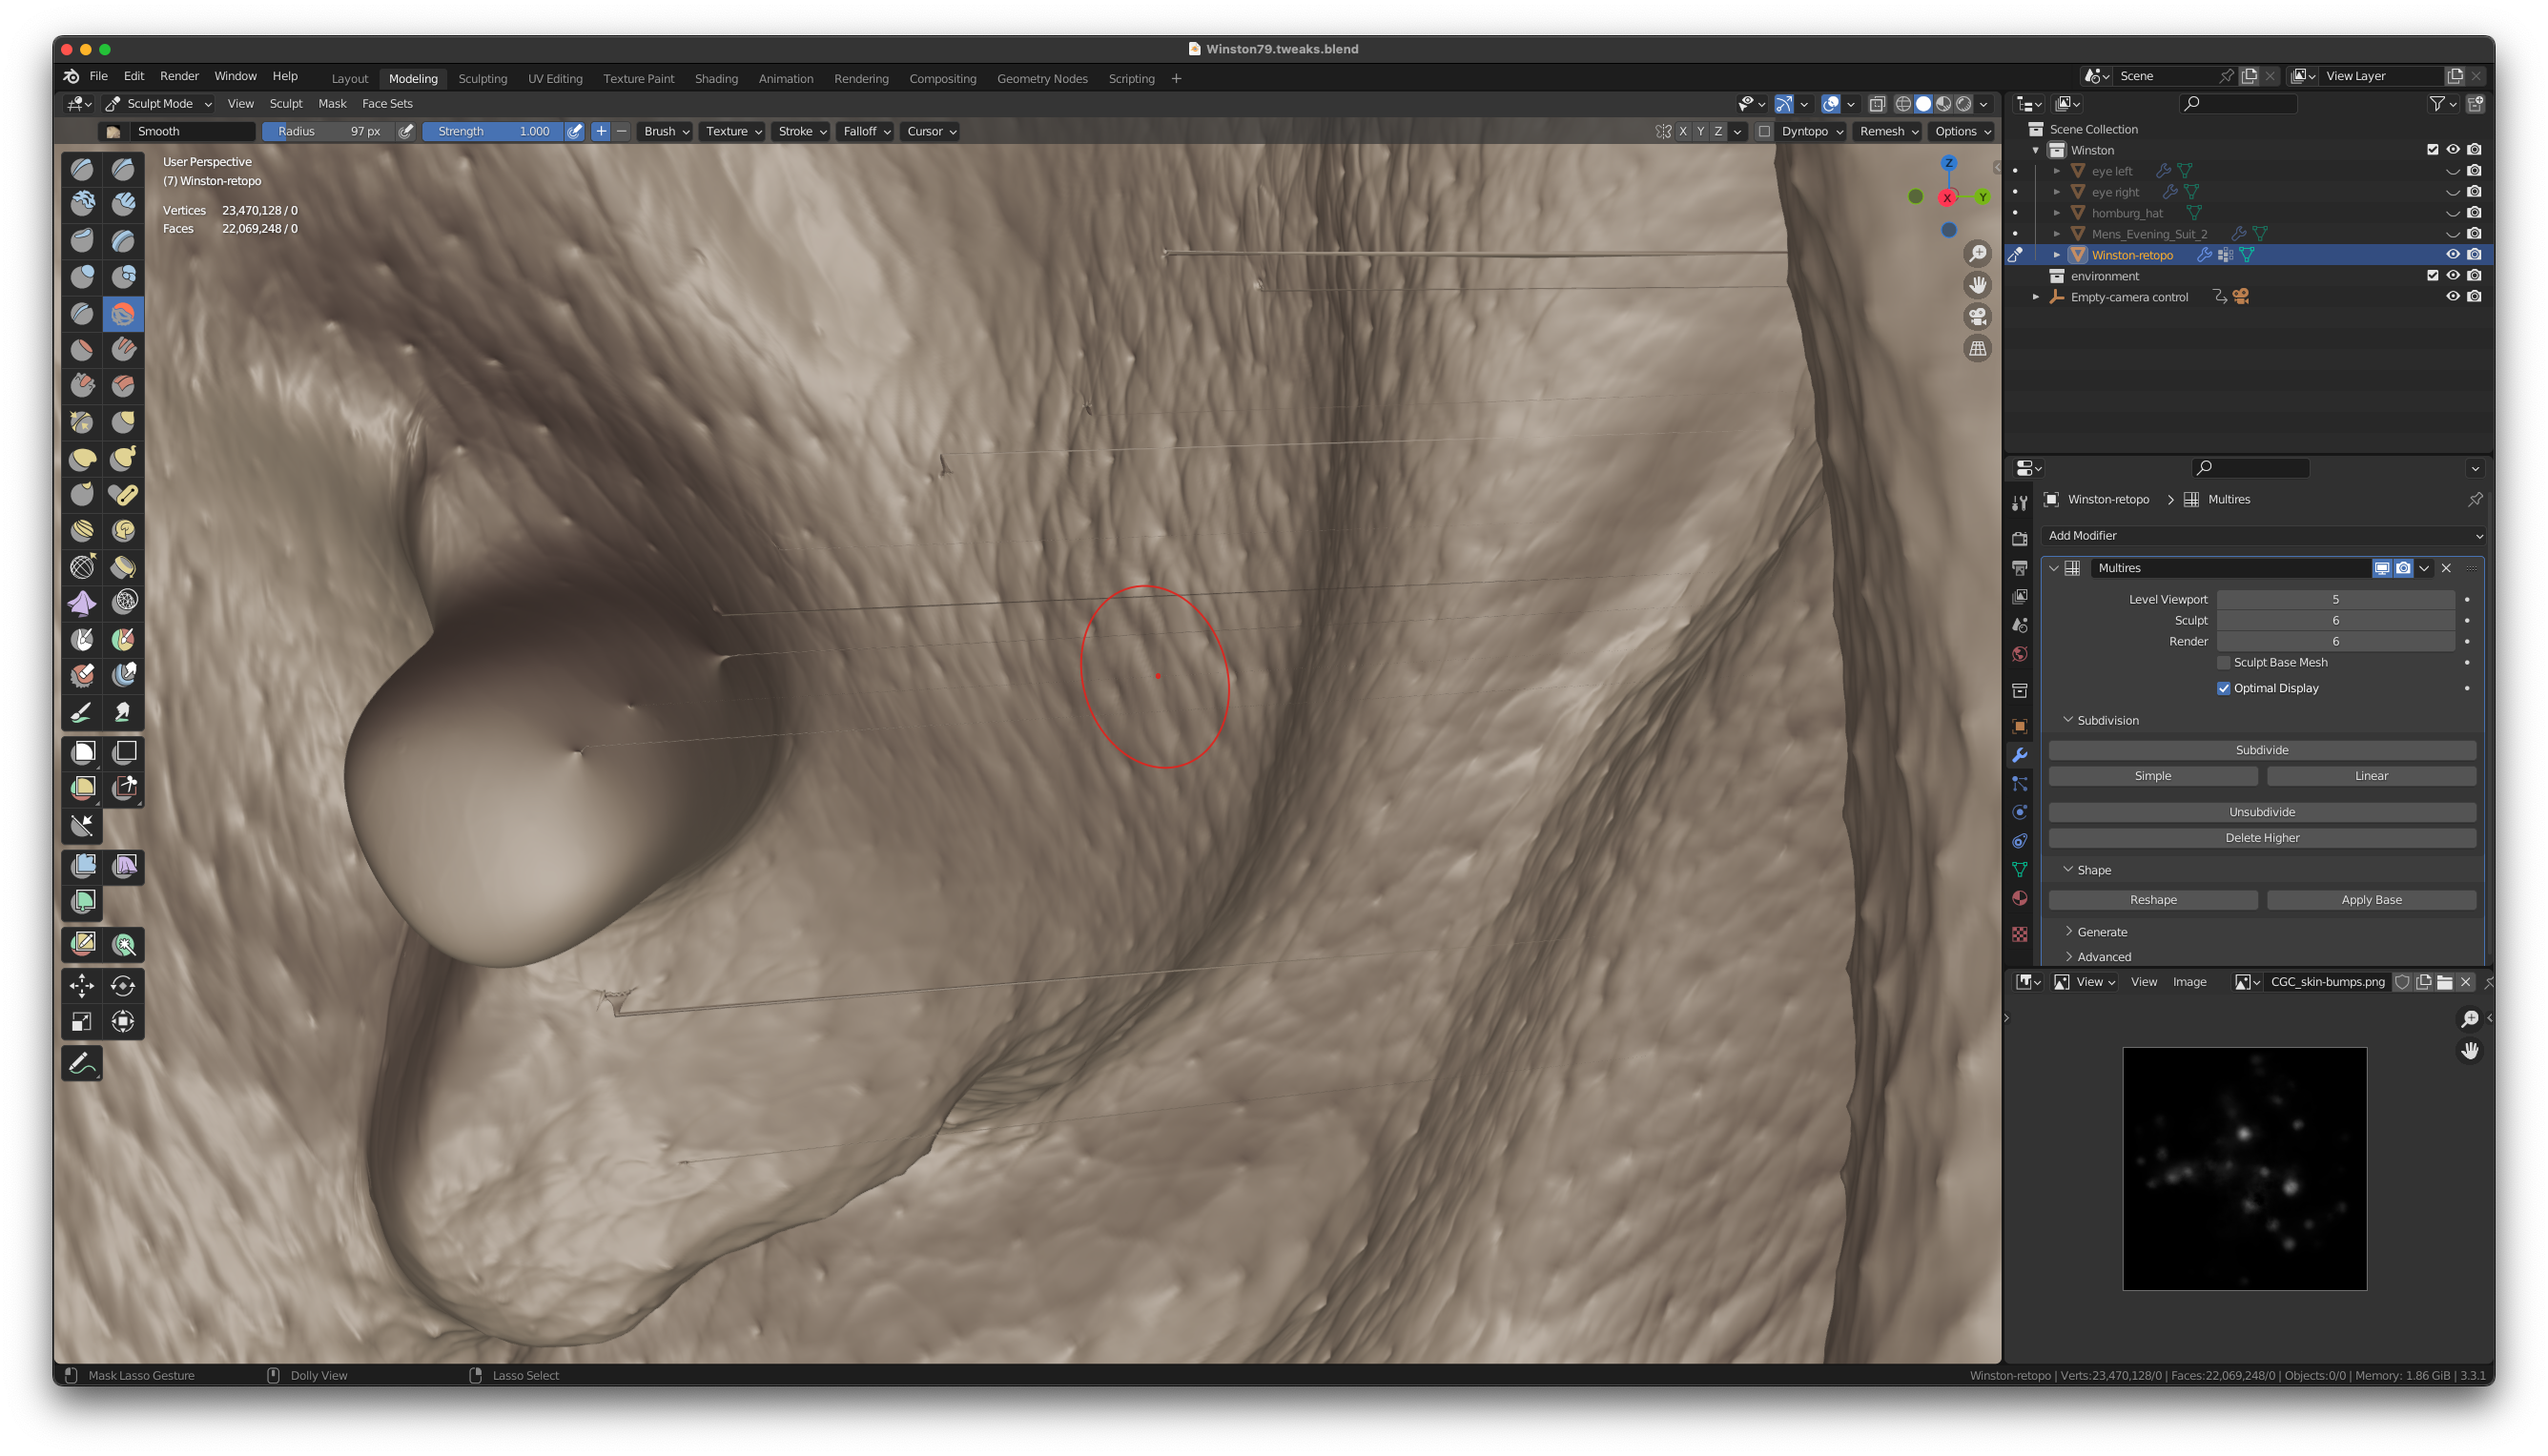
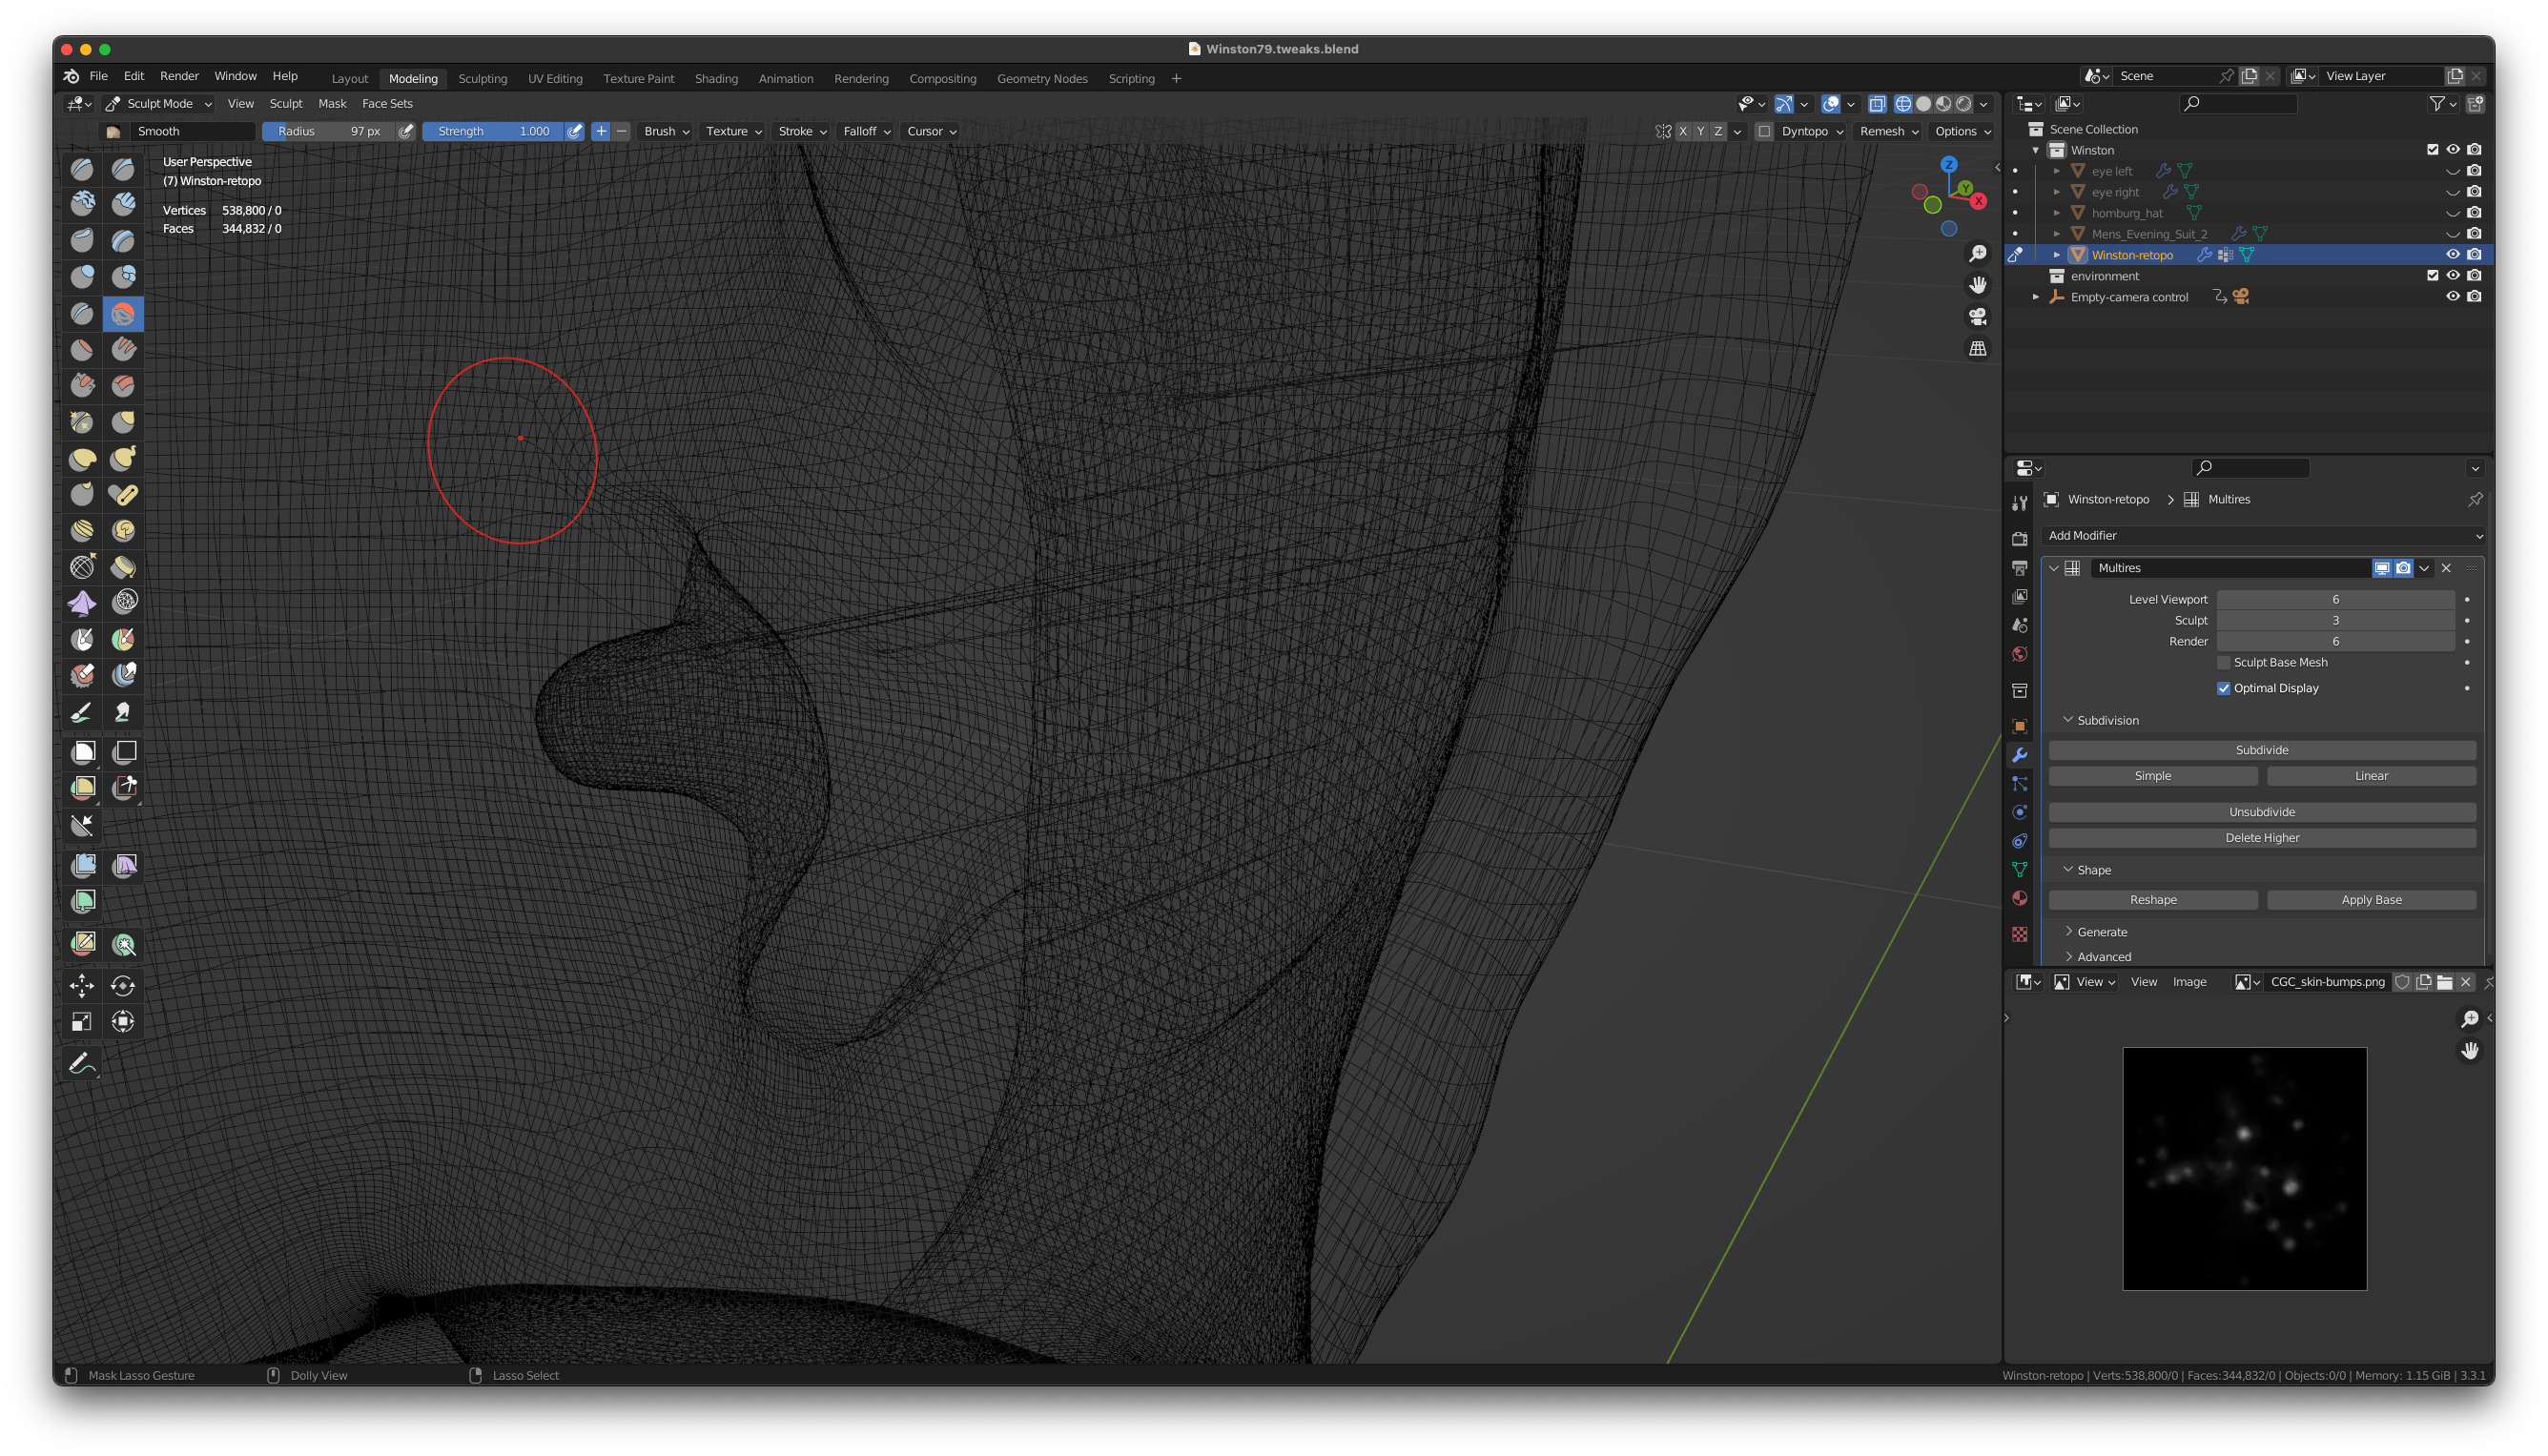
If I correct the base geometry in ‘Edit Mode’ so the red line is deleted and the underlying face is correctly subdivided like the surrounding mesh (in the drawing of the mesh), the multires mesh goes crazy.
Fixing the mesh at multires level zero or one, doesn’t help as the upper multires levels are still exploded (though differently) and there is not much point in trying to fix it at multires level 6 as the mesh is far too dense. And anyways, the spikes do not react to smoothing or any other tool.
Any thoughts and help would be greatly appreciated as this is driving me nutty over the past few days.
Maybe try to select in the edit mode only these few faces inside the ear. Hide others (Shift+H), switch to sculpting, and use mesh filter (smoothing) or check if the smooth brush in a different mode (like Laplacian or surface) will be able to fix it, the smooth brush has some options for preserving shapes (like Mesh Bonduary for example) - try also to experiment with these settings (Advanced tab).
I’ve encountered something similar in my work and as far I remember I was able to fix it somehow.
Data stored in multires levels is dependent of faces indexes.
At the moment, you add or remove a face, face indexes are automatically redistributed.
So, that is messing up multires levels.
You can scale up/down faces, rotate them or translate them. But any action that adds or removes geometry may have this type of consequence.
So, gritche’s method of using shrinkwrap modifier on a mesh error free is the best workaround, if spikes are too difficult to solve by smoothing.
b2przemo and Magnavis - thanks for the replies. Unfortunately, any sort of smoothing doesn’t work on some of the spikes no matter what. Odd … but true.
skaux - one of the problems I have is I cannot bake a displacement map from Multires. It comes out flat grey.
gritche and zeauro - this seems like a viable way forward. Probably lots of work though … which is ok … as the shrinkwrap is not going to be accurate.
zeauro - thanks for the info. This helps me understand how Multires works so I can adjust in the future.
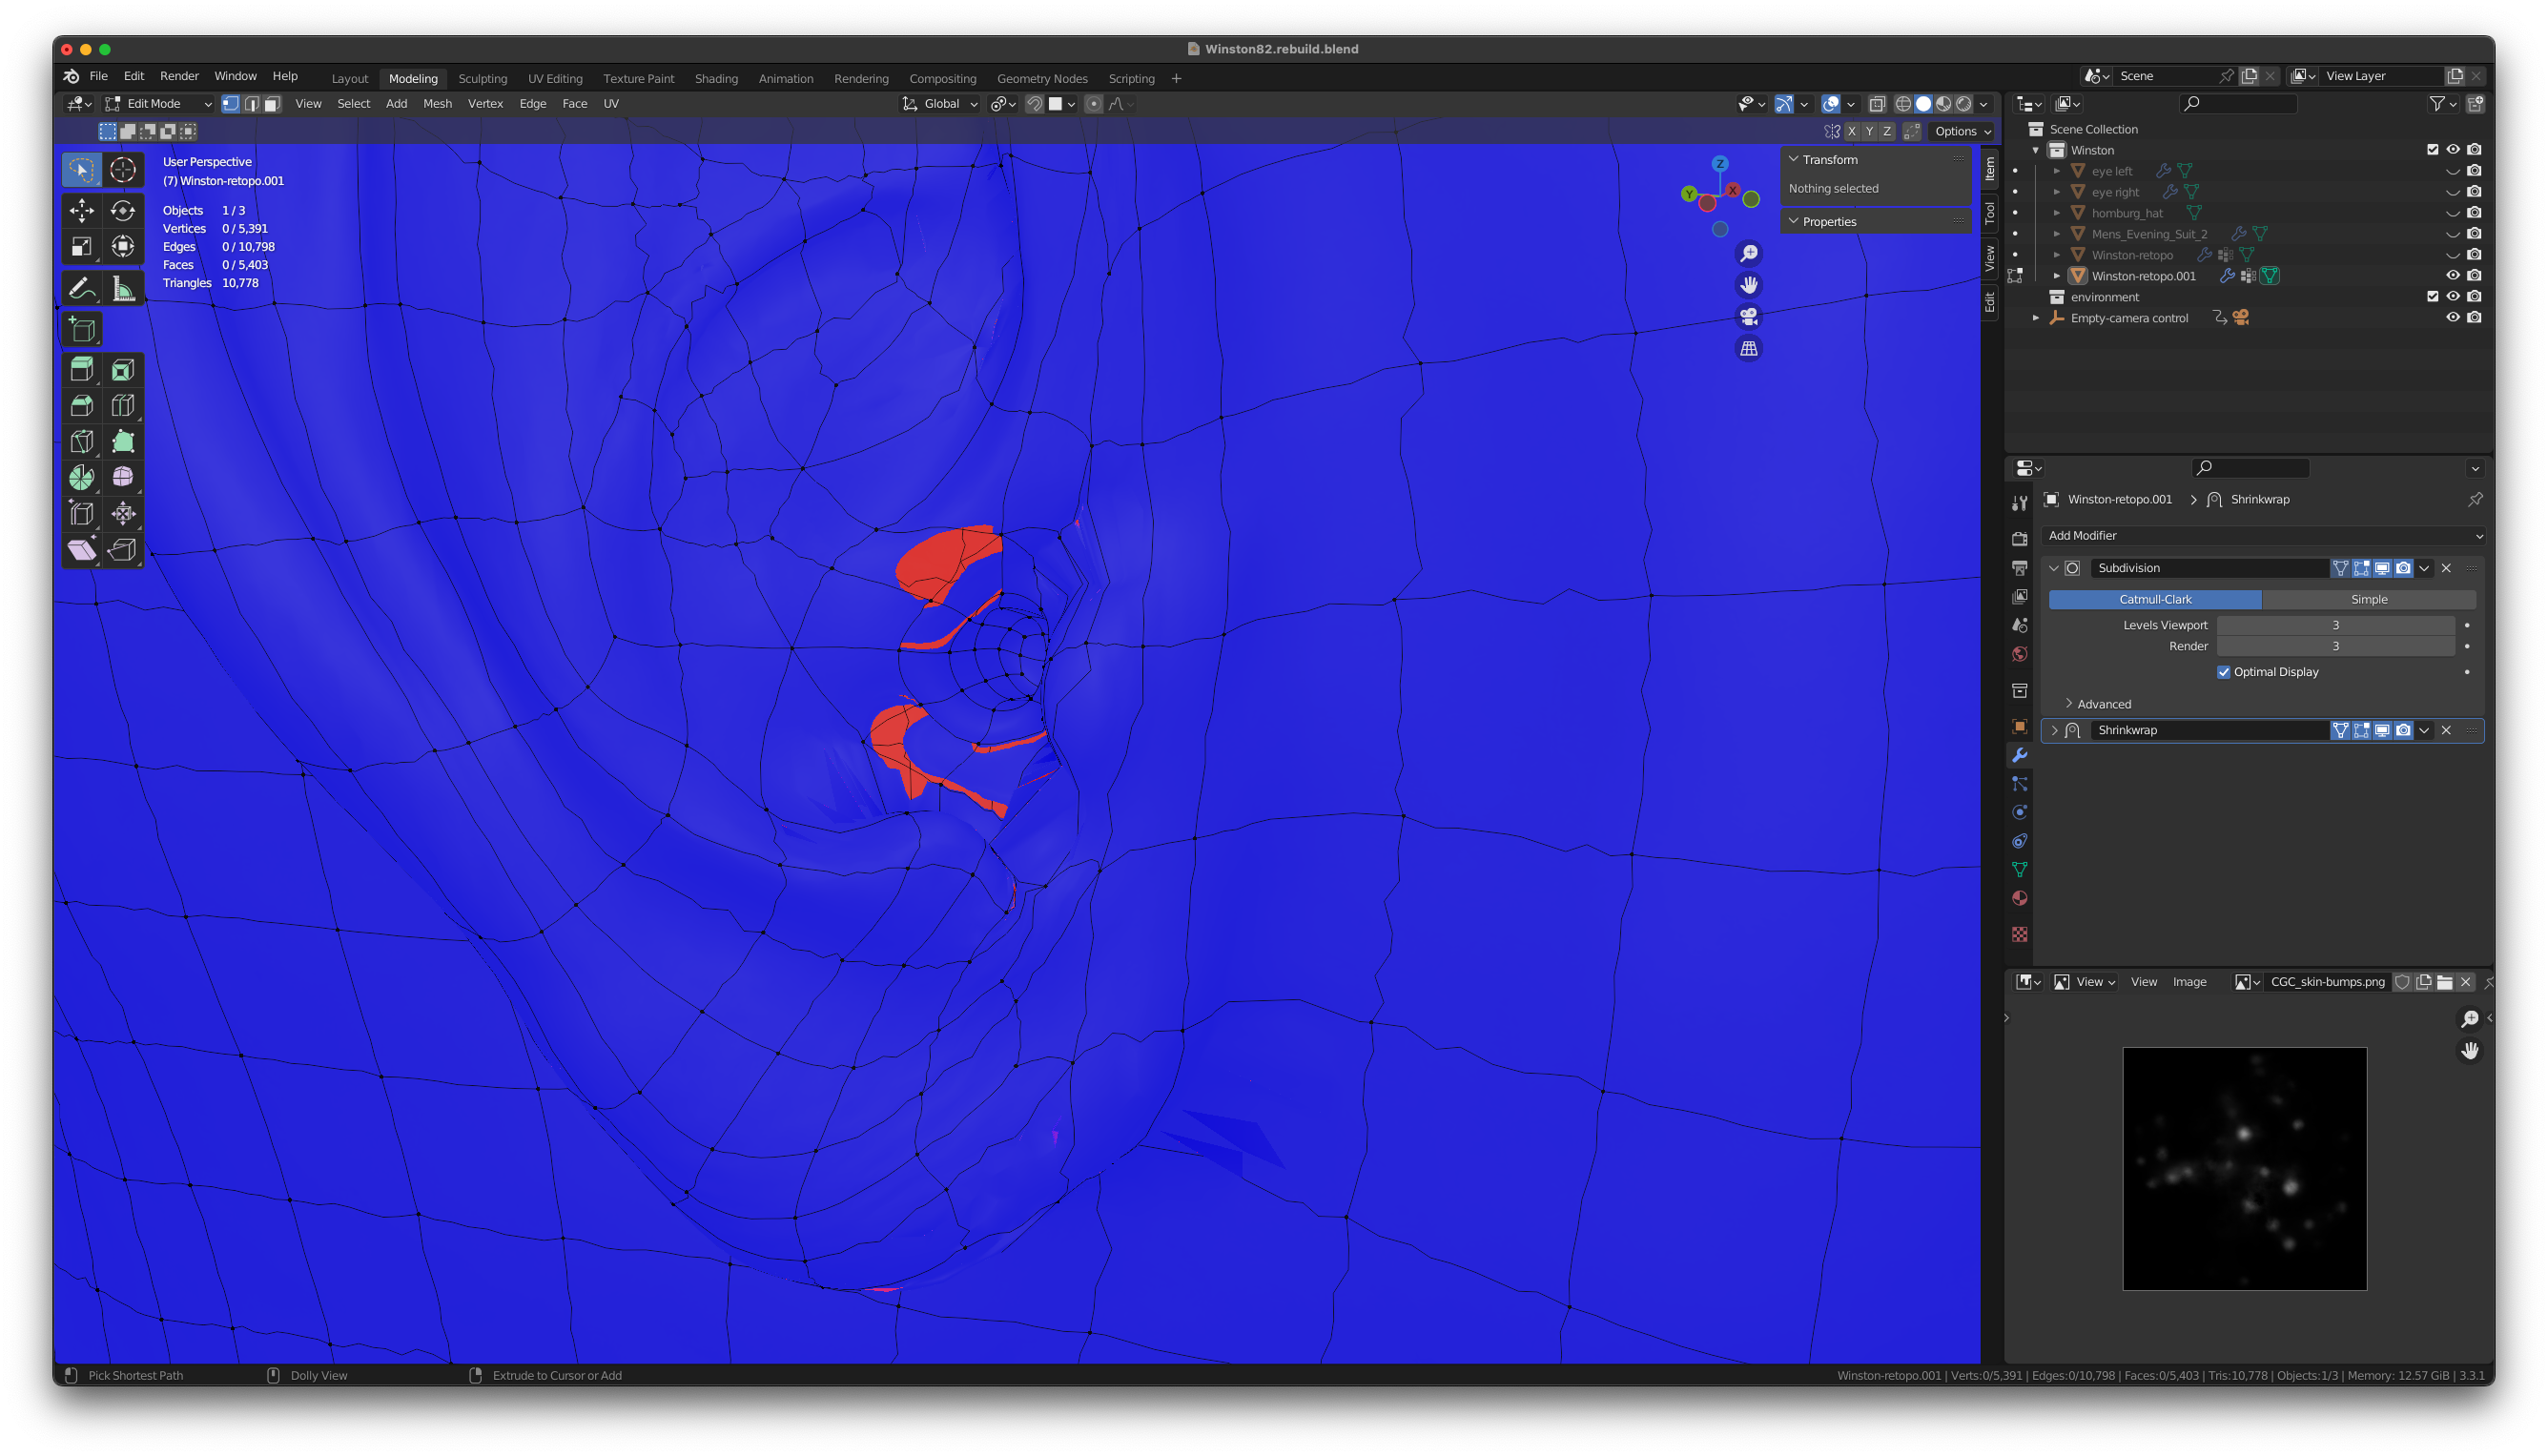
I gave this a try and at the shrinkwrap stage (before Multires) I have a bit of a strange anomoly on one ear; there are literally holes i it. The pic has ‘Face Orientation’ turned on to better see the holes. I tried replacing the faces where the holes appear, but it ends up looking the same. Weird! Any thoughts?
When baking, are you setting multires to a lower level before baking? If you bake at highest level, it will be pretty much grey. If just sculpting skin details, you wanna set your multires to 0 in the viewport, and then baking.
Thanks Magnavis - yes I am baking correctly. It’s only Multires Displacement baking that doesn’t work; Multires Normal baking does work. It is a very odd problem. I wonder if it has to do with the errors I have in the mesh geometry.
From my experience, though Multires is a powerful modifier, but it will screw up when I try to edit the base mesh by showing artifacts of spikes, which in the end offsets its usefulness. So, I wouldn’t recommend using Multires to be honest, because the spikes will just keep coming no matter how much you smooth it, and there’s no way to fix them for now. So I recommend to sculpt on an actual subdivided mesh instead. Not only it won’t give you a problem in the future, but you’ll have a solid mesh that will work.
It appear there is no easy solution to this problem. The mesh with spikes on it will have had vertices, edges or faces added after the multires modifier has been applied. Making any of these additions appears to mess up a ‘behind the scenes’ multires vertices, edges and faces database such that it cannot be resolved after the additions; the database is permanently altered (‘corrupted’ from a user’s perspective .
To avoid this; never add vertices, edges or faces to a mesh after invoking the multires modifier.
To correct it; remake a mesh from scratch somewhat close to the multires mesh. If you can get the multires mesh to a level where the spikes do not show (much), use a shrinkwrap modifier on the new mesh to wrap to the multires mesh. Apply the shrinkwrap mesh to the new mesh and then fix any anomalies. This is not a great solution if you have already added a lot of minute detail to the multires mesh. But it will produce a new mesh that is close to the original multires mesh, so you don’t have to start from absolute zero.
It appears a-rewrite / improvement of multires is in the cards for Blender in the murky future according to their roadmap. So, here’s hoping this issue (limitation?) is addressed.