How to "freeze" armature bone transforms like in Maya (to export to Unity)

Hello !

I’d like to ask if there’s a way to “freeze” the transforms of every bone in an armature (setting their localPos = 0,0,0, localRot = 0,0,0, localScale = 1,1,1) without modifying their actual 3D location, the same way Maya does ?? My problem is that, I’ve tried “Applying” (Ctrl + A) Transforms and All Transforms to Deltas to the armature but when exporting as FBX and opening in Unity, the bones are not frozen (their pos/rot/scale don’t have identity values)

Does any one know how to do this ? Thanks immensely in advance

To me, what you’re describing sounds like applying the transformed pose as the rest pose. You can do this by, in pose mode, ctrl-a->apply as rest pose.

Your constraints will still be acting on this rest pose, so you may want to follow it up by selecting all and using a “clear pose constraints” operation (which I call from search.)

This sets the rest pose of the armature, not necessarily of any meshes deformed by that armature. If you want meshes to also retain this pose, you’ll want to apply the armature modifier on all of those meshes before applying as rest pose.

2 Likes

Thanks immensely for your response bandages.

Because I do want my meshes to maintain the “rest pose” I first applied the armature modified, as you suggested.

Afterwards, I moved into “pose mode”, CTRL + A > Apply as rest pose and indeed, all the bones’ transforms were now frozen. So this helped a lot.

However, when exporting it as FBX into Unity, the bones unfortunately were not frozen there. I’m missing this last step. Maybe it has to do with an export option but I feel I’m almost there. I’d like to ask if there is something else I should do ??

1 Like

Assuming, by “not frozen” you mean that they were in their original position…

You should be looking for any keyframes, and you should be making sure that you’re importing the correct file into Unity.

Or, you may have animations in Unity that are posing the model in its original pose.

I’m afraid I can’t help you much with the Unity side of things.

2 Likes

Hi;

In Blender, there is a Radio Button in the Skeleton Panel < Object Tab < Properties Editor, for the Armature Object, that ‘freezes’ to zero all Transforms/Deforms of a Rig. It’s the Rest Position (Binding Posed State) versus the Pose Position (Final Pose State).

Setting to Rest Position will immediately Disable temporarily whichever features that should normally occur on the Rigged Model when we shift to on Pose Mode, and we won’t be able to Pose anything. This is often useful when we want, for example, to ‘apply’ certain events (such as Cloth Rigging’s Weights Transfer between Mesh Objects) on the Rigged Model, but from the ‘rootest’ condition of it (so, “Rest Position”, also expressed in a much lesser used expression: “Binding Posed State”), without intereference of additional Rig features. Having the Rest Position set on that Radio Button is also valuable when we need to assess the Rigged Model’s real condition and perhaps make some tweaks that would be valid on that very restrictive situation, without the typical Pose Position (“Final Pose State”) interferences, which would normally show immediately on Pose Mode, initially showing as the “Rest Pose” (whenever all of Bones Bones’ Transforms are Reset on Pose Mode), but that also shows on Object Mode.

I do not know Maya well enough, but I believe the Rest Position/Binding Posed State (from the Radio Button), would correspond to the ‘freezed’ state that you are looking for.
Without Rest Position Radio Button possibility, we normally only will see the Rest Position on Edit Mode (especially for the Armature Object, not for the Mesh Object, since the latter we can still play with the Armature Modifier’s On Cage and Edit Options); but, as soon as we get to Pose Mode or Object Mode, we should loose the visualization of the root state (Binding Posed State); therefore, Rest Position Radio Button.

The following, last observations would be just accessory, since it’s not what you seem to require: the other method @bandages described (chaging Rest Position just for the Mesh, or for the Mesh & Armature). It can be quite complicated and dangerous (especially if there are multiple Objects Parented to the same Armature Object). I wish there was an easier solution at this point. I’ve been playing around with it for localized permanent changes of Mesh+Armature Rest Positions (like, for example, affecting solely the Characters’ Arms Rest Position and ignoring any changes to the rest of the Body; this can be obtained with a specialized Vertex Group that will ‘mask’ and protect the rest of the Mesh), and it’s pretty bizarre and prone to ruin if little mistakes are made. If there are mutliple Objects, in principle, each one of them must follow the same method along with the main Mesh Object… before the last stage (Apply Pose as Rest Pose) is done; otherwise, we’ll end up with a Body and an Armature with the new Rest Position, but every other Mesh Object will stay on the old Rest Position, and this seems irreversible (they just lost the train!).

Tutorials on it are scarce, old, and slightly more than merely functional. So, I’m just reinforcing the method:
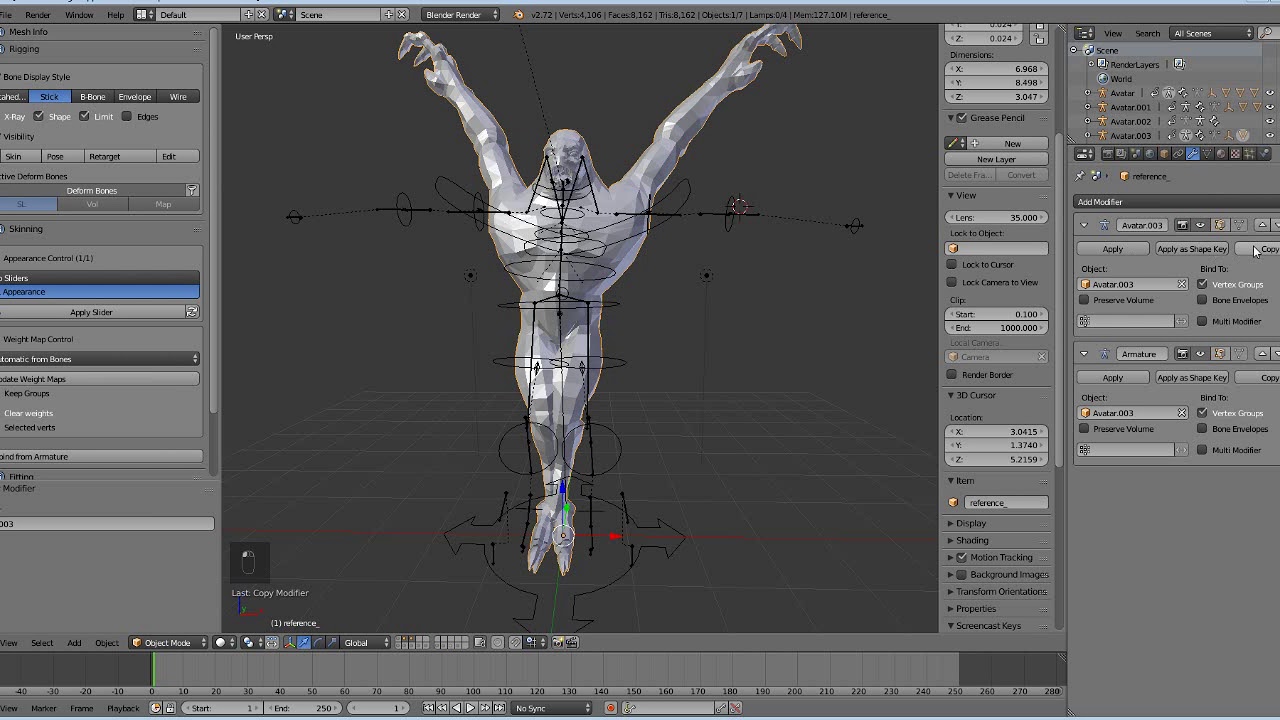
First it is required to Pose the Rigged Model in desired fashion, then, Duplicate the Armature Modifier (Shift+D on it); there will be then 2 Armature Modifiers (such as “Armature” and “Armature.001”), Apply the older one (“Armature”)(Ctrl+A on it). Then, on Pose Mode, Armature > Apply Pose as Rest Pose Operator. There may be situations we want just a Selection of Bones (Apply Pose Selected as Rest Pose).

Here some references:

https://blender.stackexchange.com/questions/49768/can-i-set-my-pose-position-like-the-new-rest-position
1 Like

bandages, Pxy-Gnomes, I cannot thank you enough for all your help and support !!!

Tomorrow I’ll try the solution you posted Pxy-Gnomes and will post the results. Once again, thanks immensely for all the information and the time you took to do it !!!

1 Like

Hello @Pxy-Gnomes , I’m back with the results of what you proposed and, everything works in Blender but when I export the FBX into Unity, the rotations are still not frozen. I’m not sure what’s happening here as it might be a Unity thing. I’ll keep exploring this issue but I want to thank you for all your support !!!

1 Like

Hi, @Bruno_Costa;

You’re welcome.
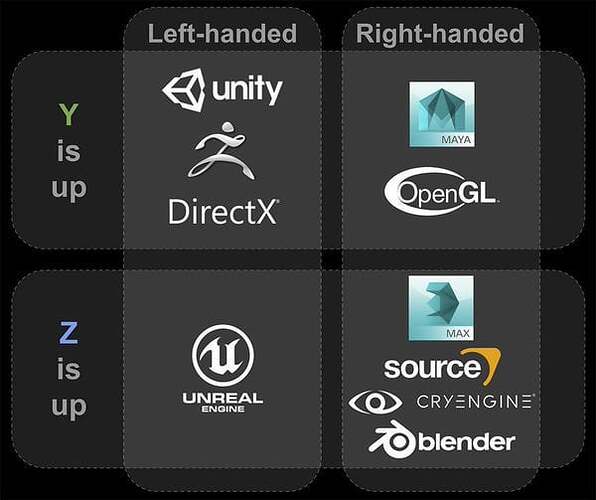
Well, maybe it’s not a Rig thing inside Blender nor Unity, but a relational difference. Like, so far as I know, each CG software has its owns arbitrary choice of Orientation of the Axes, shown by Axes Gizmos.

I only am aware of this fact; I know there are plenty of solutions to different case scenarios, but I never attempted myself; so it’s hard for me to tell a valid solution for the case of Blender to Unity. Sorry if you already know about these, but needed to be sure. Check this comparative chart:


When a CG file is being transported between Blender and a Game Engine, or the invserse, it is important to know a least one valid solution for Axes adaption, if this is required.

If all the Bones in the Armature are Rotating like 90º in the end software, this totally suggests that this is the problem; this is why they are not frozen, despite Rest Position.

I know already there exist Addons in Blender, which can be used to make those adaptations automatic. But I do not know which cases they cover. I wonder if in the Exporting process, inside Blender, it is possible to set this kind of automation already. Maybe Unity itself has an in-built solution.

1 Like

I’m not familiar with how Unity handles bones, but I’m not sure there is going to be an easy way, if it’s even possible. Blender’s armatures work very differently than Maya’s joints. Also, as far as I know, Blender isn’t fully compatible with the FBX format, because it’s a proprietary format owned by Autodesk.

I have once imported a Blender rig into Maya and all the joints were placed using the regular transforms instead of using Maya’s intended way.

1 Like