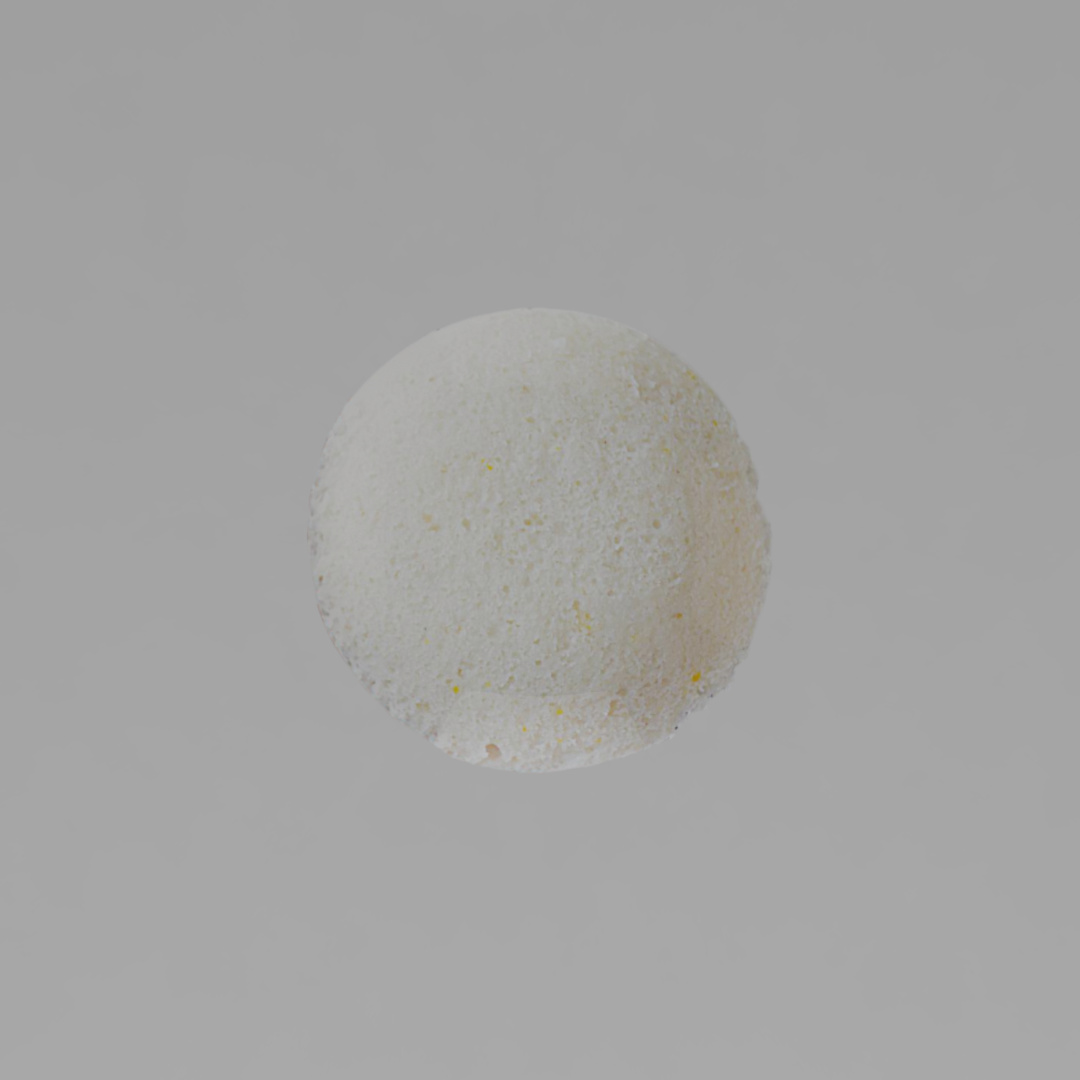
I have half sphere and with the projection uv i have applied the texture. But original texture have zig zag which look natural. And my texture have a smooth or circular texturing. How to get the same zig zag texture image on the mesh. Any suggestion or help. Thanks
Applying a texture to a model does not change the shape of the model. Using a Normal or Displacement input in the texture can give a more 3D look - except at the silhouette edges.
Conversely, to get the geometry to actually change, you need to use a Displacement modifier with an appropriate texture.
Upon further reflection –
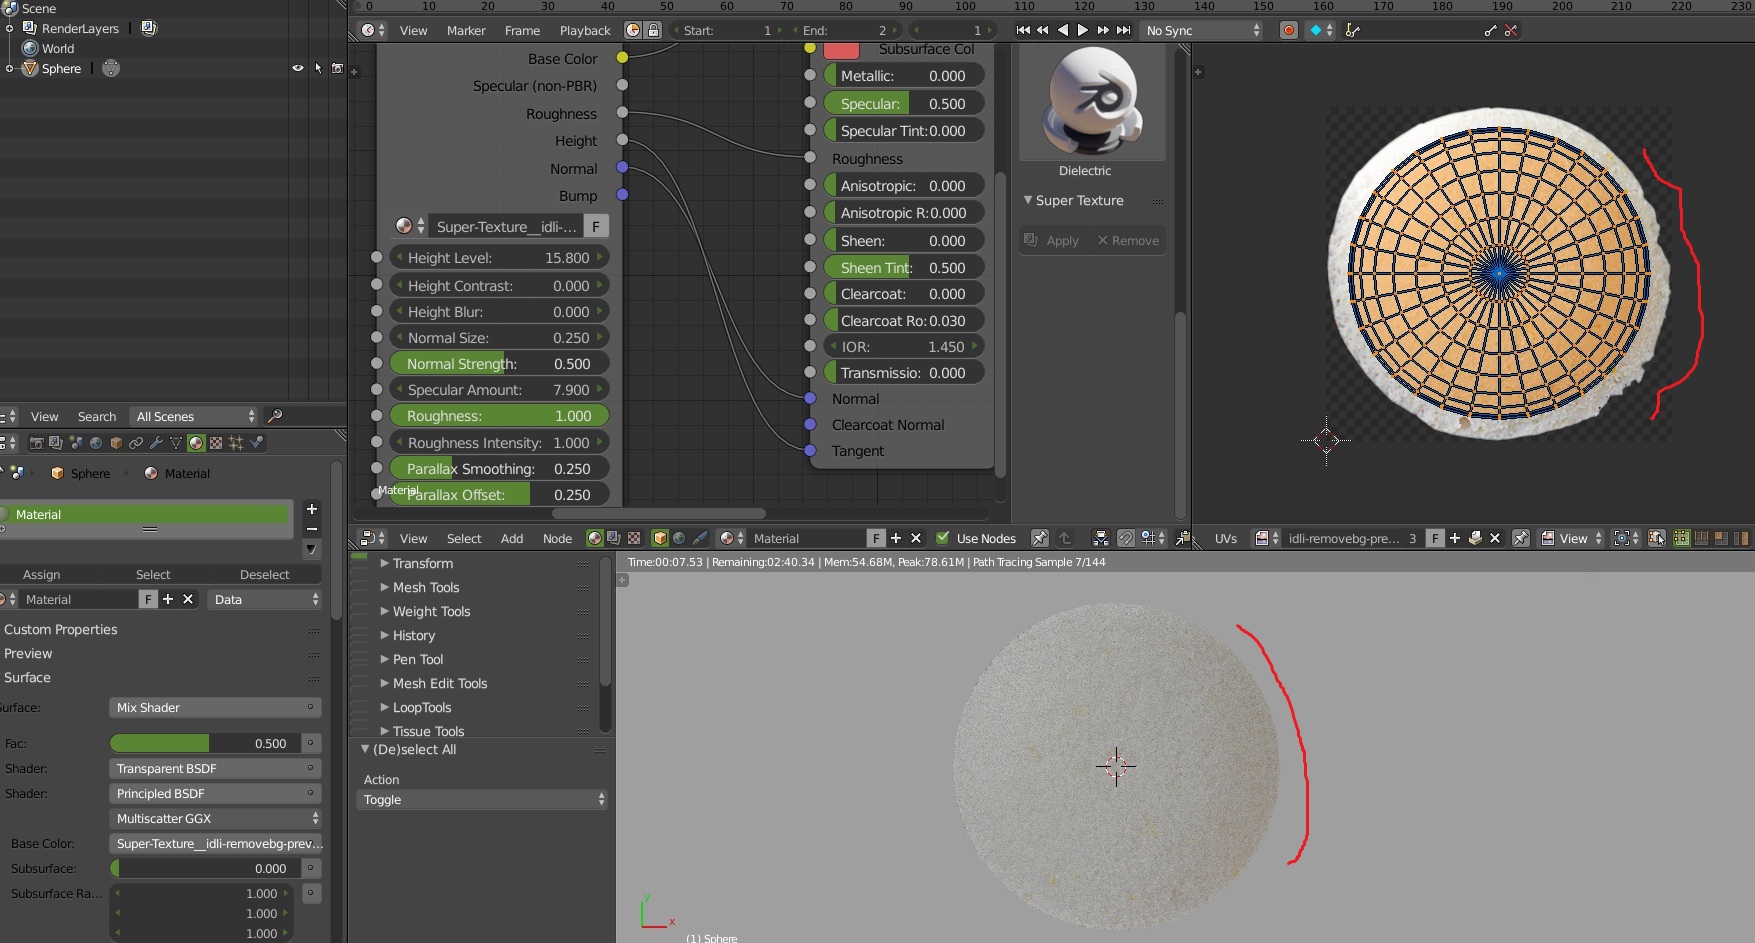
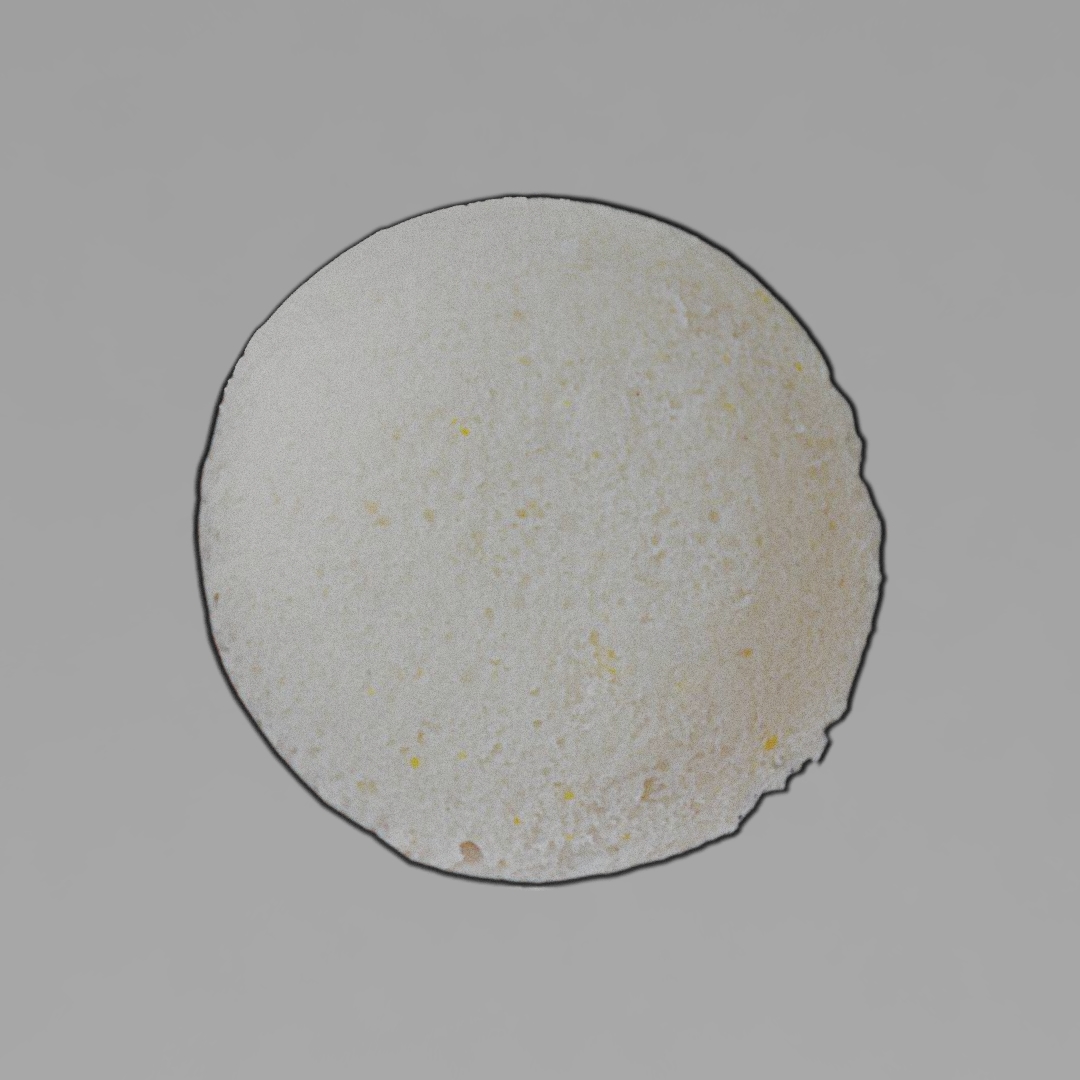
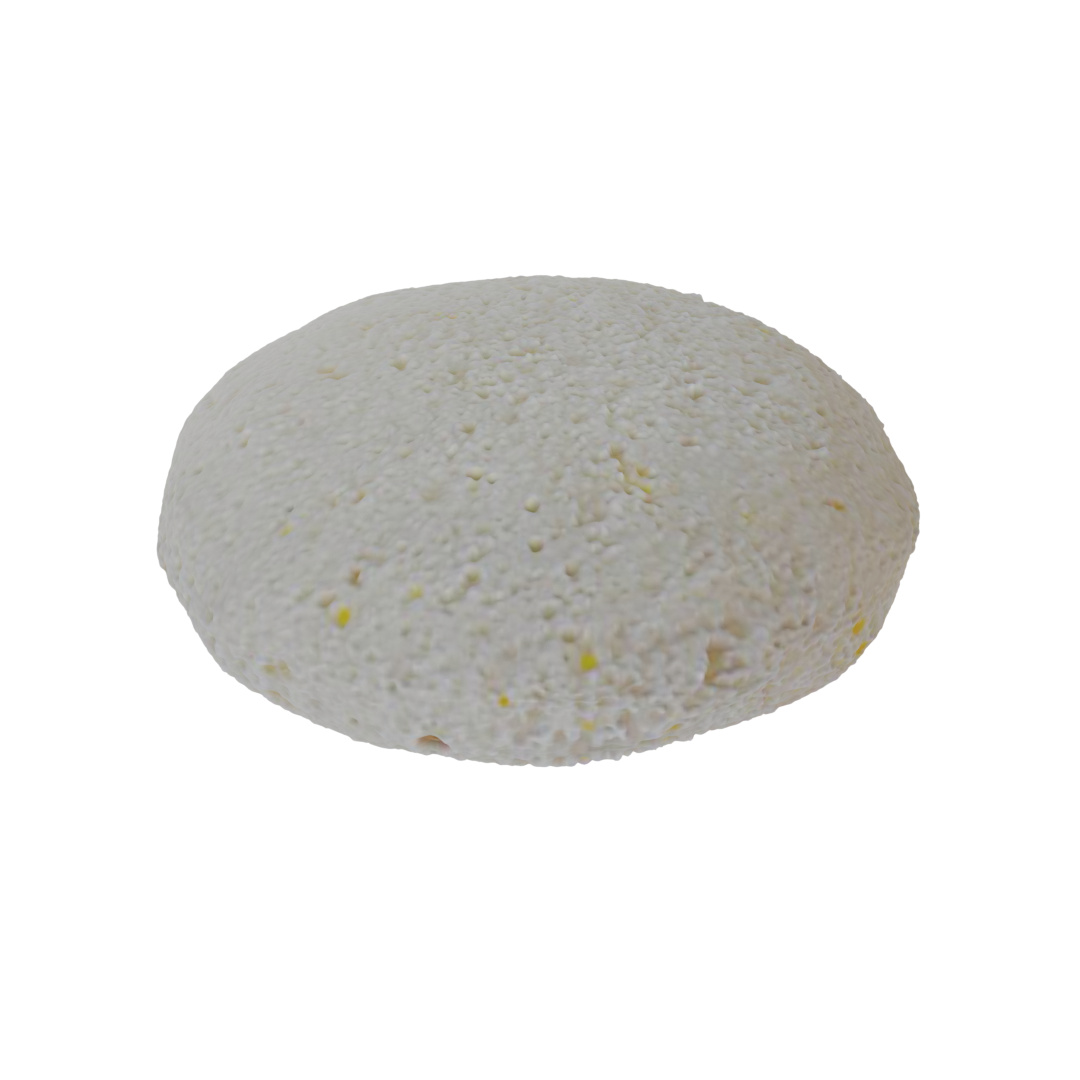
What you may be trying to accomplish would involve scaling up your UVs to be larger than the “Styrofoam ball” in the image. Then plug the image’s alpha output into the facto for the mix shader. Since the image is cropped so tightly, I also changed the extrapolation in the Image texture to “Clip.”
(perhaps ignore the following - this was done before I scaled up the UV as above - which gave the “border” effect around the object)
Speaking of the texture - this is an incredibly complicated node tree, and I have no idea what it is accomplishing. It took two+ minutes to render as is (although I got a “CUDA out of memory” error at the end which seemed very odd. I re-rendered without denoising, and the image looked identical but I did not have the CUDA error.
I then plugged the image texture directly into the Principled shader, and it took half as long and looked similar if not identical. Lastly, I cut out the Mix/Transparent shader and cut time in half again, with, once more, similar but not identical results. Seems like a lot of work for minimal results. But again, I am not sure what the shader node tree is trying to accomplish.
With the reference of your nodes. I tried to figure out. With the top view looks perfect. When i view from side view looks its having black spots. How to get rid of the black spots.
In your original post you said you had a “half sphere.” Since there was no camera, I assumed you would be only looking at one half of it, so I positioned it top-down.
You actually have a full sphere (scaled in the z direction), and with the project from view UV unwrap, the edges get compressed., and in the case above, are outside of the image area (in the transparent area).
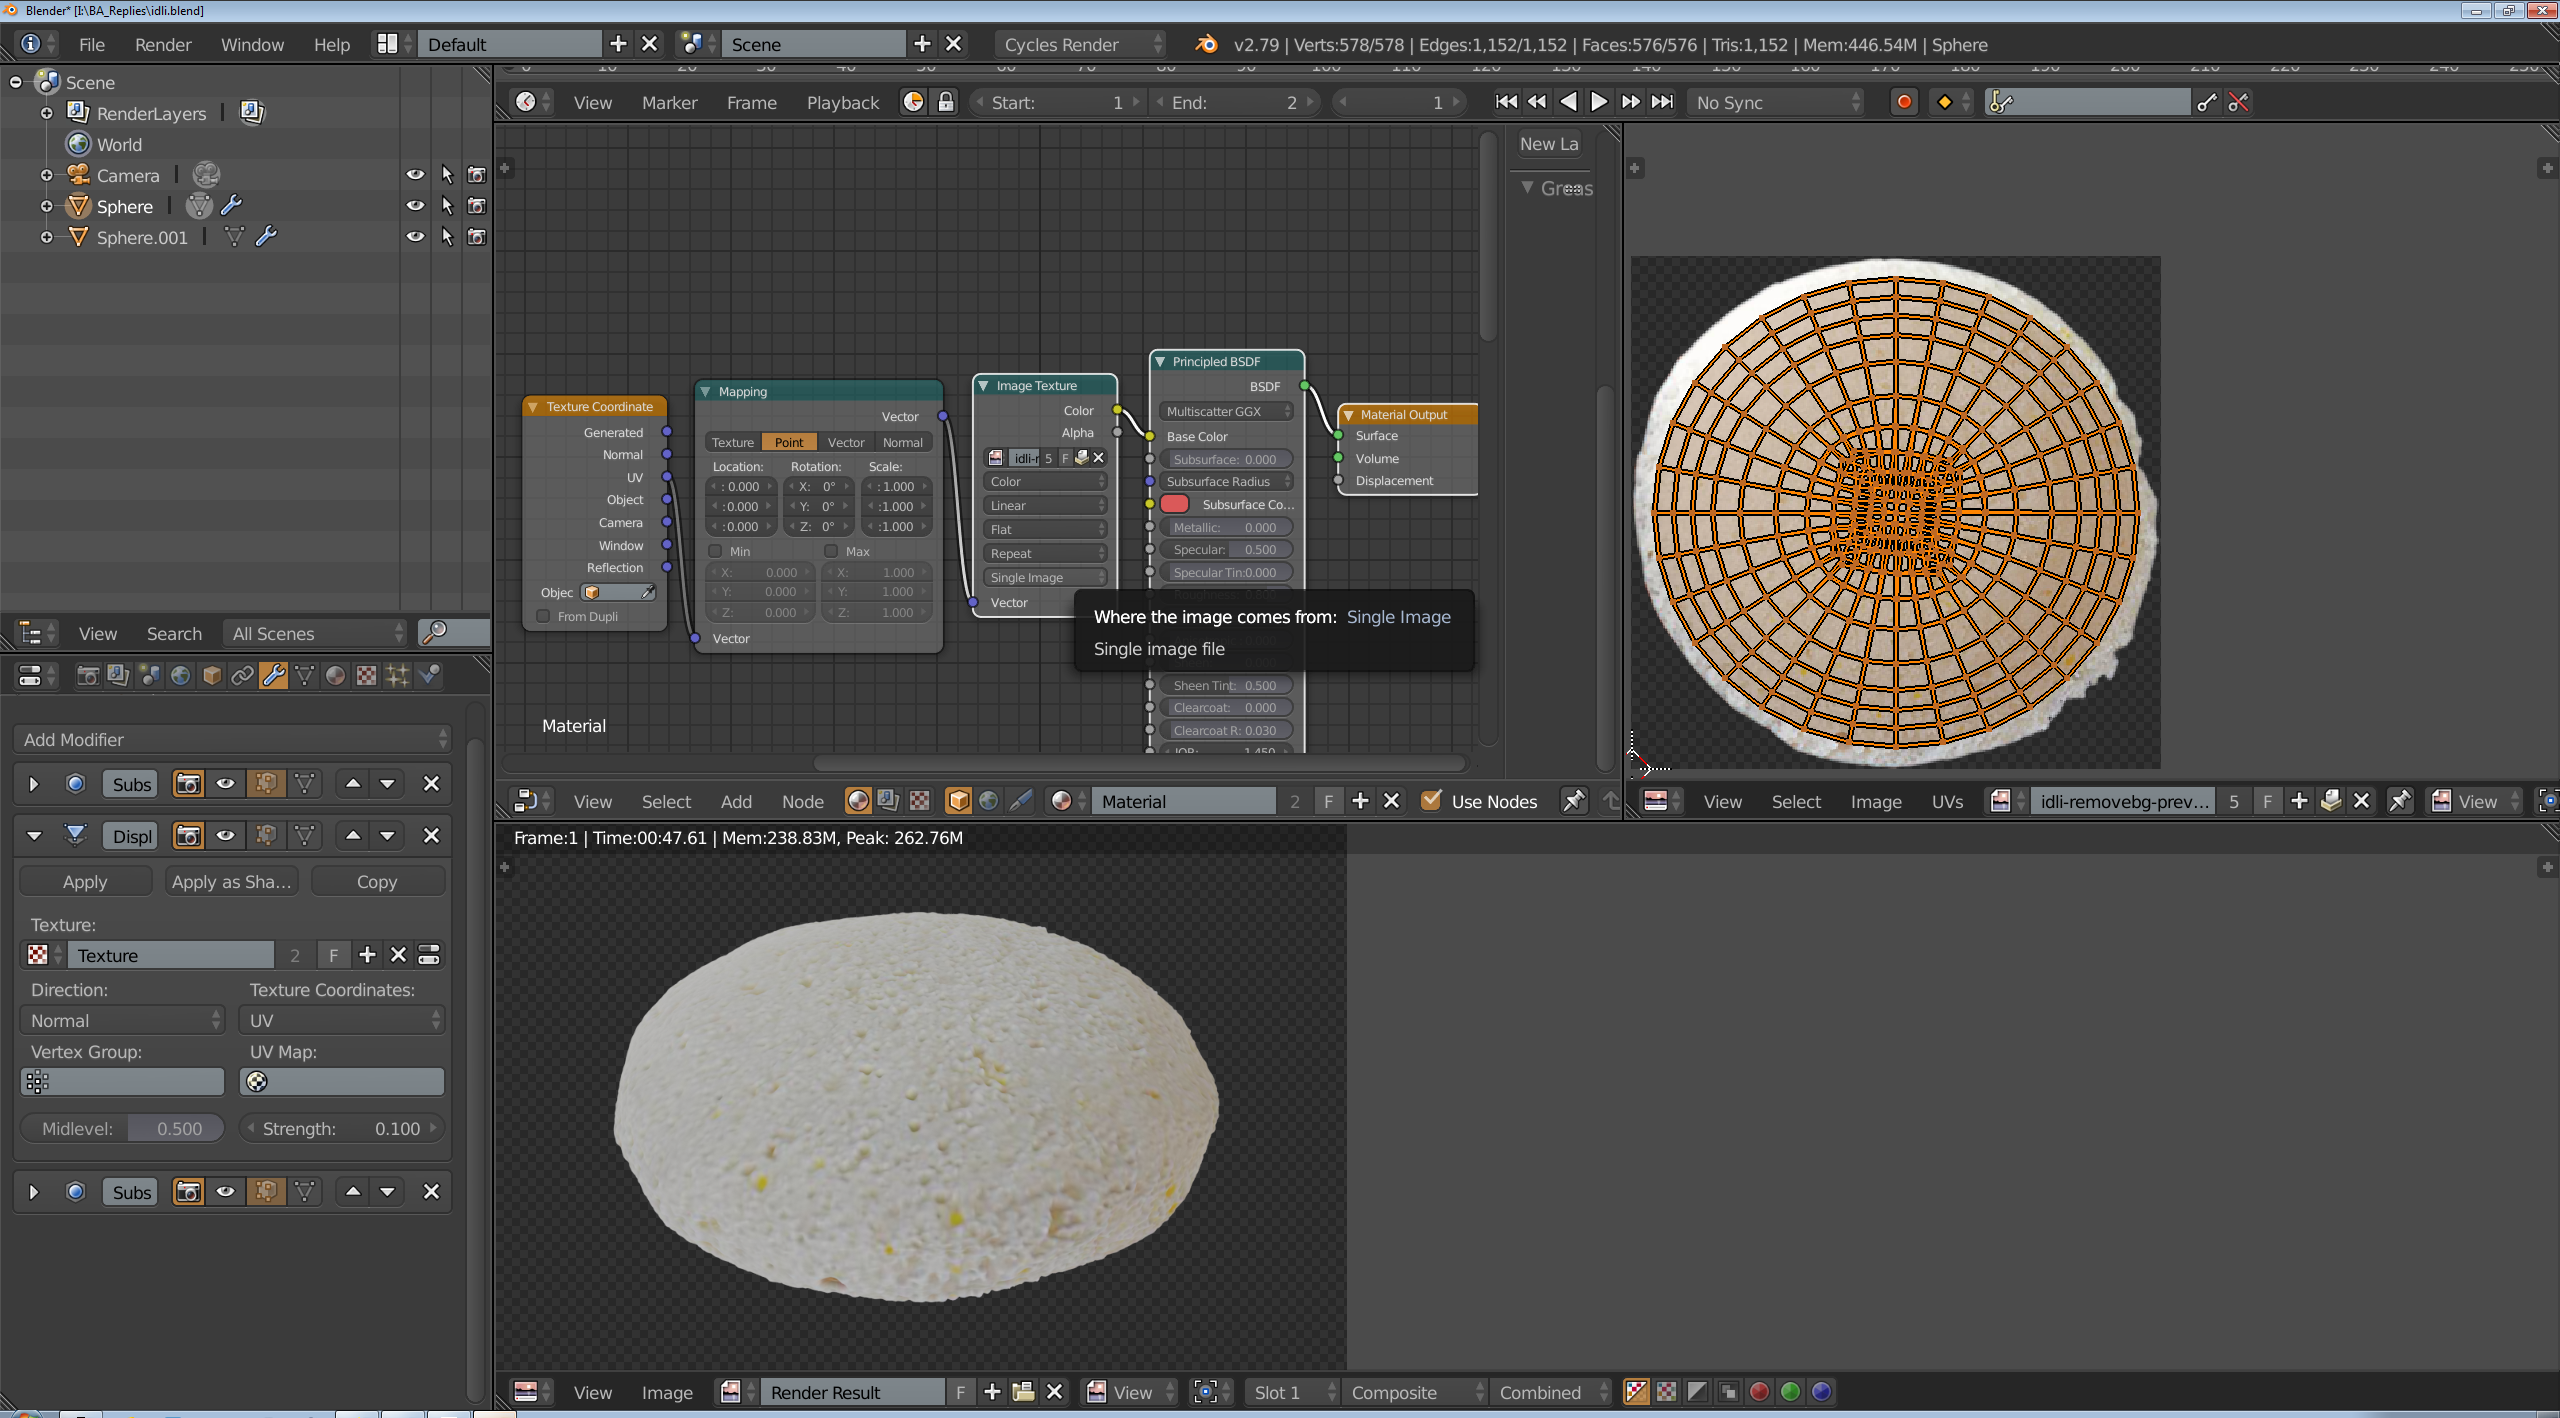
I also did an internet search and found that the “SuperTexture” is trying to do everything in one node. I did not use it for my renders. I also remodeled the sphere to to get rid of the triangles at the poles, and displaced some random vertices to give less of a perfect shape.
I adjusted the UVs to give more UV area to the outer rings to undo the compression from the UV projection a little. I added a SubSurf modifier (level 4) to give more geometry for the Displacement modifier (with adjusted contrast, brightness, and strength, and set it to use the UVs), and added a final SubSurf to smooth things out.