So I guess I was just lucky in managing to make a (to me) very convincing coarse powder coated material from a photo where I managed to manipulate it into something I could get a roughness and normal map from.
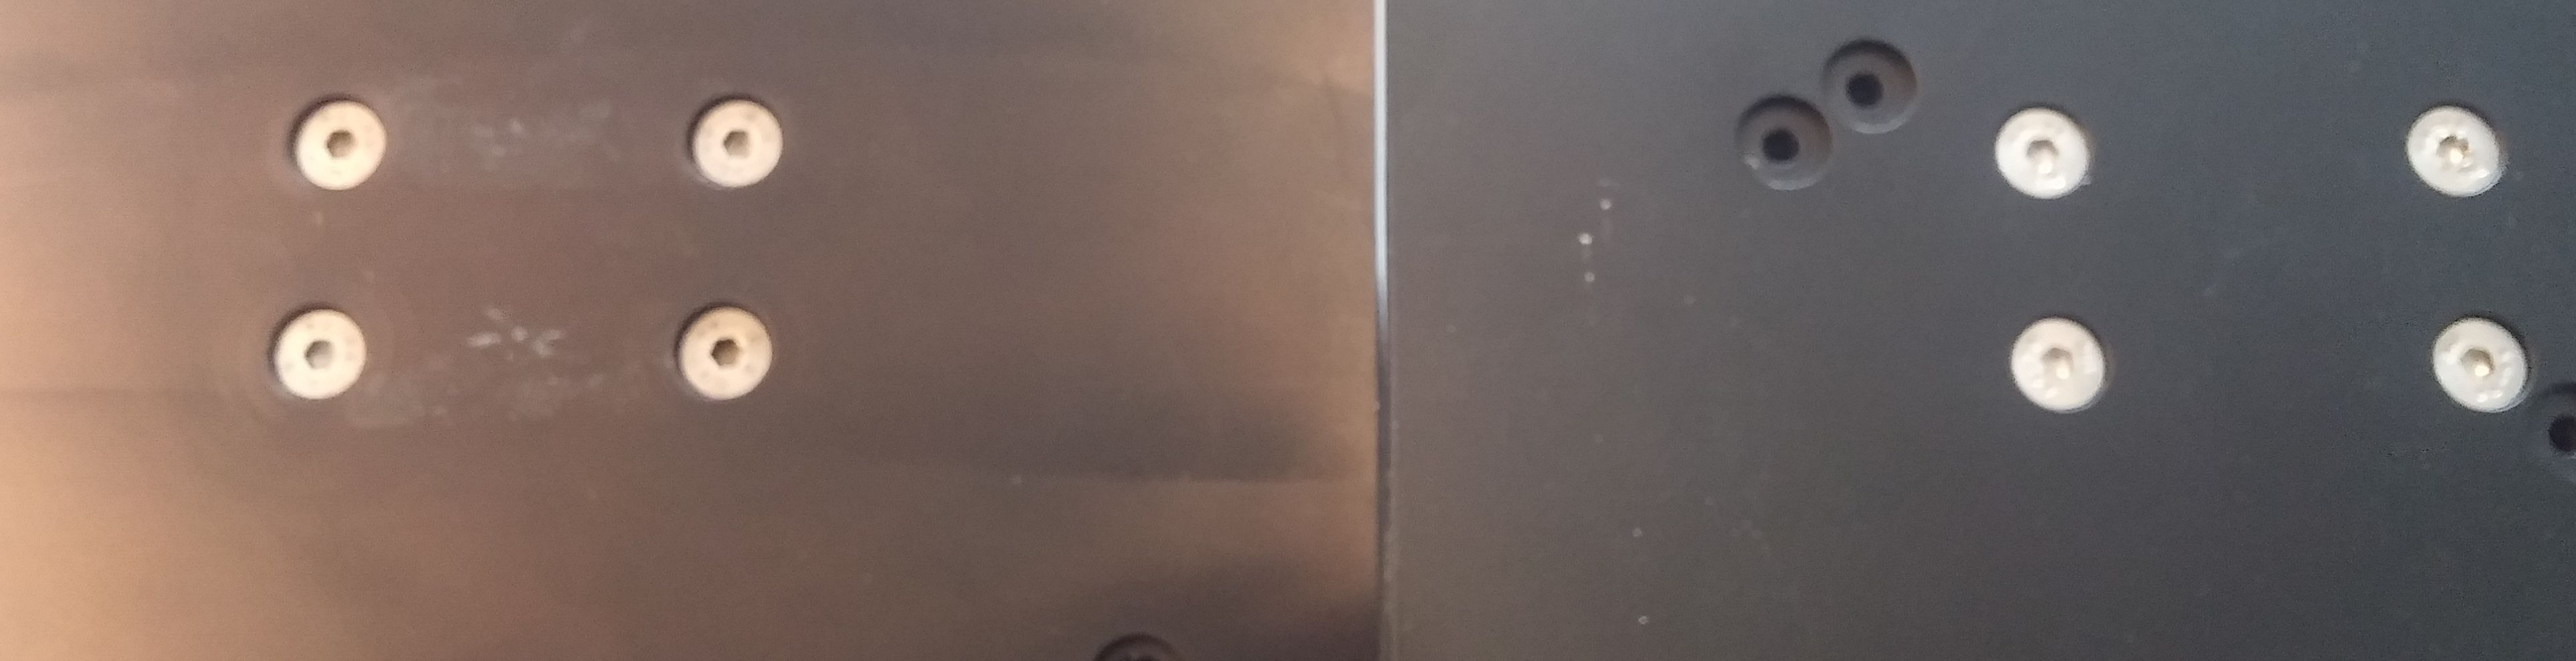
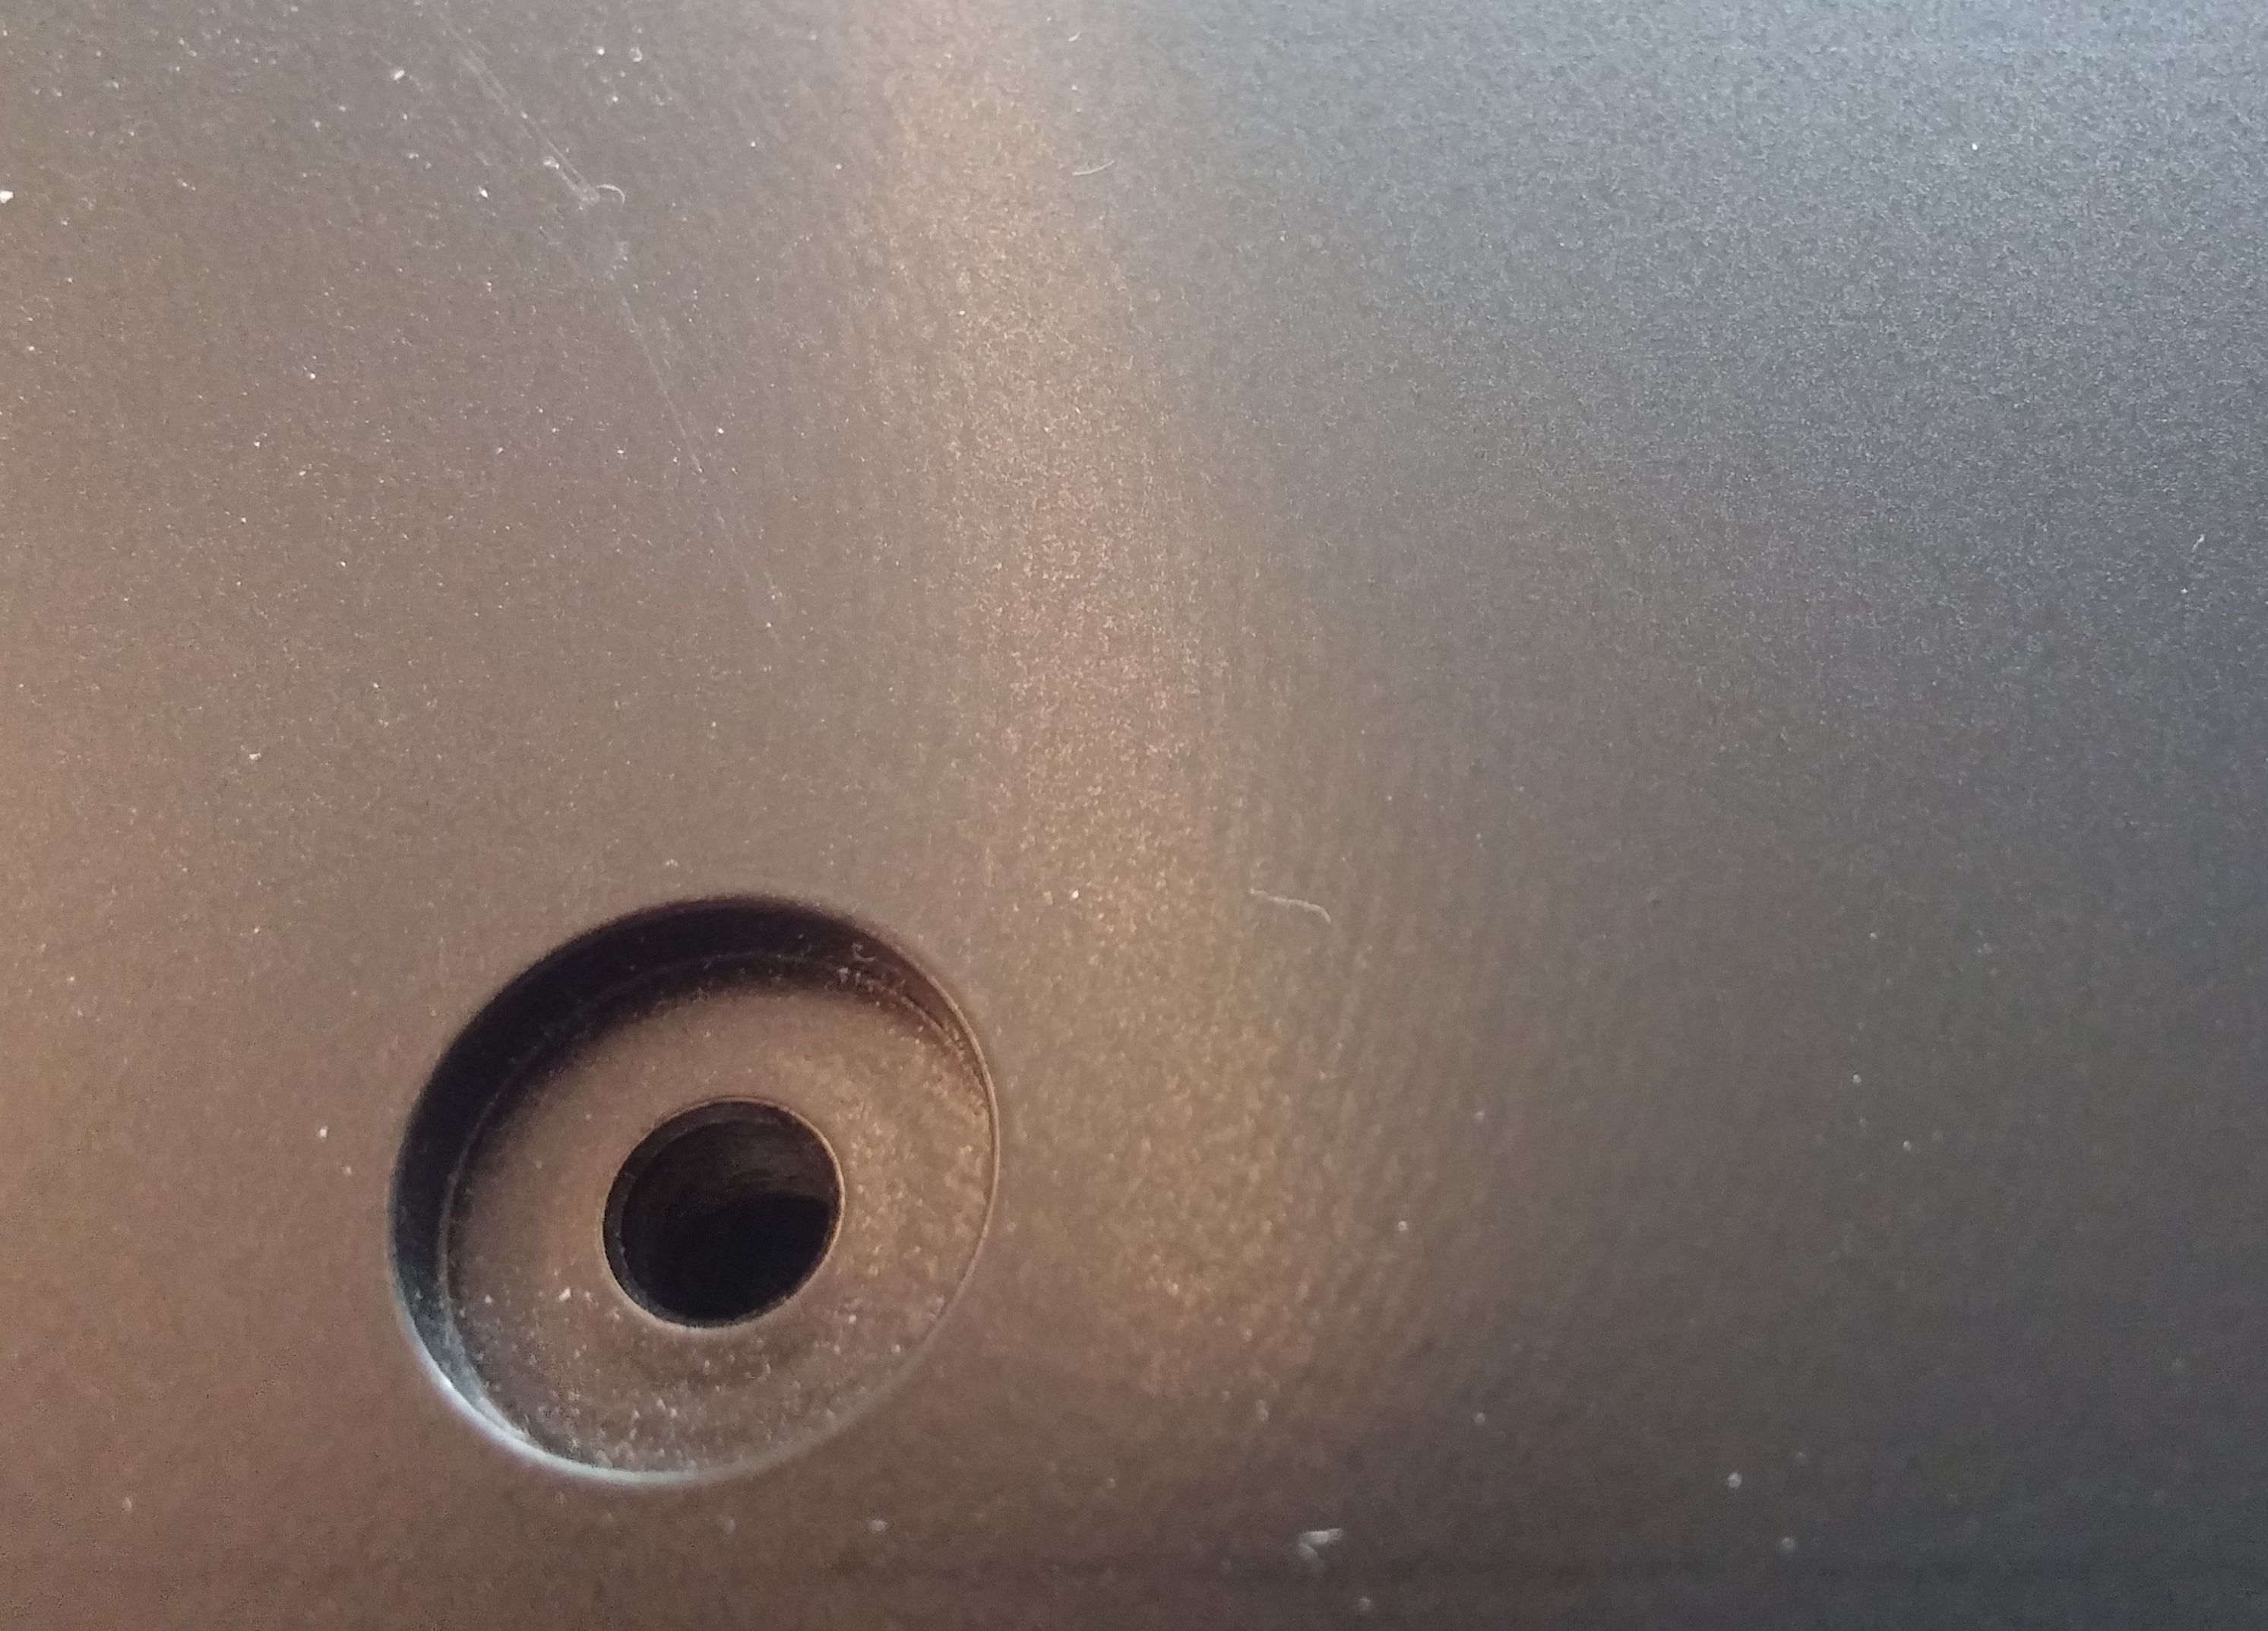
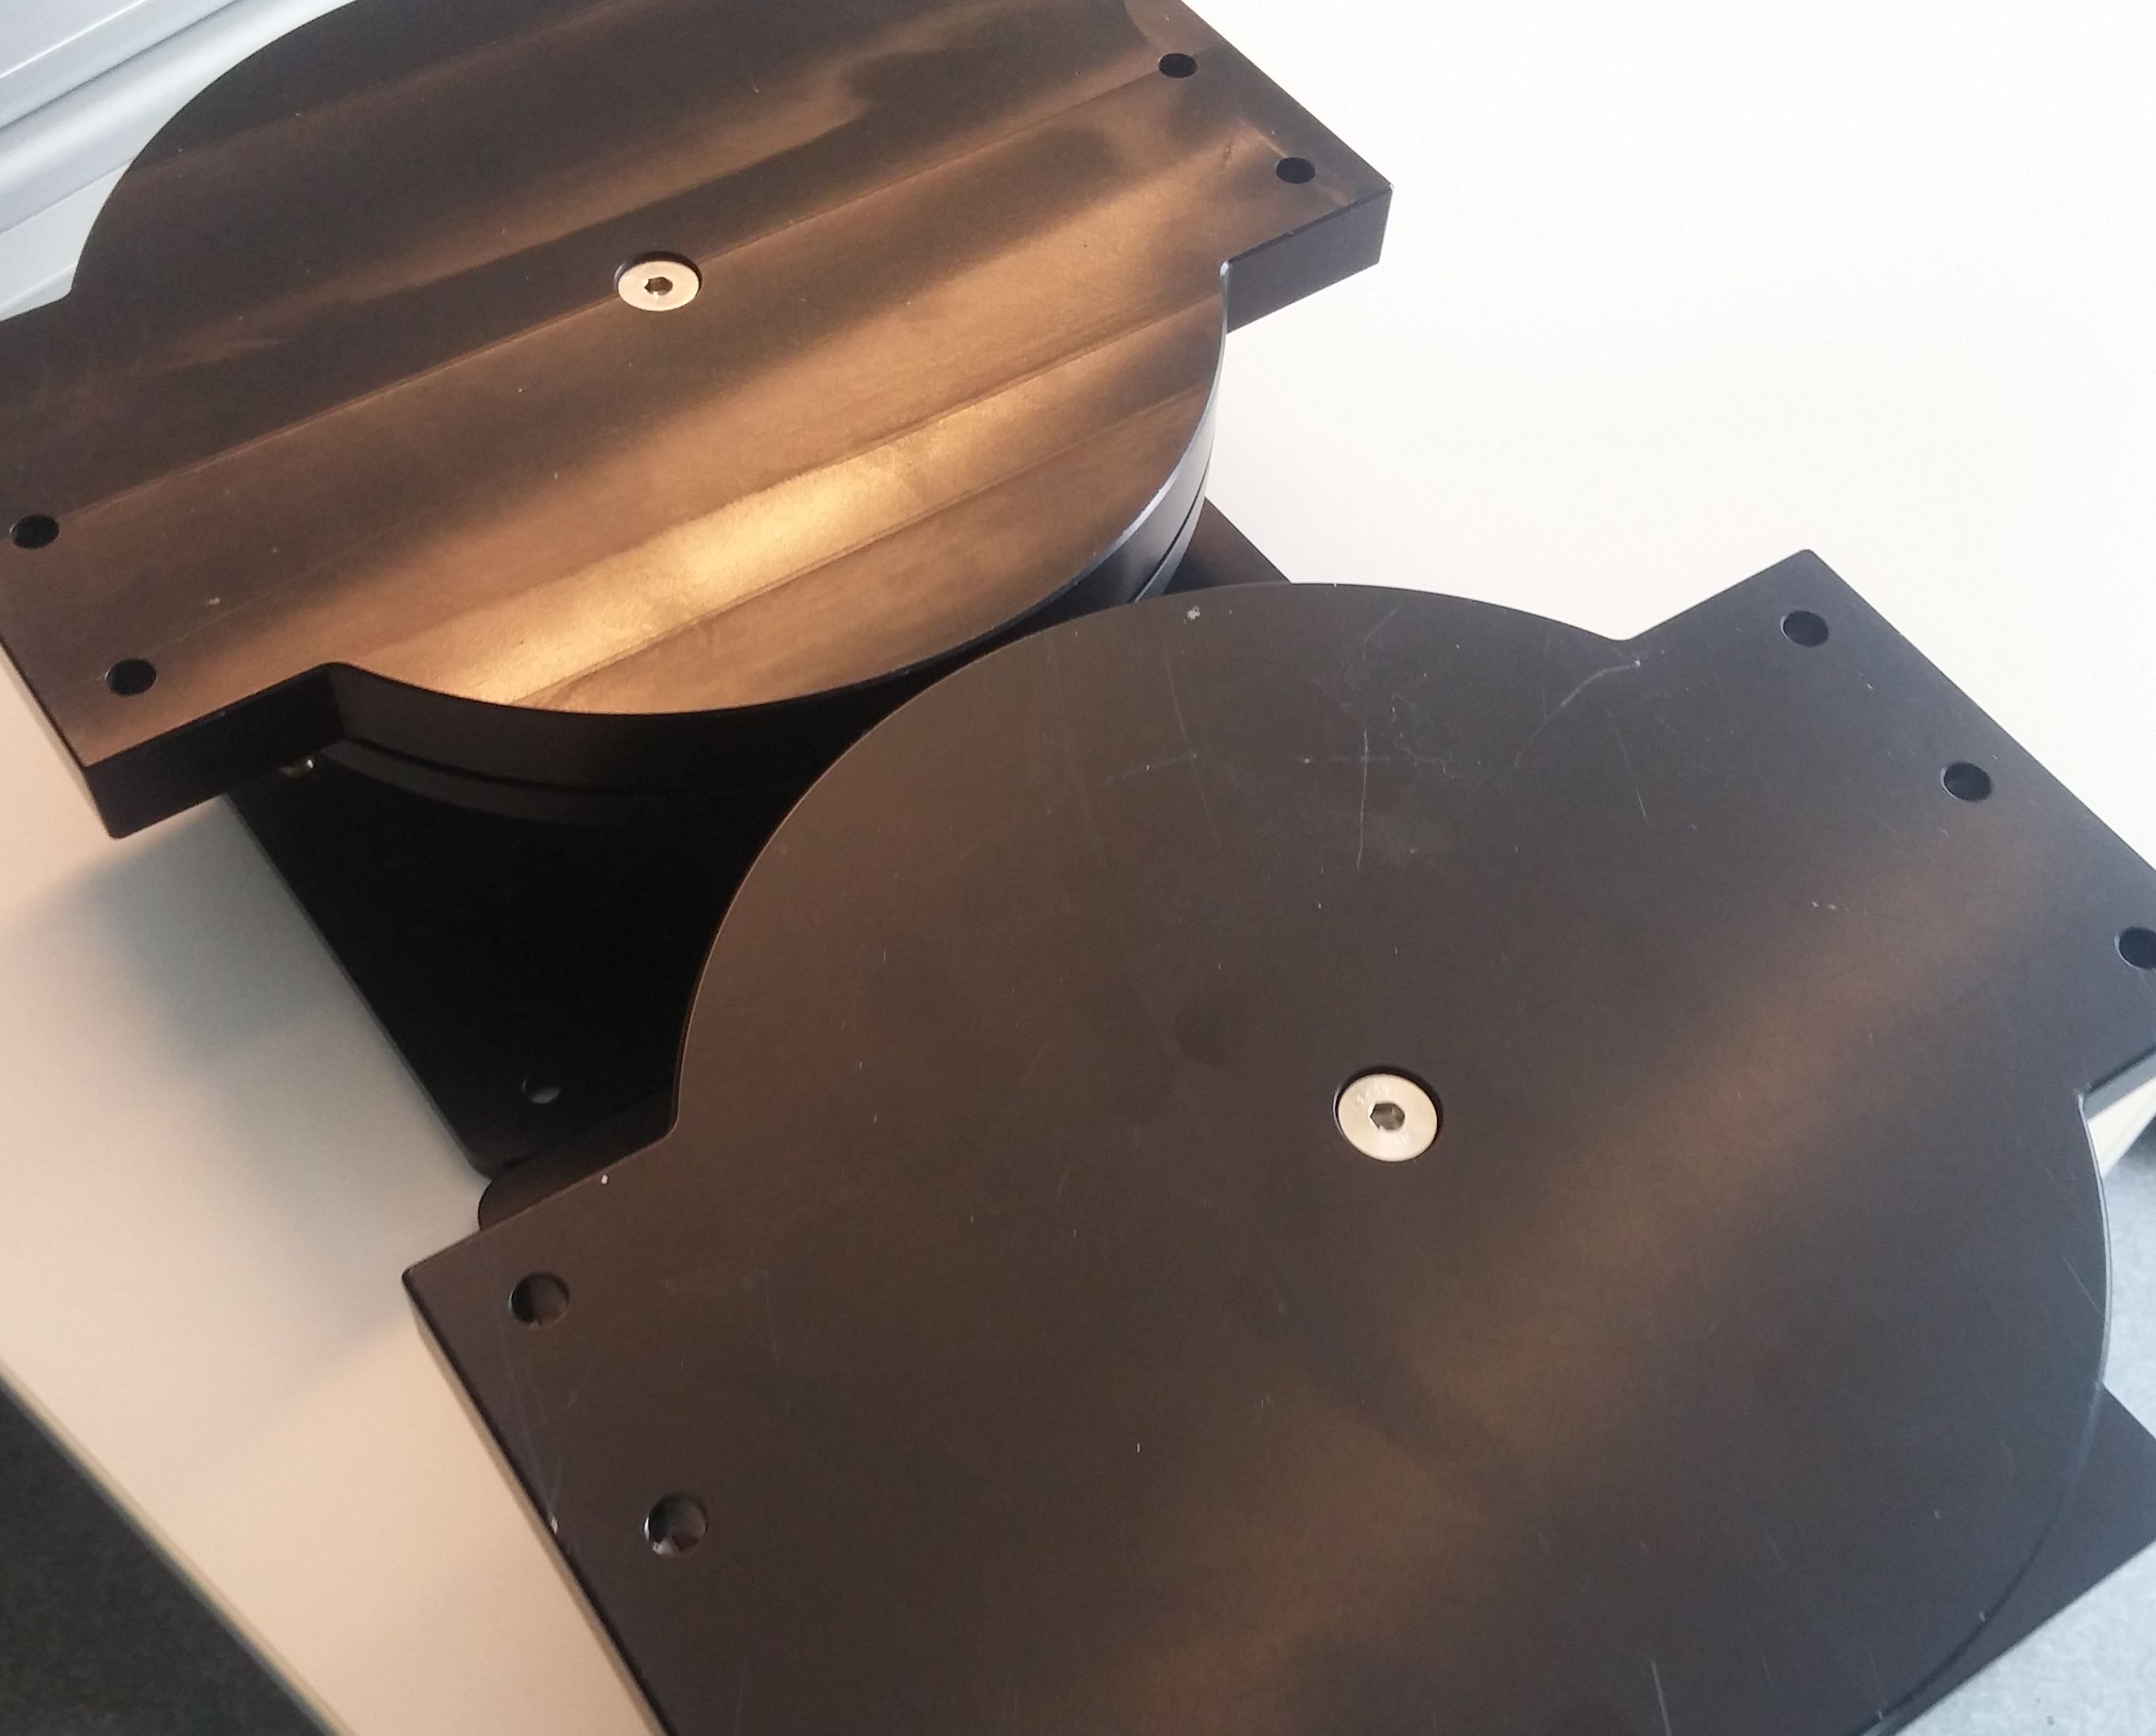
But now I tried to do the same with machined aluminium and it feels like I’ve failed miserably:
Can anyone give me any pointers?
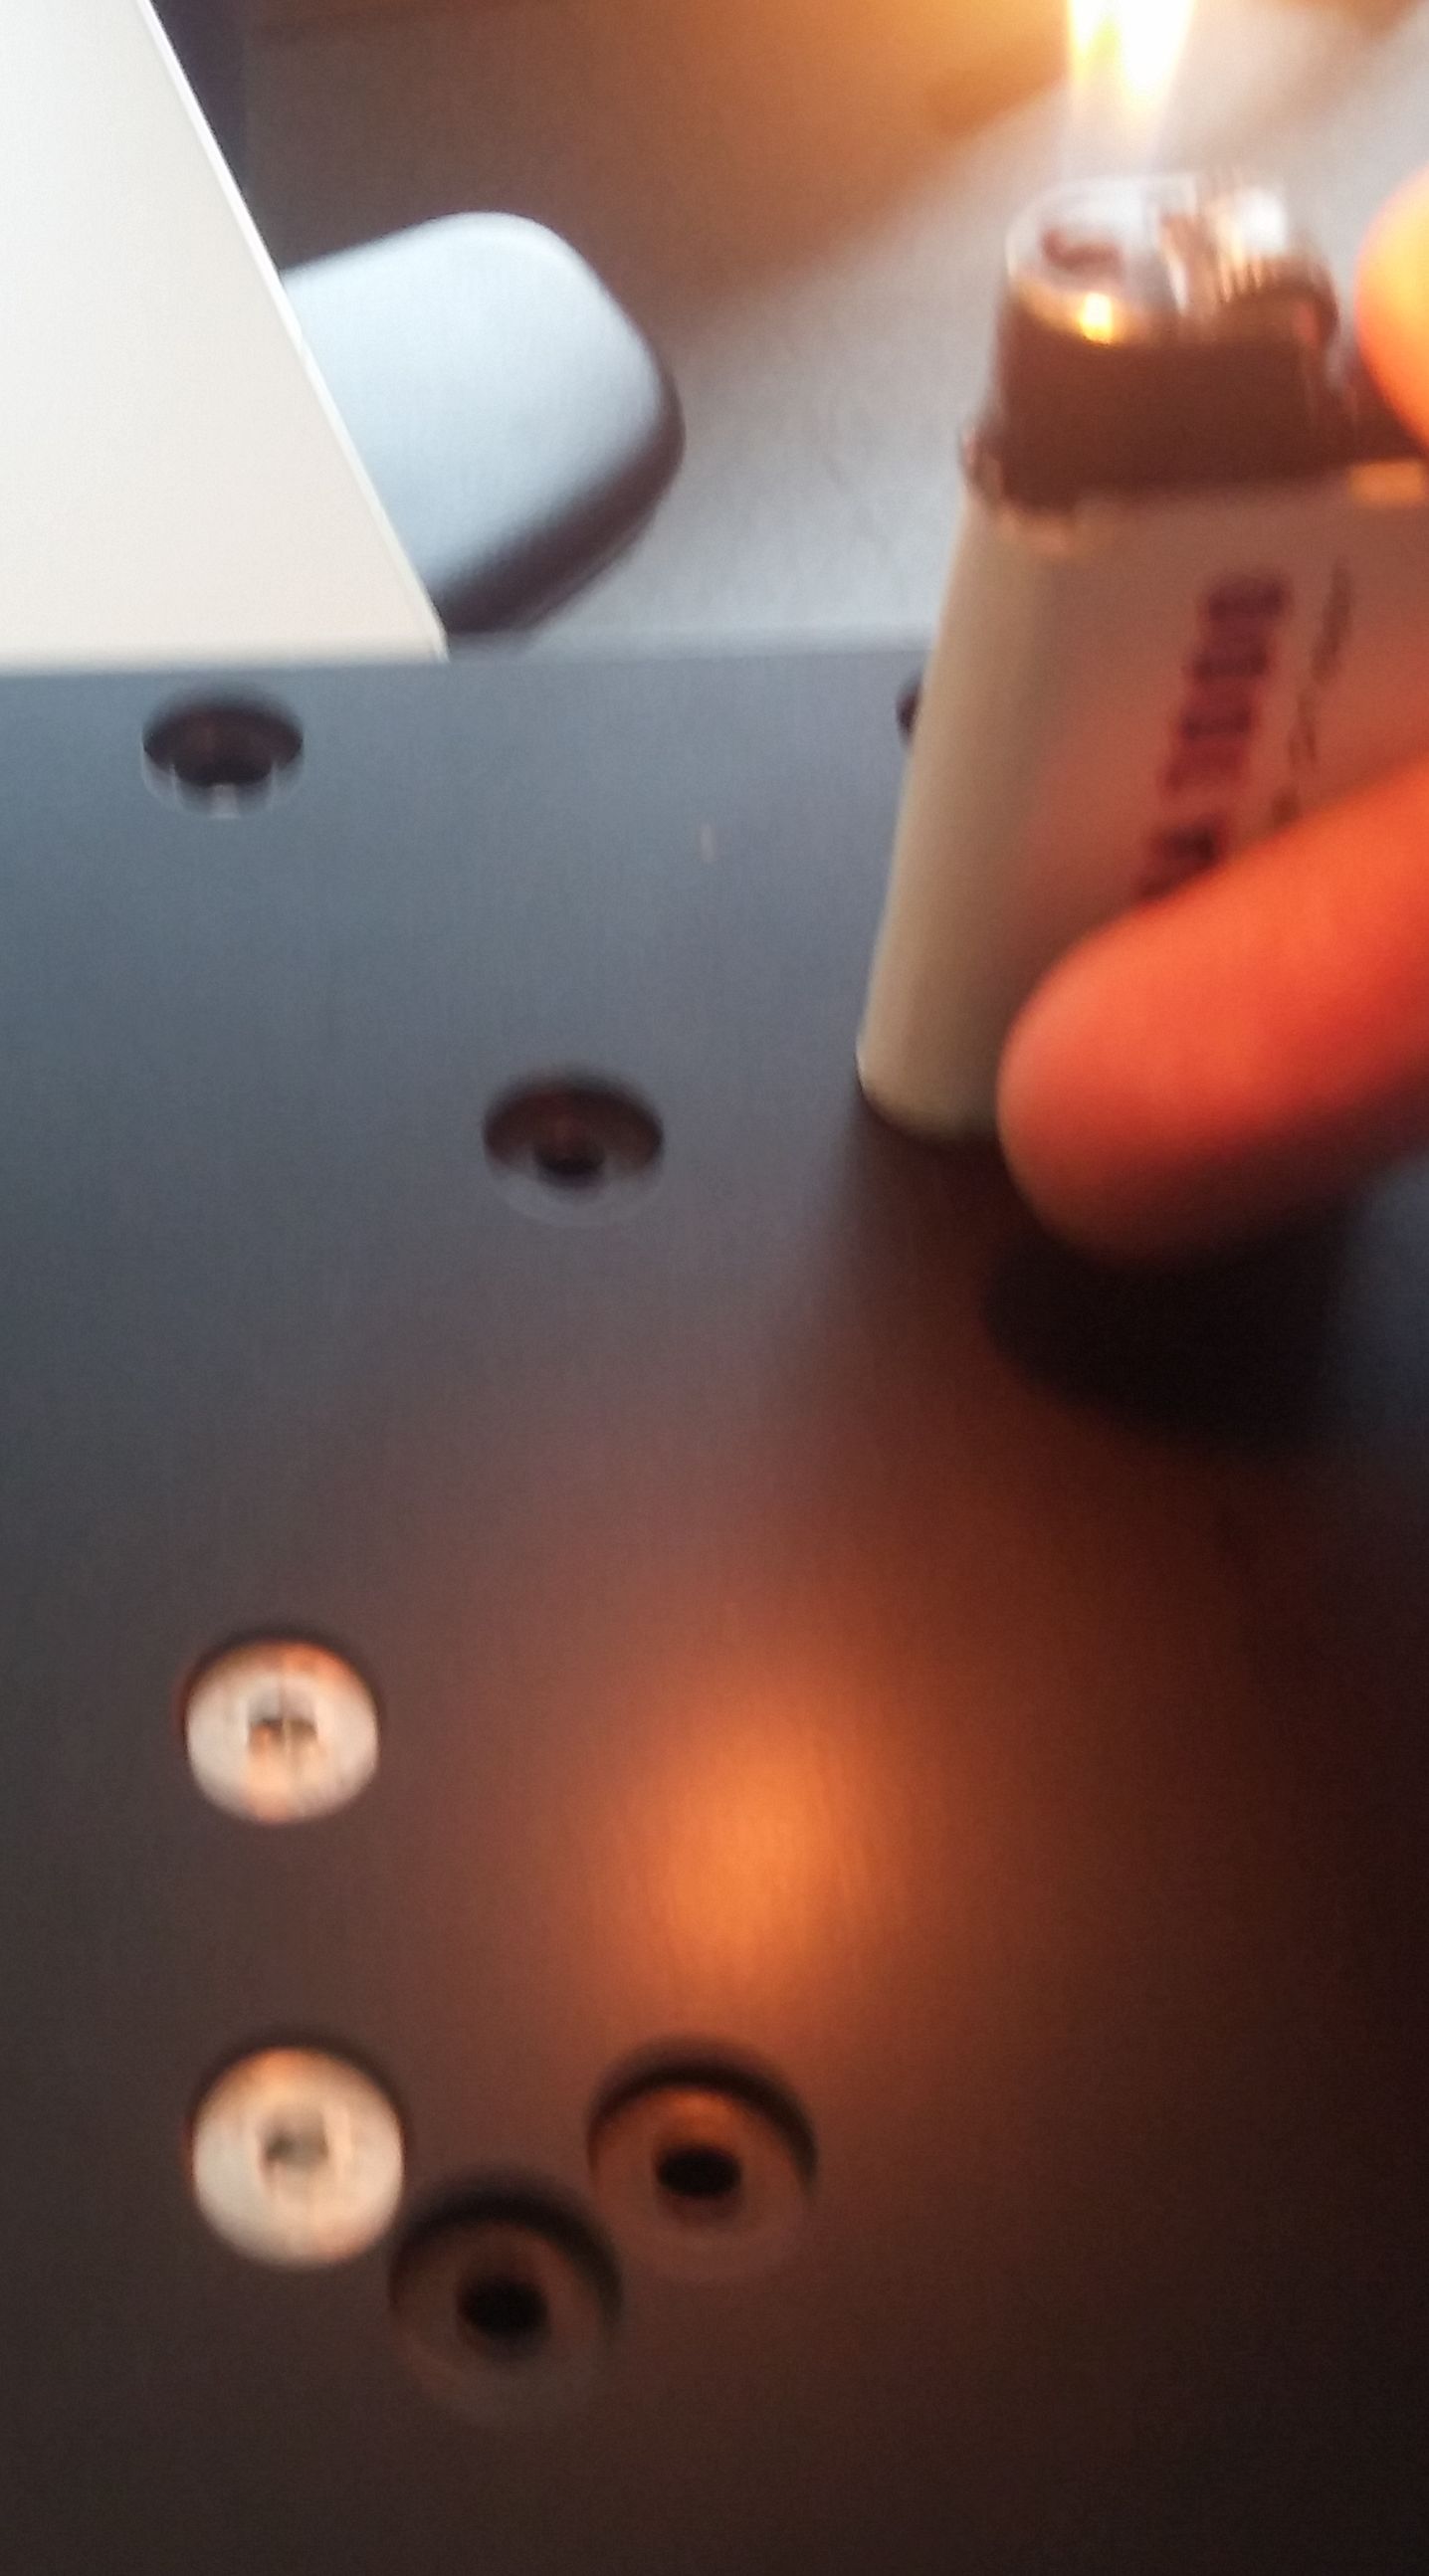
Also, why can I never get it to be as black as the coarsly painted metal beam in the beginning of the video?
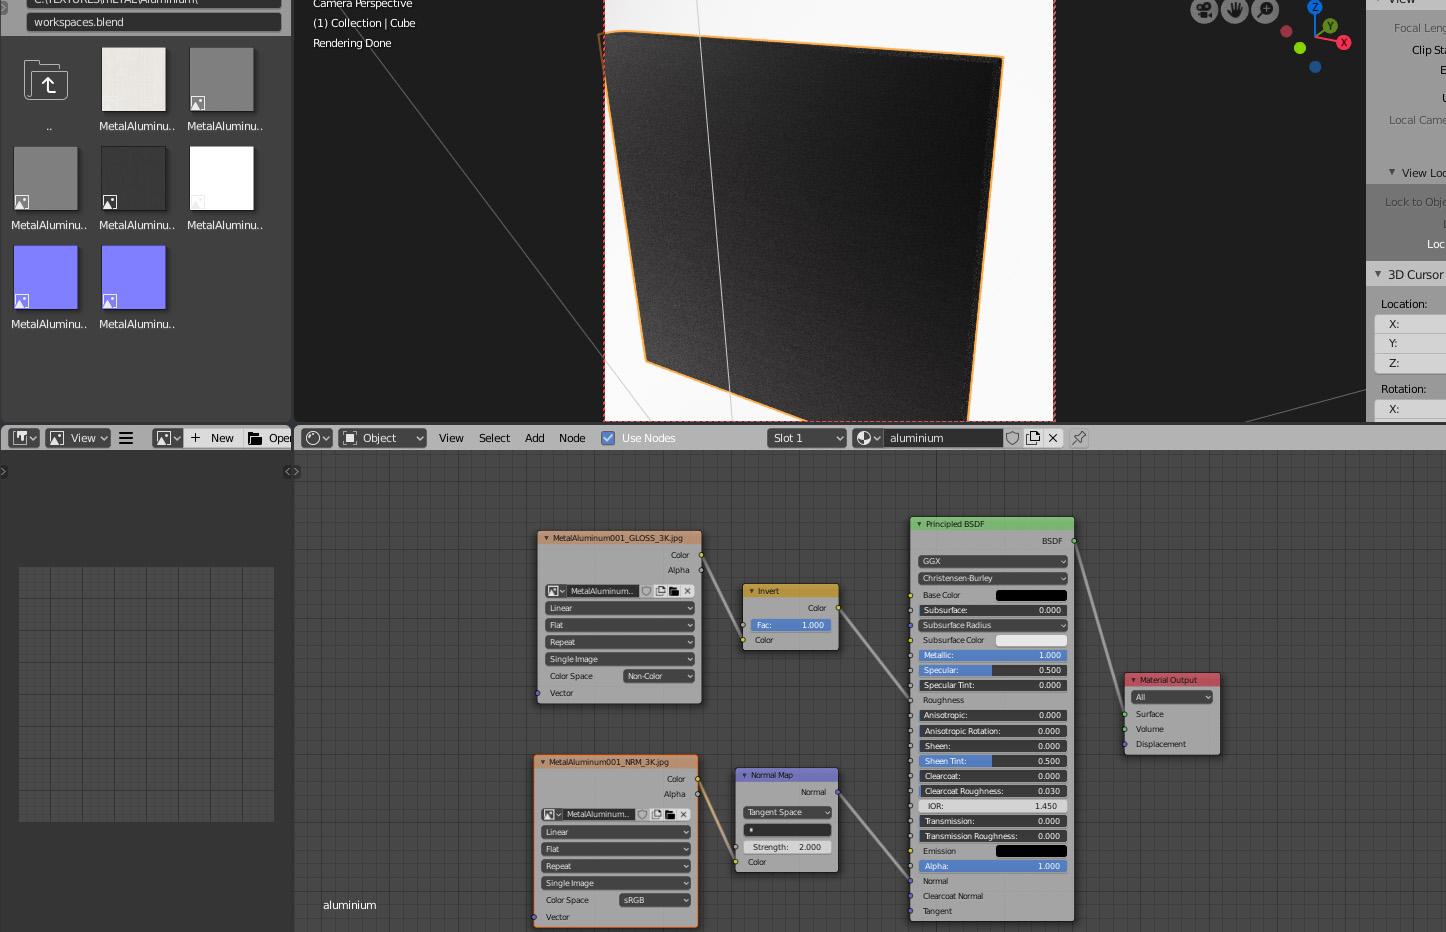
Bottom left in the video is the roughness map from which I also created a normal map. The source I’m using for the texture is the hairline anodized sample from here, which I put through the high pass filter trick in Photoshop:
Anisotropic shading, using (possibly separate) UVs for tangents. Simple enough for sheet metal, but stupid hard (bordering impossible) for complex tool paths. Secrop had a brilliant example where at least simple toolpaths was simulated by doing the tangent maths directly. For Eevee, I have no idea - as the base shading (aniso) is not available at all (yet), I’m not sure how I’d attack it. To me every attempt looks just like “streaked metal” (CG cliche).
Another thing, if you want good stretching without the rough blur, try Beckman with 1 aniso and >1 roughness, maybe in combination with regular aniso. This applies mostly to well/semi polished parts after machining (medical/food applications). Probably not what you’re going for here.
I can’t remember if anodizing will still provide any aniso effect. You can still see machining marks, but I’m unsure about how aniso is affected. I’ll try to check tomorrow on a real machined anodized part at work. For powder coated (fine, not rough) you’ll have to look really hard to see any machine marks, depends on thickness/process I guess.
1 - the machining finish of the part
2 - the aniso of paint finish itself
which might be more or less glossy / diffuse
also color could be different - Yellowish or black or other color!
Aniso is caused by the machining of the part. Both abrasive and additive treatment can be such that you won’t get rid of all of it - see above - anodized remain very aniso while powder coating takes almost everything away (even if you can still see the grooves just a bit).
“Paint” (this kind) is not aniso. Aniso is a different kind of glossy/specular. Our kind of diffuse doesn’t support any kind of aniso effect, sss and velvet doesn’t have it, and volumetric aniso cover only forward/back scattering. Stretched (incl human skin), extruded, and patterned materials could show it under stress. Unsure about paint via brush strokes, never had a look. Airbrush and powder coat would be iso.
I’m pretty sure i used textures i had already and i think they were from poliigon. so it may just be down to what textures and normal maps you use, but also dont forget the shader settings.