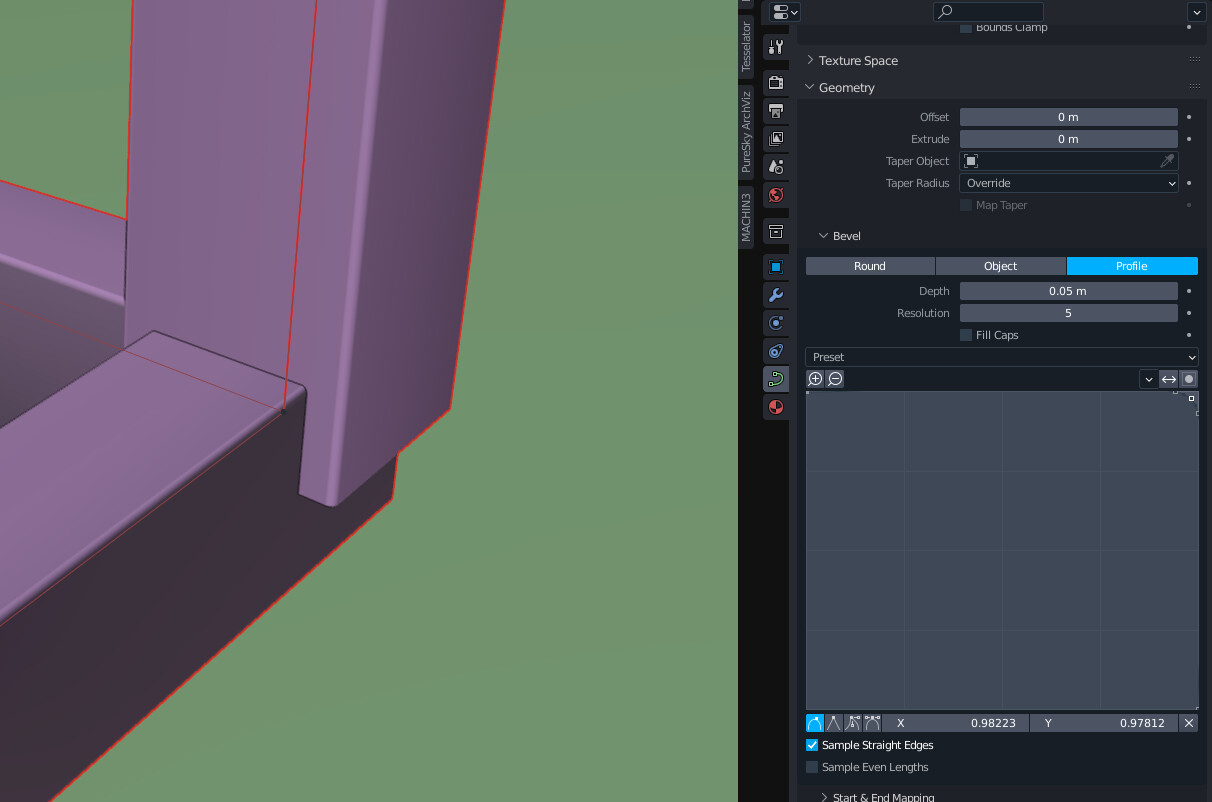
First, I attempted using the Profile tool, but it’s not square:
Then, to my surprise, after I converted the edges of a cube mesh to curves, I found that this wasn’t square either?

What am I missing here?
First, I attempted using the Profile tool, but it’s not square:
Then, to my surprise, after I converted the edges of a cube mesh to curves, I found that this wasn’t square either?
What am I missing here?
Maybe you have a bevel modifier activated?
Otherwise it can be the normals. make it flat shaded to see how the geometry is actually looking.
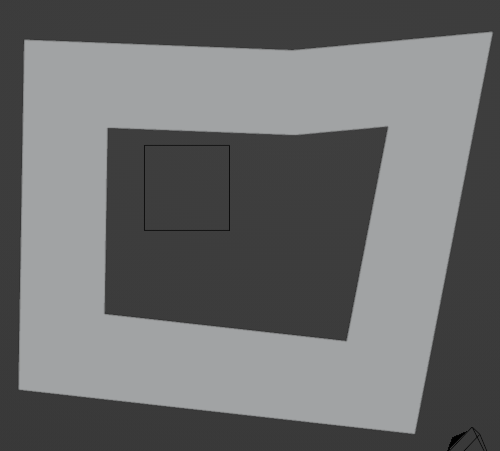
No, I think I discovered the issue…
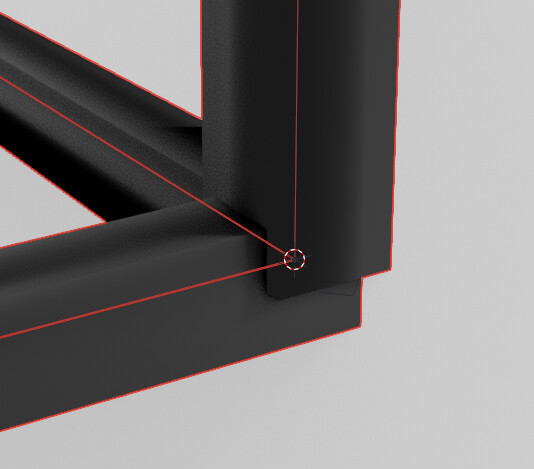
The moment you try to bend a poly curve 90 degrees it changes width, regardless of the profile!
So, the only way to maintain width is by only using lines (straight poly curves), but then you end up with open corners:

So, you can’t be accurate if you want to stay non-destructive, or does anyone have a workaround?
For a square profile I would use the “round” profile option with 0 resolution. Then for the corners, might not be what you want, but how about disconecting them like in your last example but making them go to the end and using fill caps and, if needed, a weld modifier afterwards?
Round profile still only gets me this far, plus it suffers from the shrinking issue as well:
Your last workaround is non-destructive, but unfortunately not very editable (also unsure how to get a 100% nice weld).
Hi… My node-group works in 3D but does require you do some basic geometry nodes… its bare basics tho as it basically acts like the “bevel” option and you can plug in custom profile curves using the “Object Info” node.
If you don’t want to use Geometry Nodes though, then you can get “even-thickness” buy using the 2D-Shape option:
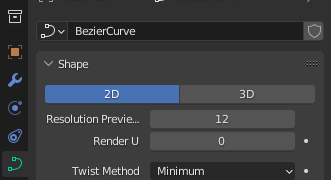
3D “Shape”
2D “Shape”
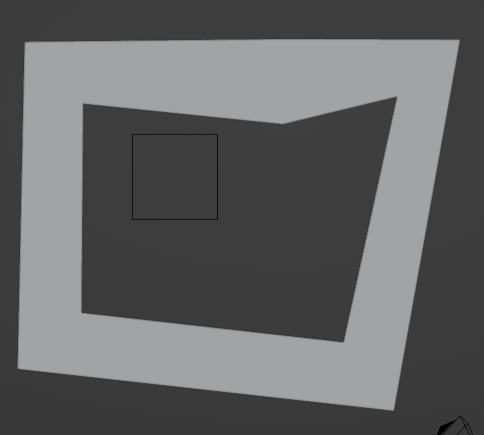
The limitation is kinda in the name though - only works for 2D curves, so you’ll have to break your “shapes” into separate “flat” sections that you then transform into place, which is tedious.
Good luck.