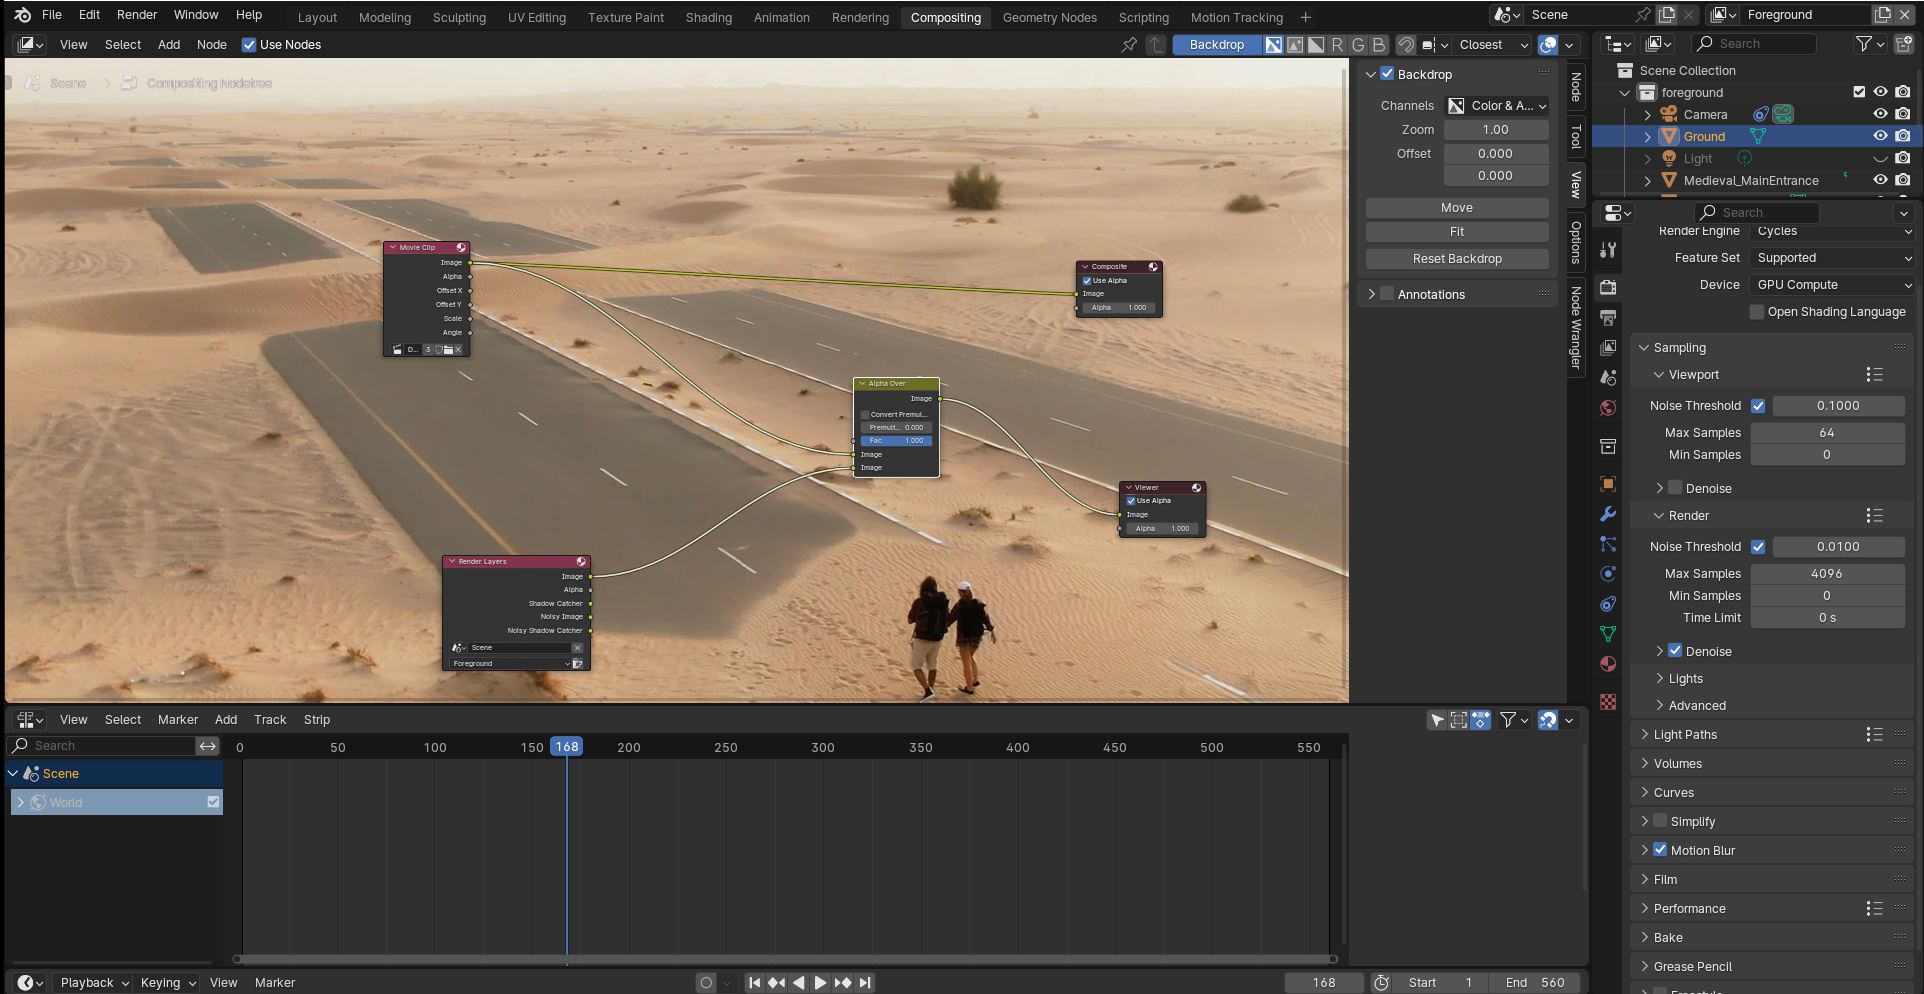
A) I think you’re overcomplicating it for yourself. Compositing is a step in the image-making process, and it happens after rendering, the same way lighting happens before rendering, or texturing happens after modeling. In a standard workflow, you’d work on your scene until it looked the way you wanted, then render it, then take those rendered images and composite them in your app of choice. The fact that Blender has a compositing toolset built in doesn’t change that order of operations: work on a scene, then render it, then composite it.
If you were working in two separate files, I think this’d be more intuitive—if you were compositing and decided you want to change something about the render, it’d be clear you needed to go reopen your scene file, make a change, re-render it, and then bring those image files into your compositing project. But when those two steps are happening inside the same project, and Blender automatically propagates the most recent rendered frame into the Render Layers node, it’s easier to get muddled.
In fact, as a general rule, I recommend people do compositing as a second step, even if they’re staying in Blender for comp—rendering first and then bringing the rendered EXR sequence back into Blender to comp it. Makes it easy to change color/glow/effect settings without having to recommit to an entire costly re-render, and is definitely something you want as your scene gets more complex: once you’re juggling 25 elements, it’s great to only have to re-render the two that need changing. In your case where all you’re doing is layering your CG over a background, you’re probably okay, but it’s something to keep in mind.
And, we can now think about it logically: rendering happens first, followed by compositing—so the output that will be saved by Blender is the composite, since that’s the furthest-along stage in the process.
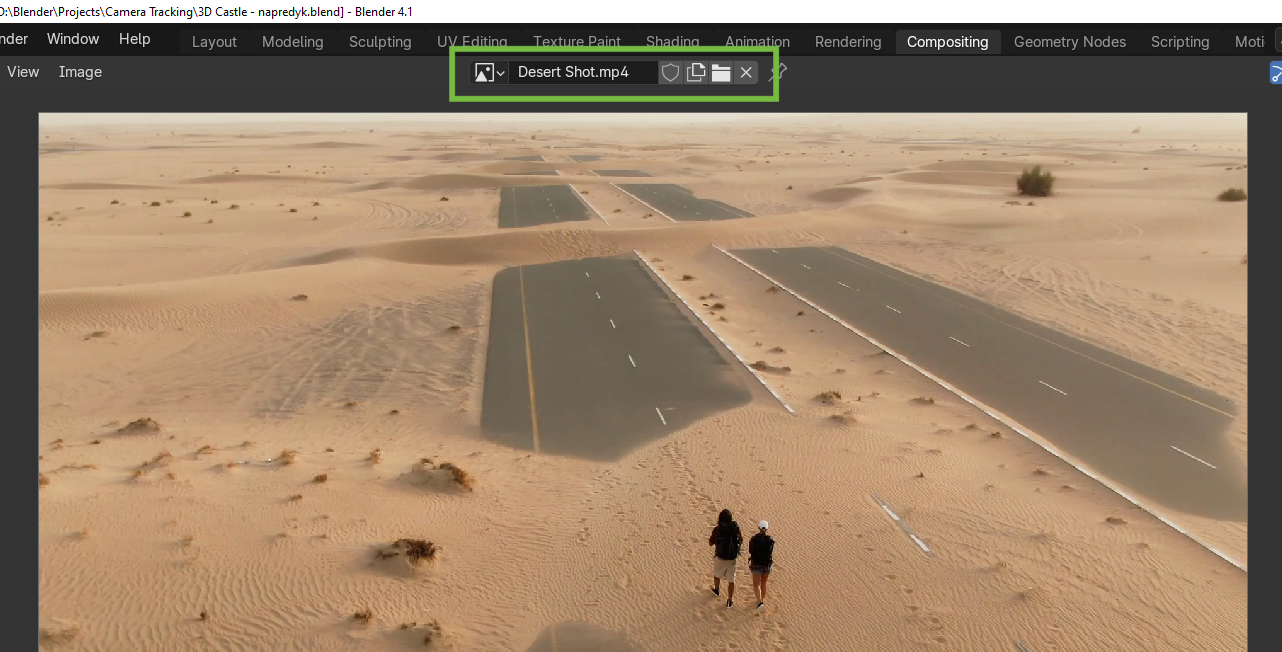
B) Do you still have those Foreground/Background layers set up? Maybe the background is just the footage, and that’s what ended up being output?
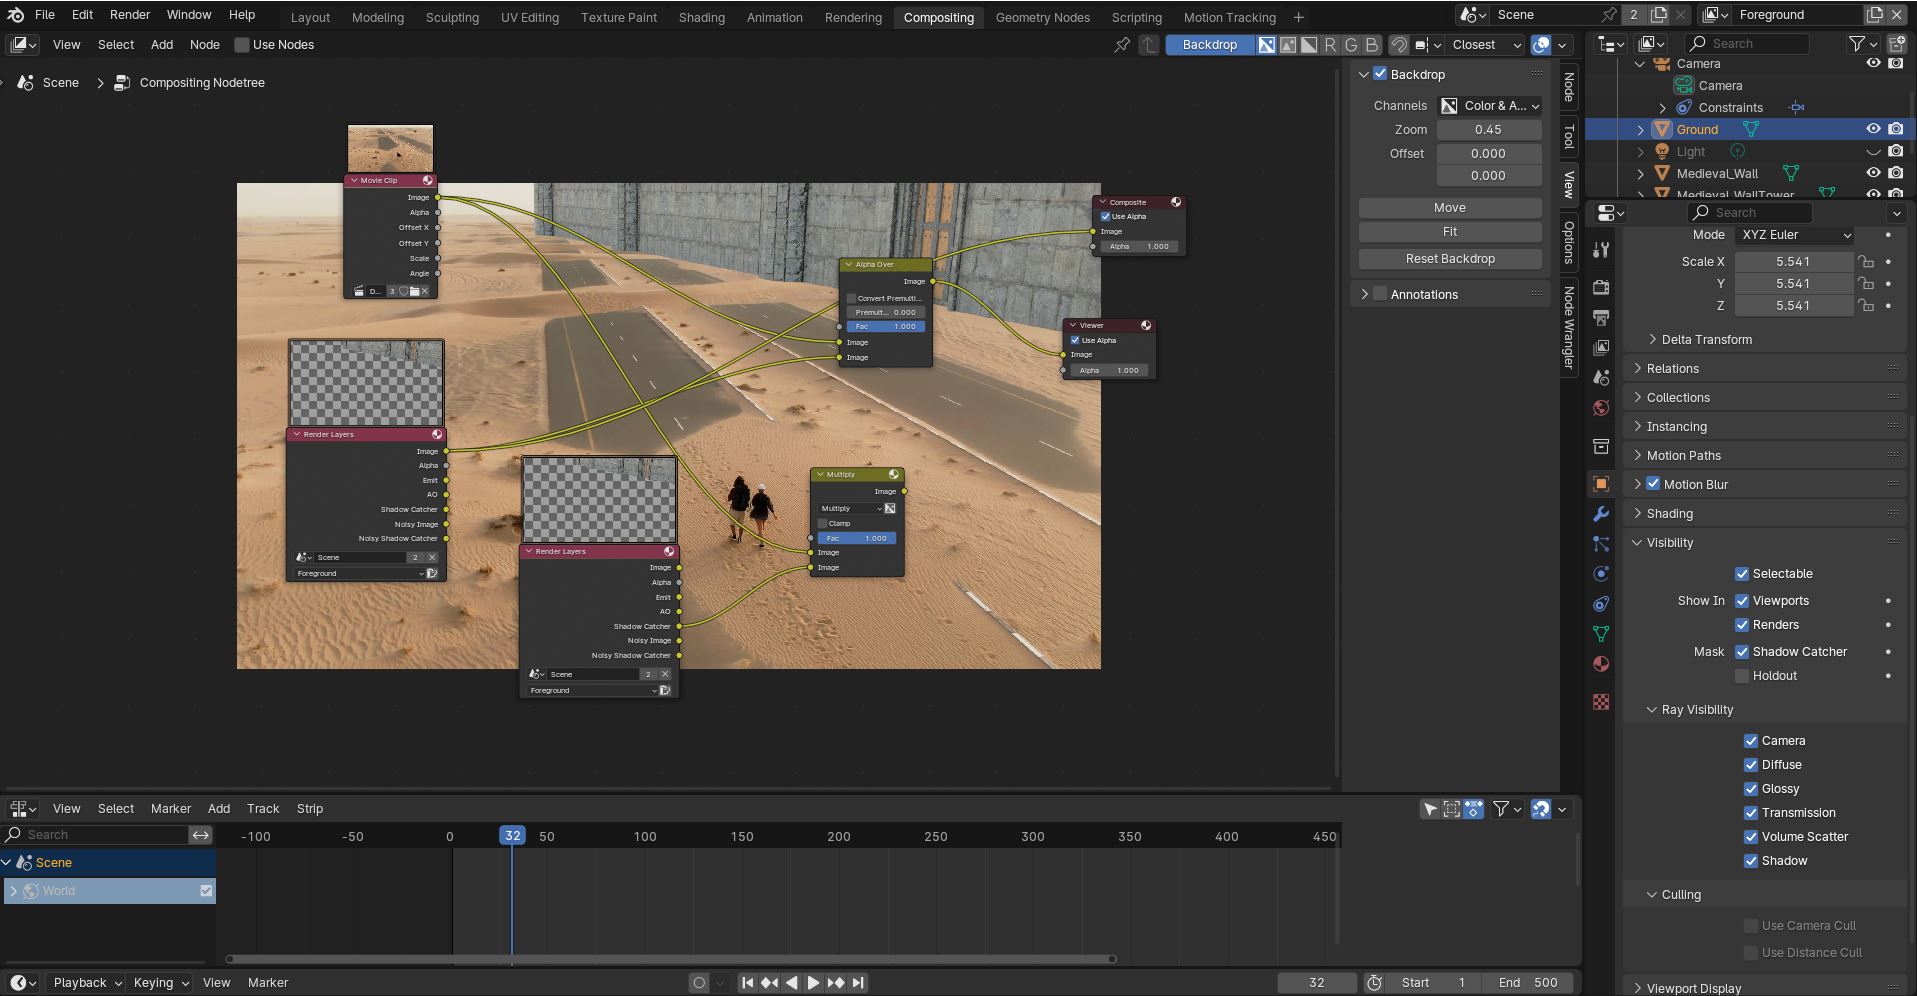
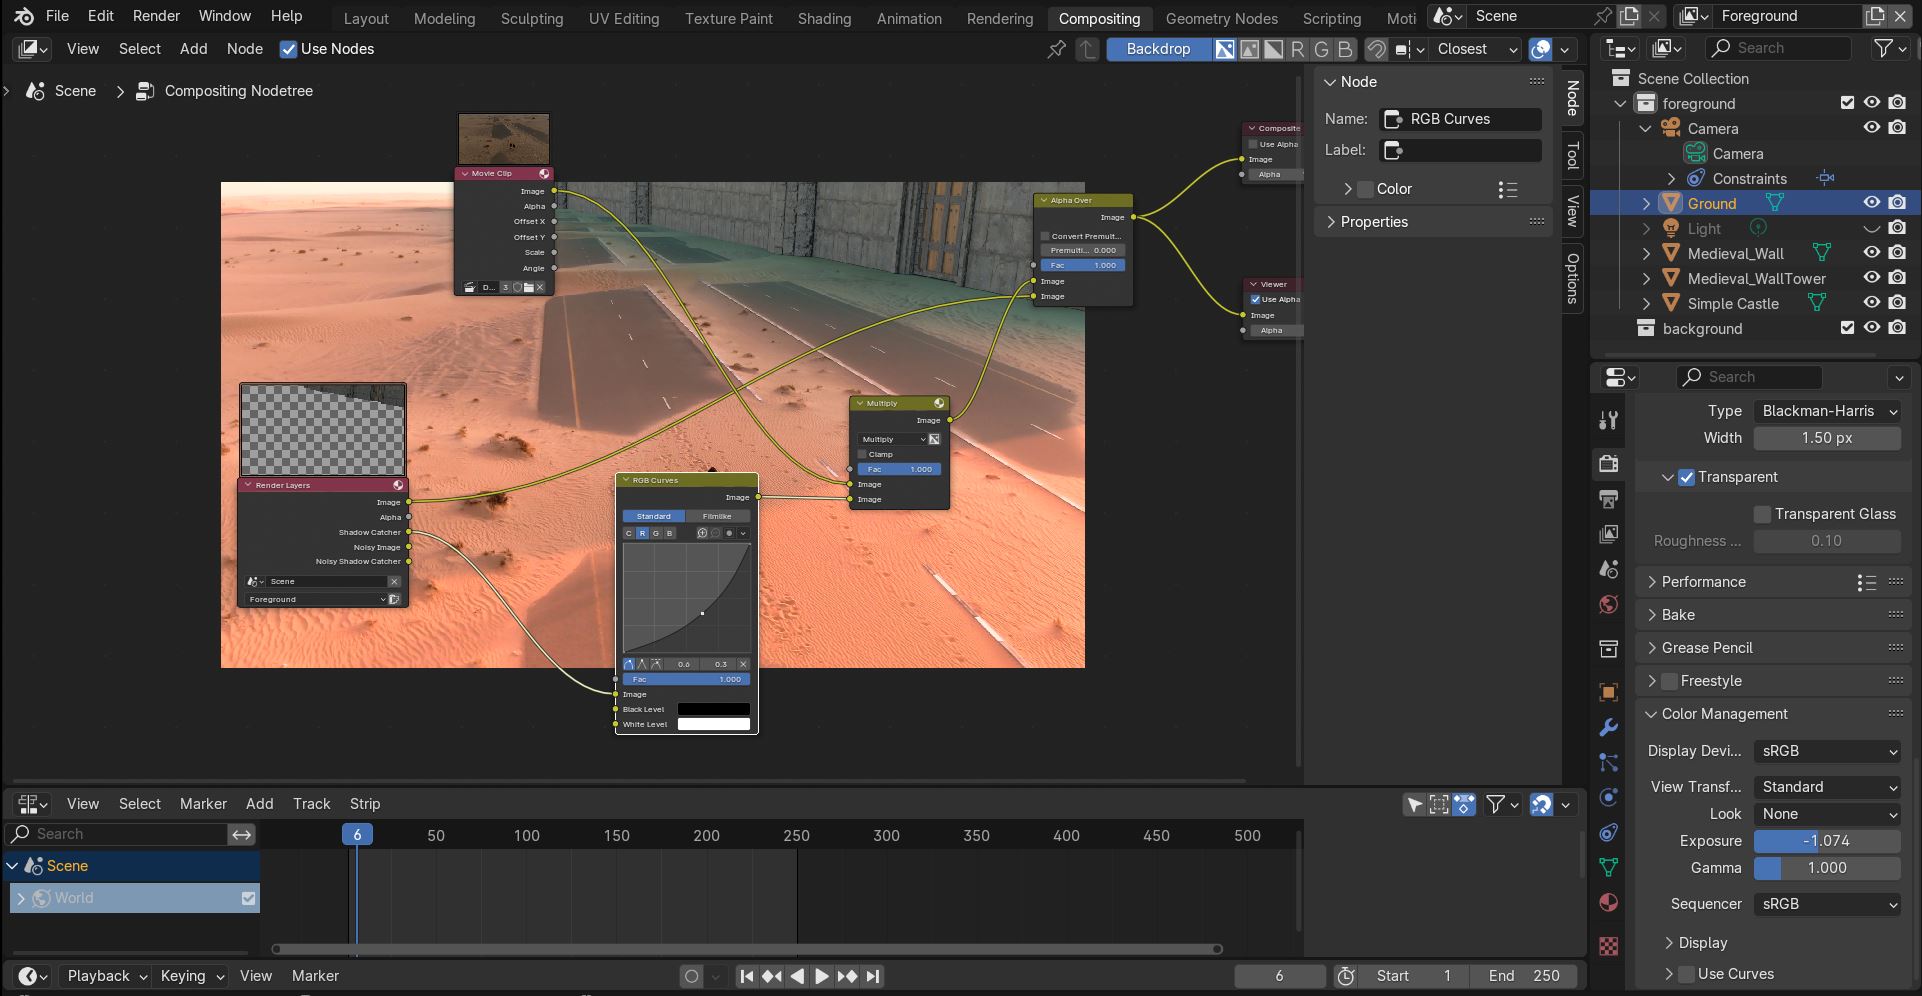
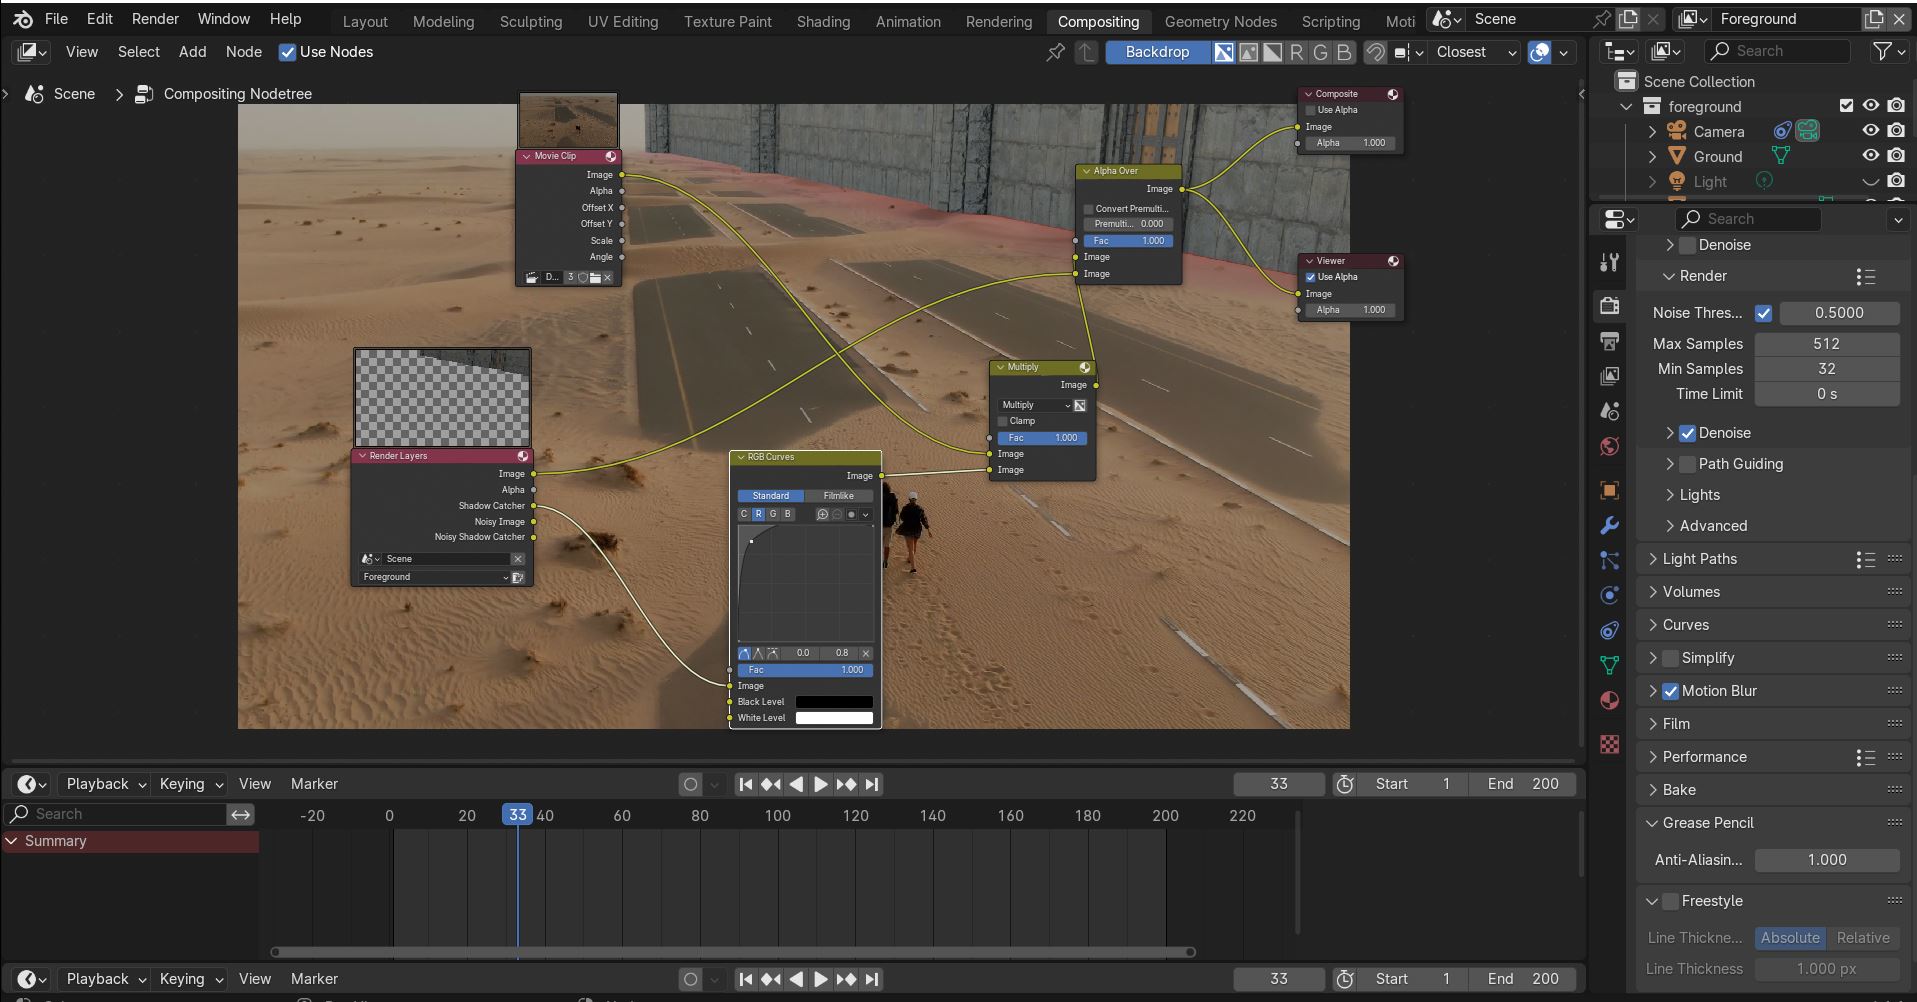
C) Your Multiply isn’t connected to anything. It can help to think of a node graph like a flow chart. Data starts in one place, and moves through the connections, passing from one node to another and being modified, or combined with other streams of data, until it eventually arrives at the output. The output of your composite is, unsurprisingly, the Composite node: whatever’s upstream of that is the result that will be saved out at the end. In that setup, your shadow is being multiplied against the background, but then the result of that operation goes nowhere: it’s just being thrown away. Meanwhile, your castle render is going directly to the composite, bypassing everything else you have set up. And, you have “Use Nodes” unticked, so none of your compositing nodes are even being used at all.
(Also, you don’t need to duplicate the node, since the Shadow Catcher output is right there on the first one. You can, if you need to use one of those inputs somewhere far away and don’t want a long noodle stretching across your whole node graph, but for two things right next to each other like that you can just pull an Image out of the Image output and a Shadow Catcher out of the Shadow Catcher output.)
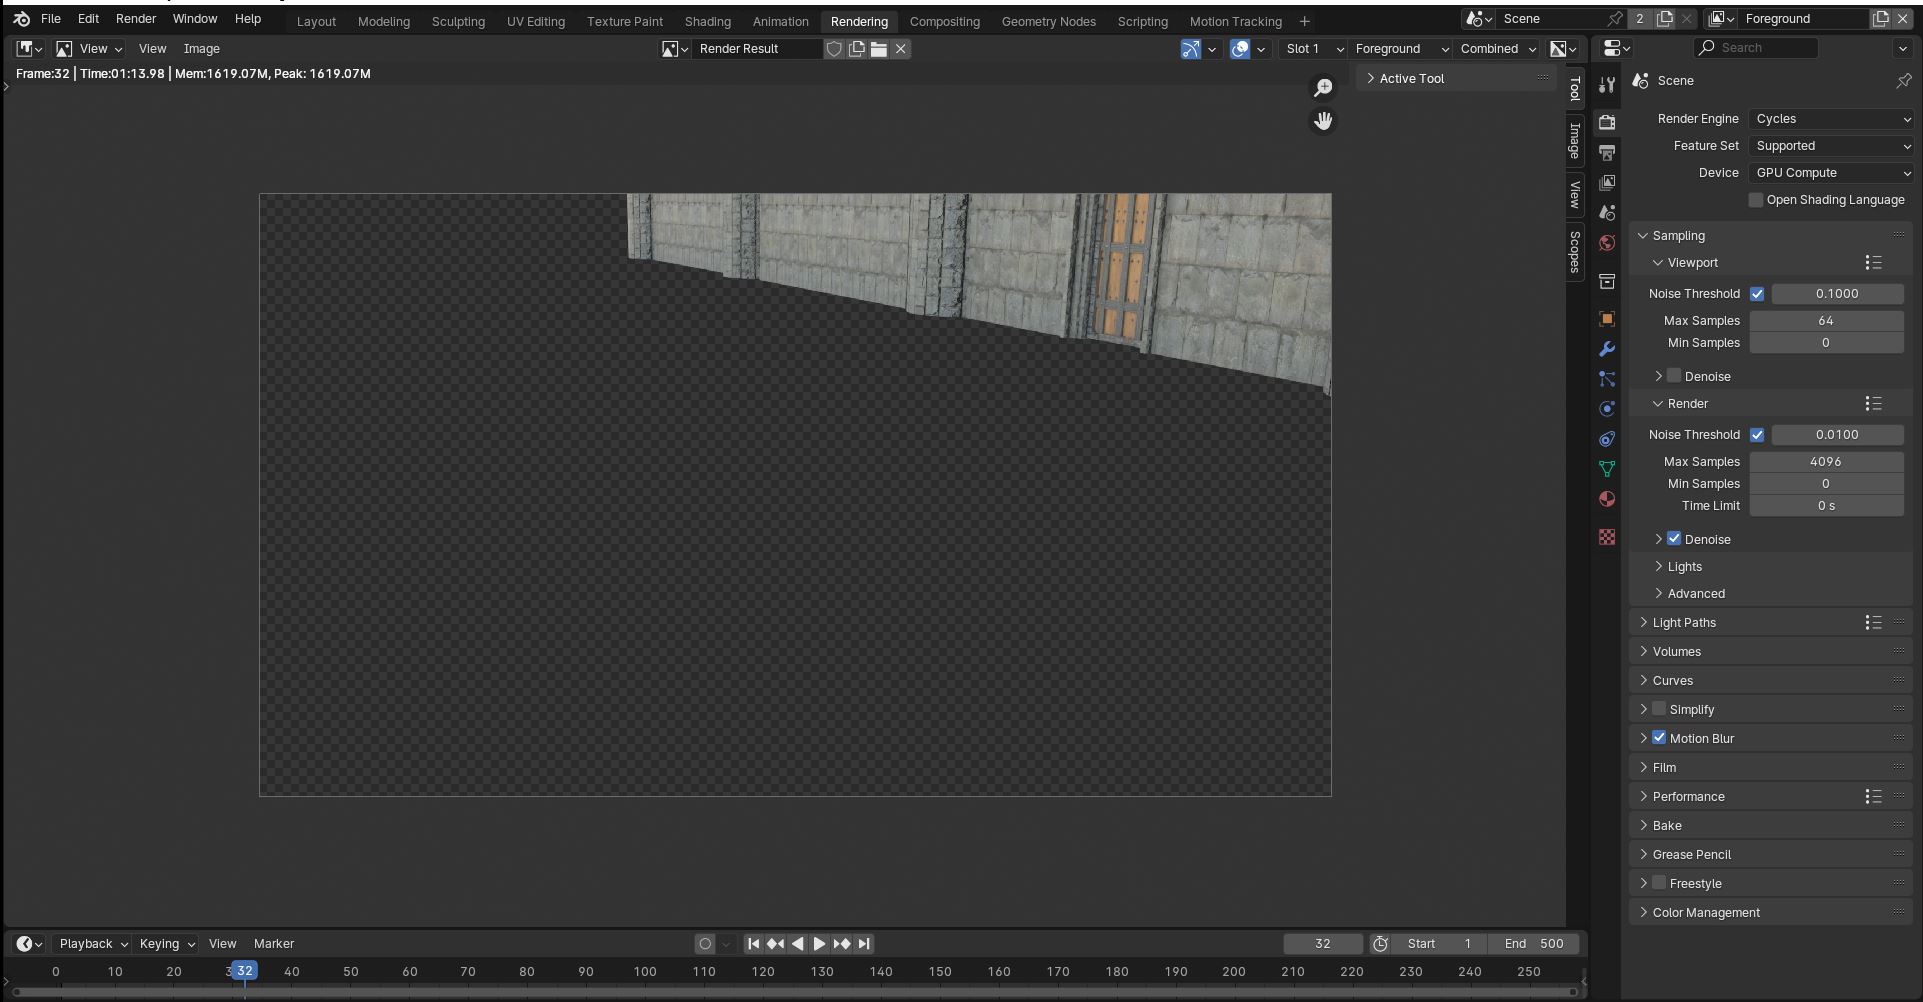
And when you render an image, you’ve rendered an image. The objects you have selected don’t individually render themselves, again I think you’re overcomplicating it for yourself—hitting “render” isn’t some magical process that informs Blender you’d like to activate this object for initiation into the secret club. It just… renders the image. If an object wasn’t there last time you rendered, and is there now, it’ll appear, but just because that’s what happens when you render: the camera films the scene, and you get a render.
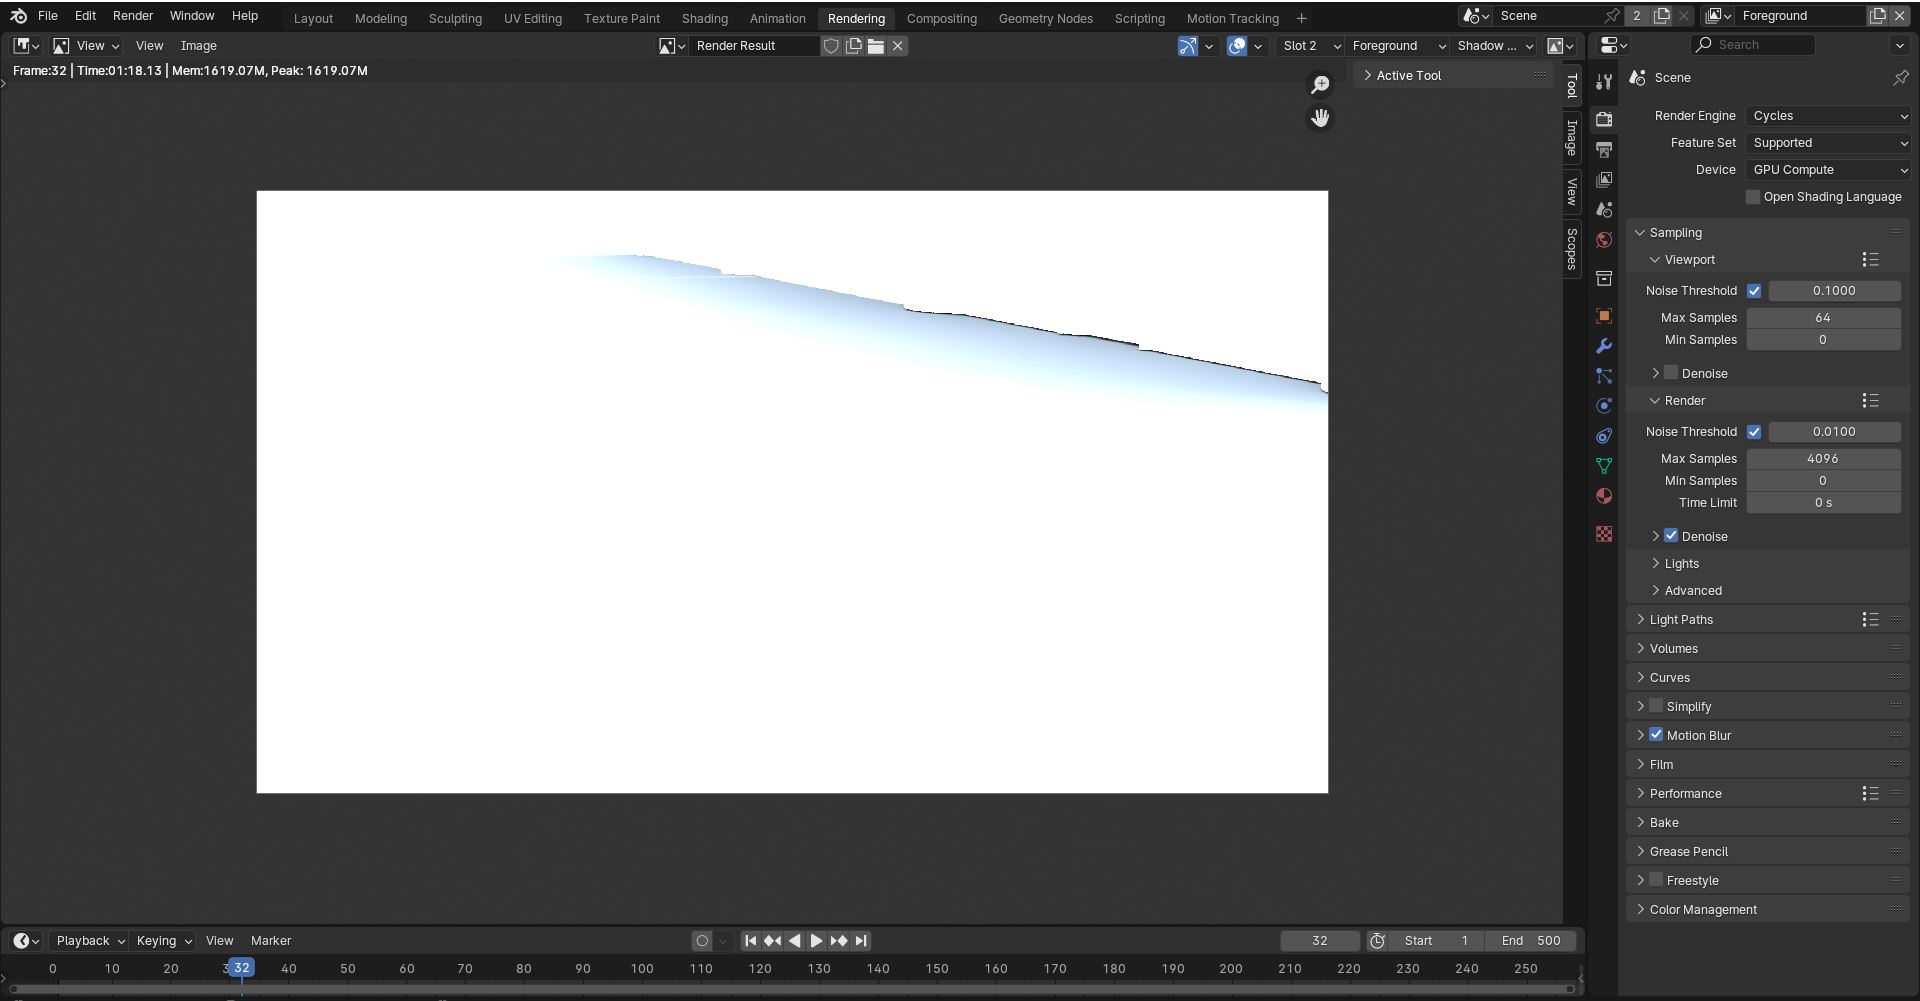
D) Render slots are just a way to cache multiple variations of a render—if you want to compare multiple shader settings, or decide whether a light looks better blue or green. In that video, they’re just saving their new render (with the Shadow Catcher pass activated) to a second slot, so they can toggle back to the saved older one and show the difference: it’s just for illustrative purposes within the tutorial, not relevant to anything you actually need to do.