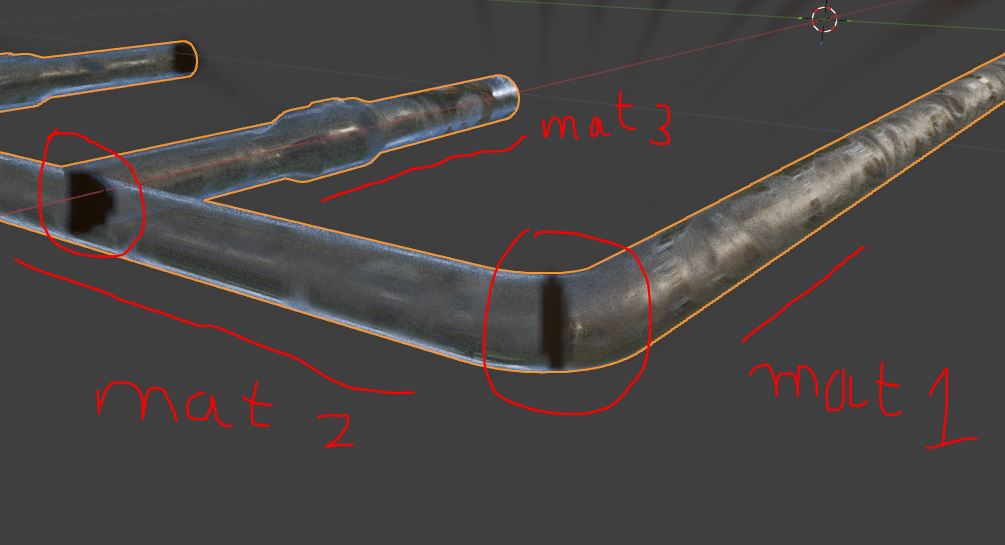
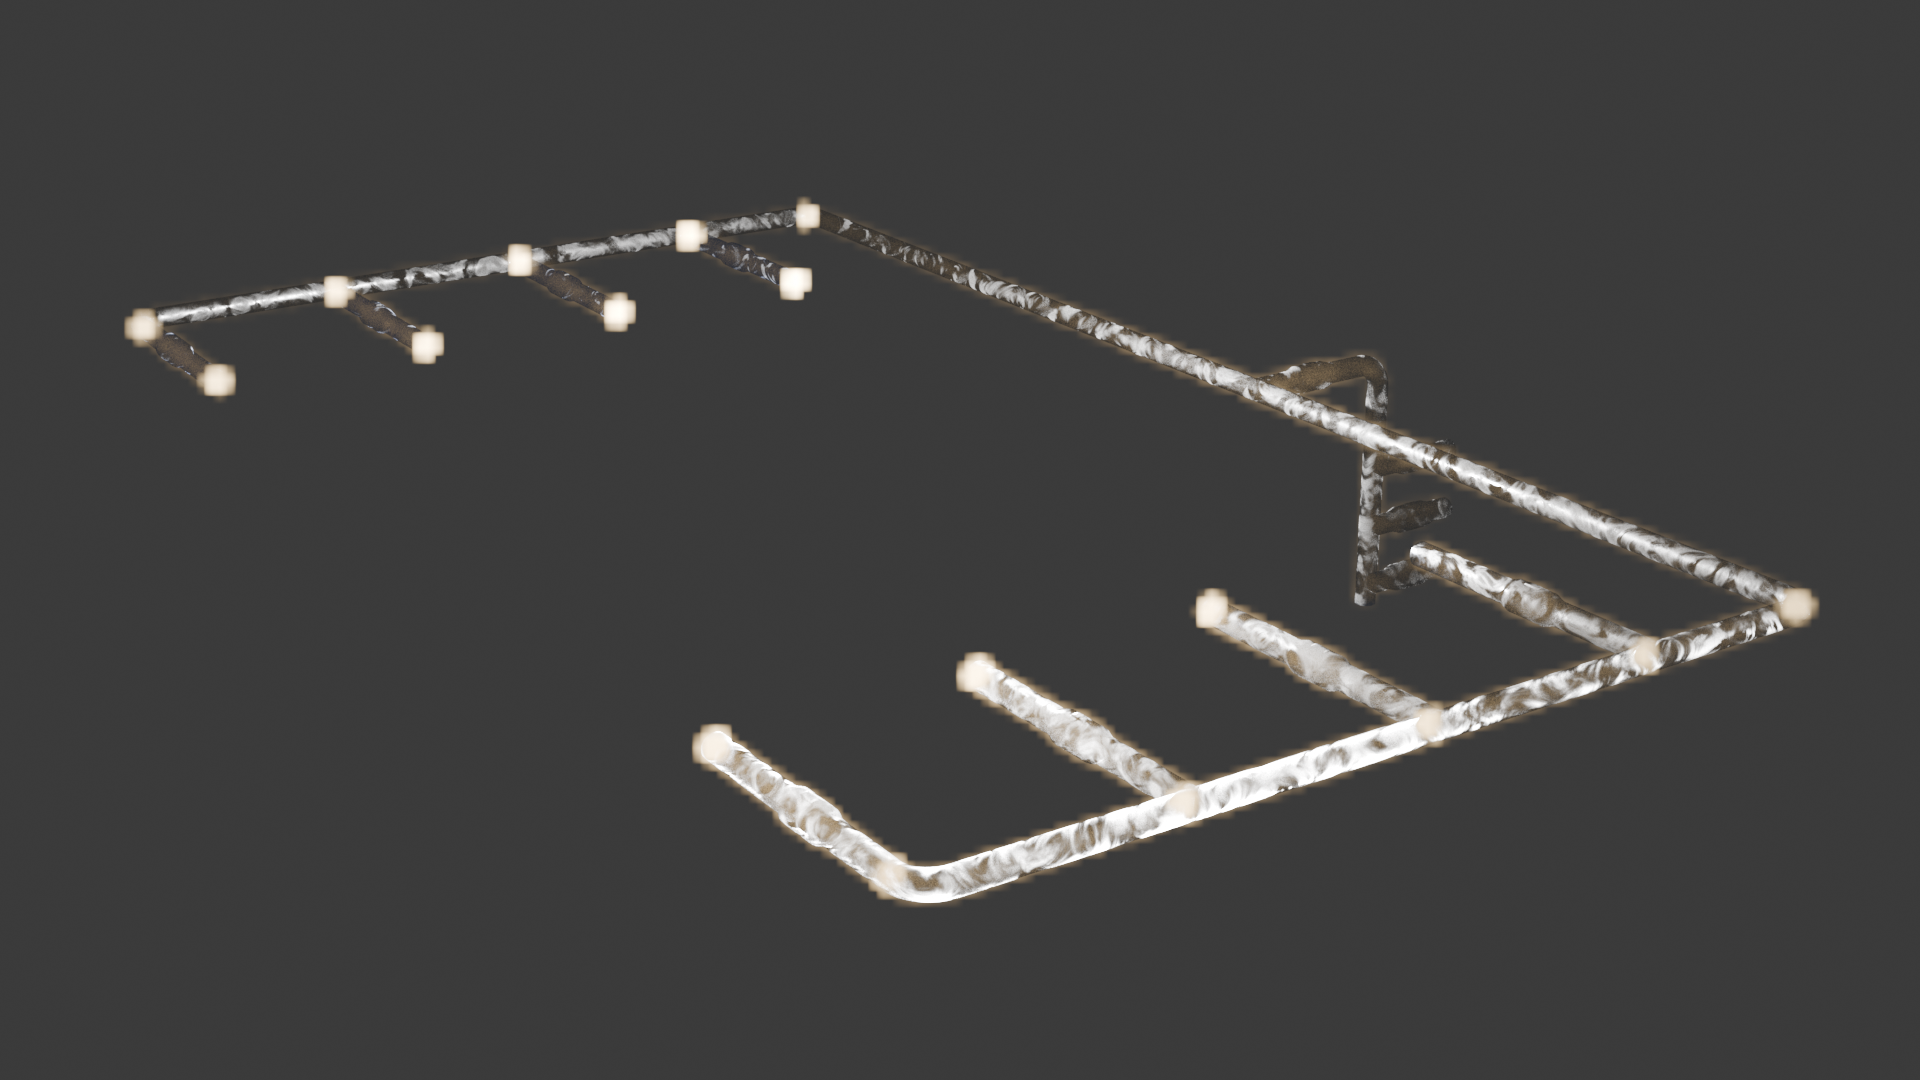
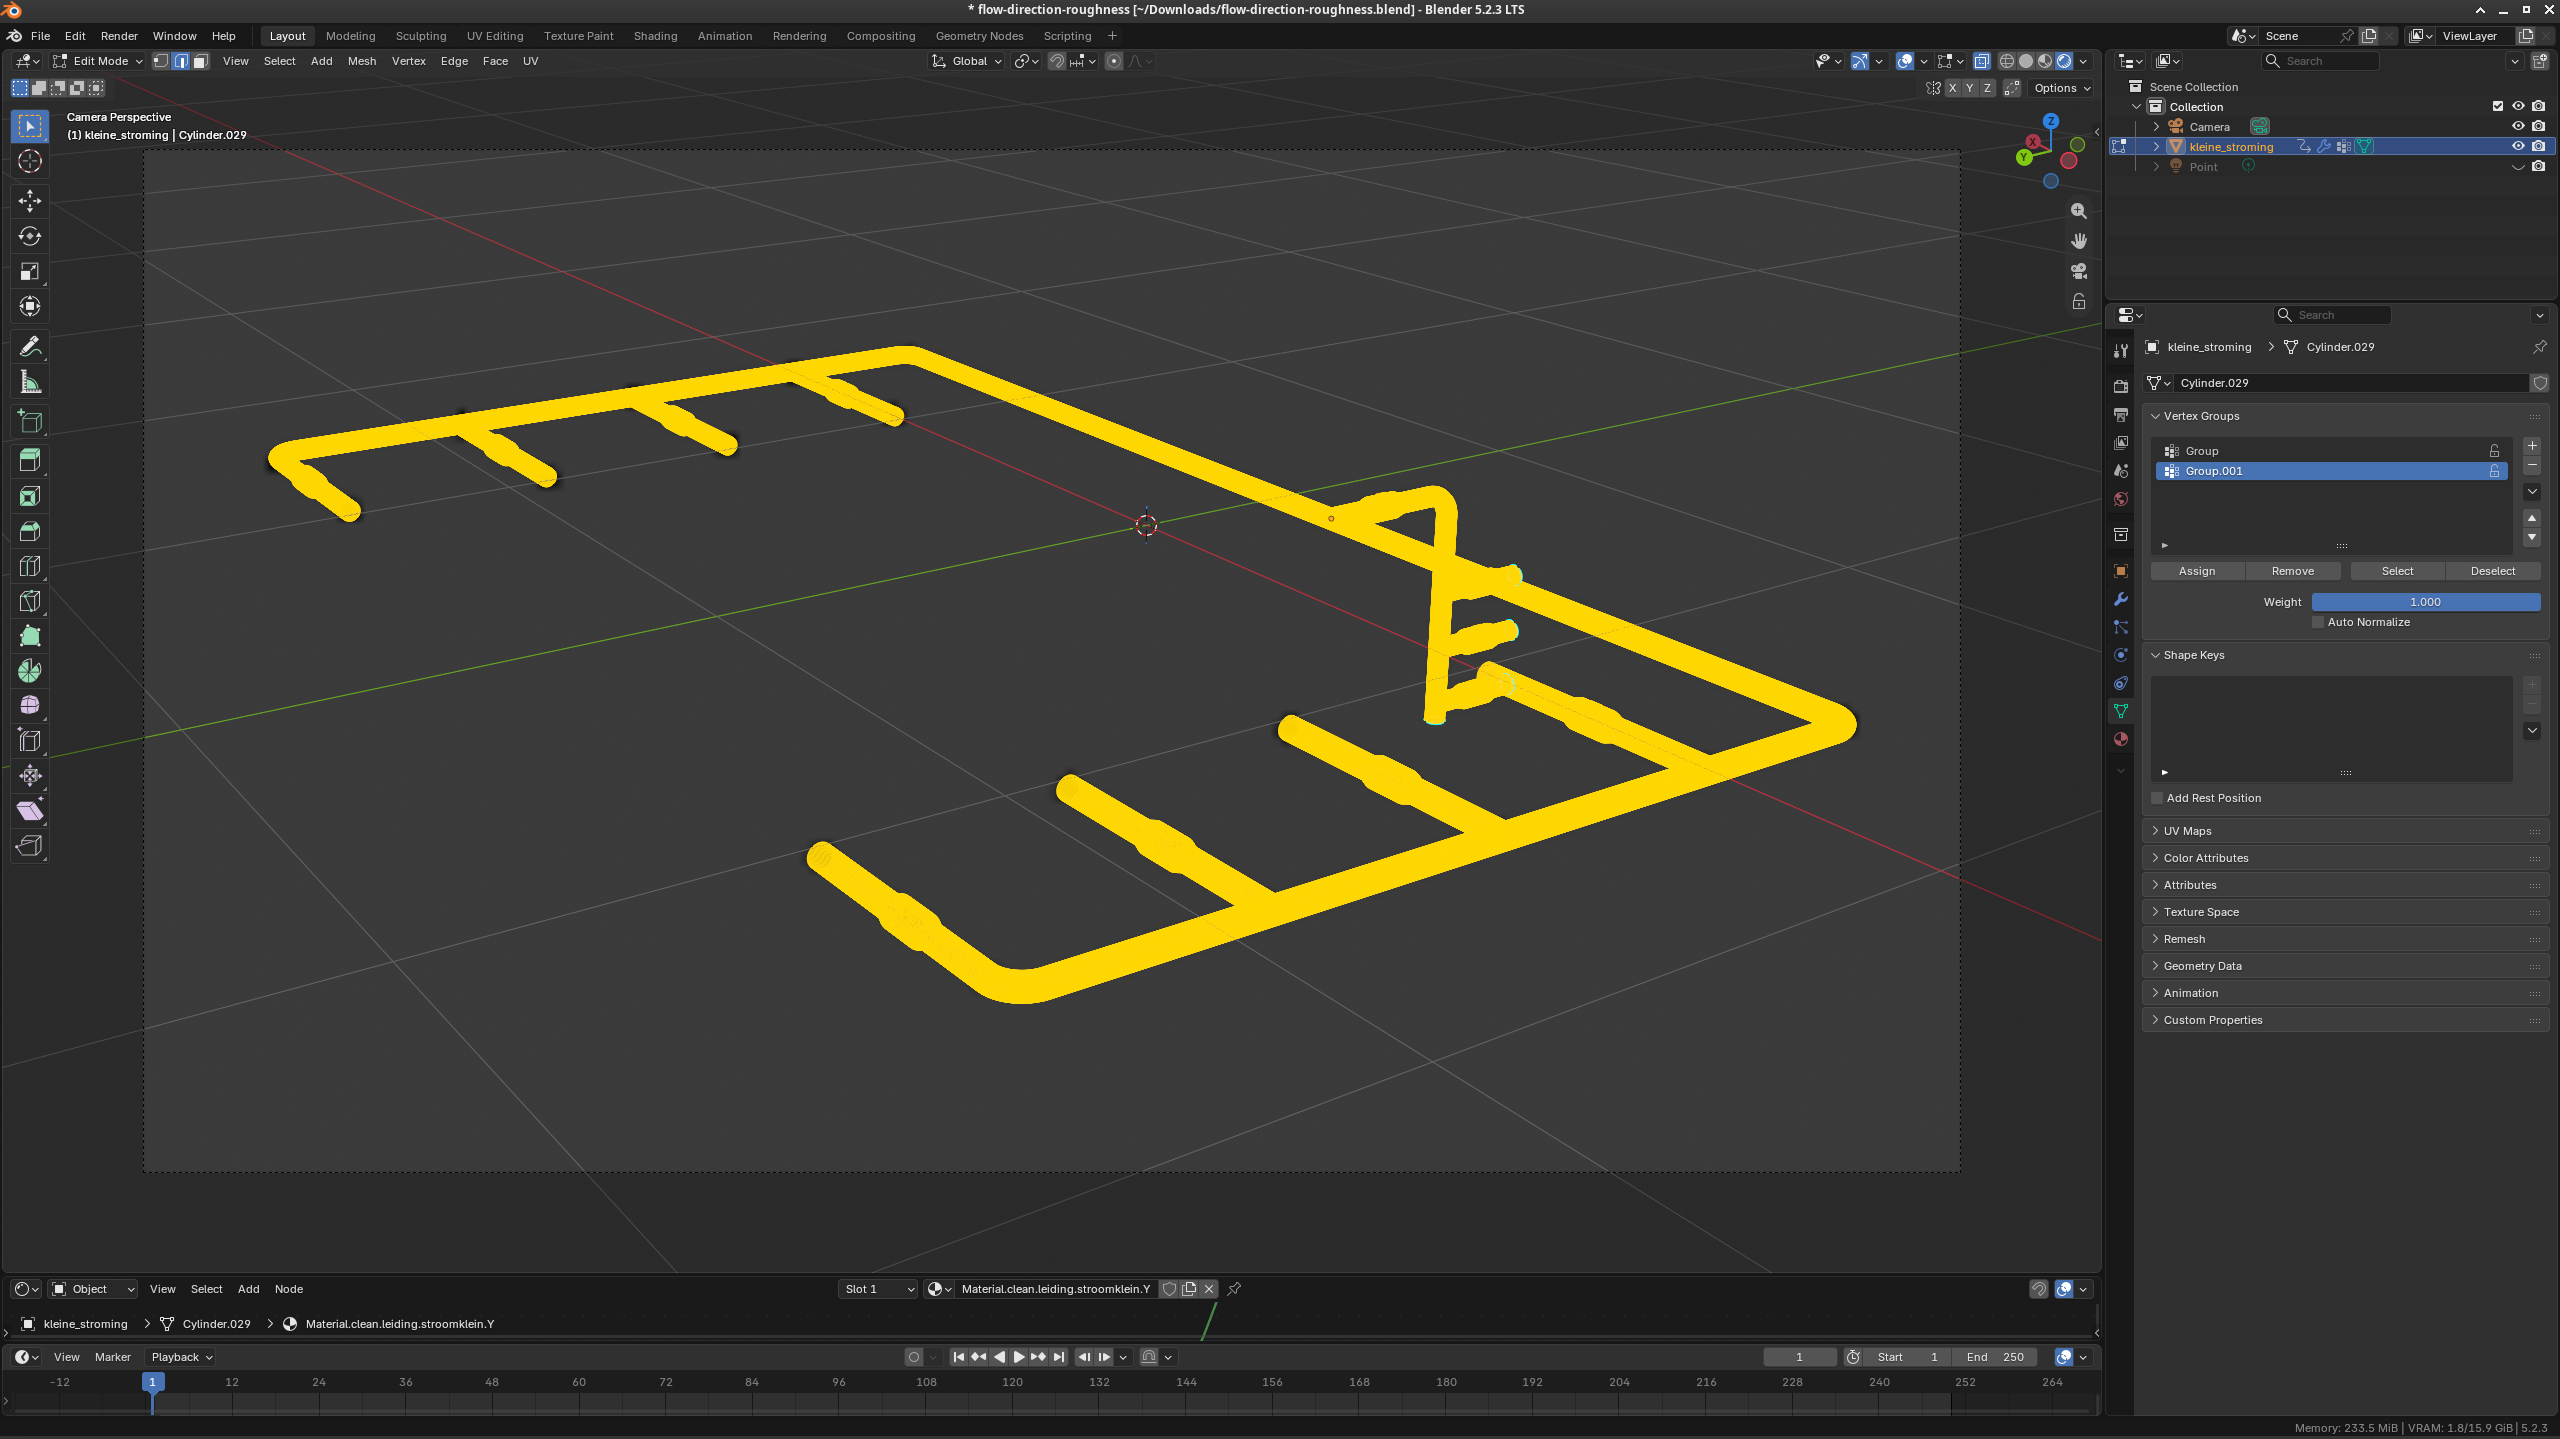
This issue is caused by the volume.
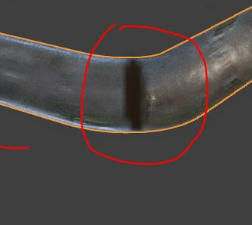
The volume at the junction where the two different materials meet is shown in black.
Add…
I’m not sure if I fully understood the intent of the question, but… (I’m not an English user)
If the question is about controlling a texture that moves in different directions, I think using UVs is the easiest approach.
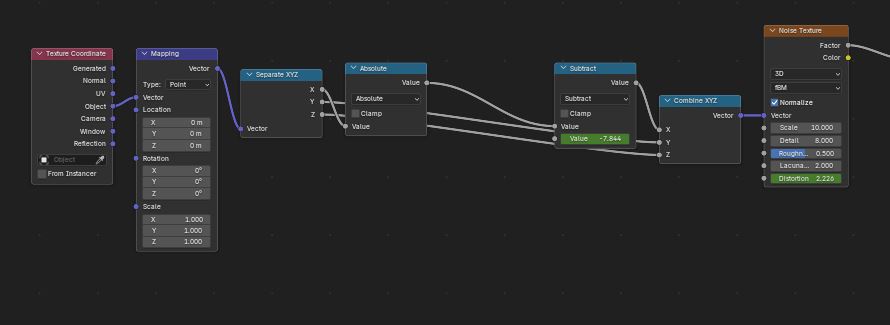
Using Object coordinates and splitting axes with Separate XYZ across three different materials is making this way harder than it needs to be. Because Object space is locked to the global axes, every 90-degree bend forces you to swap materials mid-pipe, creating an abrupt seam where one directional animation cuts into another. (Also, running your axis through an Absolute node mirrors the coordinates across the object’s origin point, which will make your flow reverse direction if the pipe ever crosses zero). Those black shadow blotches at the elbow and T-junction aren’t actually caused by the shader—that is broken smooth shading from either an interior face left inside the T-intersection, unmerged vertices, or flipped normals where the segments meet.
To run the entire x, y, and z flow inside a single shader material, ditch Object coordinates and use UV coordinates instead. If you generated the pipes from curves, the UVs already follow the length of the tube automatically; if it is a polygon mesh, just mark a lengthwise seam, select all faces, and use Follow Active Quads so every pipe segment is straightened out along the same axis in the UV editor.
Once the UVs run along the path of the pipe, you can delete mat 2 and mat 3, get rid of the Separate/Combine XYZ math, and plug UV straight into your Mapping node. Animating just one Location axis on the Mapping node will make your Noise Texture smoothly follow every turn in 3D space using one material. To get rid of the black shadows, go into Edit Mode, delete any internal faces blocking the inside of that T-junction, hit Shift + N to recalculate your normals, and add a Weighted Normal modifier (or a small bevel at the joints) so the shading doesn’t collapse across the corners.