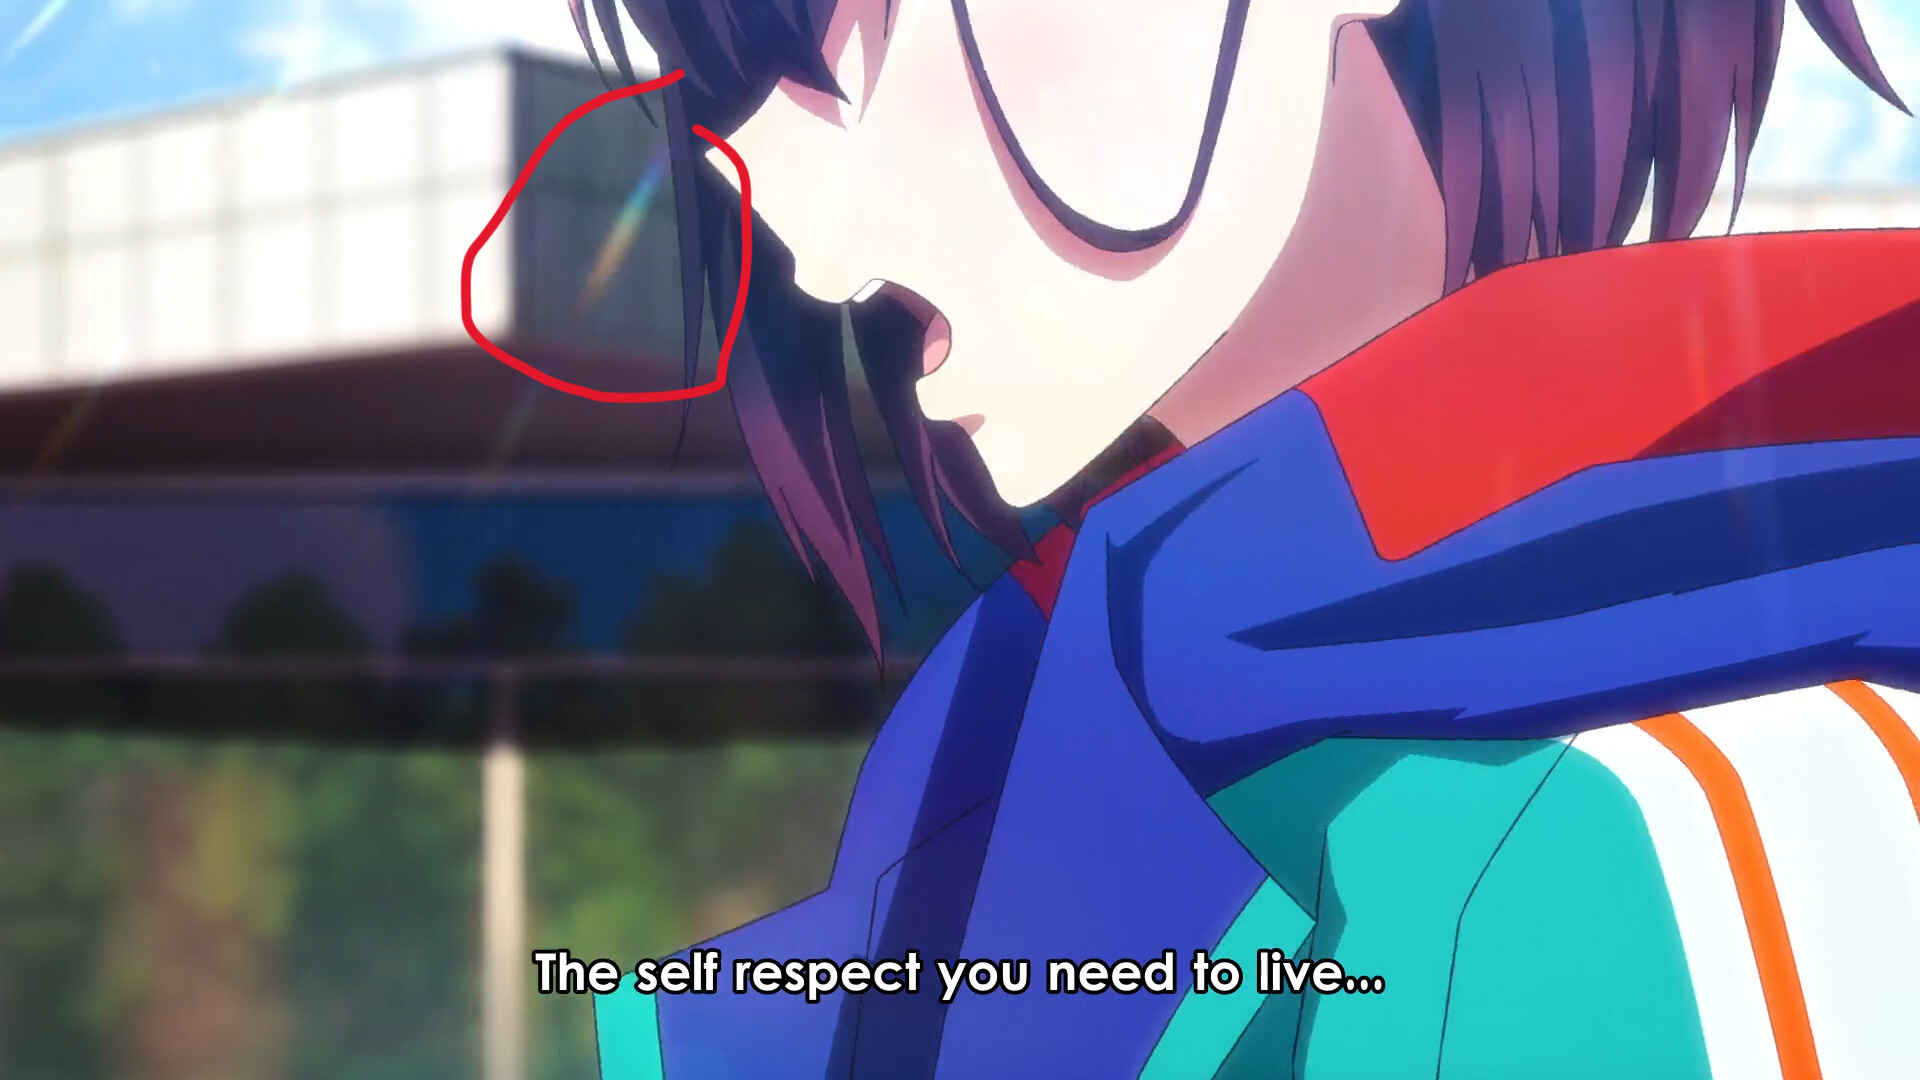
Hi, does anyone know a good way to recreate these rainbow sun or light rays? In eevee if possible


1 Like
It’s a post effect, not something modelled and shaded in Eevee.
1 Like
Couldn’t it be done using lights or composition nodes in Blender though?
1 Like
It could, but why? It would be so much easier and faster to do it in comp
1 Like
How would you do it in comp? I would like to do it in Blender if possible so I dont have to use or buy another software
1 Like
If you wanted your background to be slightly blurry as in the first image, what’s easier?
-
Use a blur filter in post like everyone does.
-
Stack 20 copies of the building on top of each other, offset each to a different position, then make all those copies a different level of transparency that decreases on each copy as they get further from the center.
How would I make lens flares like that with a mesh and lights and shaders and geo nodes? Honestly, no quick answer for that. I’ve never even pondered how I’d approach it, because I would never DO it. It would be easy for one quick still - but the moment you want to move the camera, or the light, or something in the scene - ok, now that effect doesn’t work, and you’ll have to move all the hacks around to compensate.
(ETA: It’s called a chromatic lens flare, so that may assist you in looking into specifically how such things can be created in various software)
1 Like

I would use Blenders depth of field and have it be blurred in realtime in blender?
@joseph but that doesn’t let me animate it in anyway. I want to do it using lights or composition nodes so its possible to animate
You can’t. You’ll need After Effects if you want to animate this to the extent you want. That’s what your reference images used.
You can mix this image in with compositor nodes and animate the position and opacity, by the way, but it won’t look great because the colors will be static
Thanks. I’m looking for a way to do this in Blender though. I don’t use Adobe software
Once again, you can’t do exactly what you want in Blender. Blender doesn’t even support realistic lens flares, let alone stylized chromatic ones. Your only option in Blender is adding in image textures with chromatic lens flares in the compositor.
You won’t find many people that have devoted more time and energy to stylized, non-realistic effects in Blender than @thorn and myself, there’s maybe two or three other experts in this field but they’ll all tell you the same thing. Googling “blender chromatic lens flare” has no results like what you’re looking for- it’s just paid addons promoting realistic lens flares (funnily enough, they all use the method I’m describing of adding image textures in the compositor)
in viewport display option list.
enable always for compositor.
The glare effect filter, if set up right, it can produce that color spectrum, you need enough iterations-4-5, and a high color mix for the effect to kick in, in this case I also have volumetrics acive which affects the whole effect, and the sunlight also matters, or other lights.
doable in evee as well as cycles, and you can get this effect without volumetrics active as well.
never mind that the lighting otherwise is crappy so you hardly see the other stuff, I just set this up quickly from another scene.

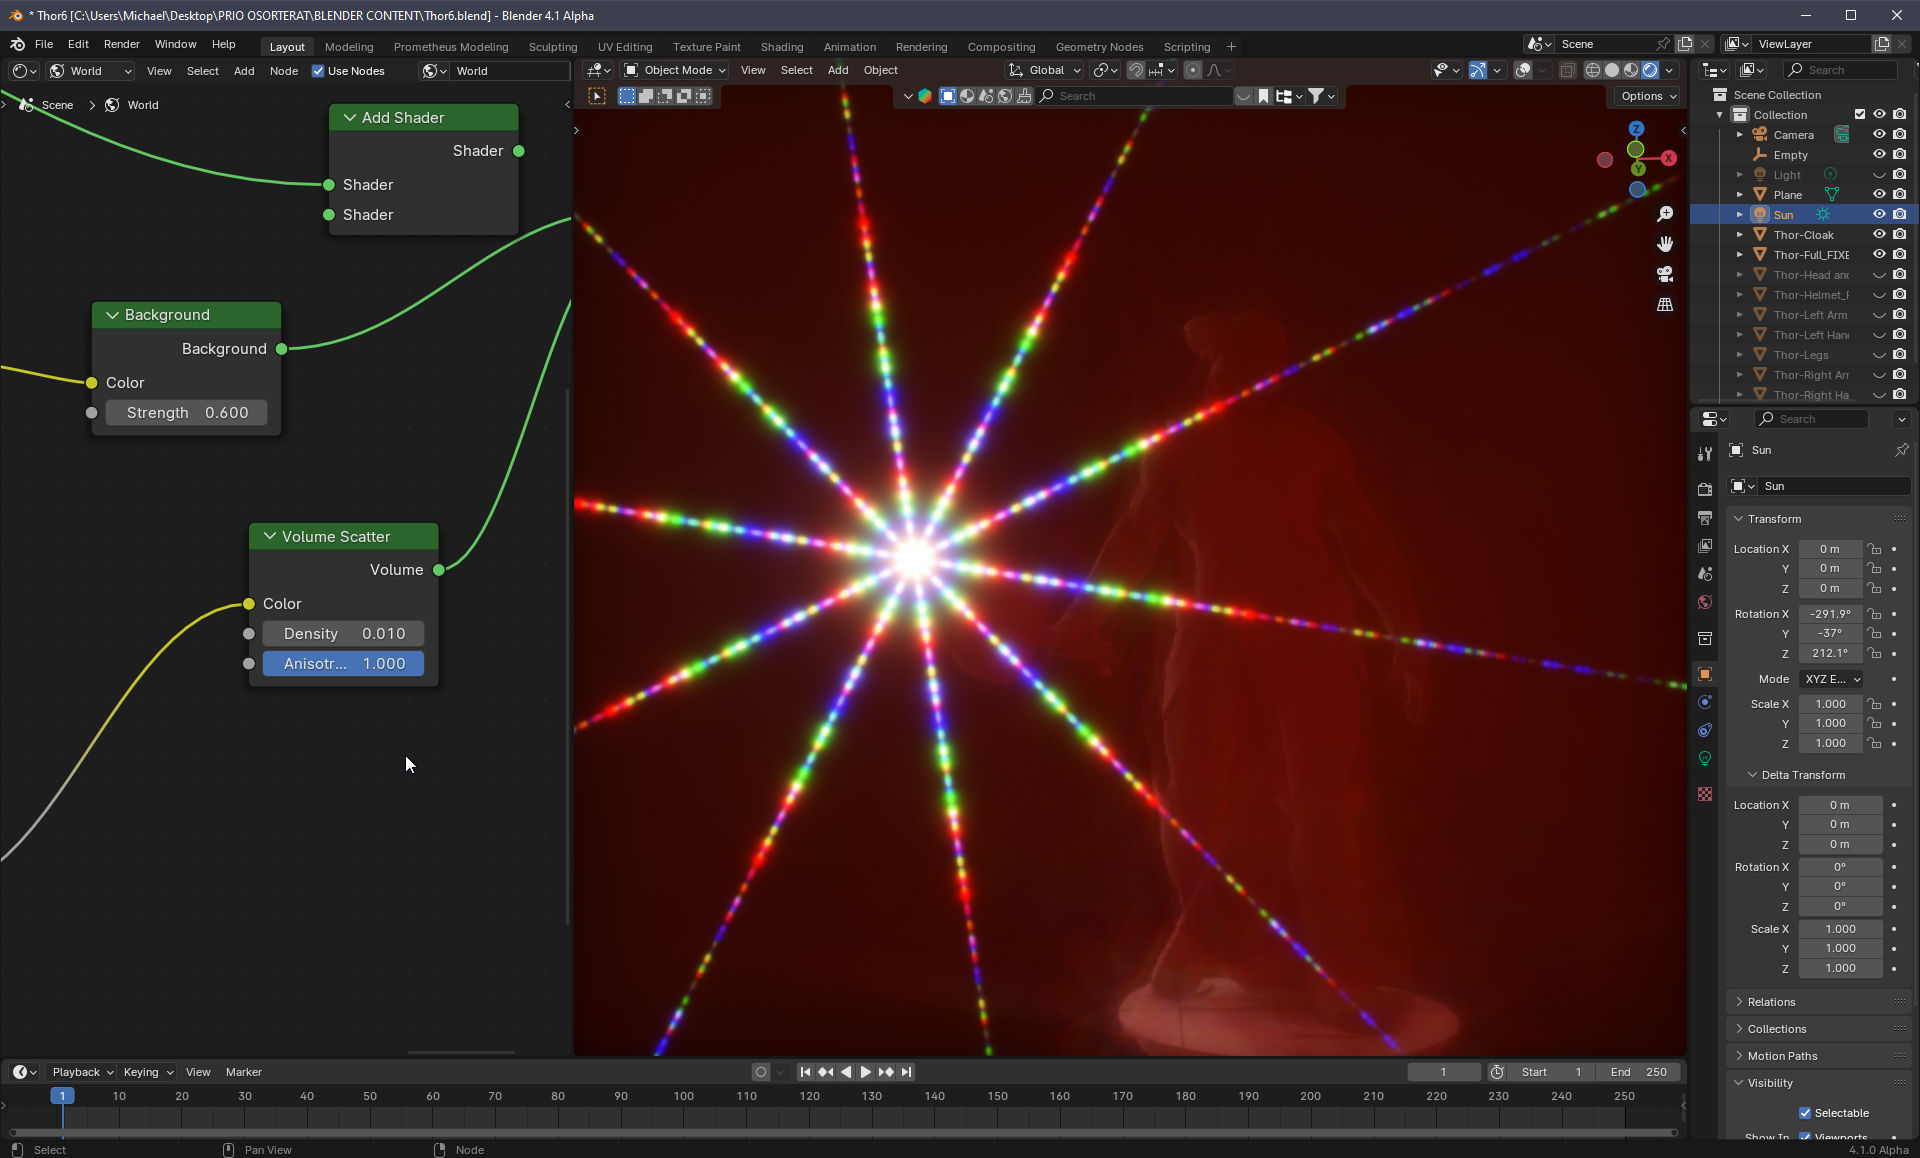

Oh…and use blender 4.1 alpha for it I think…not sure if versions before handled the glare properly for “realtime” compositing in cycles.
This can also be used with the sunbeam filter to some extent.
You need a high fade effect also, above 0,9 maybe.
it´s weird though, why seem so many things be backwards in blender, the fade option for the glare, when increasing it, it instead becomes brighter, not fading away.
Real lensflare, yes…I wan´t that, so used to have them in vpr viewport in Lightwave, so one of those things I miss, I havent checked the commercial addons though, how they would match up against that.
It´s still a post processin effect, though you can access them directly in the light options and enable lensflare, set star filters, some reflection options with some shape options, rotation angle, fade behind objects and so on.
However, I would still need to apply filter effects on that to get the spectrum effects I got here with the glare filter above.
you can…
And…You do not need After effects, Always, depends on, davinci resolve, and fusion …free version may be enough depending on final resolution that is.
and there are other alternatives for video editors than After Effects.
light rays, and prism blur, all inside of the free Davinci Resolve edition…

The glare node is getting a basic burst effect, but I (respectfully) feel that’s sort of … good effort in blender. It’s a flare, but lacks the subtlety and streaking of the example posted. So I don’t think qualifies for a win. Compare to AE - (sorry, only had a night background … so, it looks out of place.) ![]()

I don’t think Joseph meant to imply that only AE can accomplish it; certainly Resolve/et al can do such things. I also don’t know if the free version does it or not, but I know the full version adds some fun toys.
2 Likes
There is a massive difference between your work and the example- your work is radial and surrounds a light source. The example is non-radial and has no relation to a real light source. Again, you cannot do this without post-processing software. Doesn’t matter what it is- Resolve, AE, whatever, but you cannot do it in Blender with real lights
1 Like
You have a point, I haven´t tested it more for non radial solutions, it would most likely need to include various texturing tricks as mentioned in the compositor of blender, if that would be possible, maybe as Joseph says.
But, it doesn´t matter what Joseph ment or not ment to say, what he actually said, is you need after effects,which is false.
and that by itself is undisputable, it didn´t say, you need A compositing software of your choice that has those tools, and mentioning a couple of tools, it was specificly targeted as “After Effects”
Me…knit picker ![]()
You can’t. You’ll need After Effects if you want to animate this to the extent you want.
How about using sunbeams and a lens distortion node in the blender compositer, along with a fractal texture, or any other image rendered texture for that matter.
Increase the lens dispersion value a lot, override the value by entering a higher number that the default setting allows for.
So…I just happened to fiddle a bit more with some blender compositing, the render is actually just from Lightwave, so a little more resolve of noise would have been best, but just testing.
imported image to compositor, added glare and color corrections…

And overdoing it…also, just painted in spots on the image that is used as texture.

A problem though, I do not now if I can adress, the dispersed color alings in the texture direction, not any origin direction.
wow that looks good! could you share the file with the rainbow setup so I can learn from it?