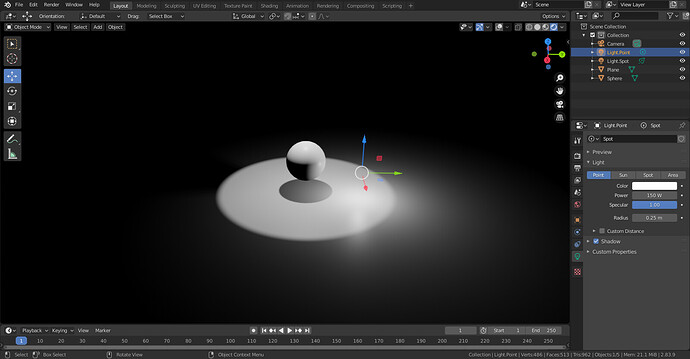
I’ve seen many nice works where the background is black and the model is well light and sits in a spotlight. If I simply add a spotlight the model isn’t well lit (it has too many dark spots from the ground up) and if I add other lights the round spotlight on the ground is ruined. How can I do such a setup?
standard lighting: 3 lights, one mainlight (point light) on the side, more above, a rimlight from behind the object, the strongest light, a spot light, and a fill light (point light) more or less opposite to the mainlight, lower than the mainlight , the weakest one, just to light the remaining dark spots a little bit.
…to say- there is only one spotlight… - from behind to make the contours shine …
Thanks, that’s useful. But all those lights will leave trails on the ground. How can I have a clean spotlight on the ground without interference:
In Blender there is still no possibility to exclude objects (here the ground) from lighting, as far as I know. Adjust the radius , the direction and the size of the lights, and position them not of all things so that the camera recieves the full reflection. Area lights, and lighting with hdri images don´t show so much interference.
Yeah, it’s unfortunate objects can’t be excluded from lighting… Thanks again for your suggestions!
Maybe try compositing with multiple view layers? I.e. one view layer where it’s the subject, the floor and the spotlight, and another layer where it’s the subject and all lights, but no floor. Overlay latter on top of former in compositing.
Its not that hard to get a pleasing light setup without the ability to exclude the ground plane from lights. Just have to be deliberate with your light placement.
Like Ruefel said; area lights and an HDRI environment image for fill are common ways to get pleasing results.
I think this tutorial shows the general process pretty well. https://www.youtube.com/watch?v=OQ1IE-CMik8 There are probably better tuts out there but this was one I could find without spending too much time on it.
Like Stan said, if the ground plane bothers you, you can also always choose to just not render it and add a background color later.
Yes, I guess compositing is the best way at the moment:
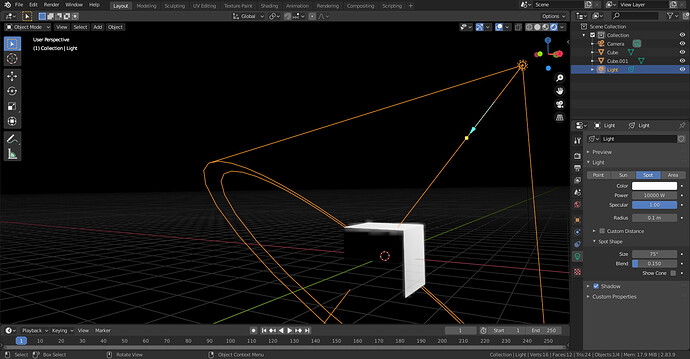
But when I try to add volumetric light using a Principled Volume in Eevee it doesn’t work at all. I’ve noticed there’s a bug filed:
It seems to work in Cycles but I prefer Eevee for faster rendering since I don’t have top hardware…
The volume scattering works for the world shader, but I don’t want to use that because all the other lights in the scene will be involved. Has this not been fixed yet or am I doing something wrong? Here’s the test file:
lighting-test.blend (863.0 KB)
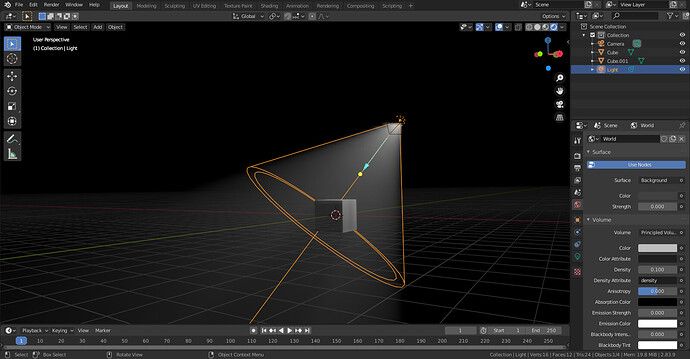
Volume itself seems to work fine here:
Although for compositing you’d probably need some way of masking out the object, as otherwise with your current setup you’d just overlay it on top of the fog.
Here’s what I get for object principled volume:
And for world volume:
If this was a graphics driver problem I’m thinking it shouldn’t work either way, maybe it’s still a bug in Blender? I’m using 2.83.10 btw.
Hmm… Here, I’m seeing the same image with 2.83.10 as I do with 2.91.
Another tip is to start with what used to be called “global illumination.” This is an “everywhere” light that doesn’t cast shadows. Use it to establish the base exposure – the dimmest part of the scene, thus putting some amount of detail into the “blackness.” Then use other lights, with their power probably turned way down, to “inject” both light and shadow and highlights precisely where you want them to be. (In some renderers you can have lights that only cast shadows.) Having established the base, light the midrange areas … remembering to use color (what a theater-man would call, “gels”) on these lights. Then turn your attention to the brightest, therefore most-commanding parts of the lighting setup.
Thanks, I didn’t know about the skydome global illumination. That can be quite useful in certain scenarios.
I’d encourage you to read up on the “Zone System” that was pioneered by film-photographer Ansel Adams. Although he was working in the paper-print medium, not video or projected film, the principles still apply. If you were to look at your finished shot with the “Histogram” tool, you’d like to see more-or-less “a bell curve.” There shouldn’t be a “spike” on the left (opaque black), nor on the right (blown-out white).
Build up the light like a painter builds up paint: none of the lights do it all. Start with the base exposure and decide what to add and where to add it. One step at a time. (Blender’s new EEVEE-driven capabilities within the preview window are huge, even if you plan to use Cycles. Crank out an EEVEE-render to start with … it will be close enough.)
Some of your initial options are shadow-free, which means they won’t create unwanted shadows. Plan your shadows along with everything else. Spotlights inject light into specific parts of the frame, and/or they inject shadows. “Shadow calculation” is a lot of what makes rendering time-consuming and therefore expensive, but shadows are also what creates the illusion of depth. You don’t necessarily need to have every one of the shadows that would physically be there, if it’s believable enough. Unlike real photography, your lighting instruments will never be seen even if they’re “in plain view.” (Torches, and other so-called “practical lights,” don’t actually themselves produce light.)
Nice tips, thank you!


