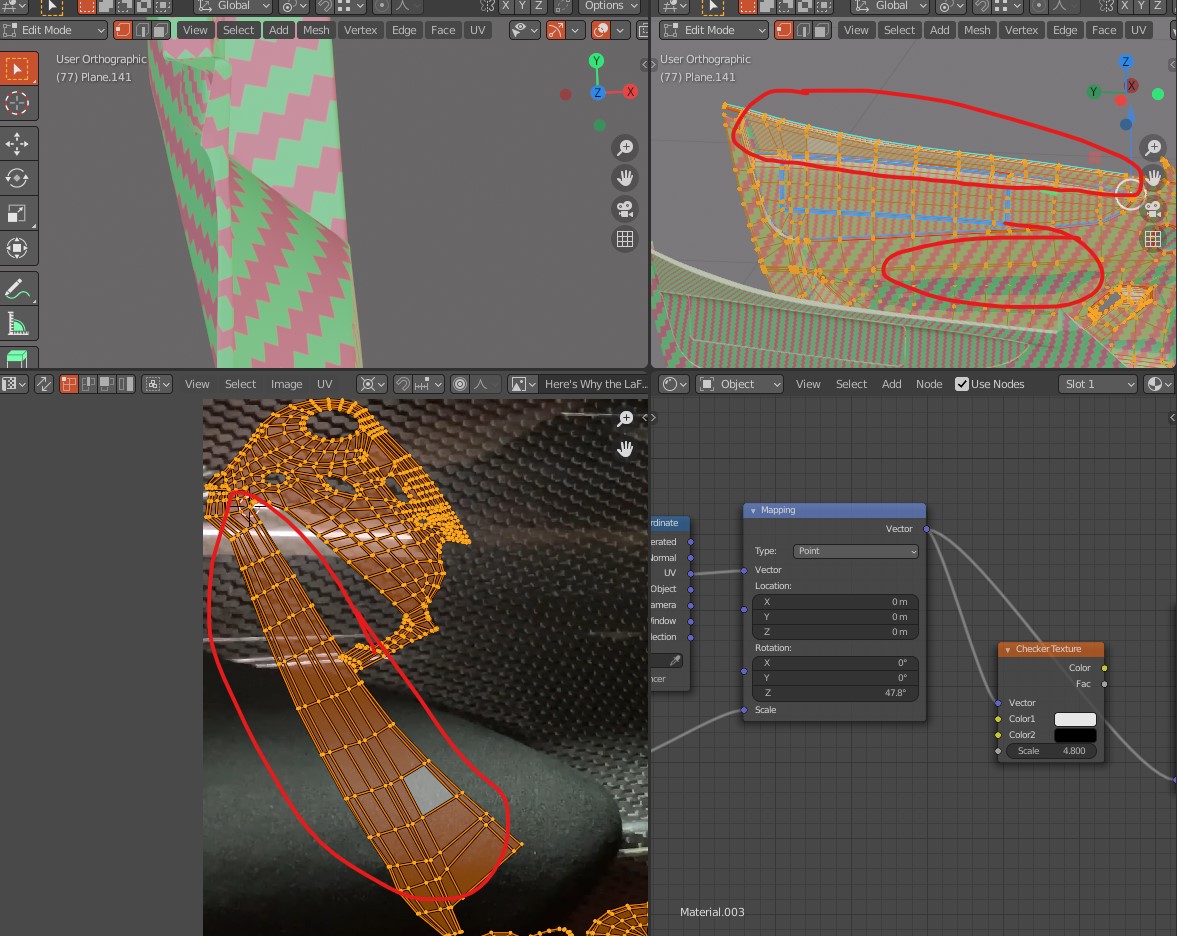
As the texture for the top part of the door is stretched out, the texture gets smaller compared to other parts. I am having a hard time adjusting the UVs manually, and none of the uv wraping options is giving good result, as it creates a cut and defeats the purpose.
Typically for hard surface you’d want to split (i.e. seam) your UVs along hard edges. For manual fitting though, you can try pinning the UVs (in UV editor, UV → Pin/Unpin), coupled with Live Unwrap (again in UV editor, UV → Live Unwrap). That way you can pin certain points and move them and the unwrapping will adjust, kind of like stretching a skin on a rack.
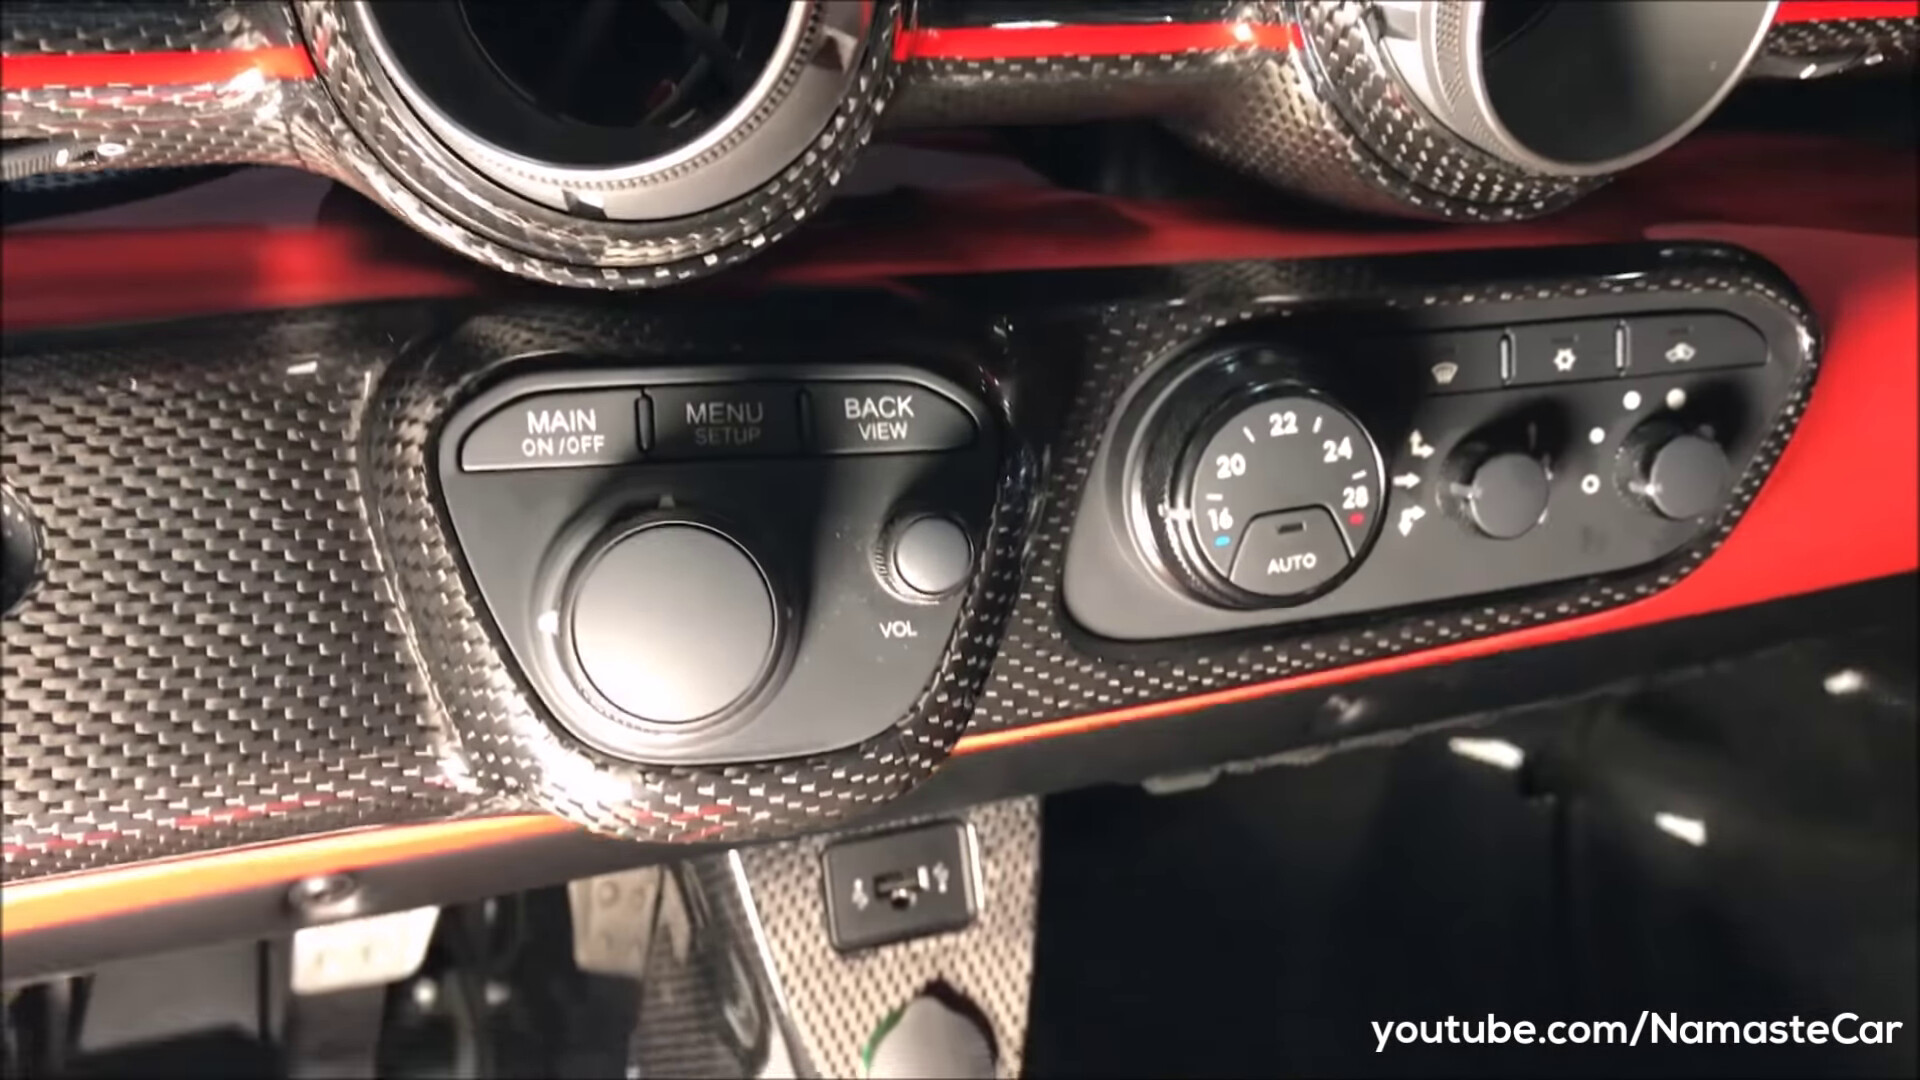
@MAC2001 I have added seems but they “cut” the texture at that point and the flow of the texture is not achieved. This is what I want, see that there is no seem in the texture here:
Since I am unwraping it for carbon fiber, the seems method doesn’t work that well here. I used the pin method, but it is so time consuming and still not perfect. however, I am doing it manually so let’s see how perfect it can get.
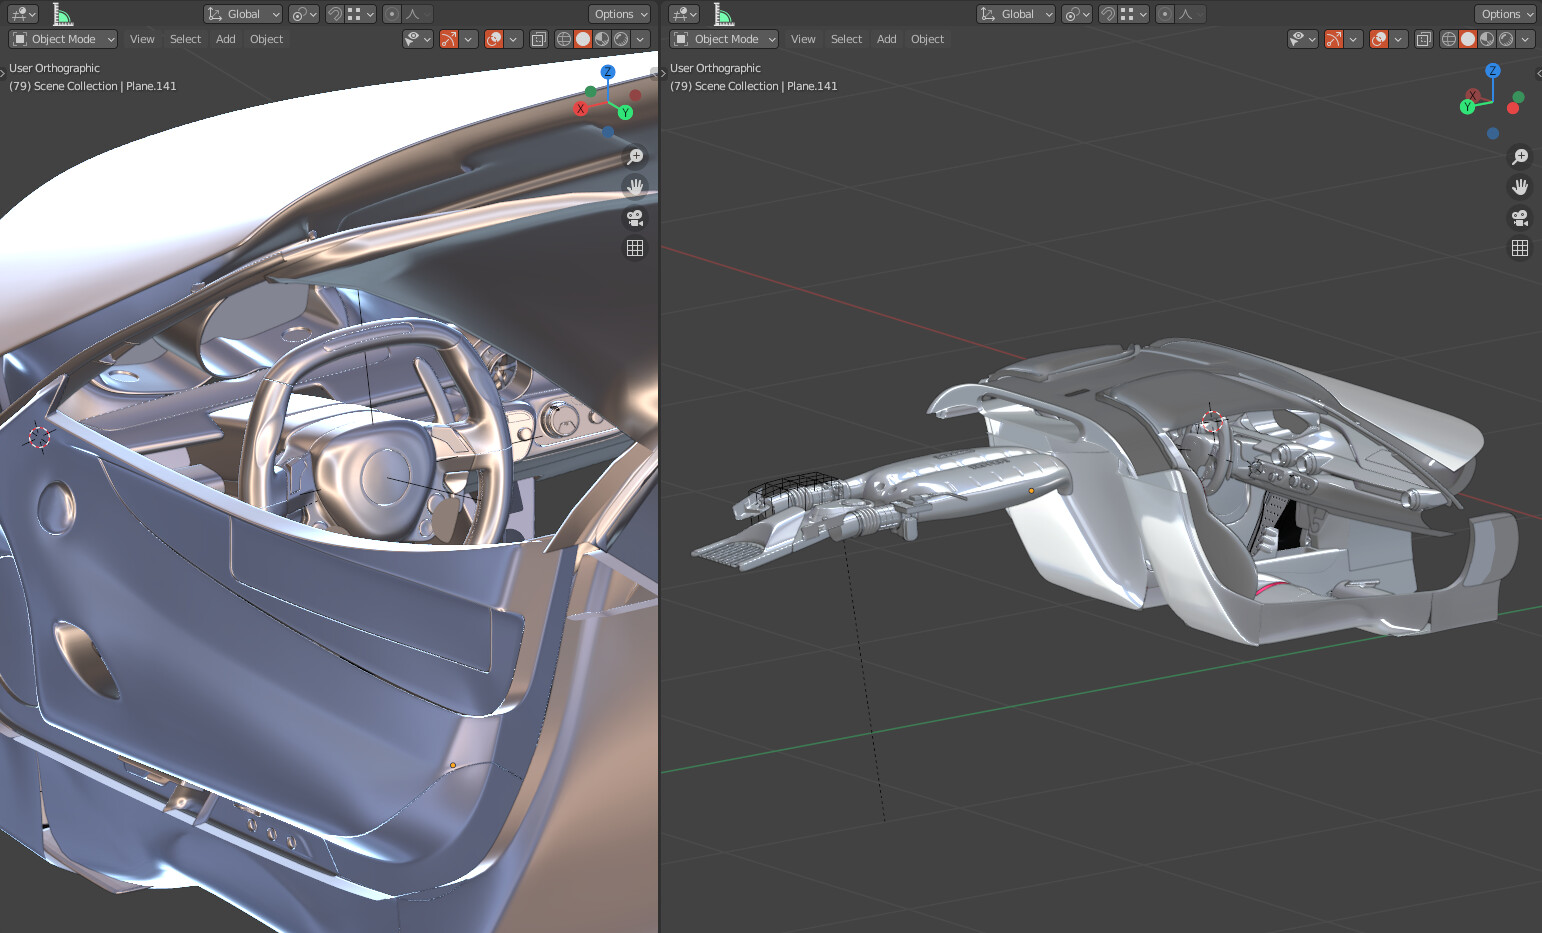
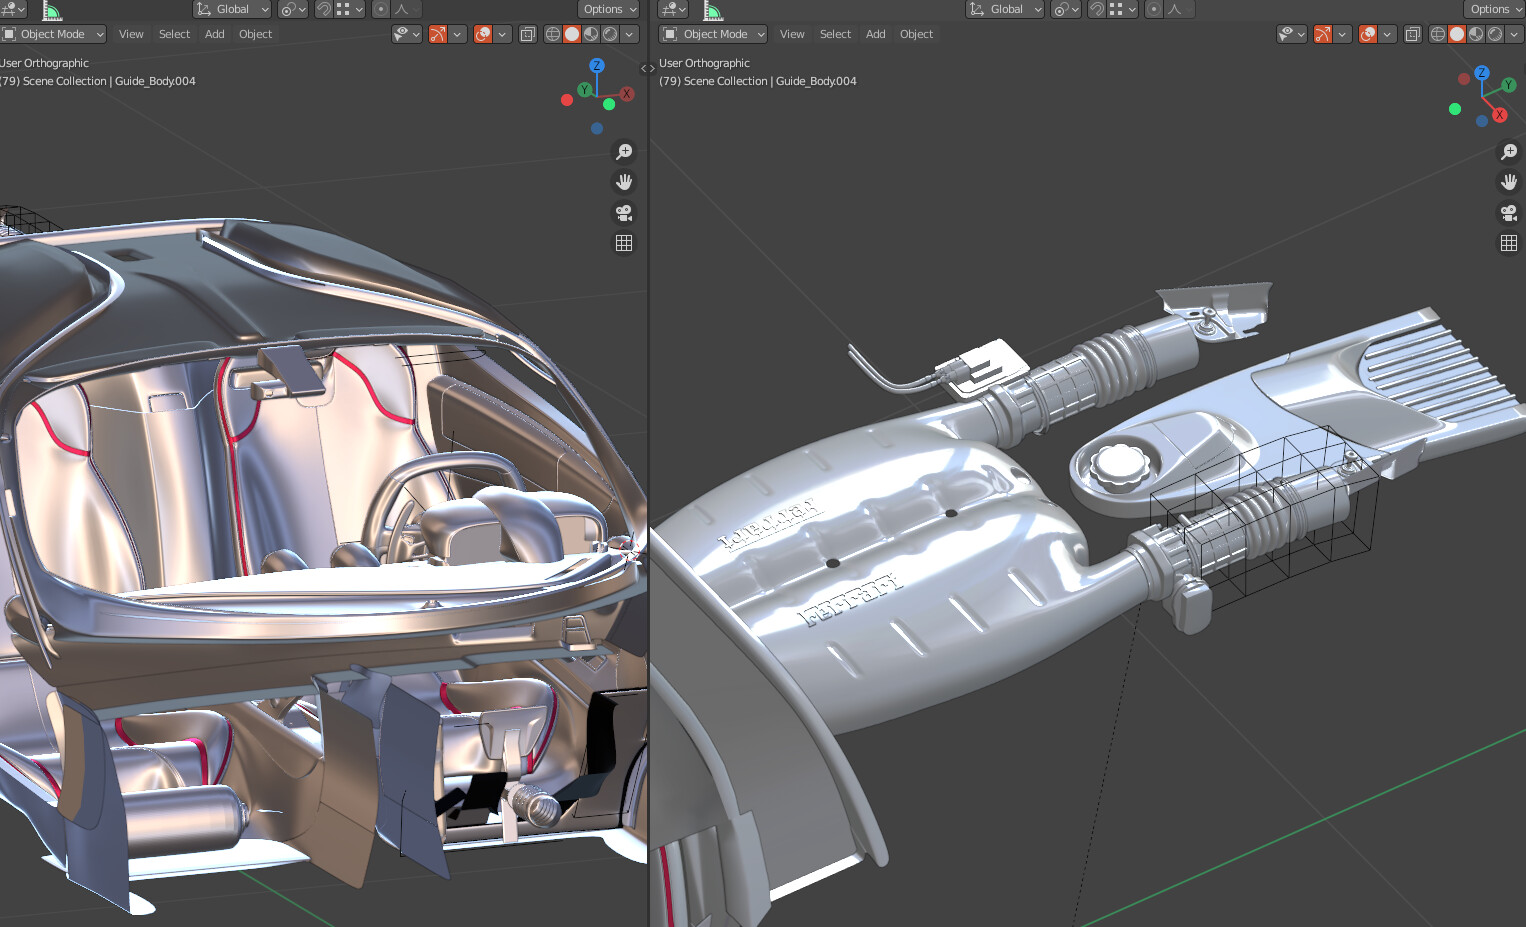
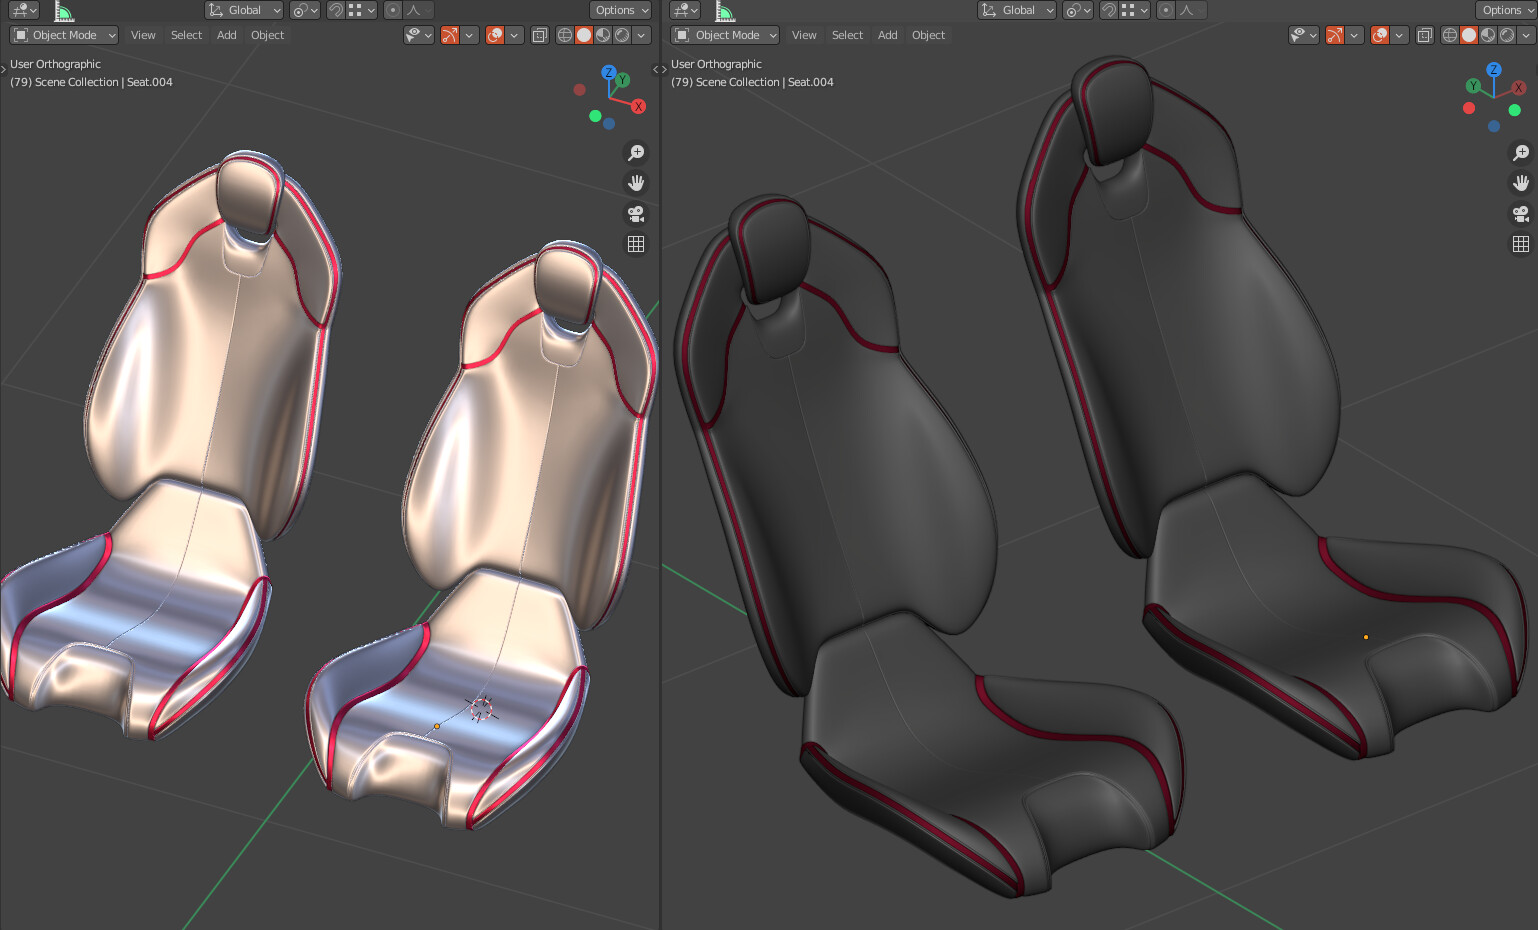
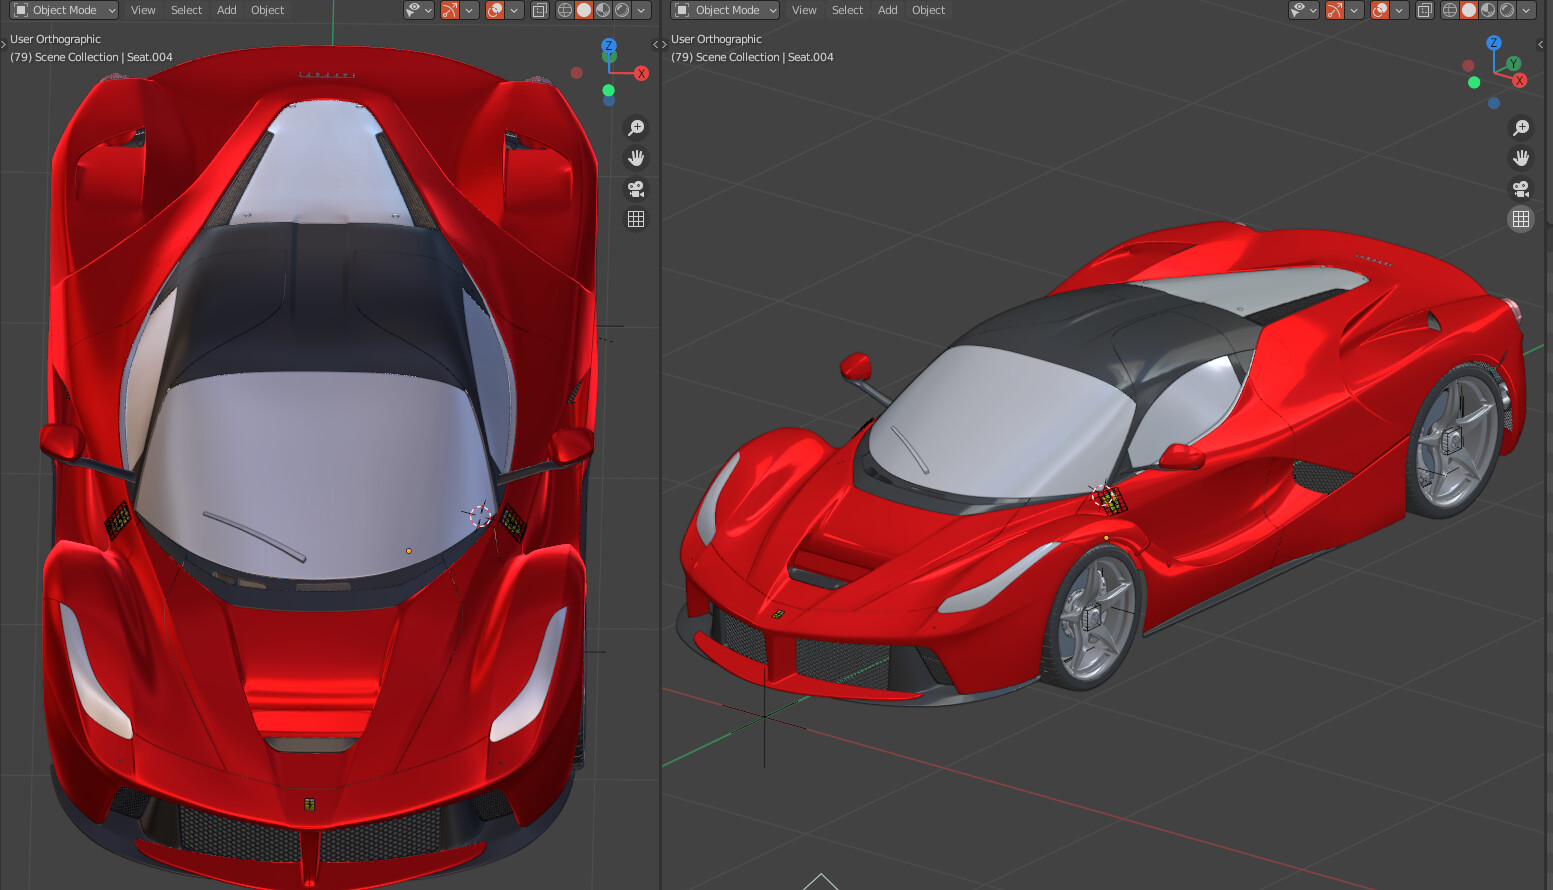
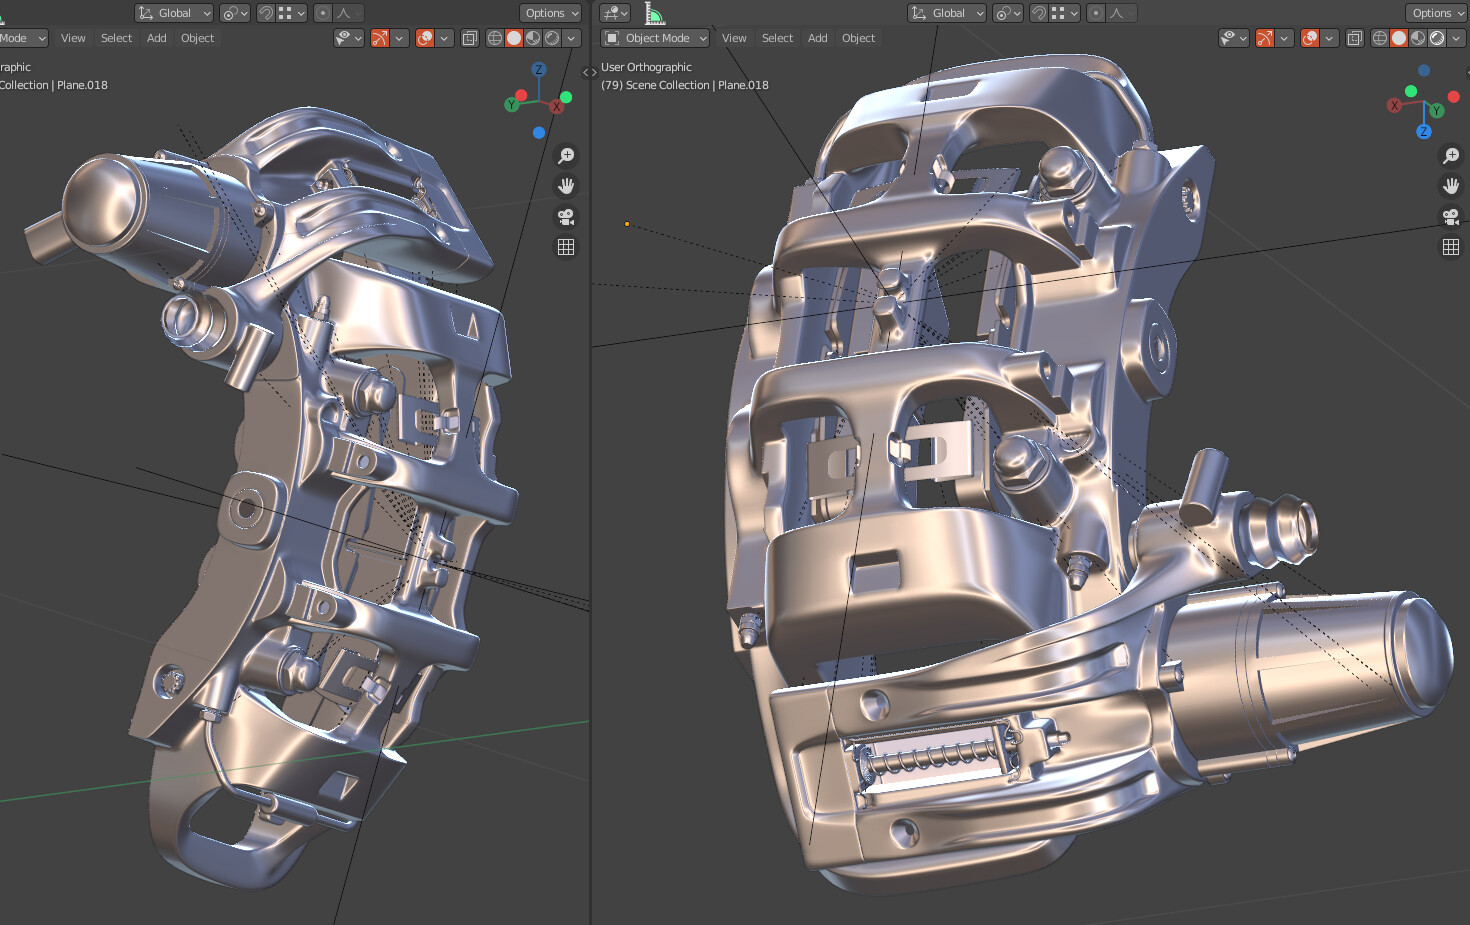
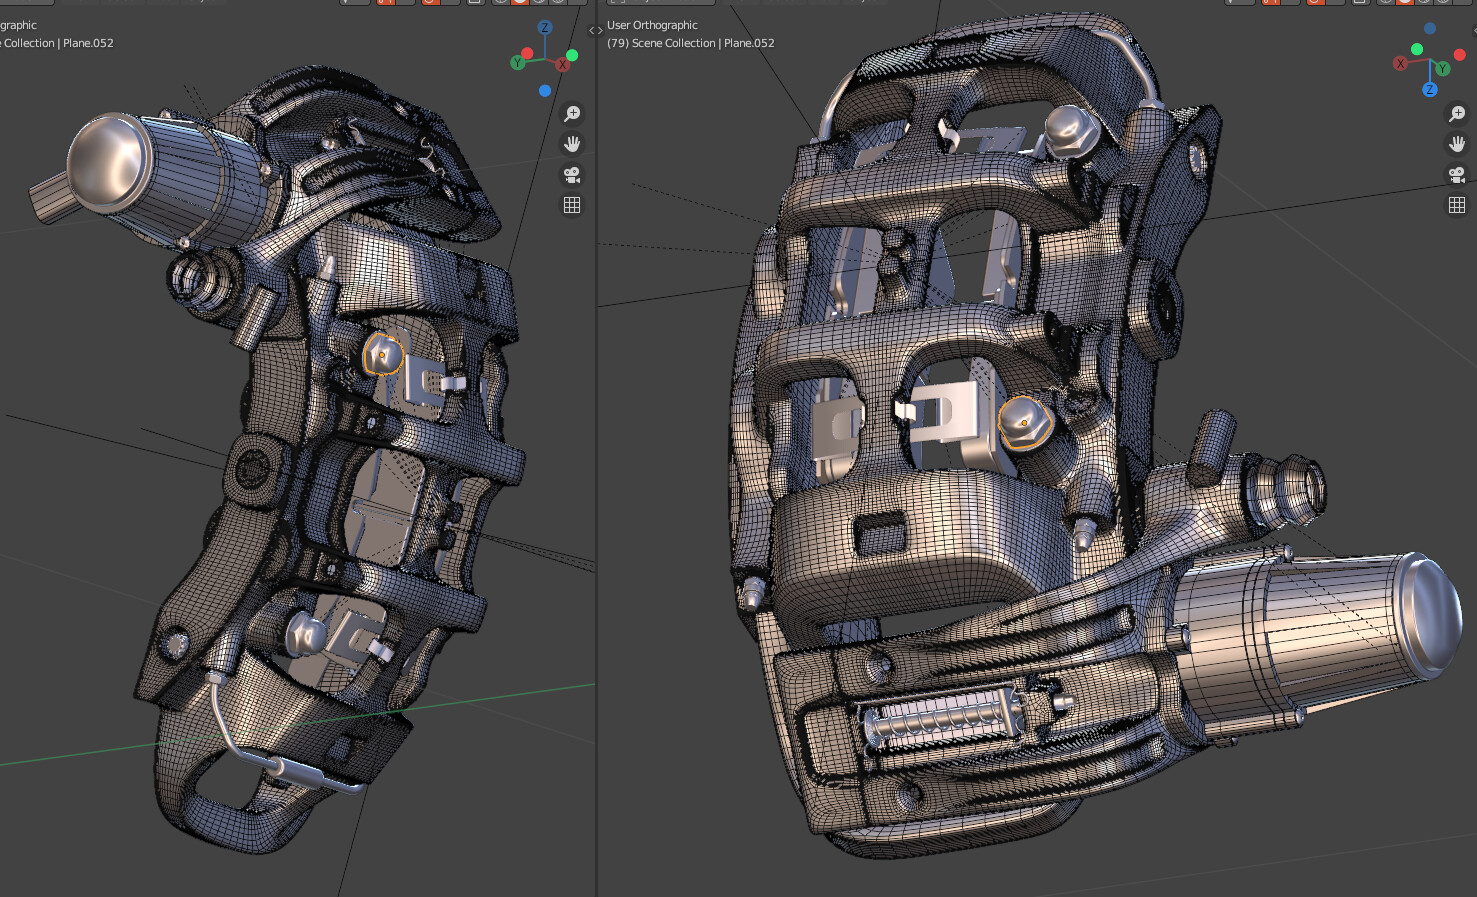
yeah, I am doing the Laferrari for almost an year. It’s been a very very slow project. Good reference images are hard to come by and different year model versions have created all sorts of alignment problem with the interior. I am now just eyeballing almost everything. The tailight is still just a glass. I cannot find any good picture to see the inside of it. Here are some pics from the project.
And I didn’t work on this project for 3 months due to corona. SO I totally forgot where I was and what I had in mind with this project. It’s a bad project I would say. I hope you all are doing fine.
Oh alright, I hope you’re doing fine as well. Didn’t know you were still doing the project.
And for me, I am currently modelling cars for a game while also doing some side projects and since the game I’m working for does not allow subdivision since it’ll exceed the poly limit, I had to change my workflow as well as fix my topology and by that, I’ve been improving as well as using new modifiers I’ve never used before like the Weighted Normal modifier and Data Transfer, which is similar to Shrinkwrap but with that modifier it allows you to apply the normals from the base mesh to the current mesh, which helps regain it’s smoothness.
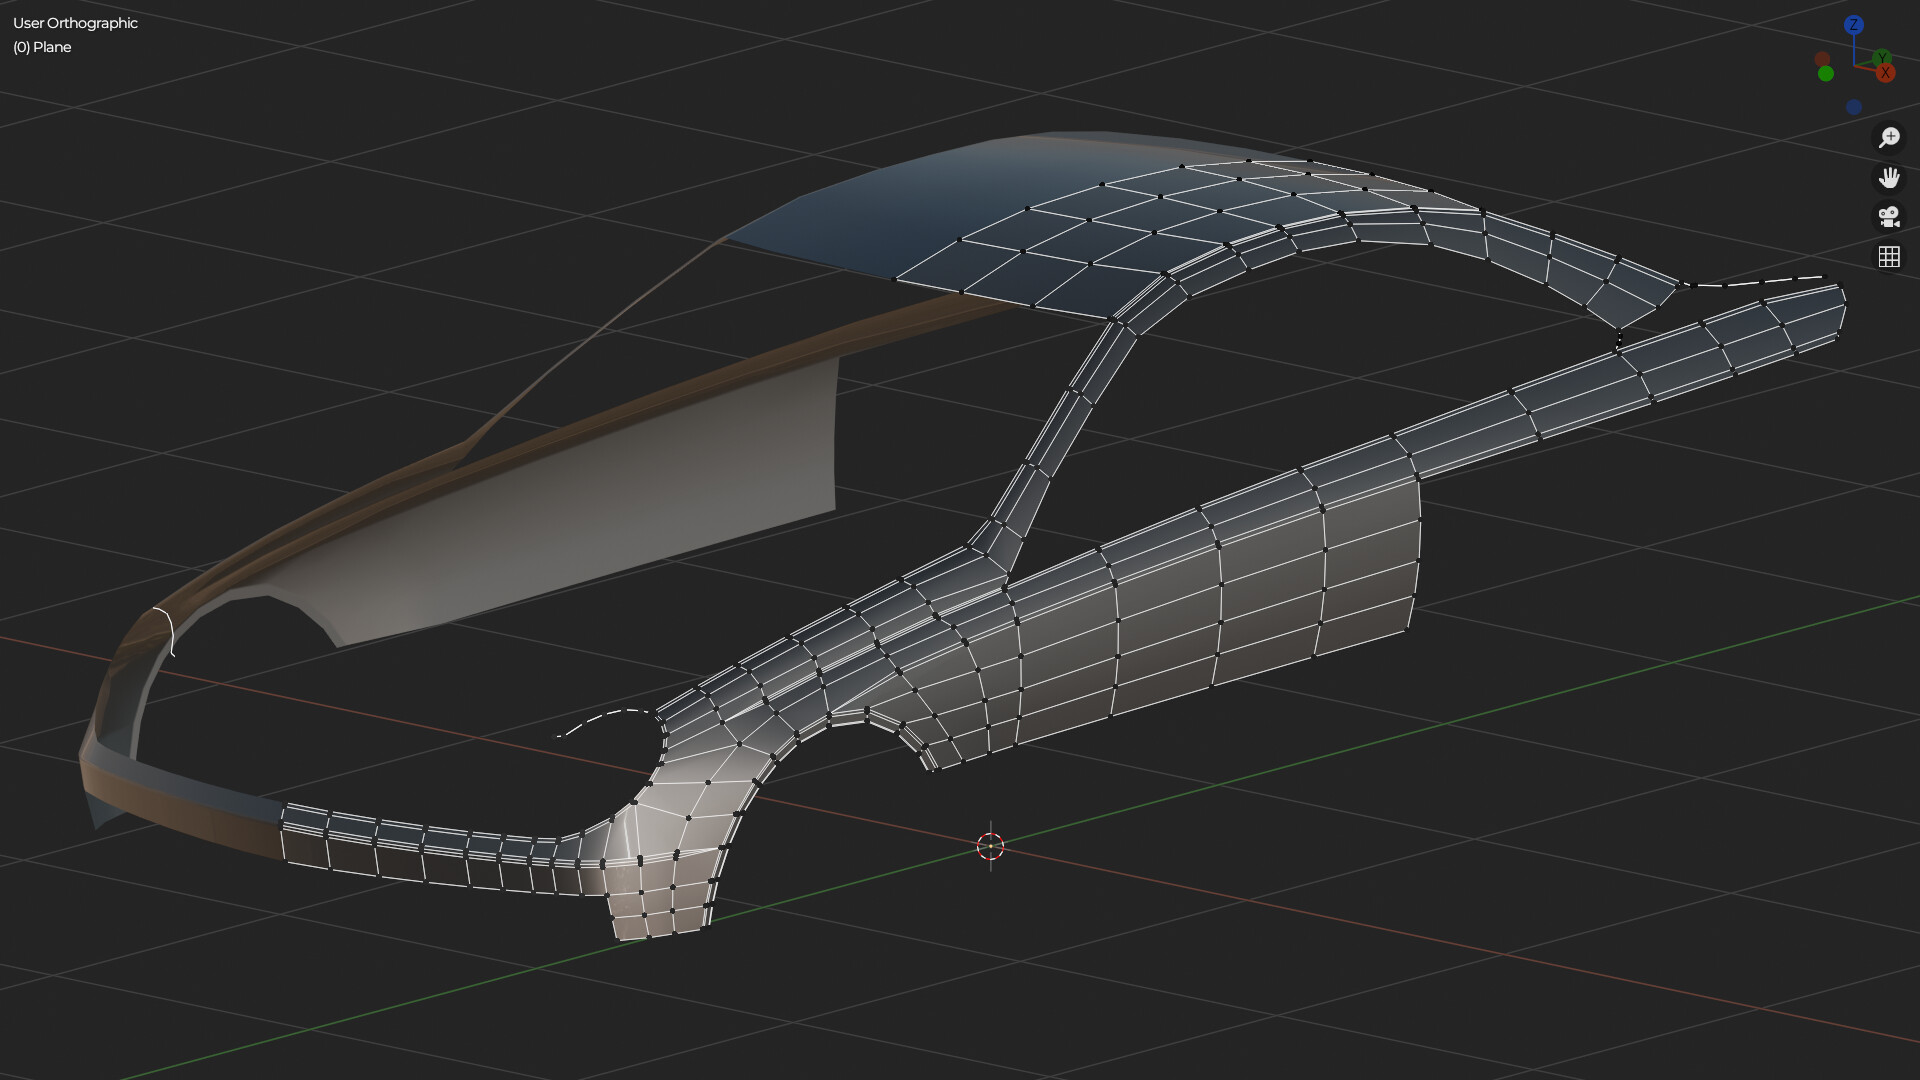
I can’t show you the model that I’m working on right now since that’s against the rules of the game I’m working for, but I can show you how I’d normally model for them, with the Mercedes Benz CLK55 AMG that’s still in progress.