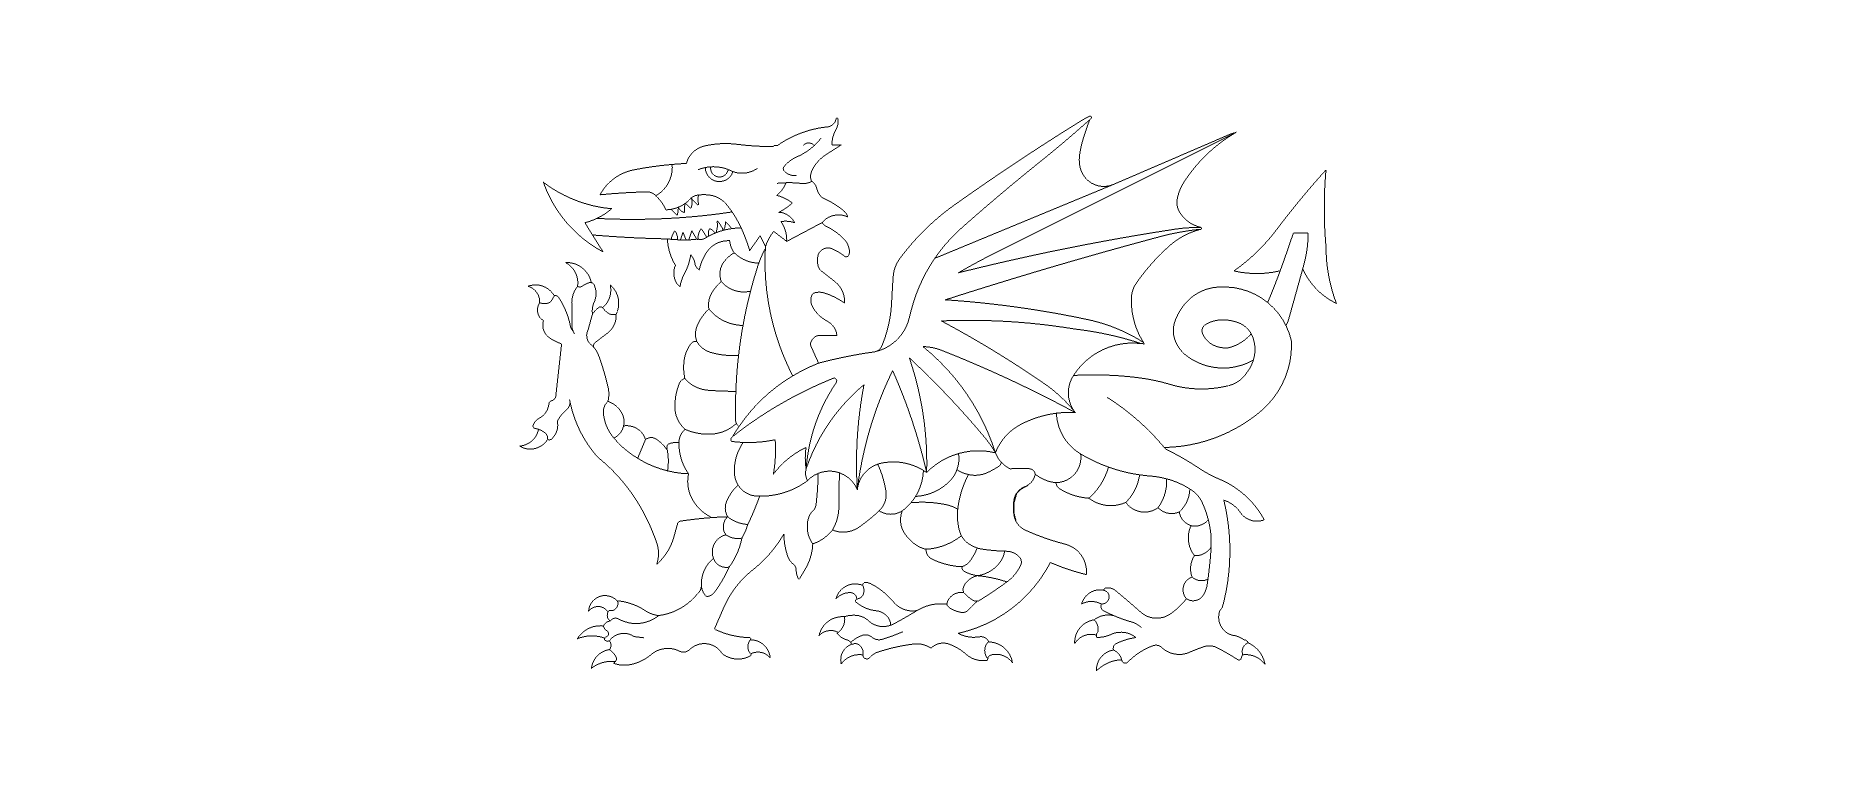
Hi, make sure your in orthogrpahic view (numpad 5) and go down to background images on the tool bar on the right hand side. there you can copy your line drawing into blender to use as a reference to model it. you then position the default cube (RMB to select, g to translate, or you can use the coloured arrows) in front of the dragon. using scale (s), rotate ®, extrude (e) and translate (g) (all in edit mode (tab) you can move and change the cube until you have made the dragon. If you press the small button down the bottom in edit mode that looks like two overlapping planes you can move vertices that are behind the ones in the front and get a 3d looking dragon. however i would suggest you learn to use the basics of blender first and do a few tutorials like the ones by Little Web Hut and tutor 4 U on youtube. Hope this helps.
The easiest way I can think of is to make a 2d curve following the external shape of the dragon (or import it as .svg from an image editor if you already have it in vectorial form), extrude it by some amount, then convert it to polygon and start to sculpt with Dyntopo (enabling Dynamic in Sculpt mode, in the Topology tab of the Tools panel).
EDIT: After the conversion to polygon I would add a Remesh modifier and apply it, so to have a better topology to start sculpting with.
You can use the image as reference if you put it as a background image in the Properties panel.
Thanks for the advice so far guys, I see the hardest part mentioned here is translating the image to lines in Blender, I have that covered as I did a trace of the image in Sketchup and only exported the lines to Blender.
if you wish to try the sculpting method using dynatopo, you’ll have to first fill in the gaps manually. don’t use ngons. the cleaner the fill the better, but i suppose it doesn’t matter so much if you are using dynatopo.
(edit) but first convert it to a mesh ( alt C )
I agree may be more than I can handle, but that’s never stopped me before, unfortunately the software I usually use is Sketchup and even though it does have sculpting and subdivision tools it does not create solid models for use in 3D printing.
Well, firstly while outlining seems like a smart thing to do it turns into quite a challenge later when you want to cover it.
You need basics - extrude, scale, rotate, select from one vertex to any other with one ctrl click or select loop - faces, verts, edges.
You need to get familiar with some addons which make tedious things a breeze - F2, bsurfaces, loop tools. Guess that’s it to start drawing not outline but 3d surface. Draw rough, follow forms. Modifiers - subdivision surface, bevel, makes sure object has enough faces and looks smooth.
Sculpt comes after you’ve done basis.
There’s a file to see the setup and to have some fun with skinning the animal ;). Or you could try sculpt on wings which were the easiest part. http://www.pasteall.org/blend/25069
Thank you eppo, that is pretty much the direction I should have approached this to start with, I have never worked this way before so could you point me in a direction as to where I can find a tutorial on what you did so I can continue from where you left off.