How to properly use image plane to cast shadows? Object on ground but in 2D plane above z=0

Hi, I am learning to do some basic compositing, adding keyed footage to 3D scenes in blender, where there is camera and object movement.

Thanks to this forum I have a long ways in past couple weeks.

I am at the point where I can get good camera solve, import in Blender as python script, and place the keyed footage in the scene using an image as planes that follows camera. Not sure current best way to do that. I see various camera related options in the image as planes settings (follow camera, fill, etc) but none of them achieved the desired result, but things are working if I use the method of 1) select plane, select camer, hit ctrl C to copy location and rotation, then ctrl P and choose Keep Transform.,

But… even though the keyed object (in my test, it is my cat) appears in 3D with proper perspective and stays stationary on ground as in my footage, on the image plane the cat is above z=0. This tells me using that plane for shadowing is not going to work.

Example in Blender

Now I know in general using the image plane is already non ideal for shadowing. But I am just trying to get this easy method to work before moving on to actually trying to use models of my filmned objects (in real project the object will be me playing guitar seated, sometimes walking).

I figured I could create empty cube, scale it to encompass camera, copy to it the camera rotation and lower the cube as a way to lower the camera so that cat is to point just before it starts to disappear below z=0, but that of course results in bottom portion of the image plane then going below z=0 which messes up the shot when cat later moves forward running past camera (cat gets clipped off where plane intersects ground plane).

I figure there is some nuance here, and maybe this particular test just doesn’t lend itself to shadowing via image as planes.

Also a question: If I did the camera solve correctly, and units were accurate enough (scene size in camera solver) , when bringing in the image plane should I expect the cat to already appear at z=0 in the image plane with no tweaking or does z position on that plane have no relation to cat’s seeming appearance on ground in 3D?

Anyway, I figure someone here has some great ideas!

thanks again
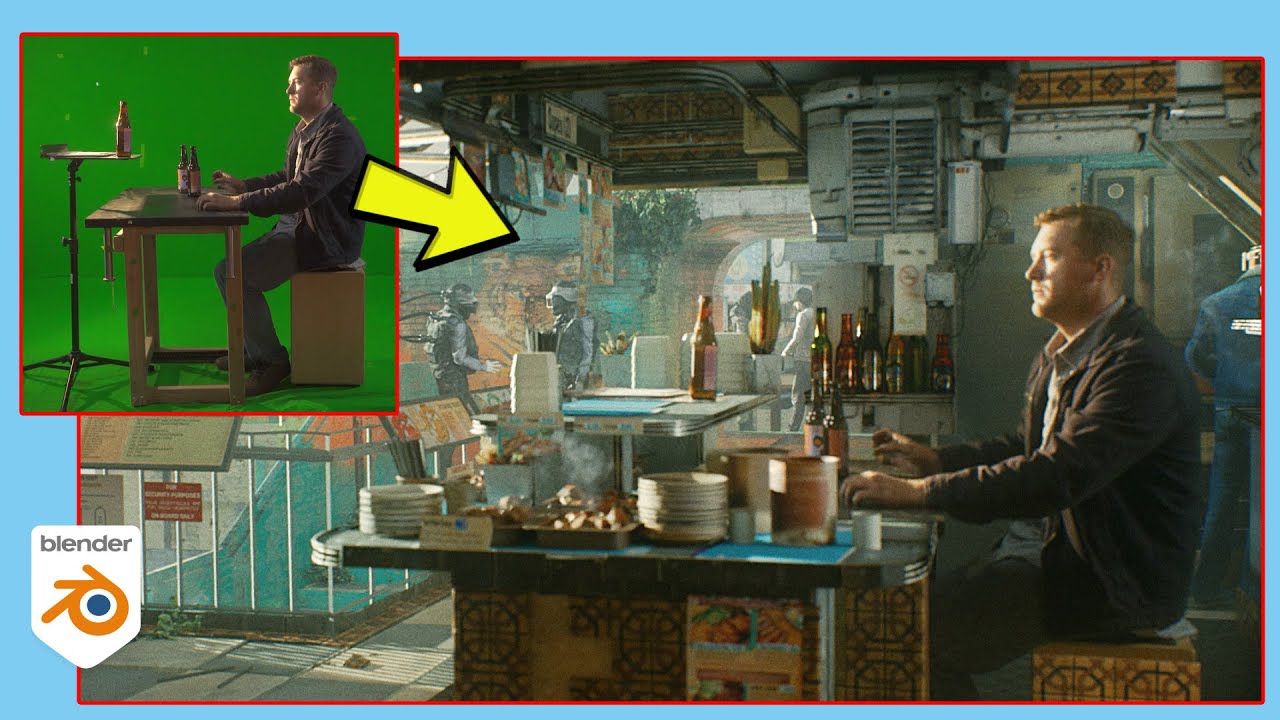
Get the cat at z=0. You need to animate the plane when the cat starts moving - to keep it at z=0.
OR
Put the shadow catcher plane where the cat is, not at ground level. And animate the shadow catchers height when the cat moves.

If you put the image plane’s origin at the camera, you can scale it throughout the shot to keep ground contact (and normalize its scale/location in the scene) without changing its appearance to the camera.

Some excellent explanations/demonstrations from Ian Hubert here:

Hi, watched that video and am trying to understand what he is doing at this point:

This is all before he talks about images as planes, and he says it is a tangent, so can’t tell if this is something that I should be interested in.

He talks about using a point cloud from camera tracking to place geometry on footage. He didn’t mention how that footage was added, but he has some odd shaped object where the footage is playing, he refers to it as “just a camera overlay” and says “wouldn’t it be cool to just stick that footage to the geometry?” Then he uses a UV project modifier. At that point I am just not sure if any of it applies, as this tangent explanation is all before he then shows his image as planes method.

Should I just ignore this part for my purposes or is it relevant? He later says this method is important for set extenson which is something that I will later be doing.

thanks!

Actually I realized his method only works under certain circumstances.

In my case, if at first frame the cat is just about to disappear into the ground, then already shortly thereafter there is no image plane scale amount that will result in cat staying just above ground in a way where correct proportionality is preserved.

Here is example of how quickly that method falls apart:

In this case for first frame image plane is placed such that cat is just touching ground plane and image plane is taking up full camera projection view. Then not so many frames ahead the cat on the image plane is much higher on z axis, but no scaling of the plane will place the cat as needed. This is probably because at first frame cat is on upper right portion of screen then shortly after is on lower left. So this drastic shifting around seems to be a case where his method does not work. And in general cases where subject is close to edge AND camera facing subject from big enough slant probably will result in it not working since a uniform scale adjustment in this case has the x,y,z scaling so disproportionate from one another.

In his example, in parts where he shows camera view, the subject doesn’t seem to cross from one side of the screen to the other, or during such crosses camera is far away and not slanted.

Knowing that, I suppose when I shoot my actual footage, I will just have to be very careful about making sure these sorts of drastic subject shifts and camera slants don’t occur.

Now that I think about it, I need to look into motion capture hardware so I can just have low res mesh model just for casting shadows. Or learn about meshes and animation and create it on my own by keyframes…

He talks about using a point cloud from camera tracking to place geometry on footage. He didn’t mention how that footage was added, but he has some odd shaped object where the footage is playing, he refers to it as “just a camera overlay” and says “wouldn’t it be cool to just stick that footage to the geometry?” Then he uses a UV project modifier. At that point I am just not sure if any of it applies, as this tangent explanation is all before he then shows his image as planes method.

I think your timestamp is wrong, that seems to be a different part of the video, but assuming you’re talking about the little camera projection demonstration, yes, that’s just a tangent. He’s just expanding on his point about how parenting tracked footage to its own camera cancels out movement in useful ways—here, by using the motion tracking points as reference to build a basic blockout of the scene geometry, and then projecting the footage onto it* (as opposed to the Background Image, which is just an “overlay,” or Window coordinates, which will always move with the viewpoint). Because the movement of the projecting camera exactly matches the movement of the filmed material, the surfaces and shapes in the scene are projected back onto “themselves,” meaning they can be re-filmed from new angles, so you can, for example, extend a camera move past where it originally traveled.

*Also, nowadays you’d use Nathan Vegdahl’s Camera Project node, which works procedurally and doesn’t require dealing with the annoyances of the UV Project modifier.

Again, though, yes, that’s a tangent: reprojecting tracked footage onto geometry is super useful, both for indirect light (as he shows in the video) and modifying camera moves (as he shows in the video), and if you want to learn it you can, but it’s not a prerequisite for the parented-plane trick he shows next, no.

Here is example of how quickly that method falls apart:

Your video is extremely cropped, it looks like only a small subsection of your screen got recorded: I can’t see what’s going on. The technique he demonstrates there should work for a lot of cases, and it’s always possible to find a scale where the image plane doesn’t pass through the floor, it’s just that, yes, that may sometimes be a position that doesn’t fully match the object’s location in the scene, especially if it covers a lot of horizontal ground, like a quadruped: preserving its front legs means pulling it well forward of its center of mass. And, of course, the higher the angle, the more it becomes an issue too, since the flat-plane cheat sort of wants to assume the object is a pole-like object rising up from the ground. There will always be a lot of concessions with doing it that way, that’s the price you pay when you try to use a flat image for shadows and reflections in the first place, but yes, it is a really handy trick that’s plenty good enough for lots of situations,

Could you reshare the video with a better view? I’m curious what’s going on in your scene.