I’m modelling a cake and I seem to be having trouble trying to replicate that sort of shape for the icing that goes around the top rim, and bottom rim.
Is there any way to sort of replicate that effect with modifiers or something?
Another method would be to create the form, add some edge-rings and then use the twist modifier. You can then enable proportional editing to pull down the top and create the ballooning effect on the bottom of the icing.
Here’s a step by step explanations with screenshots to detail what the curve bevels + taper and proportional editing features can do to help build your cake icing the way PyroGXPilot mentionned
Top view ( Numpad 7)
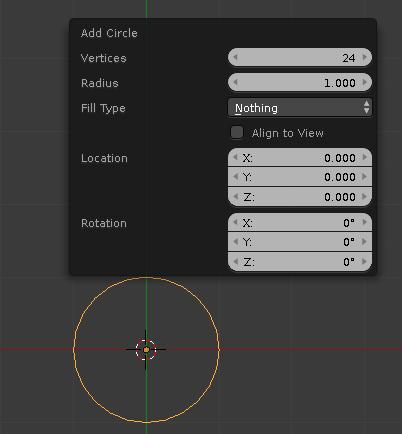
Add -> Mesh -> Circle
Press F6 change the default Vertices setting 32 (that would be a bit too much in comparison to the final image as reference ) to 24
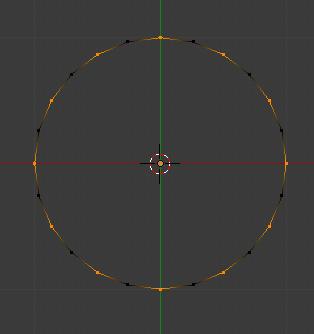
Go to Edit Mode, select all if it’s not already selected, then in the bottom menu click on Select -> Checker Deselect that by default unselect 1 vertex on 2 , what we want so we don’t change the setting :
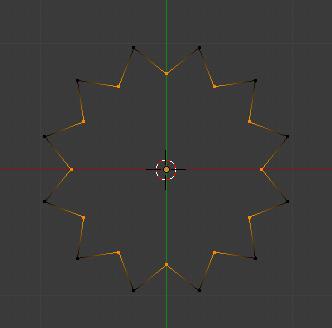
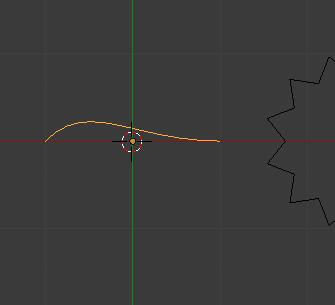
Press S and scale it inside like that
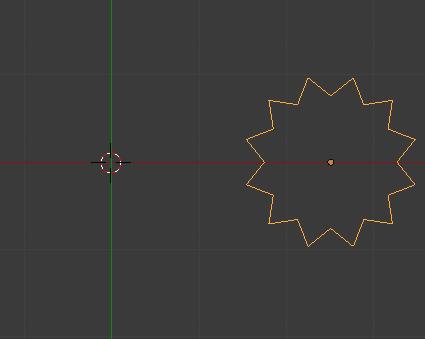
Go back to Object Mode and press ALT + C -> Curve From Mesh (or from bottom menu Object -> Convert To -> Curve from Mesh ) to convert the object into a Curve object
Now move it a bit away so we see better what we’re doing next
Click on Add -> Curve -> Bezier
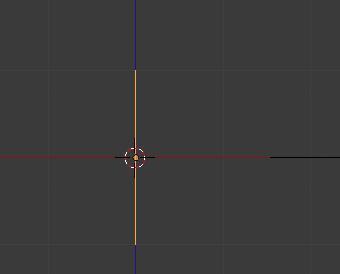
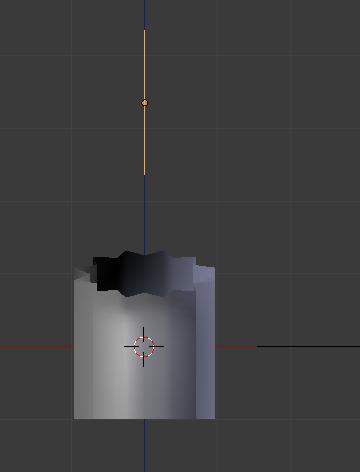
Go to Front View ( Numpad 1 ) and press R and type 90 , then CTRL+A -> Rotation to apply it (rotation&scaling need to be applied if done in Object Mode to avoid influencing editmode tools, unless you have a specific reason to not do it of course)
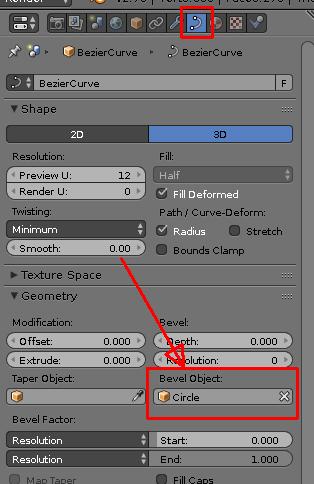
With your new added bezier curve selected, go to the Curve panel and set the Bevel to your previously converted to curve object
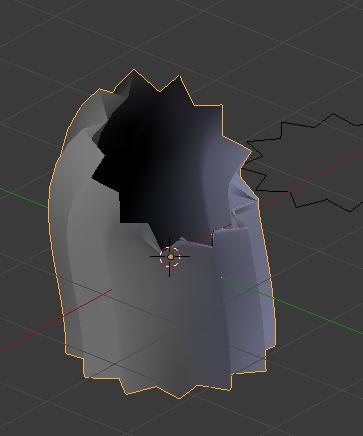
Result in 3D View :
You can go in edit mode to edit the bezier curve a bit to influence the look
Back to Object mode, Add -> Curve -> Bezier to add a new curve object.
Same as before Front View (Numpad 1) , type R then 90 and CTRL+A -> Rotation, then press G then Z and move it up, again so we can see better what’s going on next
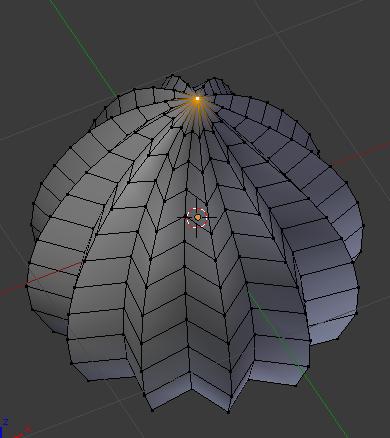
Now select your previous curve, the one that is now bevelled, go to its Curve panel again, but this time add as a Taper Object the new curve you just added :
You’ll quickly notice in the 3D view it looks now rather bad, the reason will become obvious once you go to Right View (Numpad 3) and look at your newly added curve that is used as the taper object :
Notice the shape in comparison to the axis in blue, your cake object is using that, so you now need to edit your taper curve, select it and go to edit mode and edit the curve until you see the other object taking +/- the shape you want, avoid to move the extremities of the curve from the central axis in blue, so you don’t have holes on the top/bottom of the cake icing object.
Back to Object Mode, select your cake curve and press ALT+C -> Mesh from Curve (or from bottom menu Object -> Convert To -> Mesh from Curve)
Go to Edit Mode, select all and press W -> Remove Doubles and press CTRL+N to recalculate the normals
Select the top vertex :
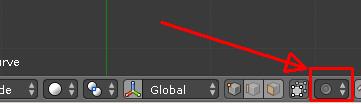
Go to Top View , press O to enable proportional editing or enable it on the menu
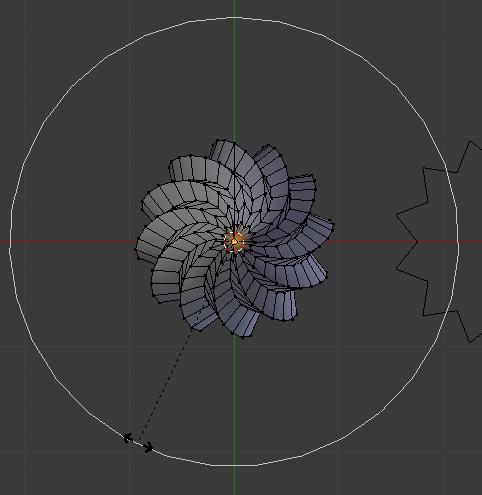
Press R to rotate, with your mousewheel or PAGEUP/PAGEDOWN on your keyboard, increase the proportional circle and rotate until satisfied
Before rotating, you can change the proportional falloff if you want :
Press O again once finished to disable the proportional editing (unless you want to keep it on, just remember it’s enabled in case you want to do more transformation)
You can go back to Object mode and add a subsurf modifier to your cake object
@Sanctuary, Thanks! (even though I played around with twist modifier and sculpt mode yesterday before I saw this today, I’ll keep this for any future project I may have)


 (even though I played around with twist modifier and sculpt mode yesterday before I saw this today, I’ll keep this for any future project I may have)