Something that’s a bit of a change of pace from my usual modeling. One thing I haven’t made any serious attempt at yet was a human character; so I thought I’d give it a try.
Most of my human models have been made by starting with a plane, outlining a reference and extruding, resulting in very blocky heads. So lately I’ve been referencing David Ward’s Tim Burton tutorial, not so much for the character style but mainly for modeling methods.
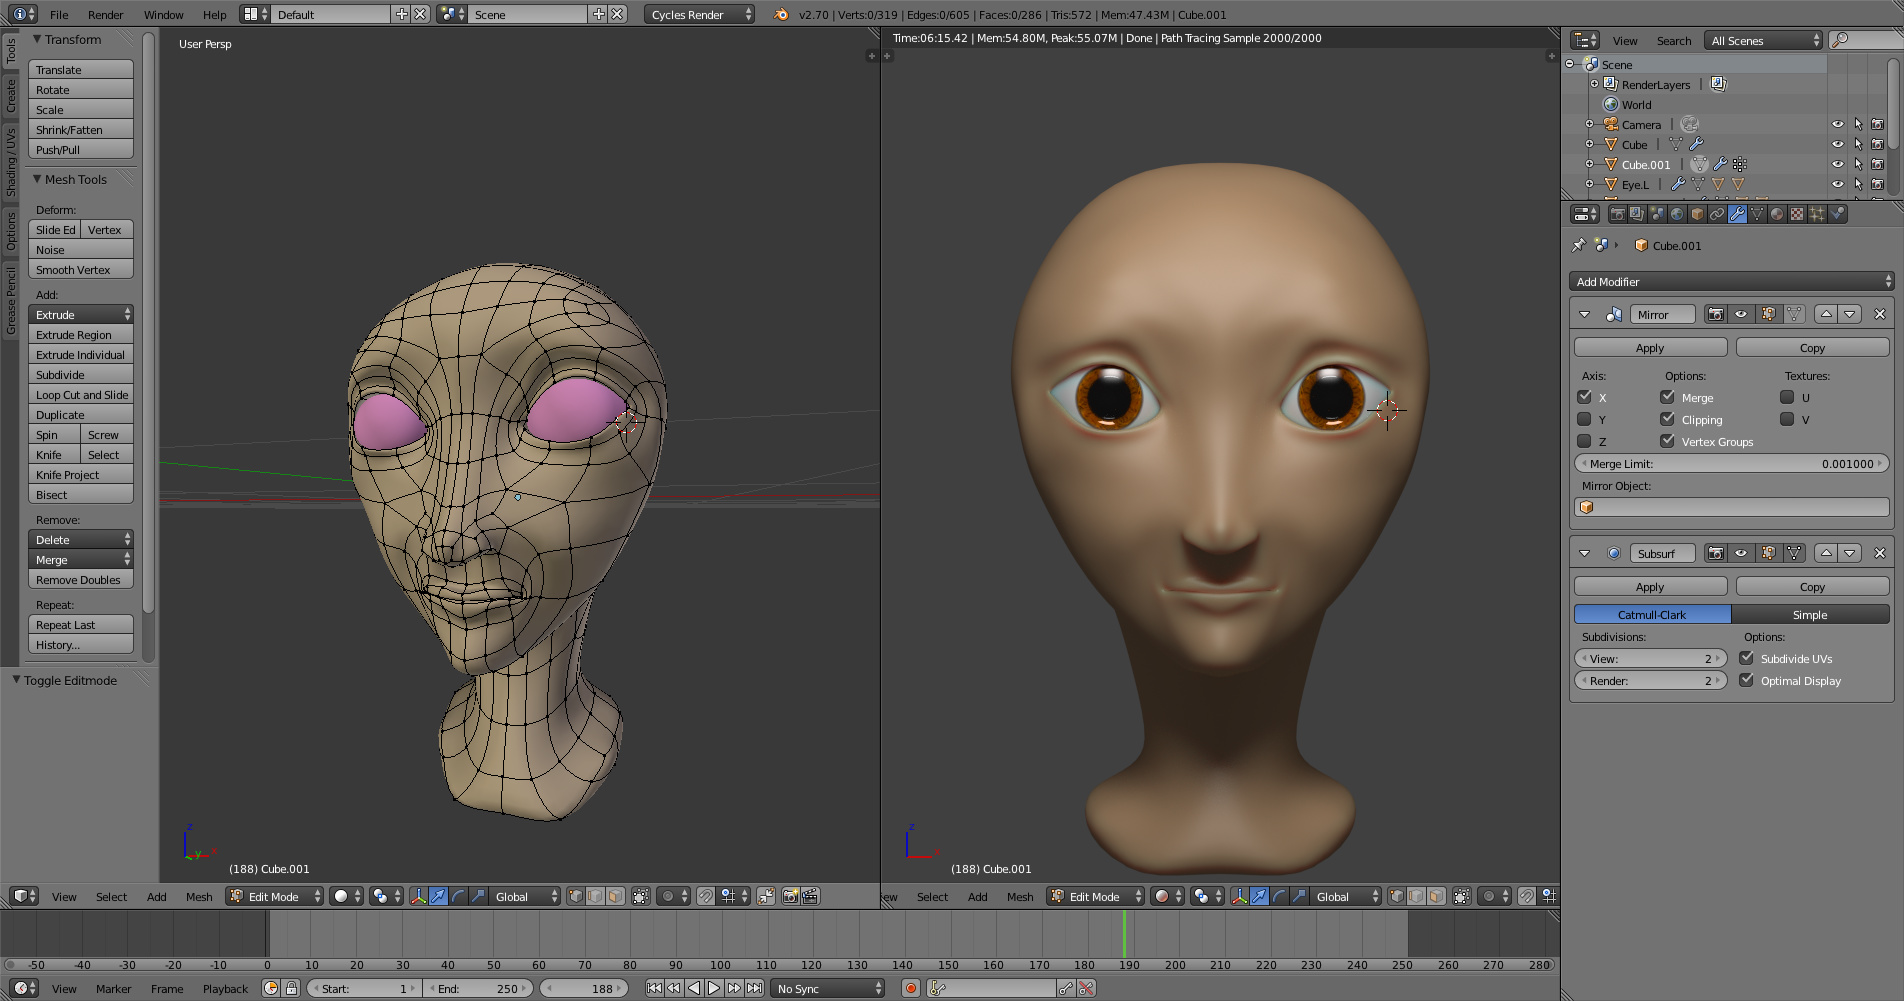
The model itself is supposed to be a female character but I’m not quite sure if it has the look yet.
Right now I’m doing a bit more work on the head, not the ears yet as I’m not sure how I want to go about it. I’ll probably work on the body as I think how I want the ears to look.
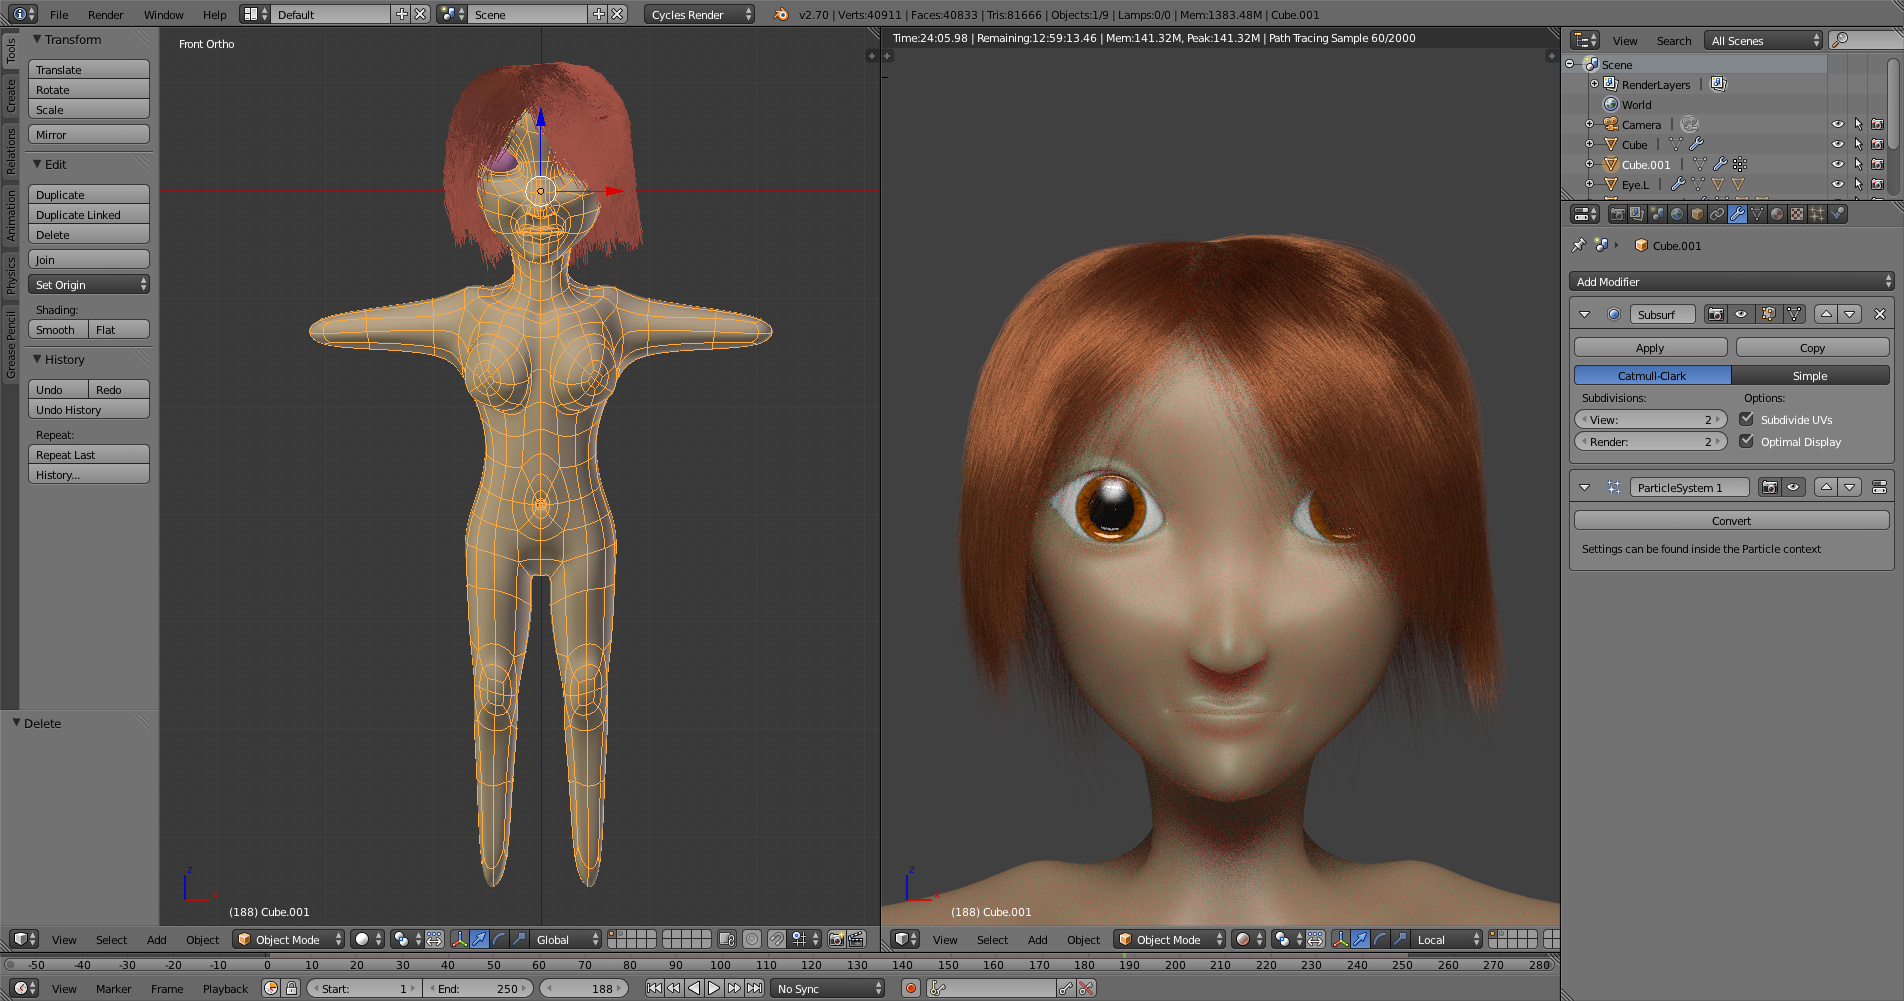
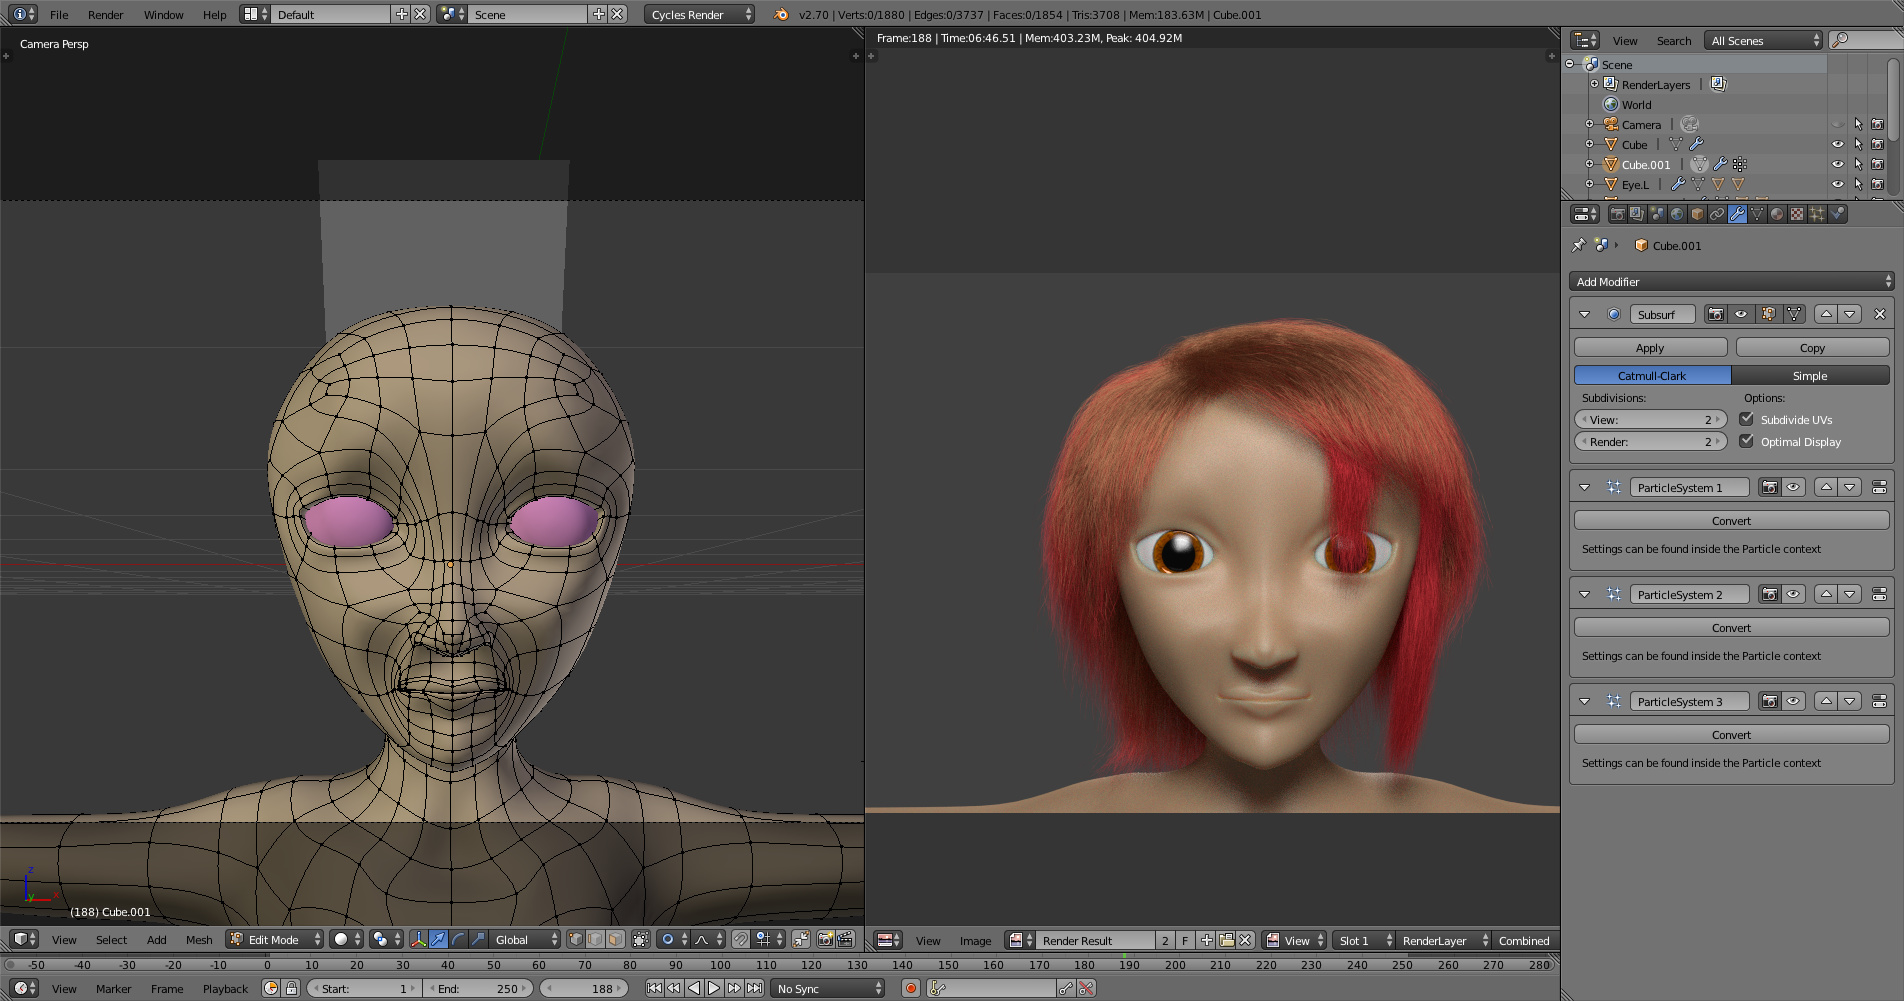
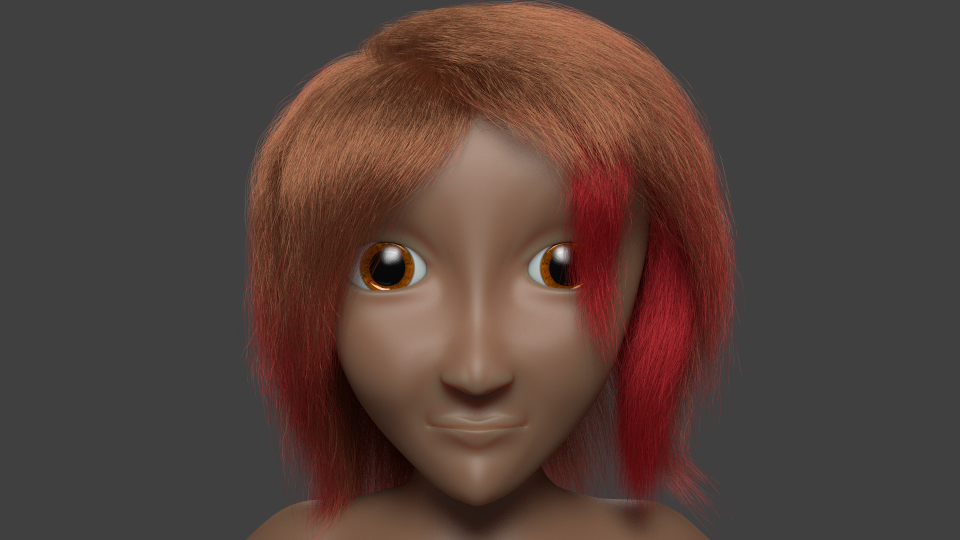
Did a bit of a touch up on the face, still haven’t added the ears and the hair was added as a reference. Overall I think the body is starting to take shape but I’m a little concerned that the face is a bit too generic, amongst other things.
Are you working from a design, or are you trying to design it while sculpting? I recommend taking a step back and figuring out the forms and anatomy first. Find the proportions of forms that make a good design and build the skin around that. Some good starting points is this little reference page https://www.facebook.com/Anatomy4Sculptors/photos_albums
Thx for the info on the proportions I’ll get to work on fixing that, as for the model itself it’s not exactly a sculpt. As in the first post the modeling methods come from the Tim Burton tutorial so mostly I’m extruding and fine tuning with the sculpt tools. Probably shouldn’t have eyeballed the proportions.
It’s hard to emphasize just how important references are, especially if you’ve never done this before. Human faces are very tough to get right, and if you’re worrying about eyeballing form when you really haven’t studied facial anatomy before while learning the modeling techniques at the same time, it’s going to me nearly impossible. What I would recommend, and what I did when I was first starting out, is find some references and a tutorial (CG cookie has a couple) and just copy it exactly, step by step, imitating exactly what you see on screen. You’ll learn a lot. I would also study up a bit on facial anatomy and proportions. Guides for hand drawing heads and faces translate to 3d surprisingly well, and you may want to have a look at those.
As for what you have right now, it’s looking very alien. I think the biggest things that stand out to me are that the eyes are big and spaced far apart. There’s not much left between the eye and the side of the head, emphasizing this. Adding the hair helped a lot, which I think is because to removes the weirdness of there not being an ear. You may also want to look at the placement of the eyes vertically. They should be placed at the equator of the head, centered almost exactly between the top and bottom. For a female head, I’ve noticed that the face can be shrunk a tiny bit and the eyes can actually be slightly below this line, especially if you’re going for a styalized look. Take this with a grain of salt, though, and its only my observation and I’m still learning a lot of this stuff myself.
Finally, have a look at what others have posted both here on blender artists and other places on the internet to look at good topology. JW has some great stuff on blender cookie, but don’t restrict yourself to just blender sites. All the techniques other artiTrammells use in Maya, modo or whatever still apply and aren’t program specific. The topology section of the polycount wiki is a great resource. Also, if you don’t have a citizen membership on cg cookie, I recommend getting one if you’re serious about this stuff. Kent Trammell’s sculpting series and JW’s head modeling series are well worth it and I would reccomend you check them out right away. The Kara modeling series, while old, may also be of interest.
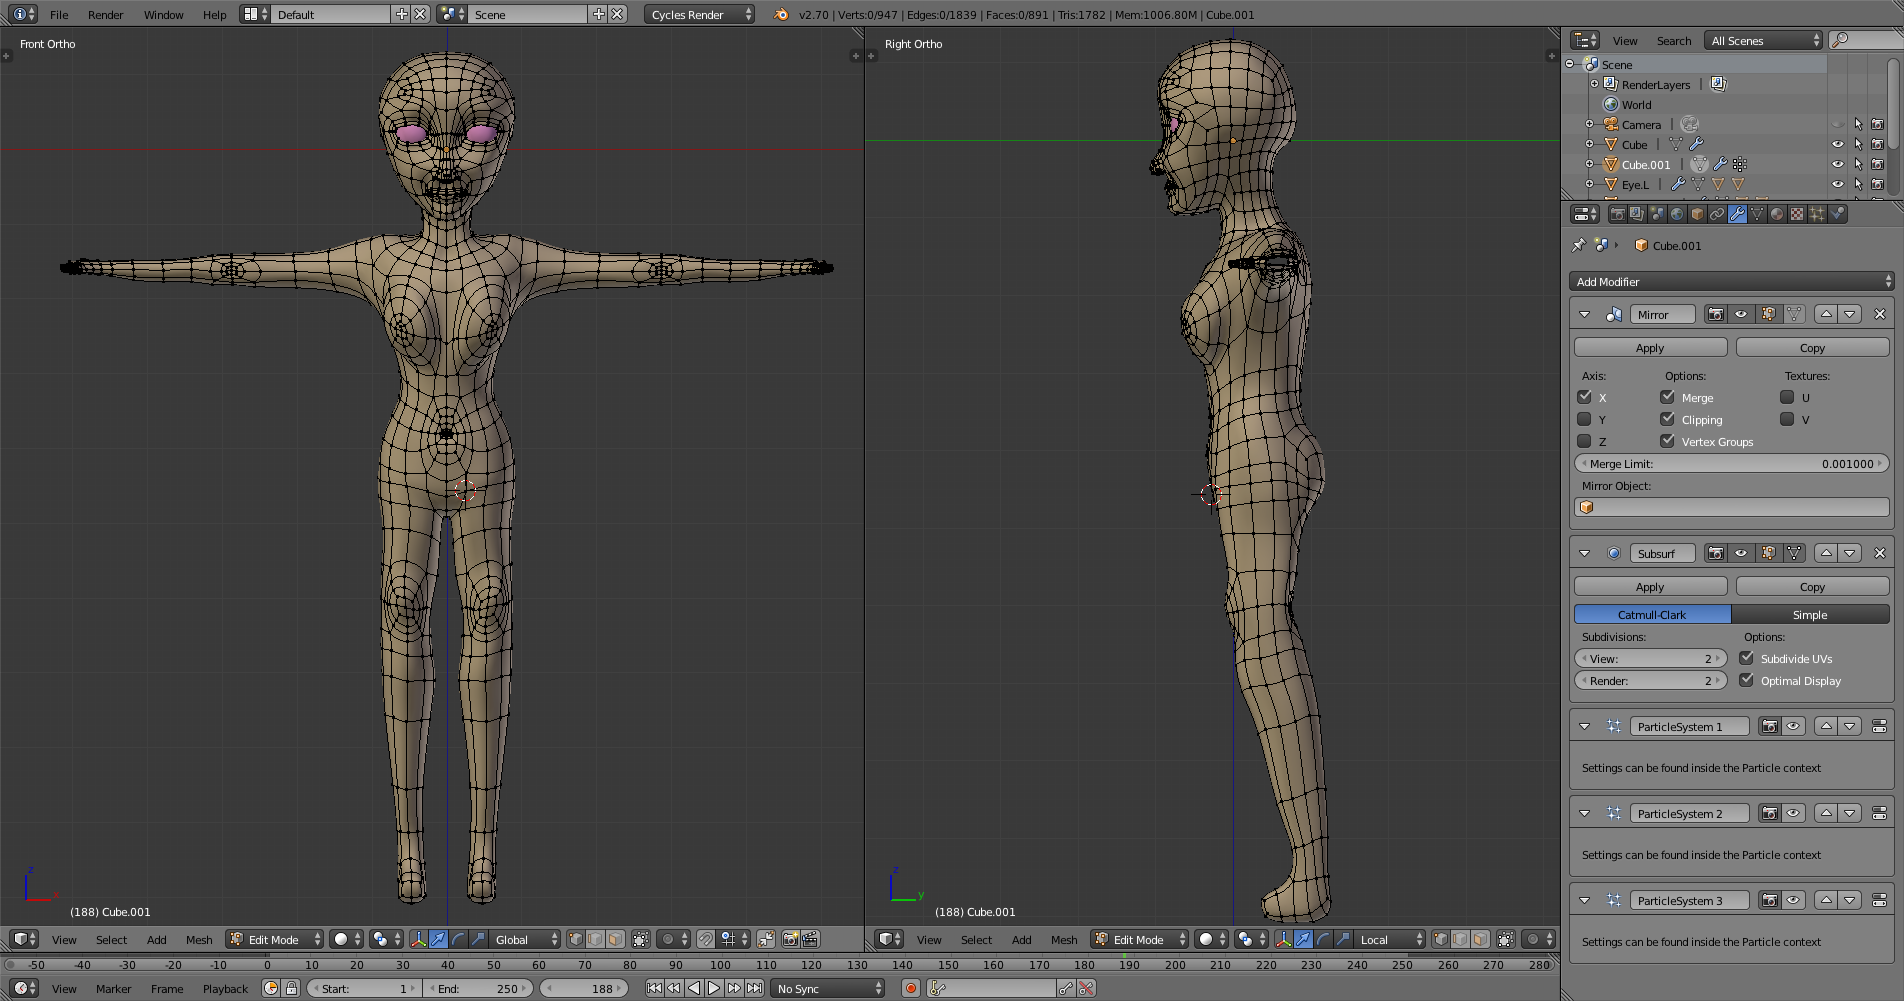
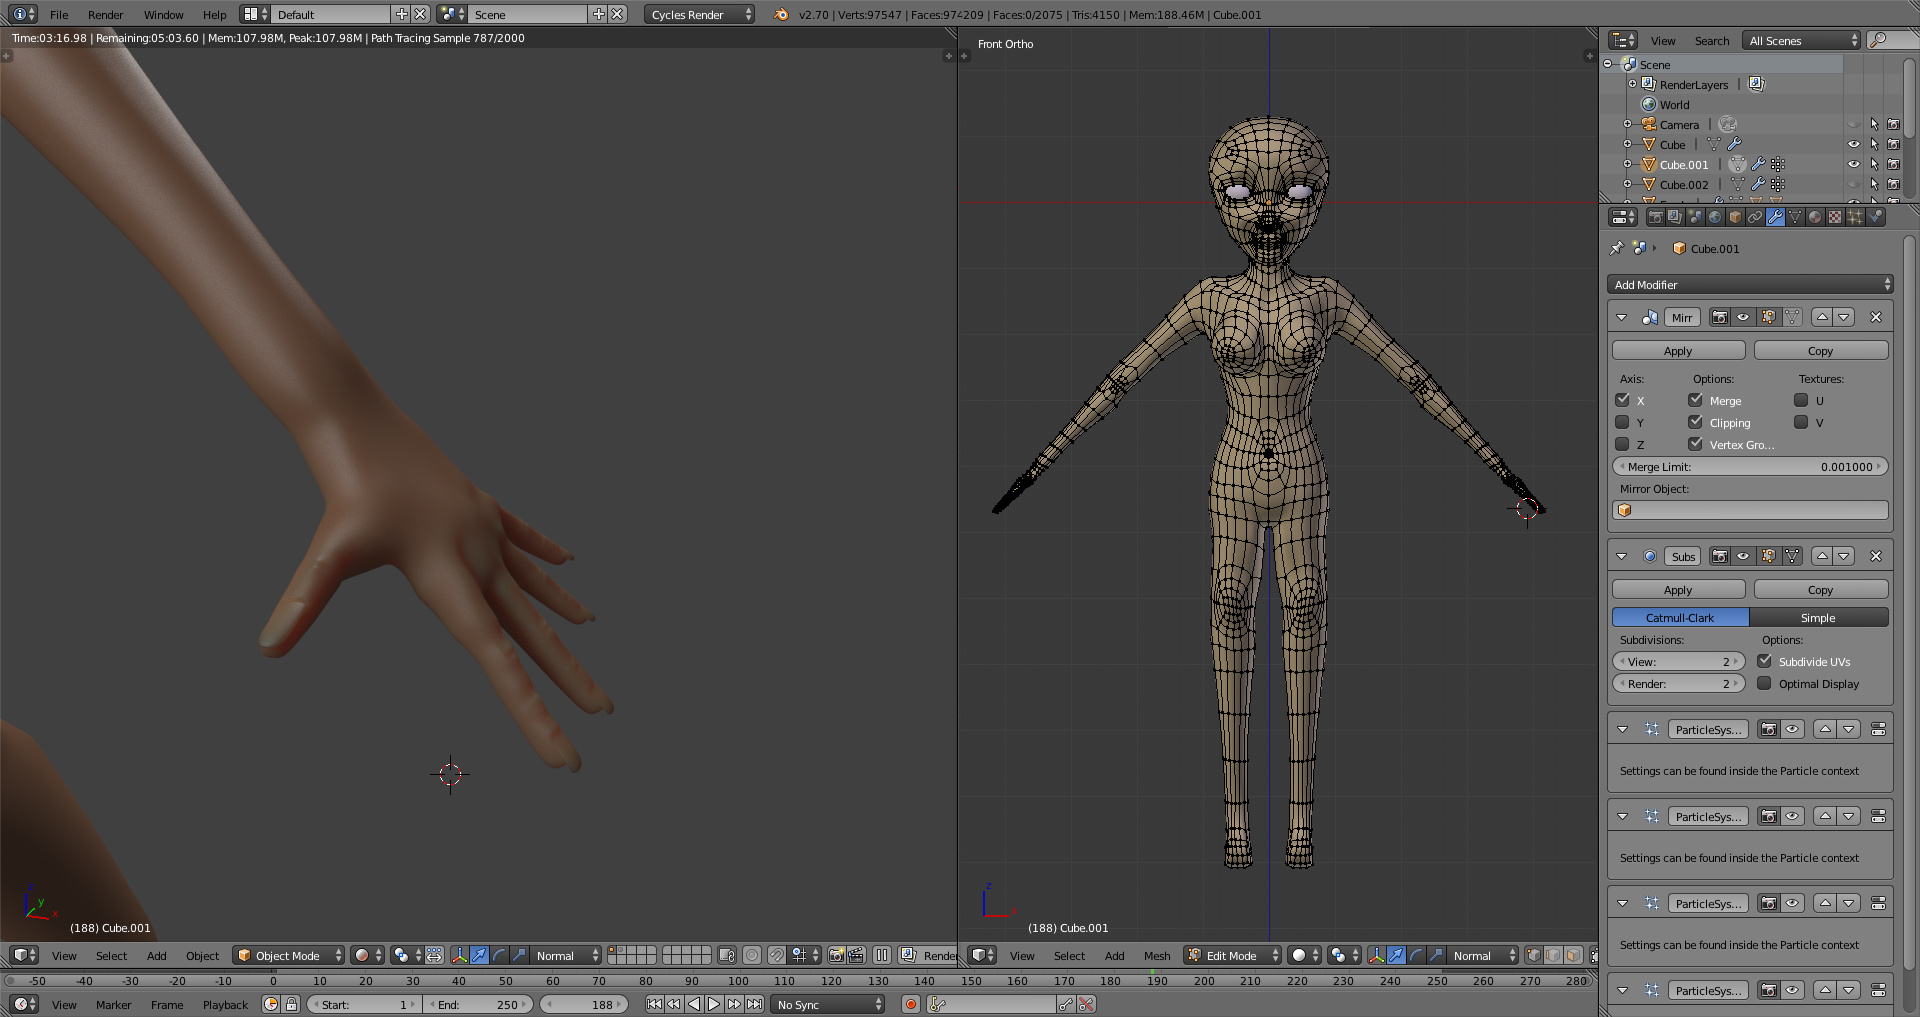
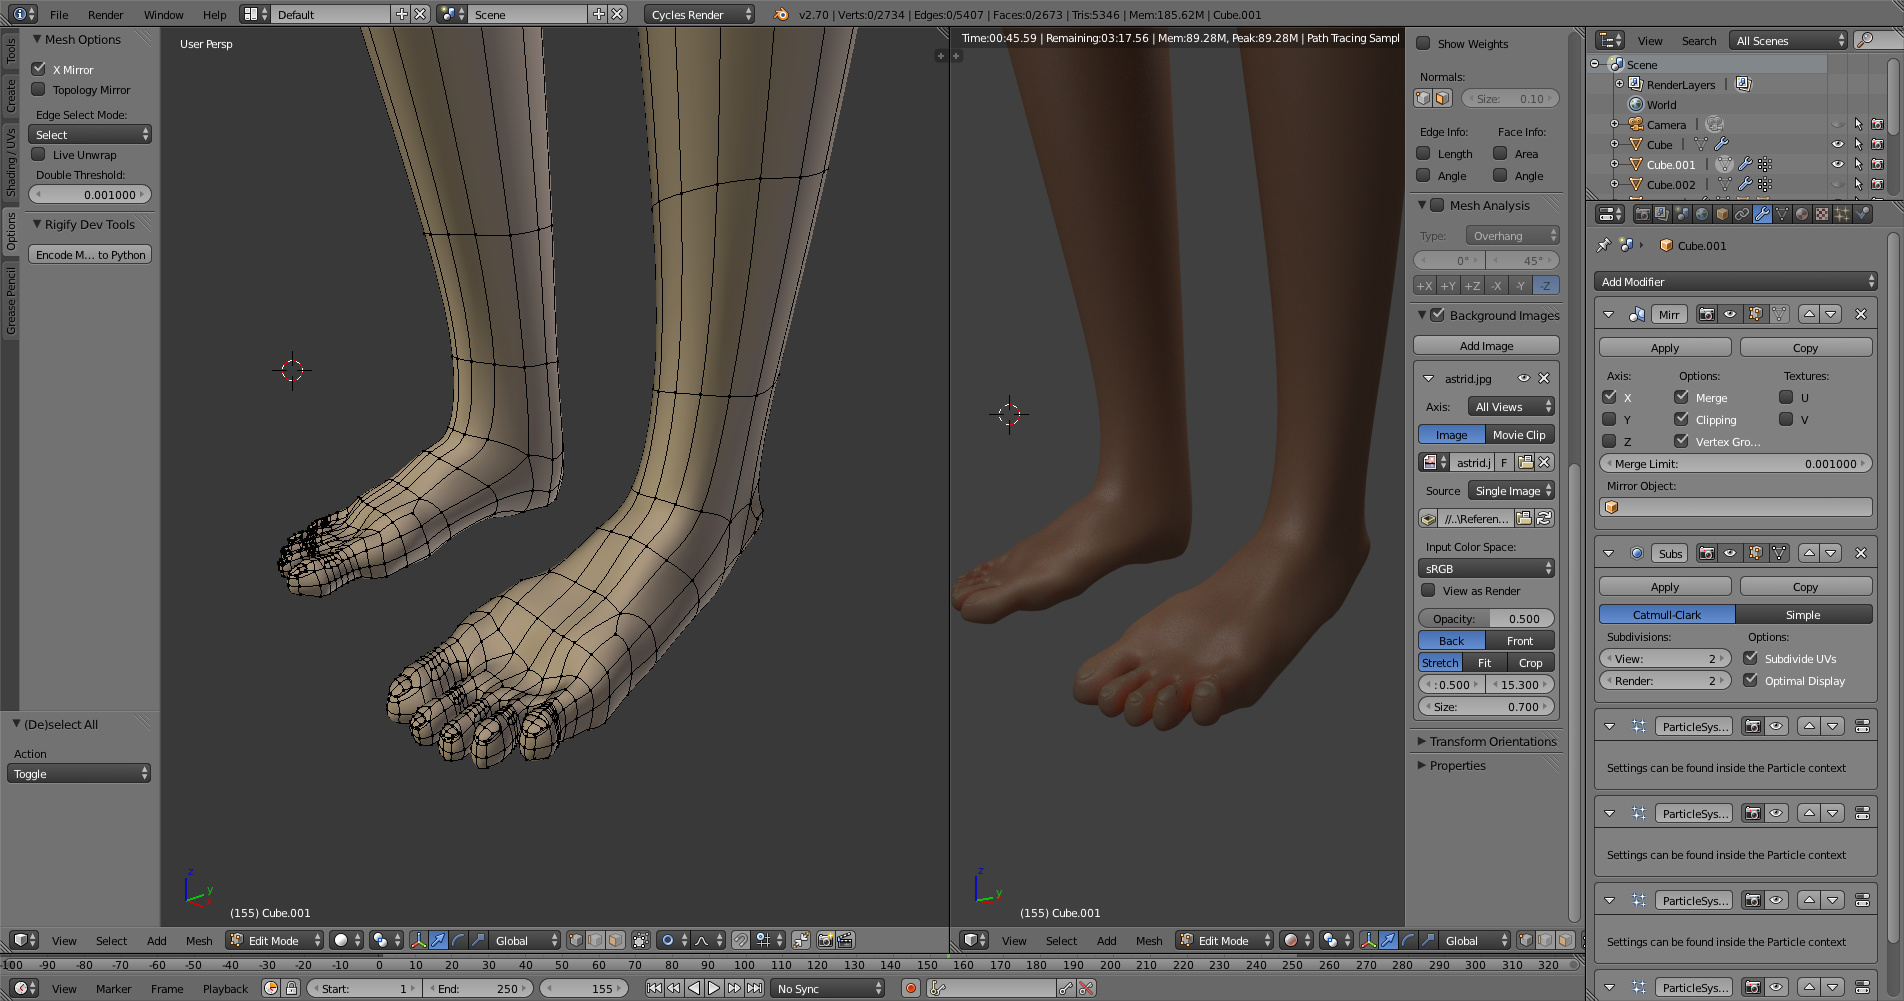
Been working on the body and legs lately, probably will have to redo some of the topology. On that end there are a few areas that need improvement but mainly it’s around the shoulder that stands out the most to me. Personally the part that I think will be the most difficult will be the hands and feet. Every time I work on a person I reference Johnathan Williamson’s topology overview but never really seem to get the same results, hopefully this time will be different as I’m determined to get this one done right, but also finished in general.
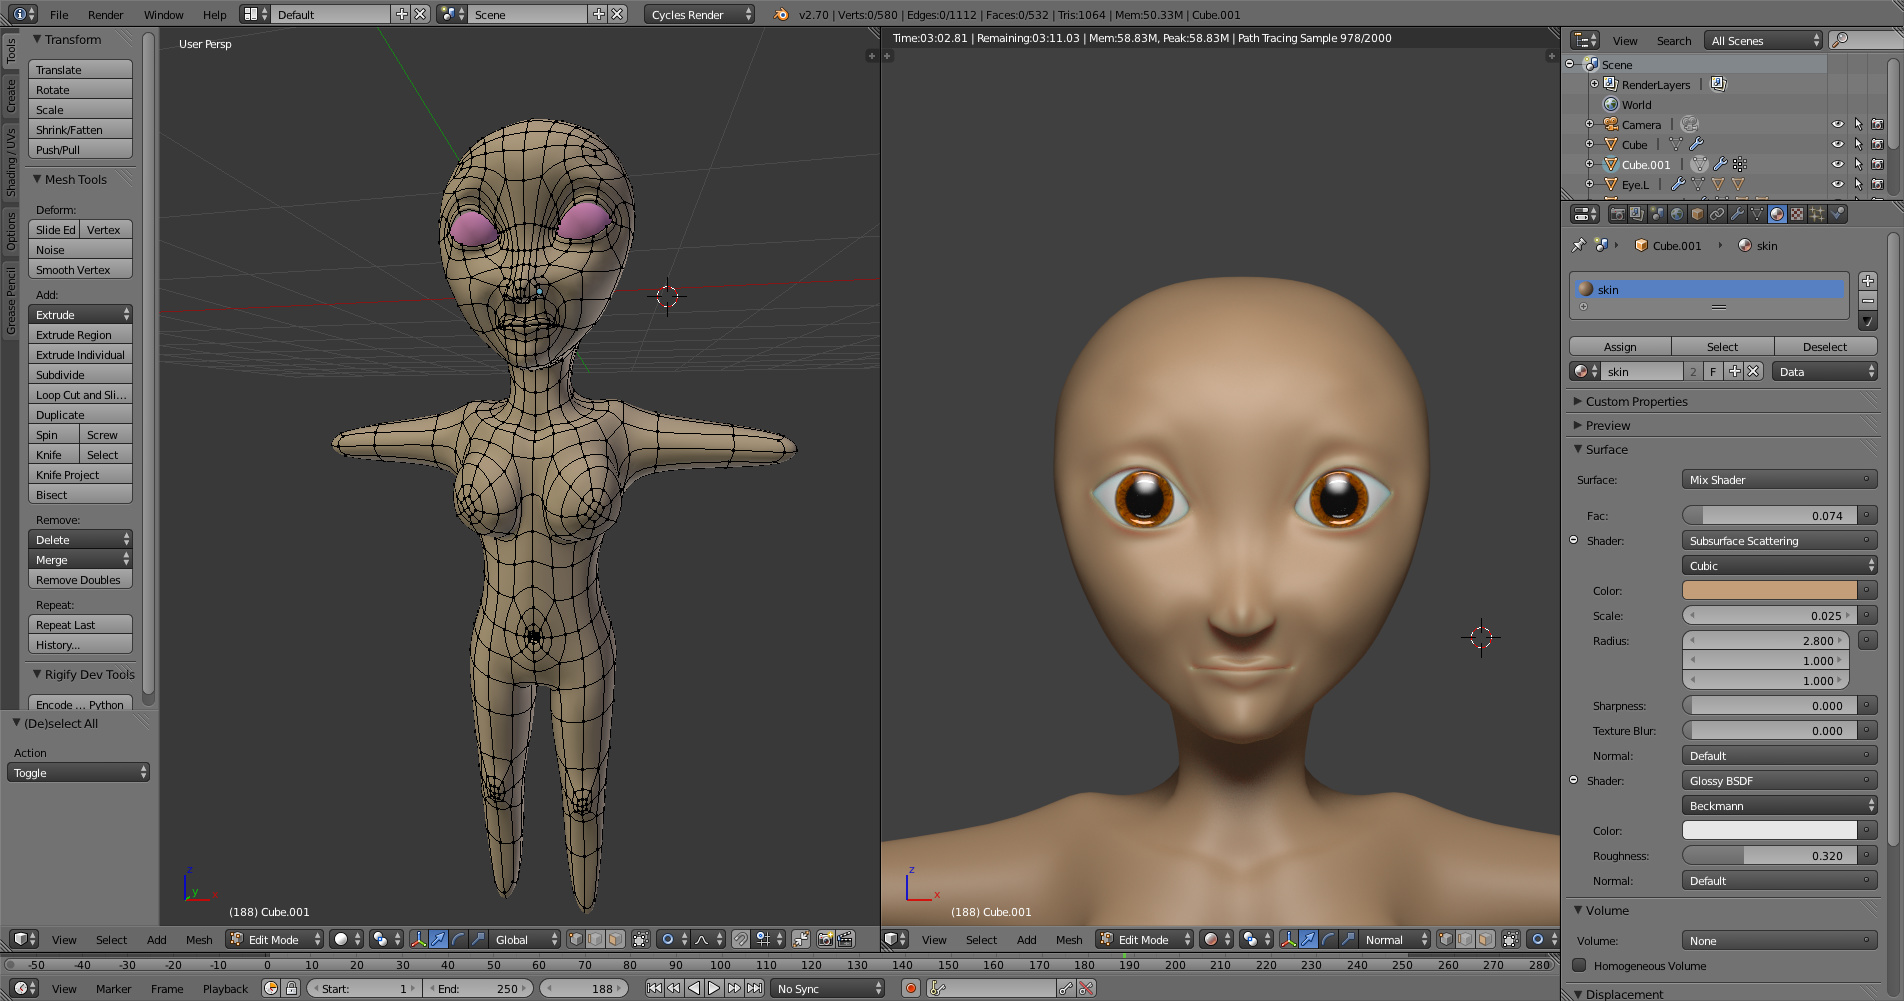
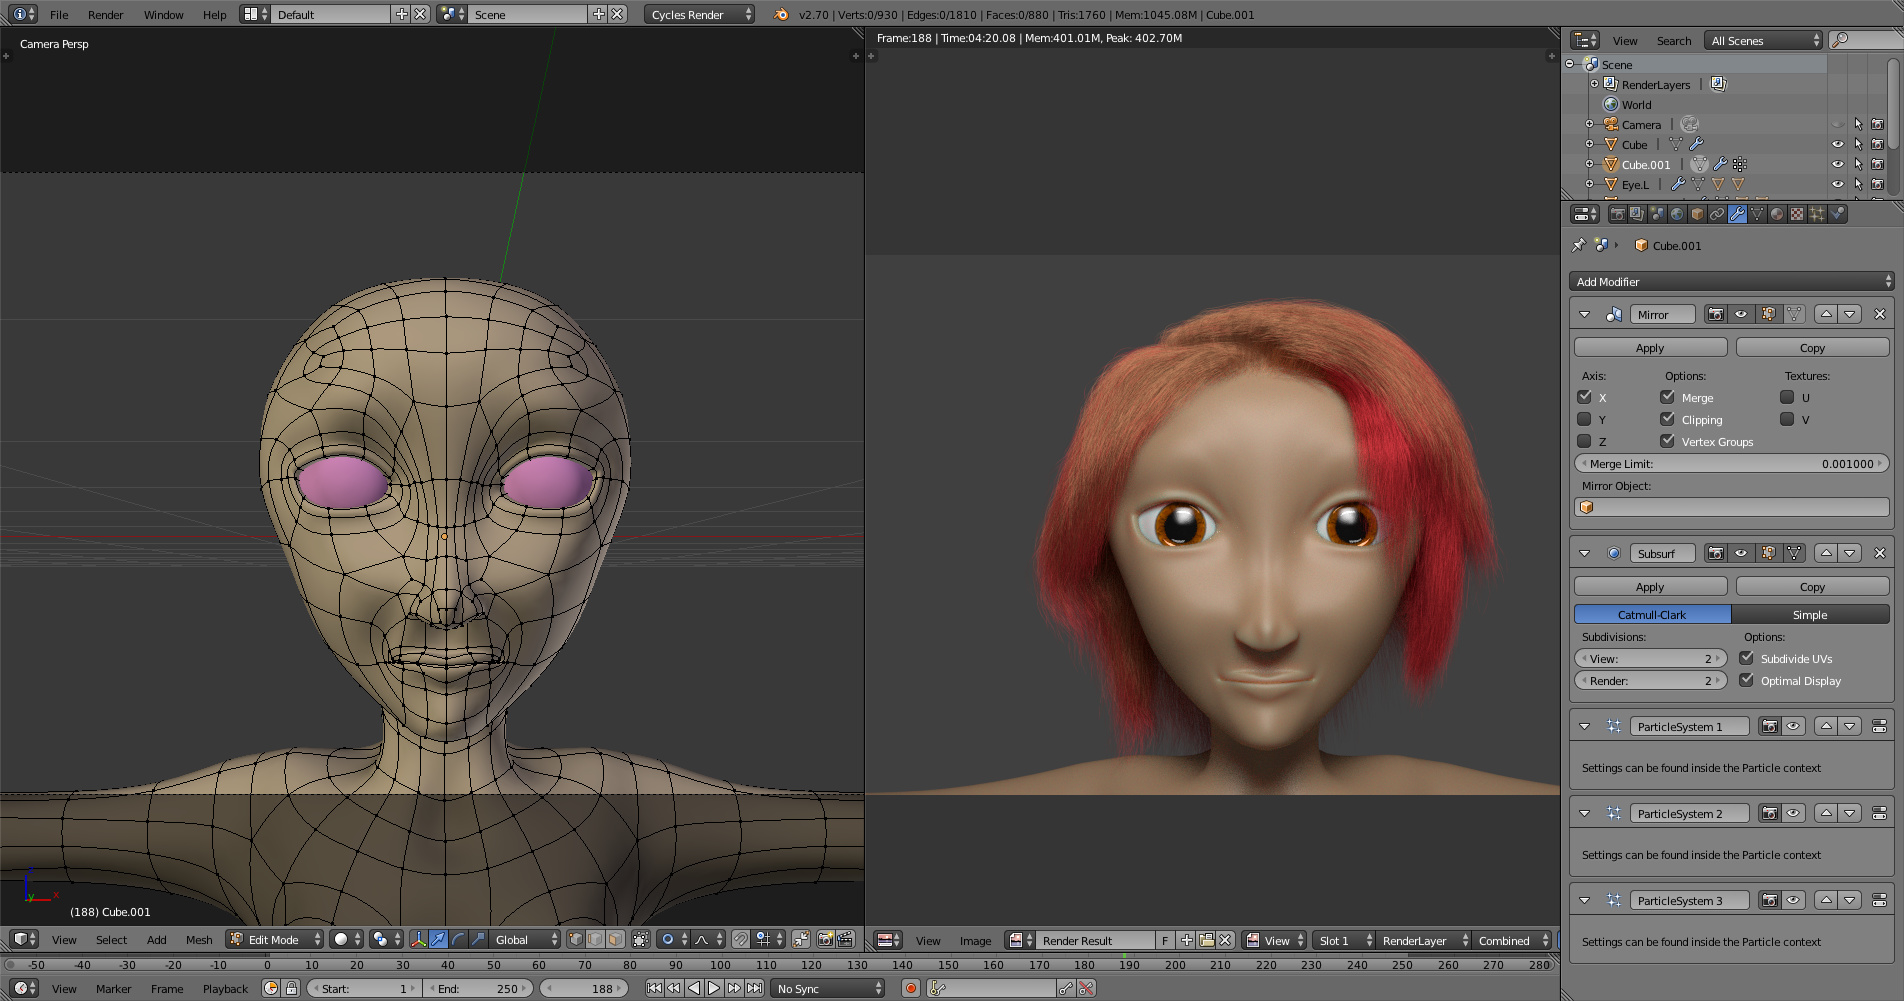
For the head I’ve made some changes to the shape, repositioned and altered the size of the eyes a bit. I find it easier for me If I work on the hair when I make changes to the head so that I can get an idea on what my character will look like overall. I am fully aware that as I continue with the model it will screw up the hair but I like that because I can approach the hair differently each time until I’m happy with the result. I render each look and save it just in case I would like to reference it later should I be happy with a specific look.
Was finally able to give my model a basic hand thanks to jonathan williamson’s outdated/ discontinued tutorial (as stated by cgcookie). Hands have always given me trouble. still gotta fix up a bit of the hand topology but it’s coming along. It’s not supposed to be 100% realistic but I’d still like to get a tad bit more detail in the hand. I’ll probably invest in a citizenship this week. So far this is the farthest I’ve come along with a human character so we’ll see how it goes from here.
The temporary material I’m using is just a basic sss/glossy shader, no actual texturing is applied so far.
If you see any problems with the mesh please do not hesitate to point them out.
some things I would consider doing to it: lower the knees…make the head taller from the brows up, and decrease the overall size of the head…thicken the thighs, and move the eyes inward toward each other a bit.
I adjusted the knees a bit along with the head. Thinking the arms need to be slightly thicker though. As for the face itself I adjusted the area just below the eye which I felt was a bit sharp in the previous renders. Also repositioned the eyes slightly and smoothed out some portions of the nose.
Also in the previous render the red was set s little to high on the color ramp for the main hair emissions so I toned it down to make the emission that was all red hair more prominent.
Once everything’s set I’m going to uv unwrap it and prepare a material mask for when I add in the eyebrows.