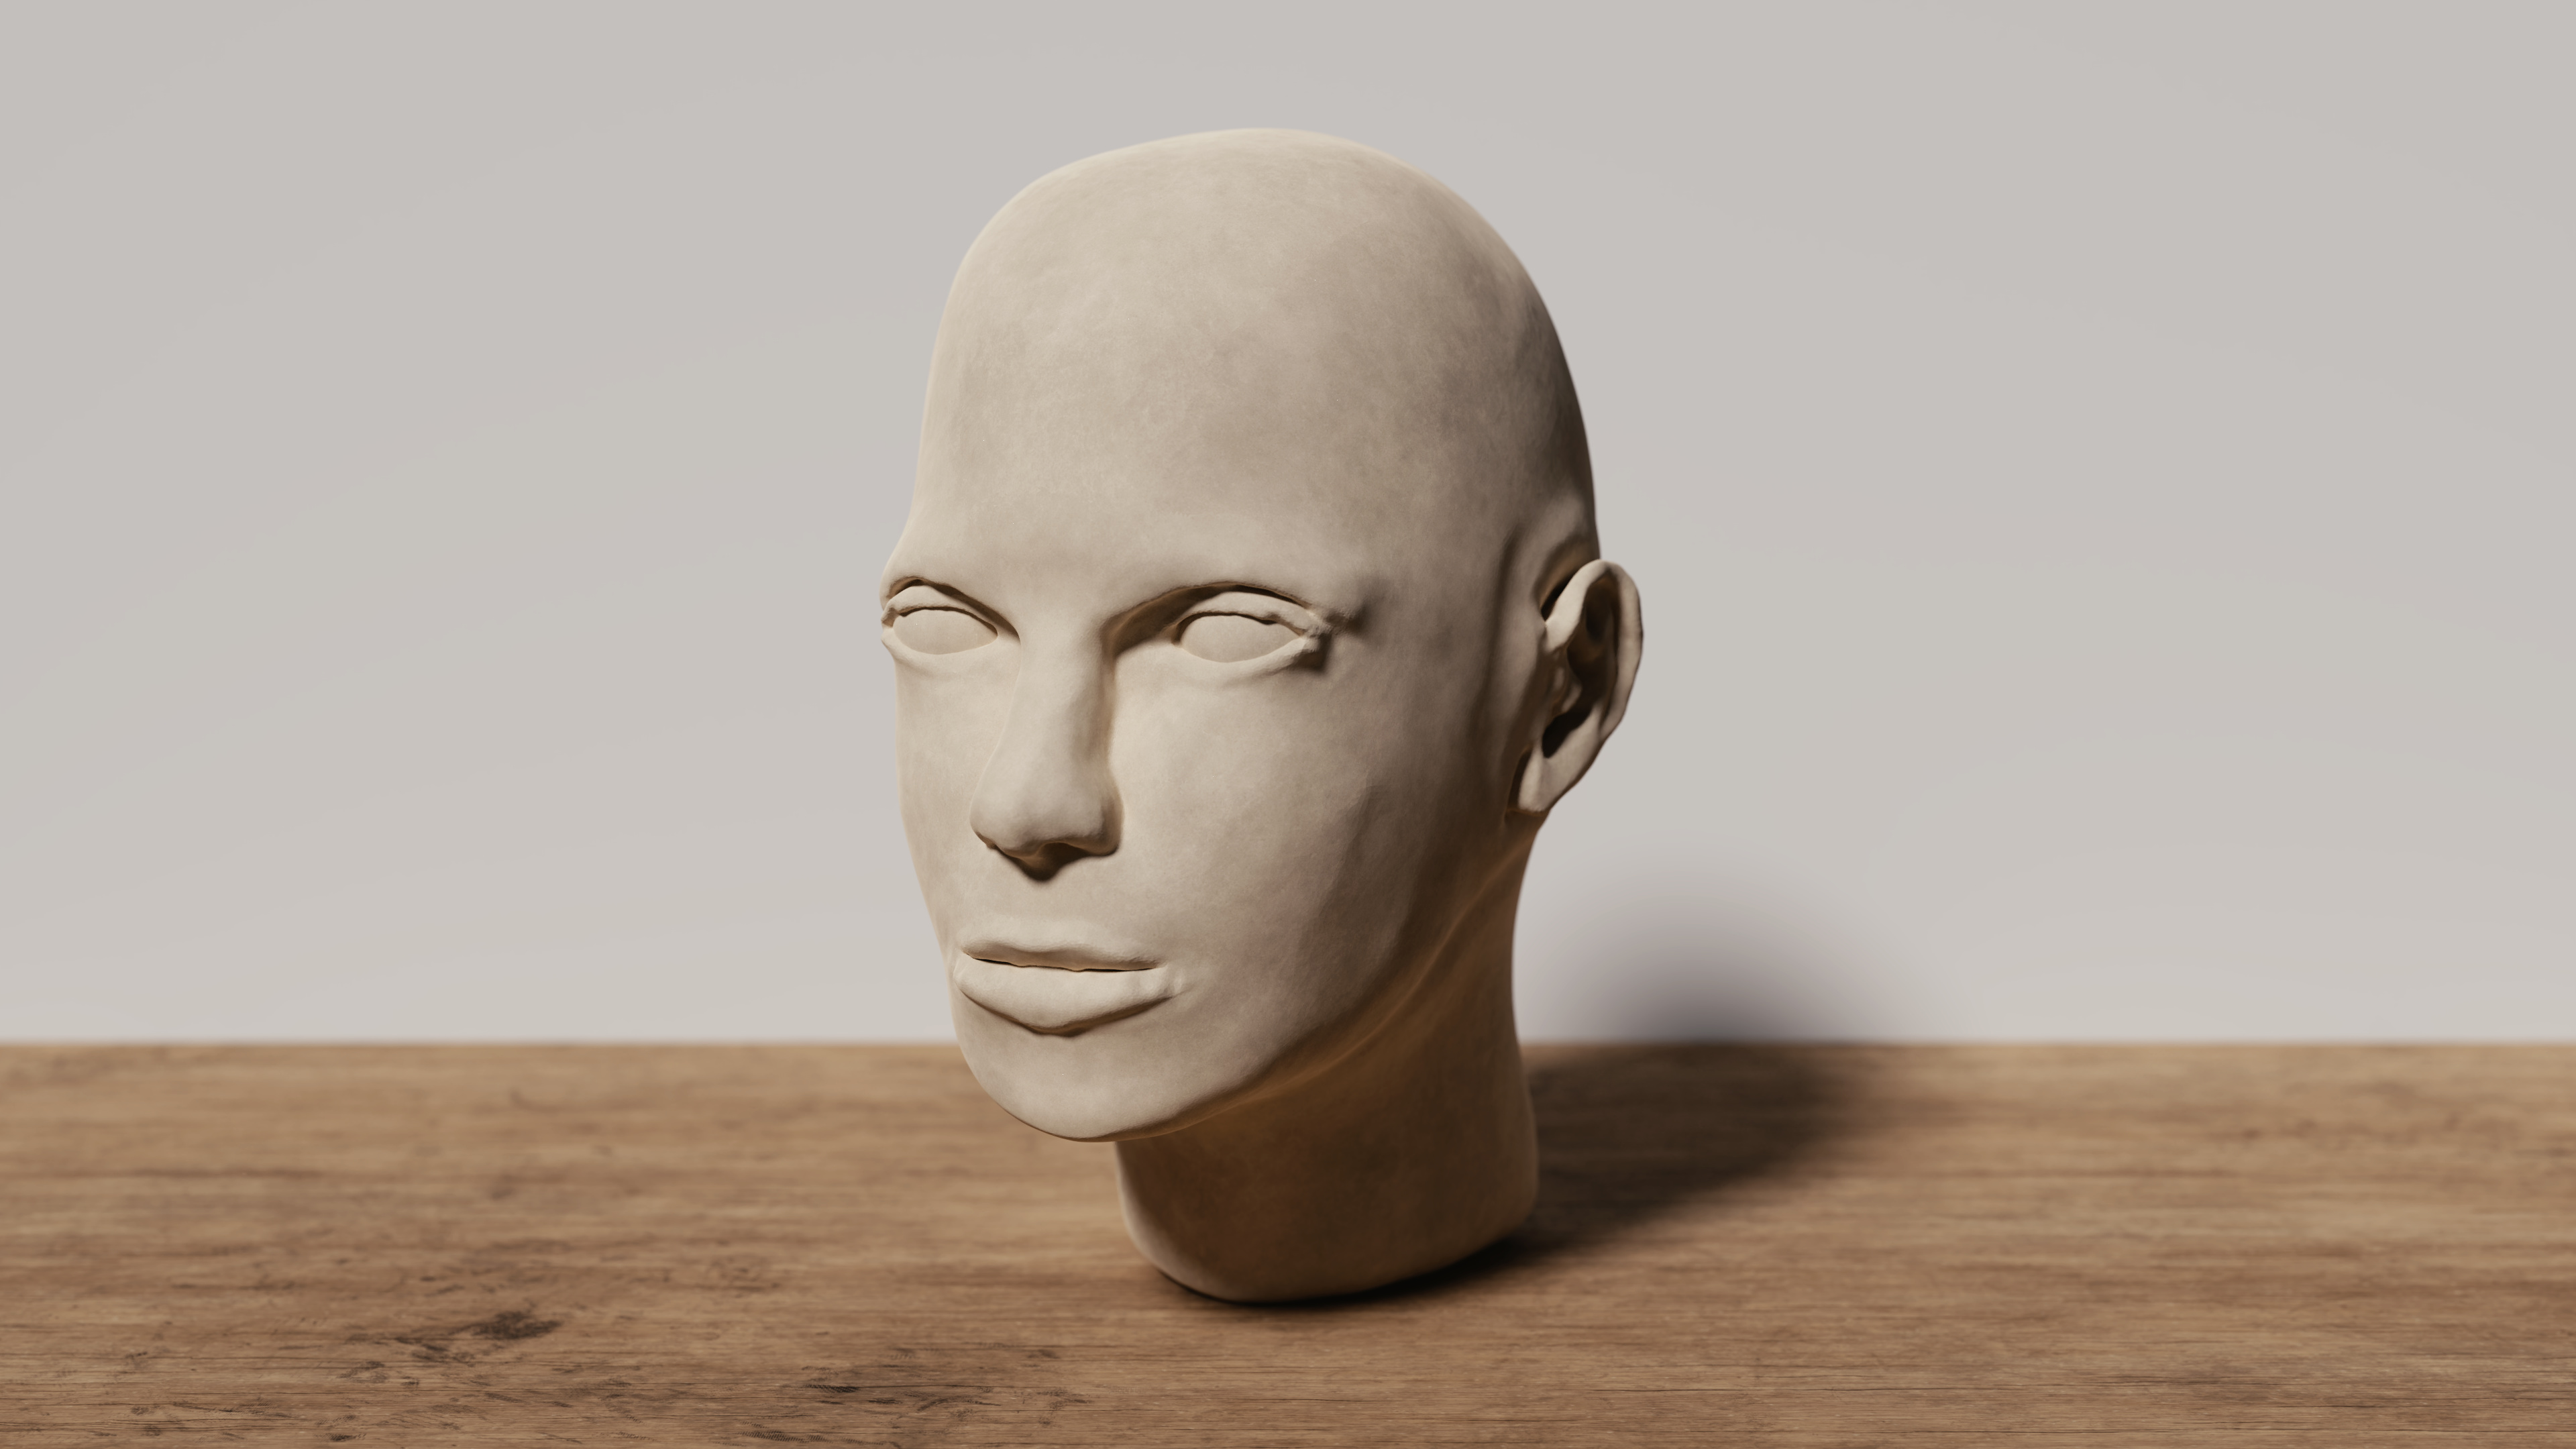
I would like to have some critique/ advice for my sculpting skills. I am doing modeling/sculpting as a hobby during my Master’s thesis. This is my second try for a human head, but the first try with reference images (front and side view).
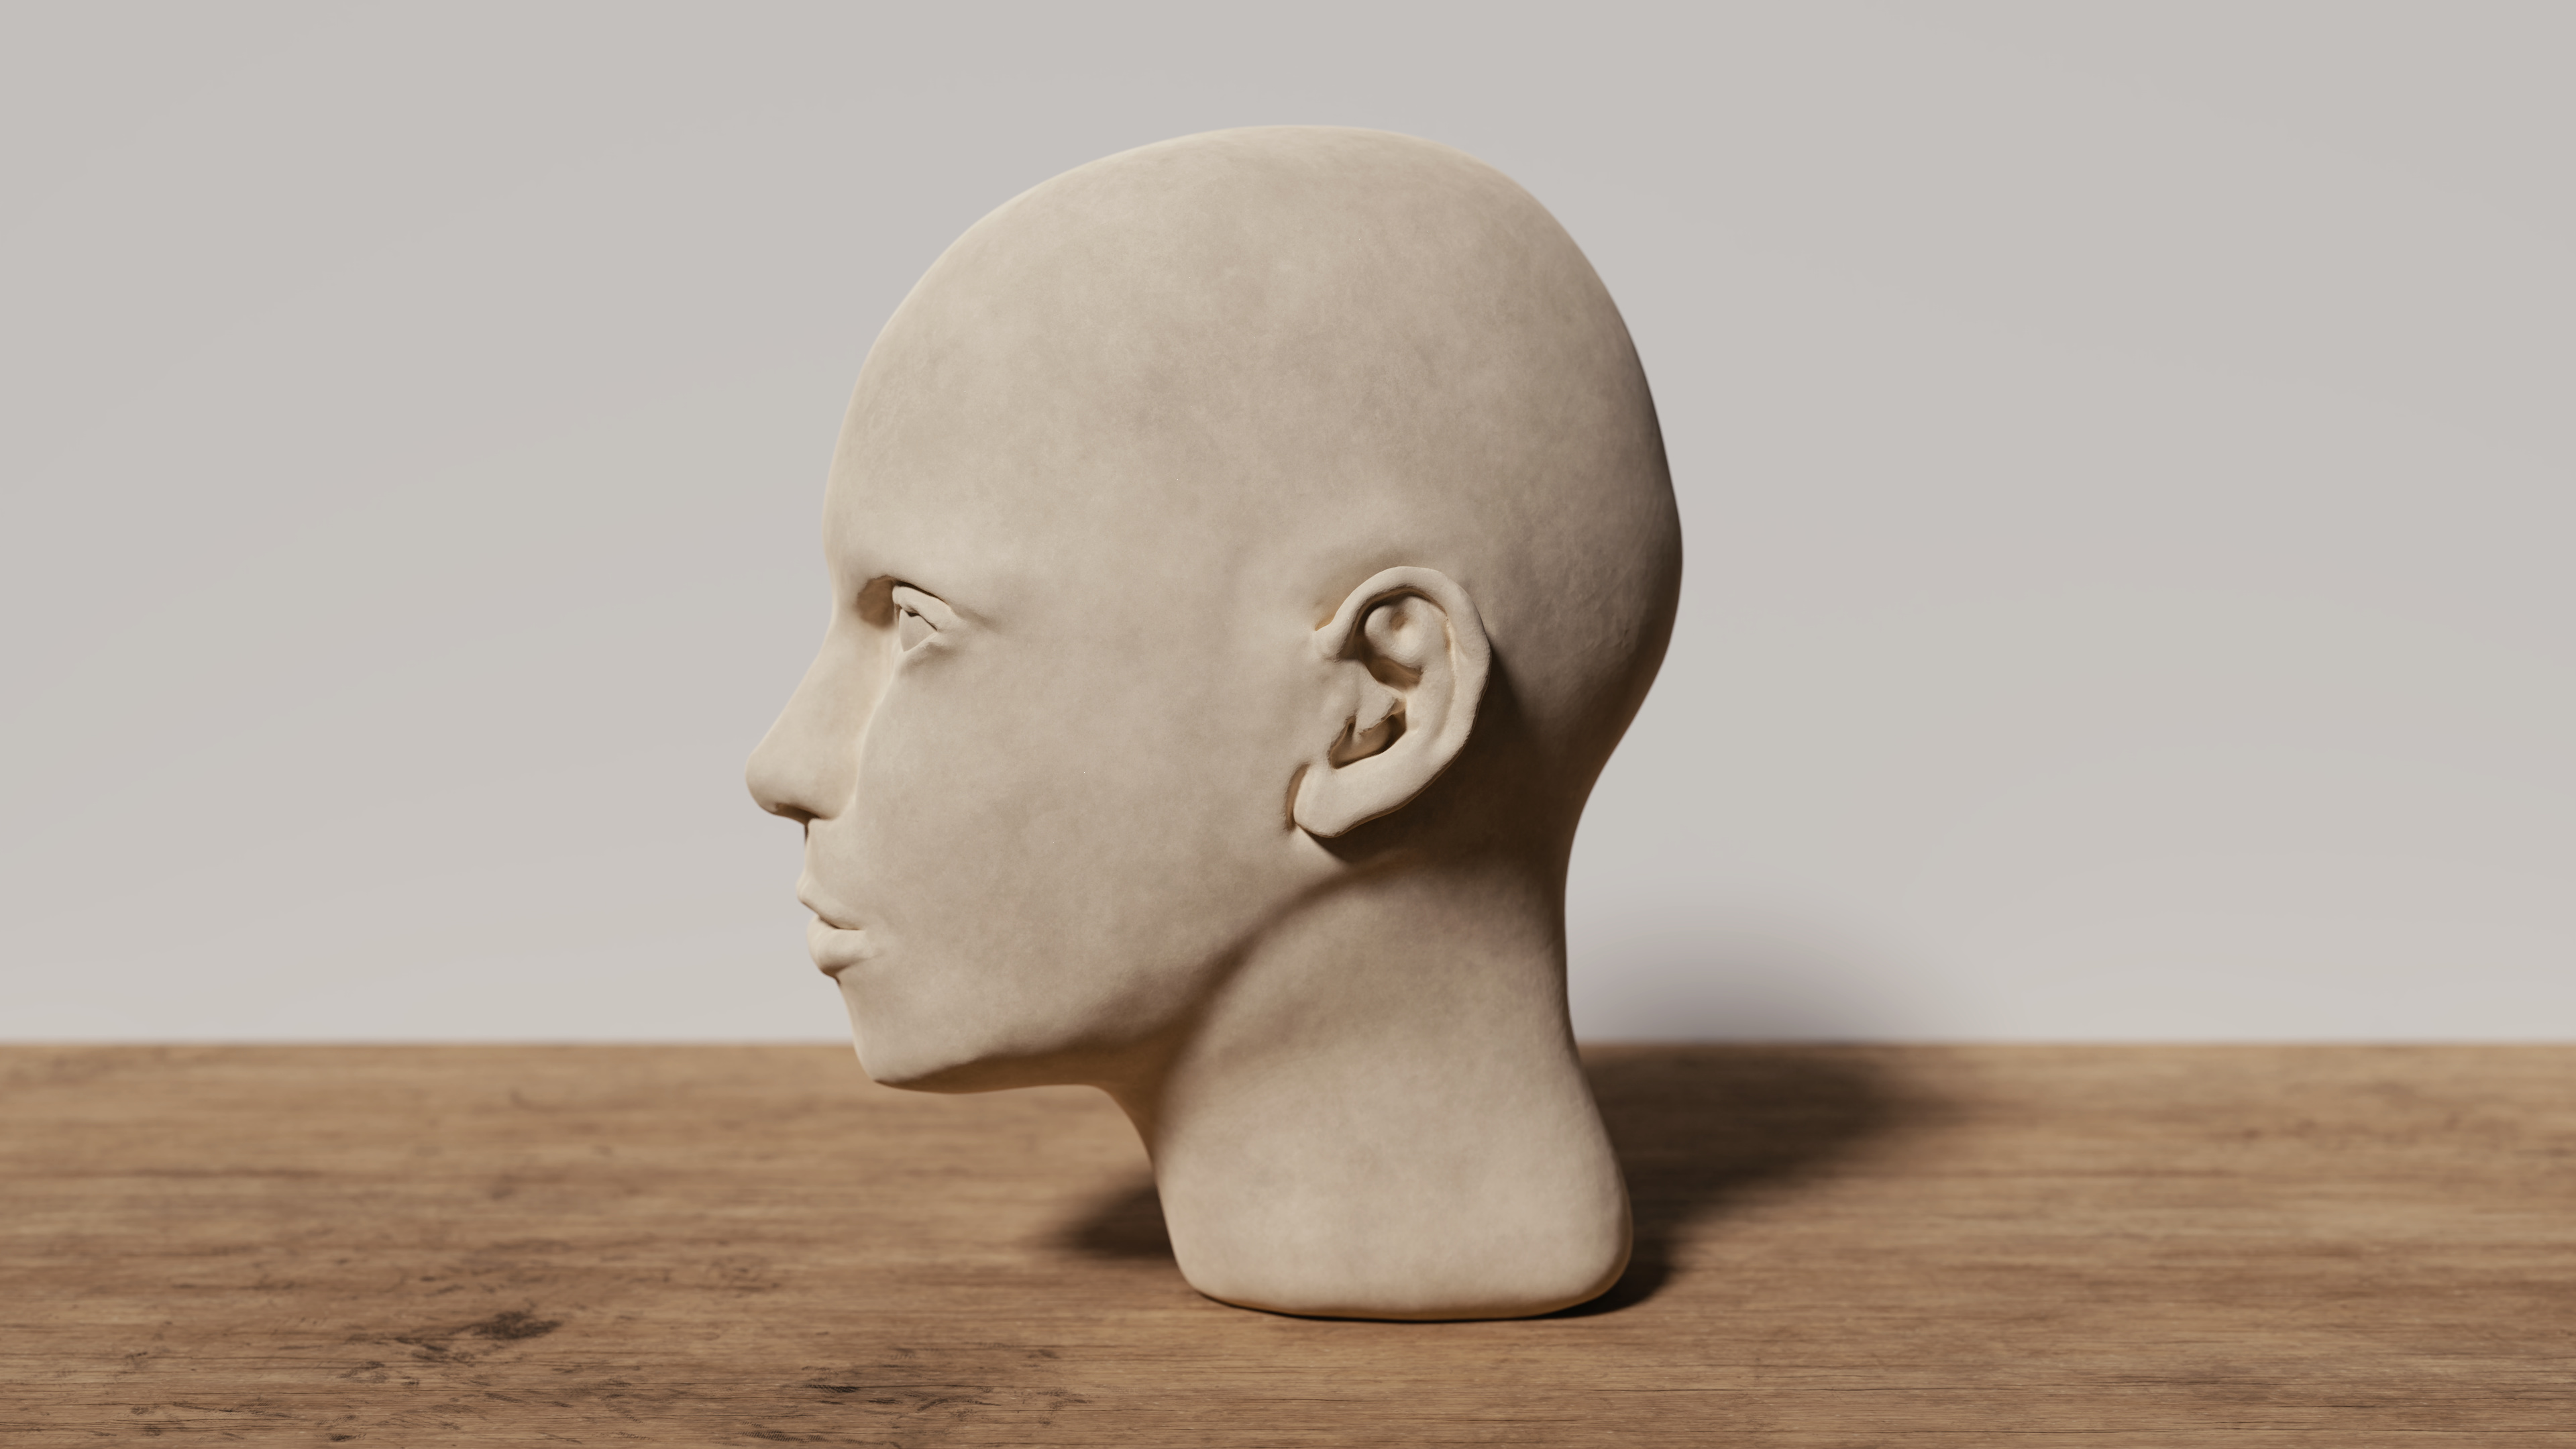
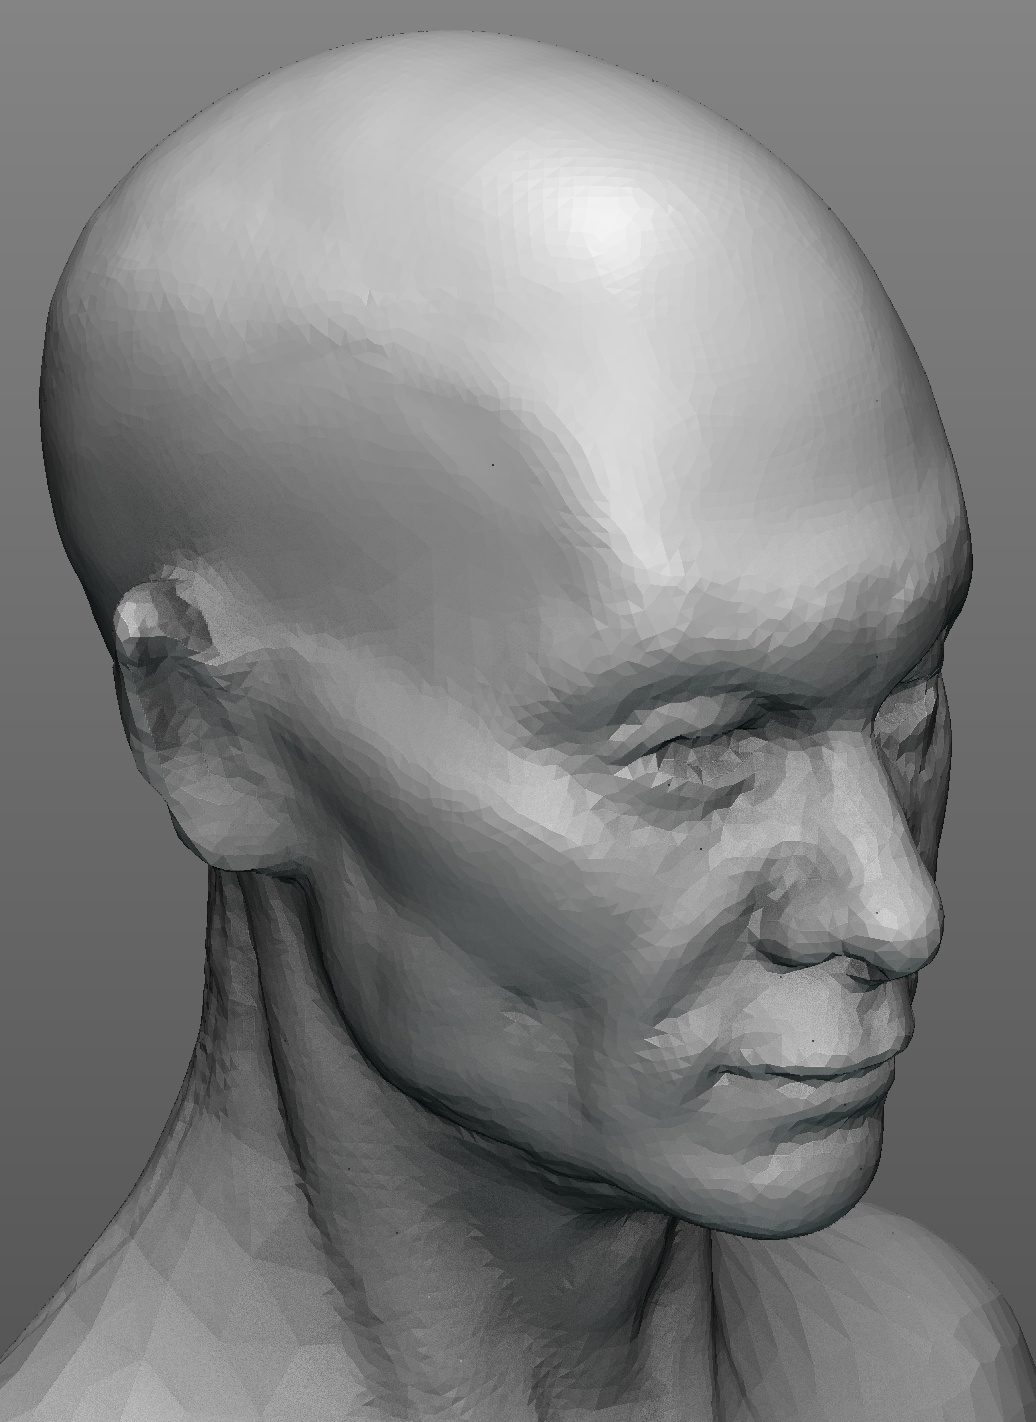
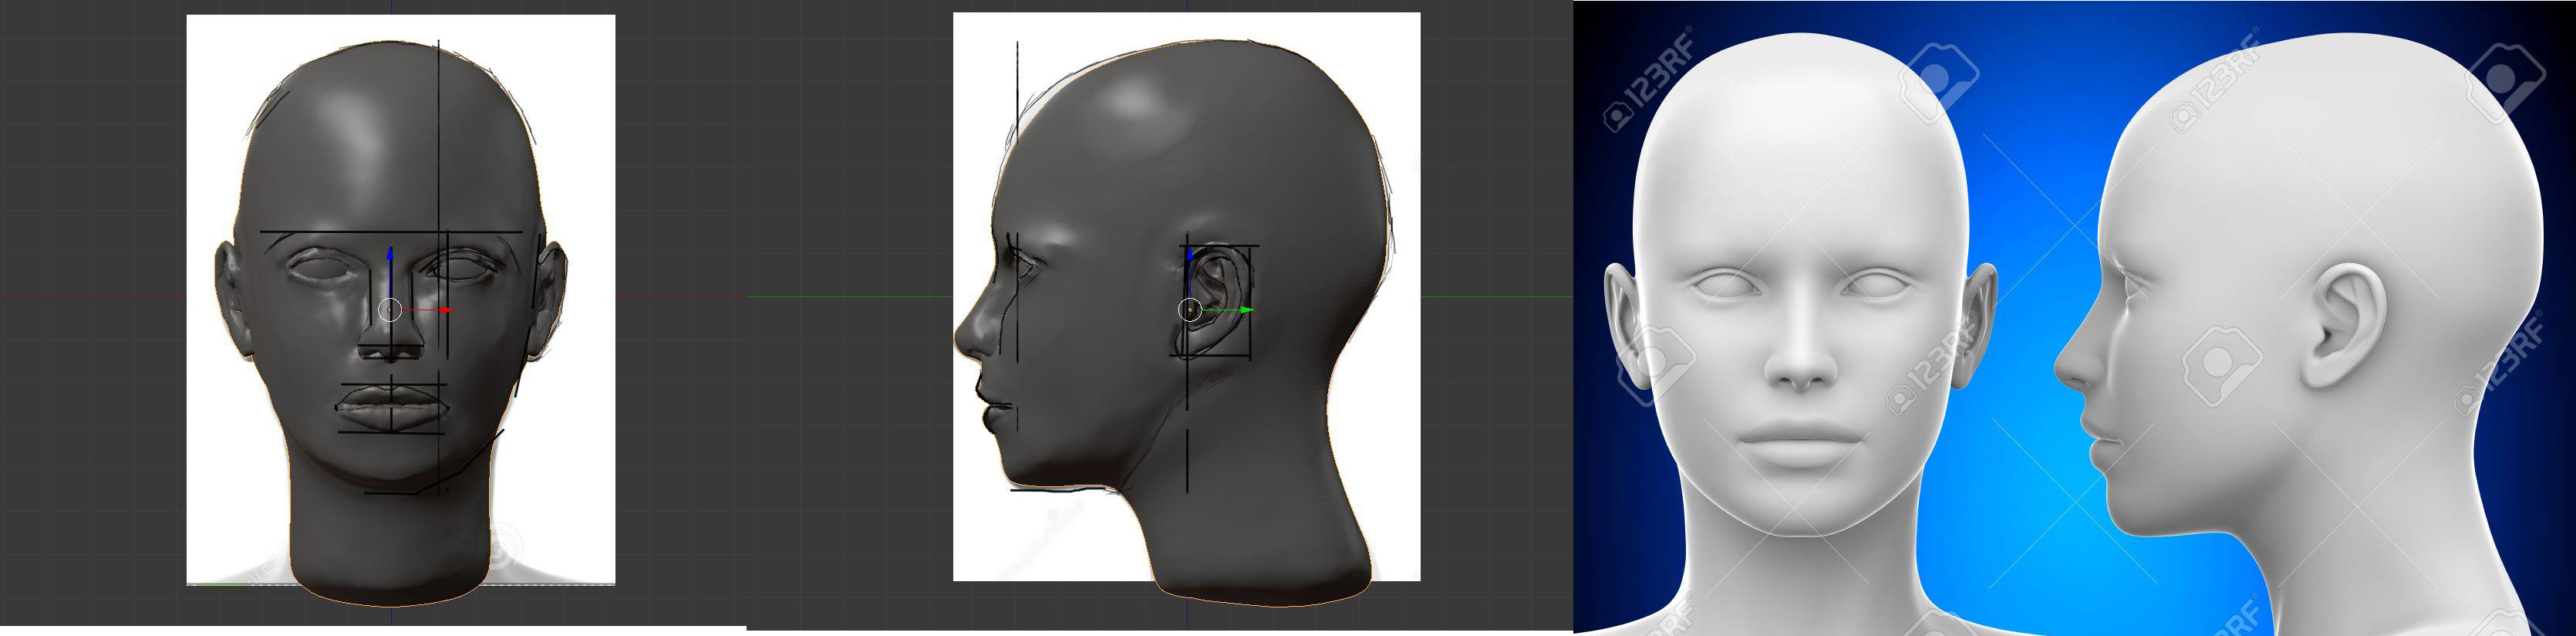
My sculpt has obvious problems, since it was mostly a “I try to get familiar with Blender’s dyntopo” 4h job, e.g. the eyes and lips. But there is one thing which is strange. The head looks okay from side and front view, but not from a 3/4 front view (last image) in my opinion. The general head shape or the chin does not seem to look right in this perspective.
Do you have any idea what went wrong?
Also, I would appreciate general feedback or tips
Well, the eye lids are protruding off the side of his head, that’s the main problem I notice. And of course, the lips and chin aren’t right. But for your second try at a human head this isn’t bad! You’ve done a better job then I did when I started out.
Just look at some reference of the human head in different perspectives online and tweak your sculpt until things start looking right.
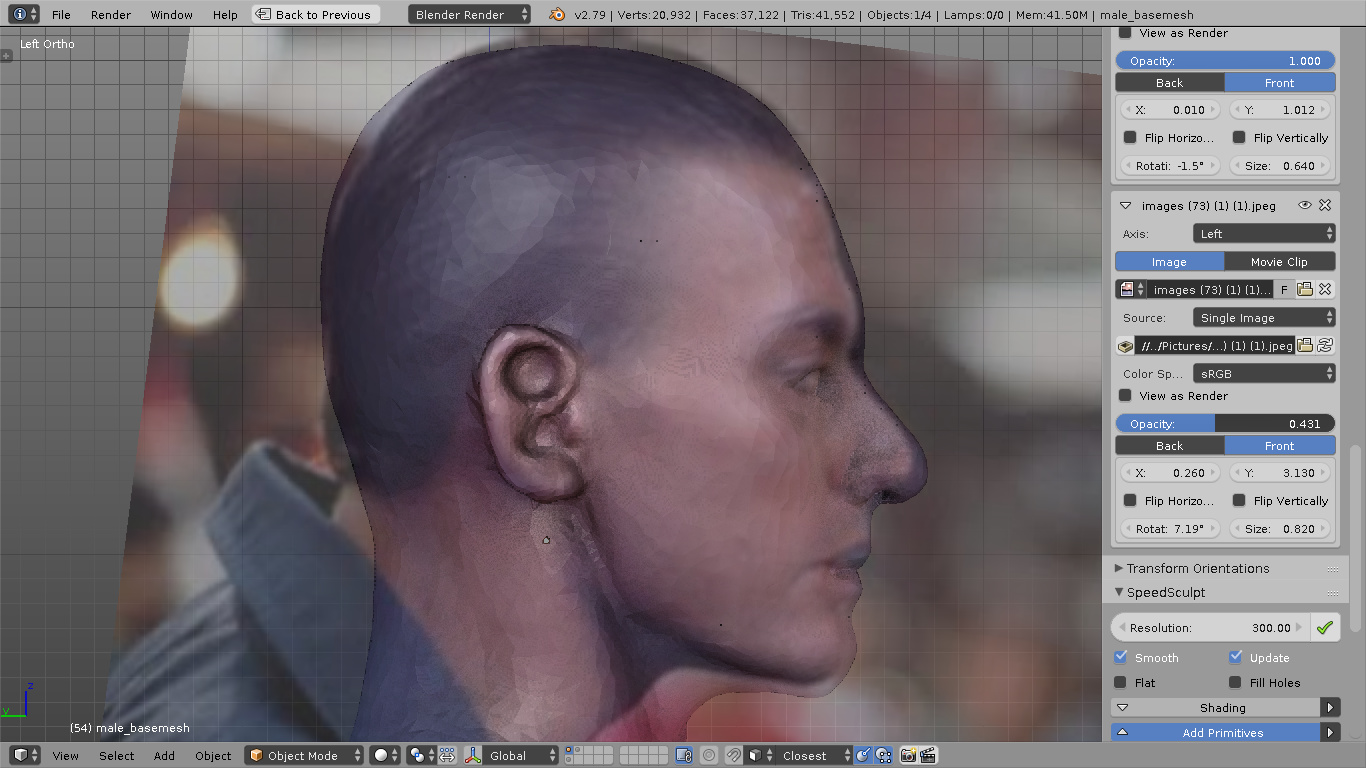
Press the N key and look for “background image” option on the right side panel. Set the viewport to orthographic (press 5 to toggle) so you can see your background images.
You can change the opacity of your reference image to superimpose it with your sculpt. Change the size and position the image accordingly.
Looking at your sculpt close up I notice that the head lacks discernible planes, or maybe your lighting setup doesn’t compliment the planes of your head sculpt.
Try to establish more noticeable planes and face muscles shape.
@ArtAvenue I may will start over again because there are too much details on the head ruining the performance of Blender I am still learning how to use dyntopo. My first sculpt was done with the zBrush trial. My workflow was different with that tool, for the most part I used the grab brush and fixed the typology afterwards with ZRemesher. But that workflow does not really work with Blender But again thank you for your answer!!
I actually did that. I found a drawing of a head online.
I used dyntopo with a (big) Snake Hook to get a sphere into the shape of the drawing. Afterwards I basically drew some lines with the grease pencil to mark important areas, e.g. the ears. From time to time I hid the mesh to get a look at the reference images (sculpting in wireframe is not the great).
As you may see, the lines are not one hundred percent accurate, but I also moved the head yesterday for rendering
But I guess, I may switch to an actual person for a reference image instead of a drawing. And of course, this is a longer learning process Again, thank you for your answers!