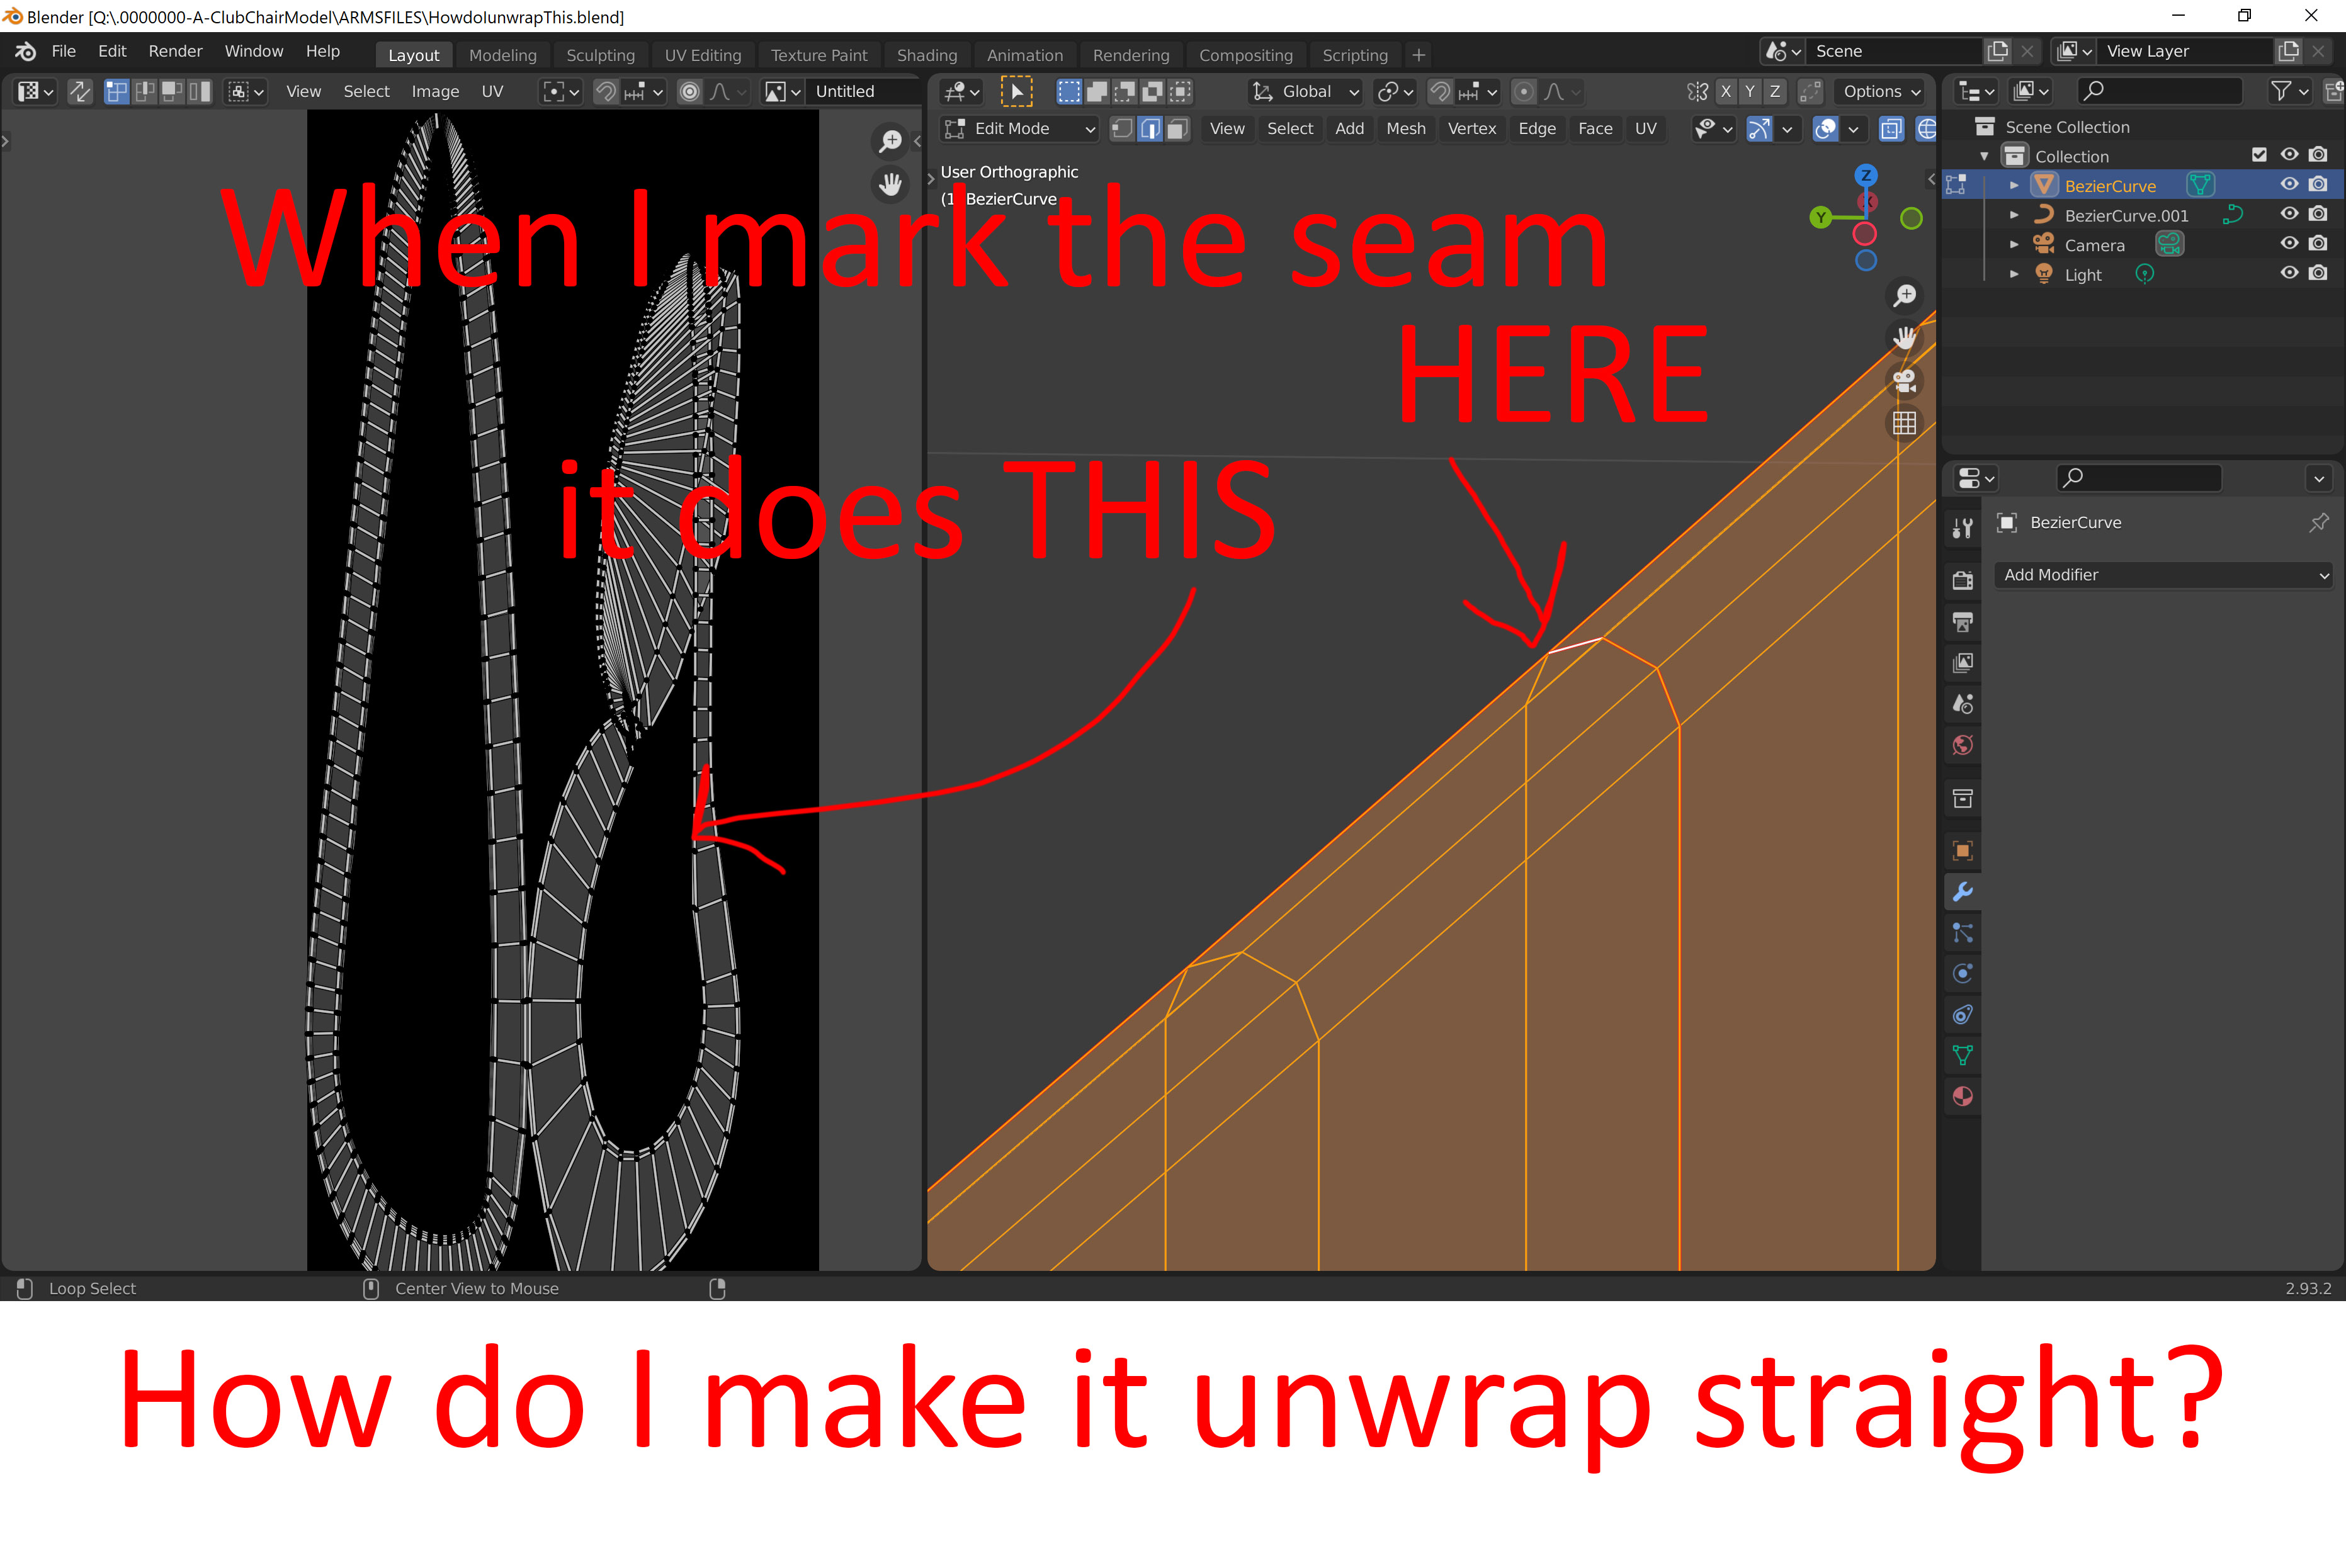
I am at a loss on how to unwrap this object. I do not understand how to tell the program what I want it to do. I want it to unwrap the front side of this and also the top part. So as shown below I can make it unwrap if I only select the front faces. But it leaves the top bare as shown below.
How do I make it unwrap straight and how do I make it unwrap the front side.
I used follow quads and it unwrapped it just right if only I wanted the upholstery tacks on the INSIDE and I don’t I want them on the outside. I am at a loss as how I am to unwrap this object POSTARMincurveFormONly.blend (918.7 KB)
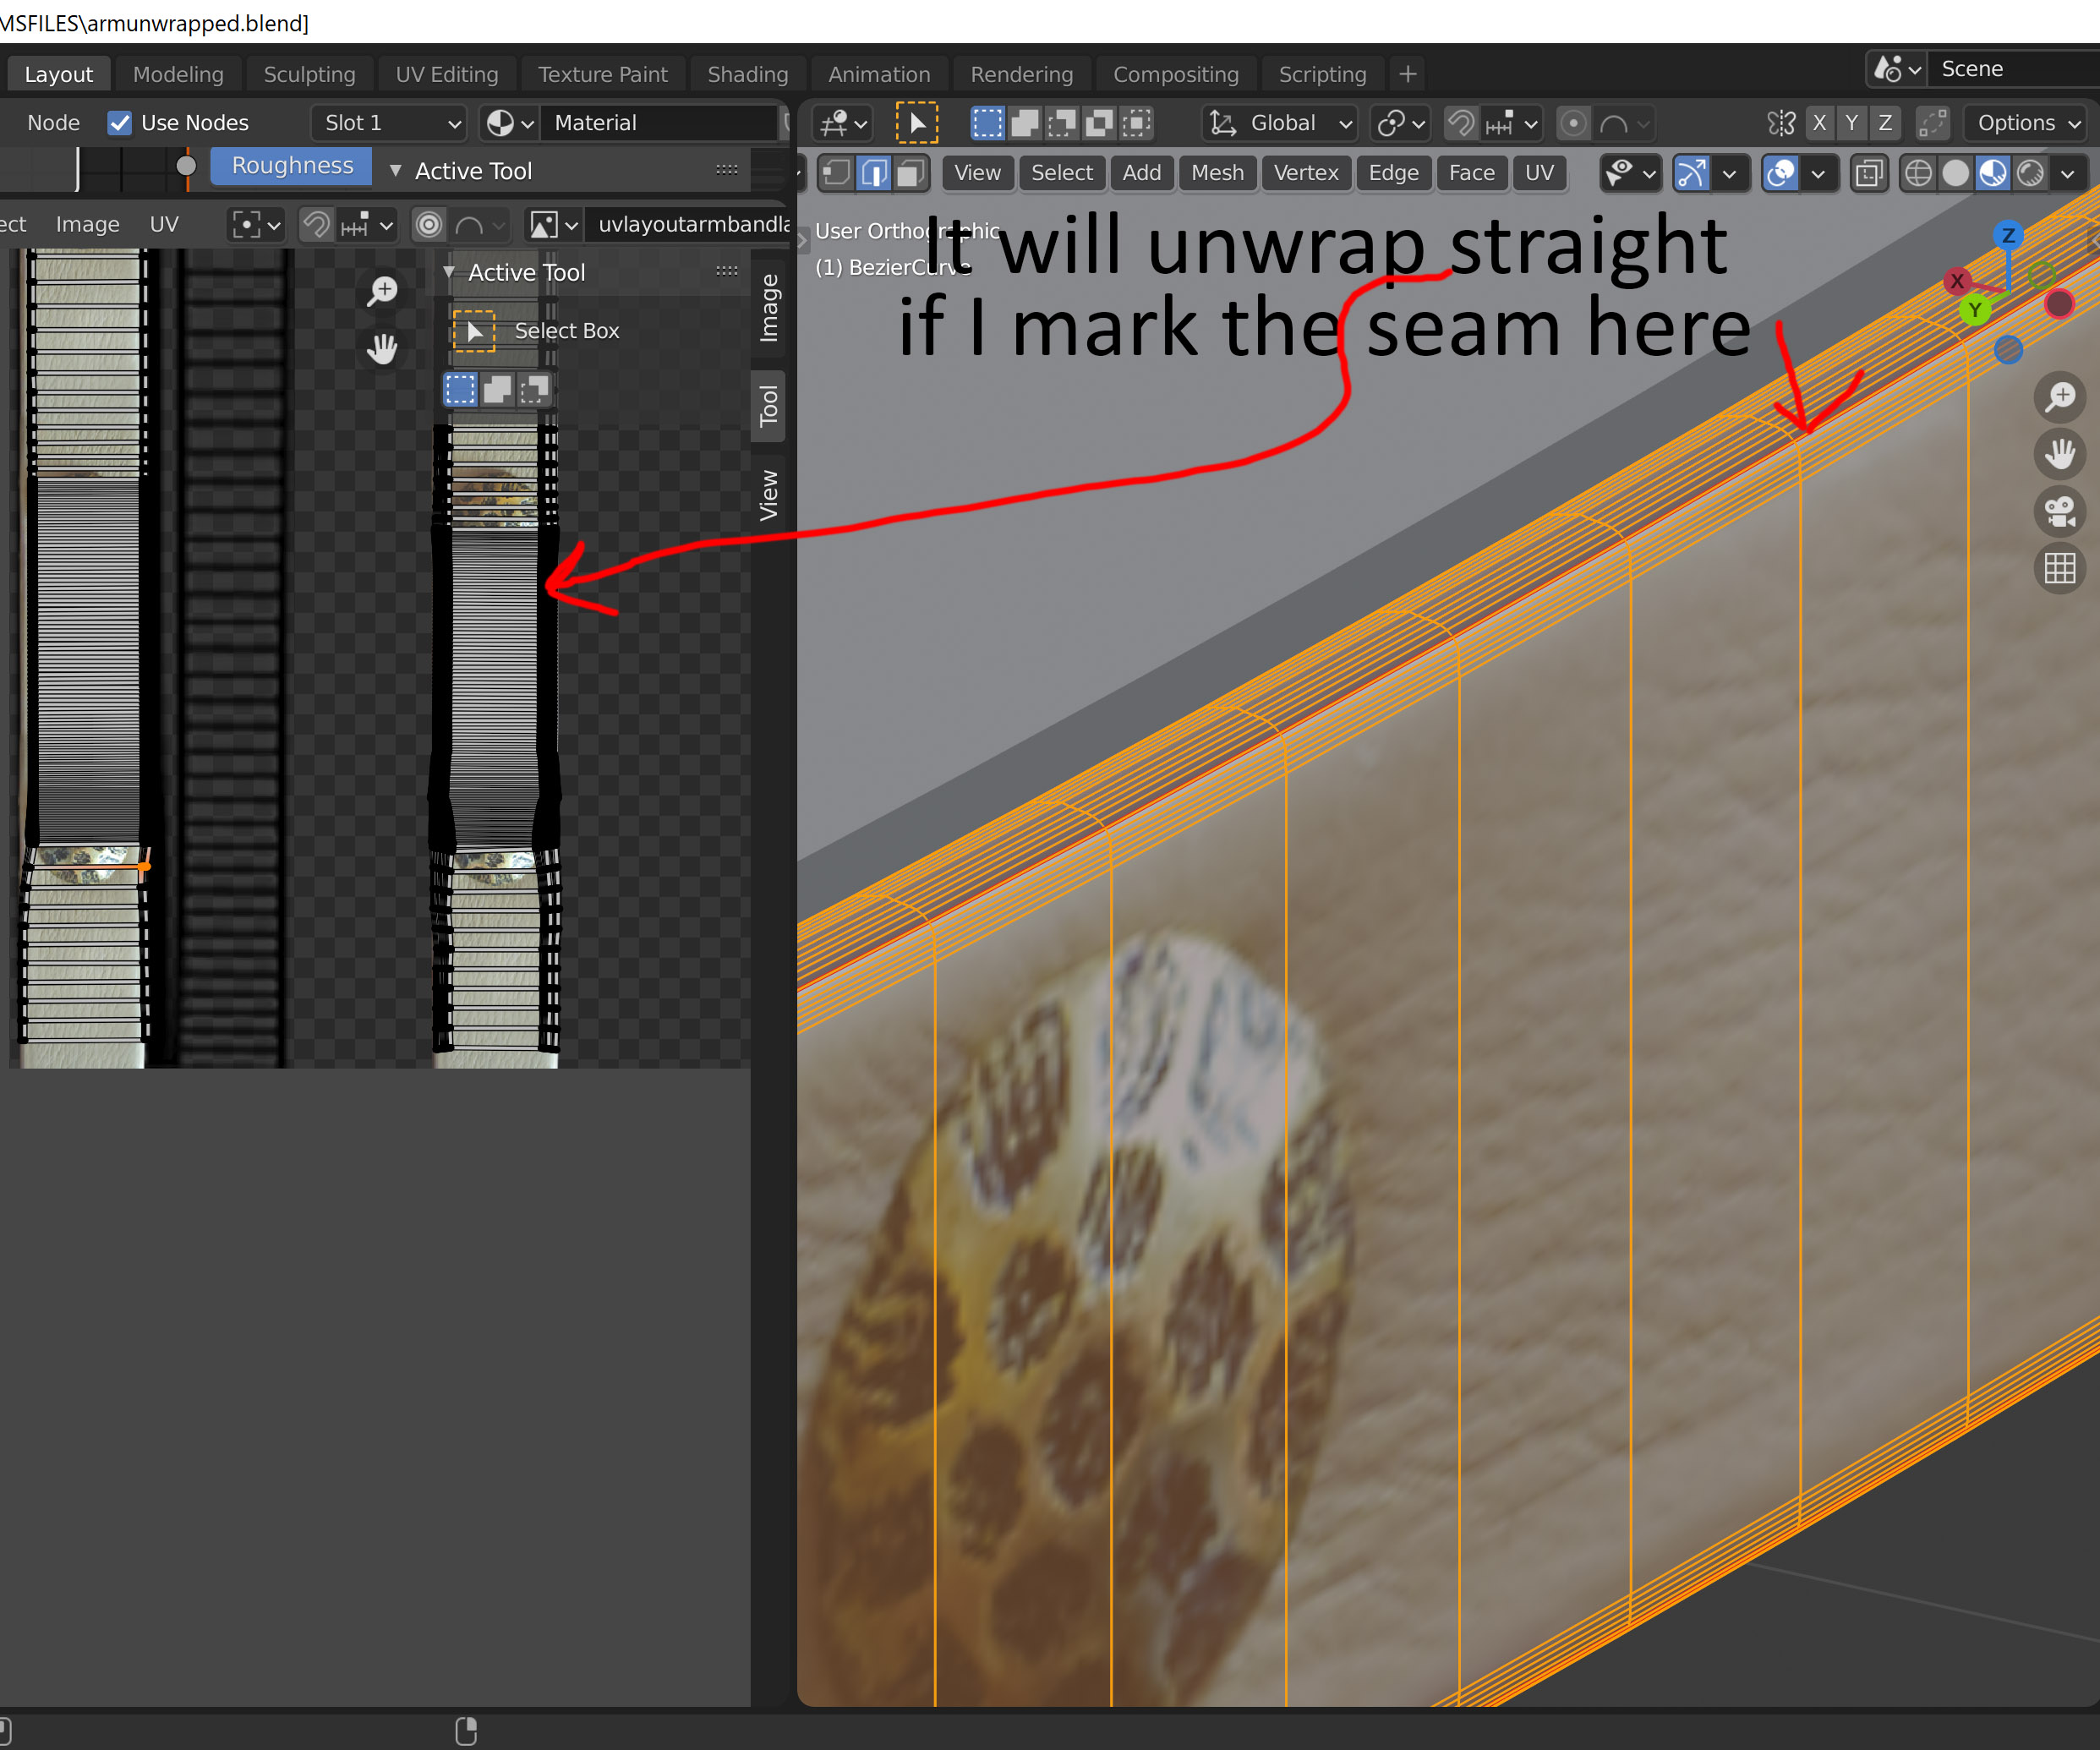
This is the curve before I made it into a mesh. So when I used follow quads it made the front part VERY TINY and unwrapped the backside right. So every part I wanted unwrapped chose to go into a bunch of tiny backward placed squares. But the back side was an usable unwrap. SO I did something wrong with follow quads. How do I unwrap the top and front only and make it unwrap straight ?
Your 2nd seam, perpendicular to the 1st, just needs to go all the way around the loop.
You can add additional lengthwise seams to isolate the top & bottom sections.
Also this technique works as well. Thank you Reg_Nulify I have to do a project outside before dark then I can really look close at these. Greatly appreciated Reg_Nulify and Emre_Can_Ozcan !
I am going to have to watch and learn the basics. I do not understand how to unwrap and save a unwrap or adjust it. and I do not know how to separate unwraps and I do not know how to make it select what I want to select. So I have to rewatch videos until I get it.
I think your seams are… wrong ( but i have to admit i haven’t looked into the file)… but seams at the side and one on an “useen” part… follow quads and some adjustments:
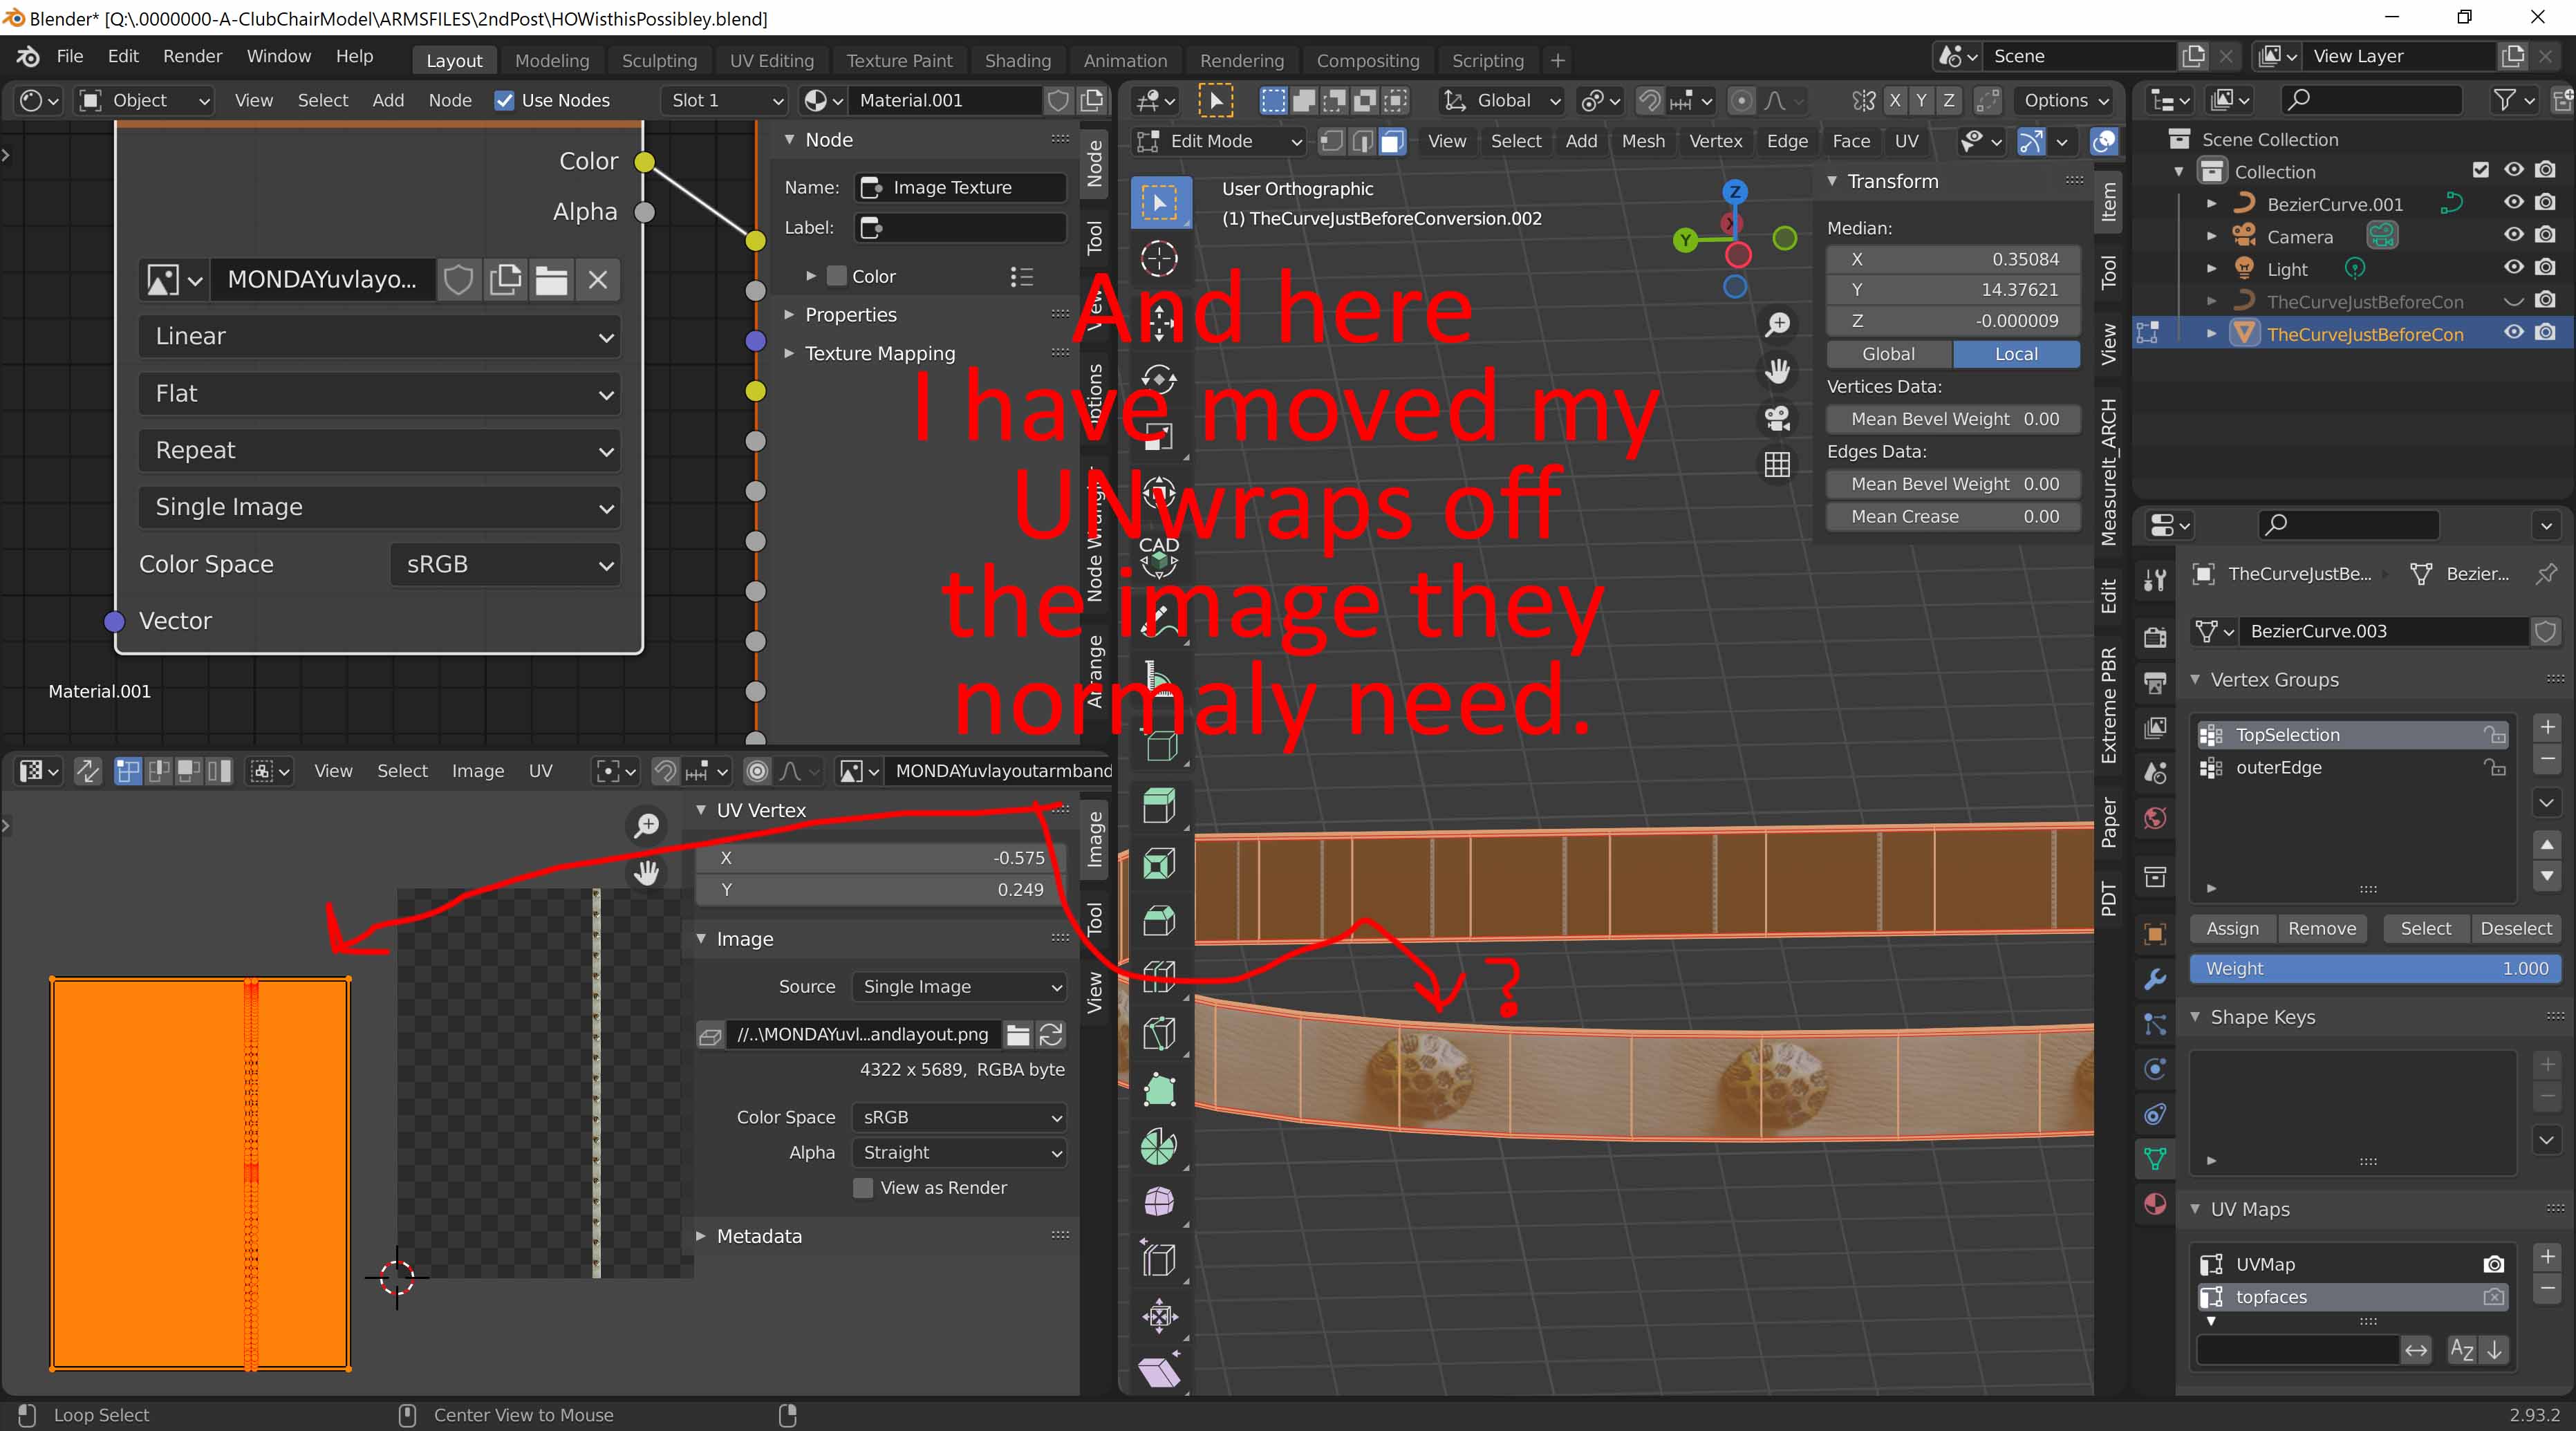
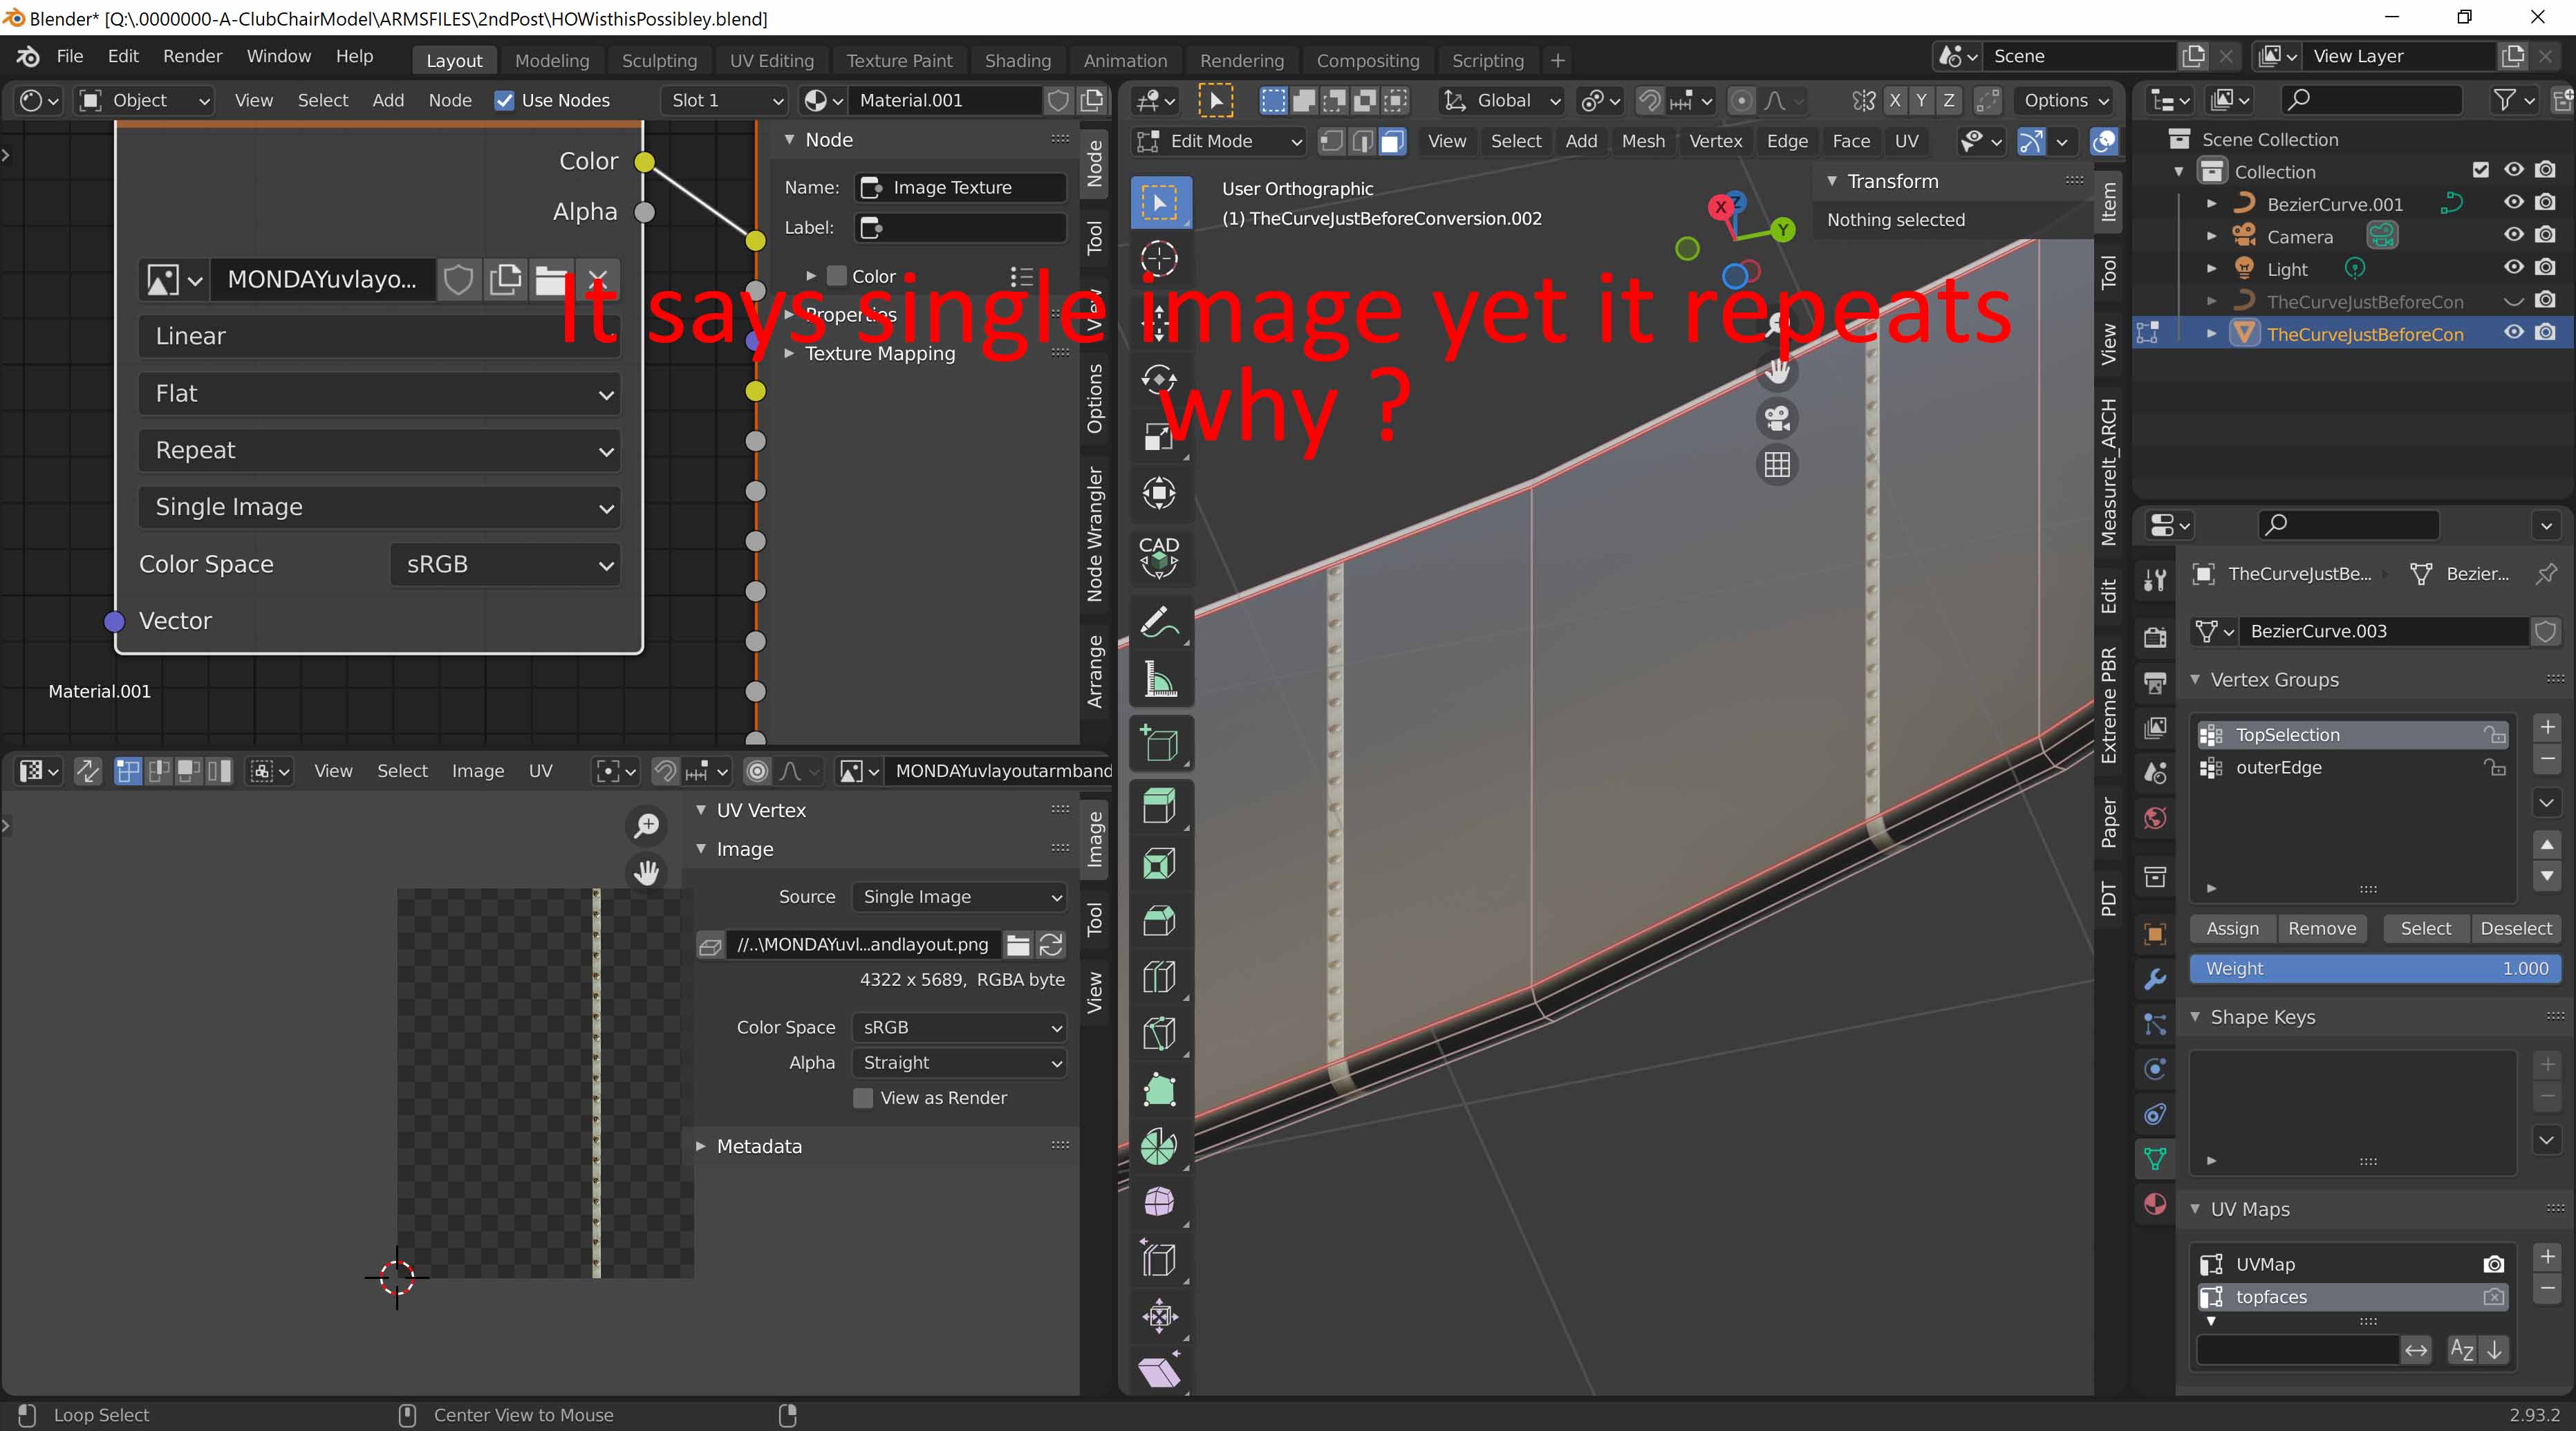
If I PIN a unwrap - then I can unwrap again. Each unwrap is like a saved selection in some way. each unwrap is scaled OR not depending if I used the follow quads. When I used follow quads to unwrap it was 40 times bigger. Each unwrap is like a saved selection. each face has a front and a back and a up and a down and a right and left. Blender is keeping track someplace.
So I am still struggling with UVs Things are going on behind the “scene” that I can not put my finger on.
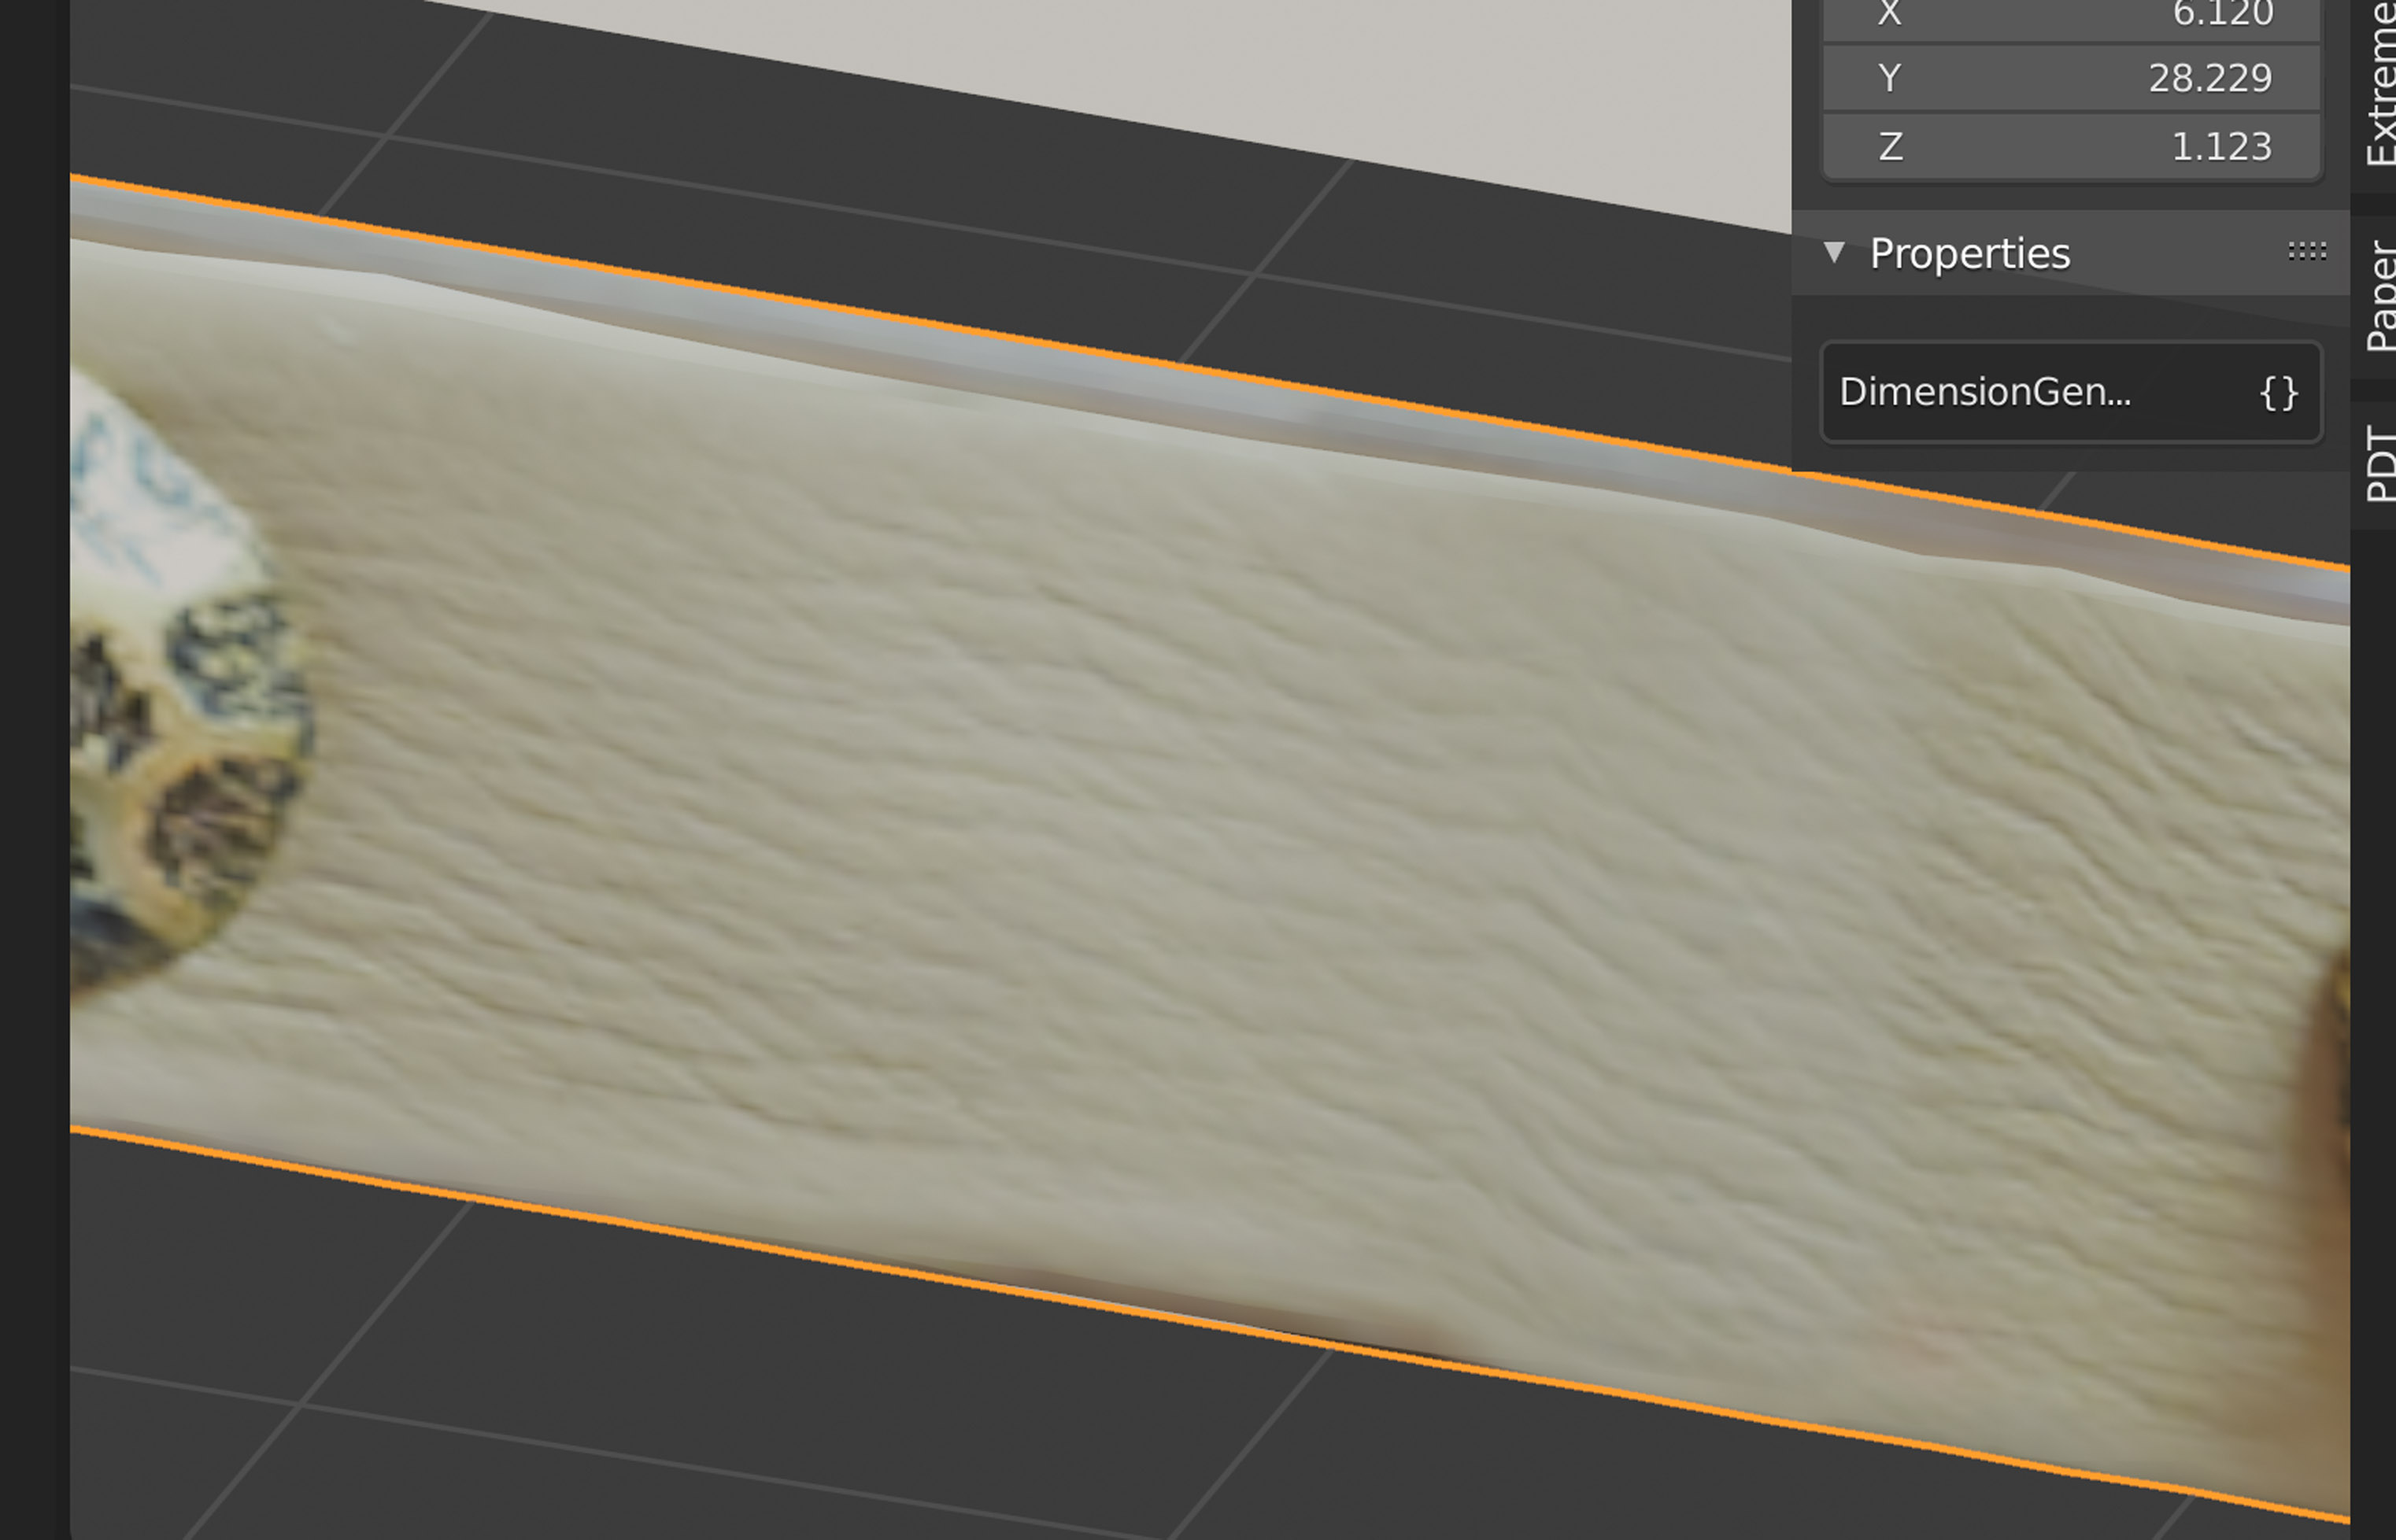
My unwraps are disjointed from the images I wish to attach them to. This object is VERY hard to look at an manipulate because I need to change the point around which it rotates - its a long object.
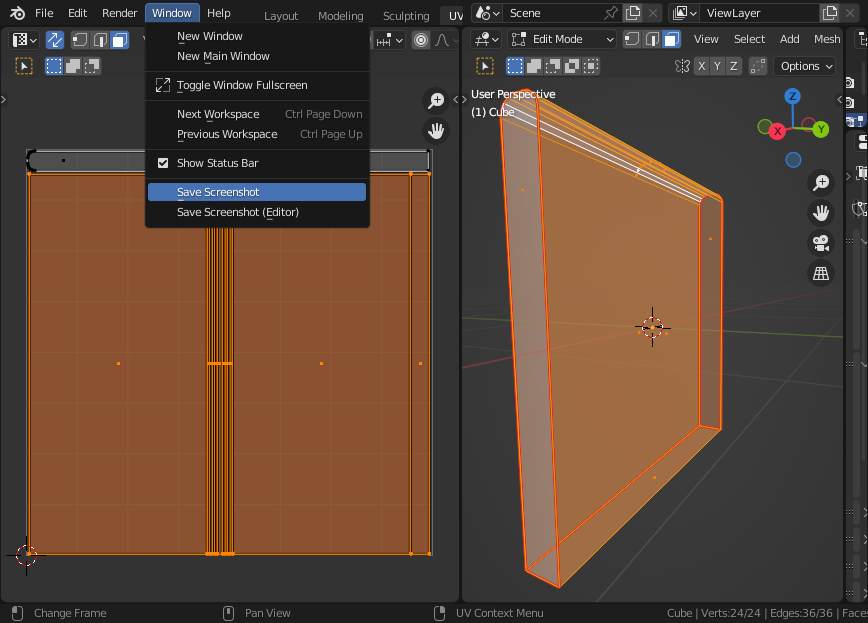
For rectangular things, the “project from view” option can be good, but only select the faces that are facing you in the view. Repeat with side/top/ etc.