I created an asset with a morph target in Blender. I was practicing exporting my assets to FBX and importing them into Unreal Engine as Skeletal Meshes. However, I found that when my Skeletal Mesh’s Morph Target animation was running, the mesh’s shading was different than expected. When my skeletal mesh changes by its morph target, it looks like the shading of basic shape is baked. I googled for days and tried numerous combinations of output/input options, but in the end failed to solve the shading problem.
How can I make the shading of the Skeletal Mesh change by the MorphTarget look like Blender?
So on the left you have flat shading and it doesn’t work correctly and on the right smooth shading but you don’t want that…? …and in blender flat ans smooth looks the same ???
Anyway: Do you have by any chance normals with different directions?
I captured GIFs of manipulating morph targets from 0 to 1 in both applications. When the morph target is 0, the mesh is serrated. It is correct to cast a shadow through the irregularities. When the morph target is 1, the serrated form changes to a flat surface. There should be no shadows at this time. Blender doesn’t have shadows, but Unreal Engine flattens them with shadows. Why do morph targets in Unreal Engine have wrong shadows?
Hmm so if the serrated form is the basis shapekey and the flat is the morph… this looks like the normals from the serrated from are fixed and taken over to the flat form… ? Are there under Geometry Data any custom split normals ?? Maybe those are fixed then ???
Or are the normals exported additionally to the geometry and then the Unreal morphing goes haywire ?? (I do not use Unreal…)
That’s a reasonable guess.
But the state of my mesh is as follows.
Not Mark Sharp processed
No Edges Split modifier (only armature modifier)
Disable Auto Smooth
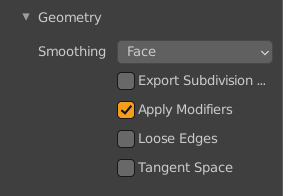
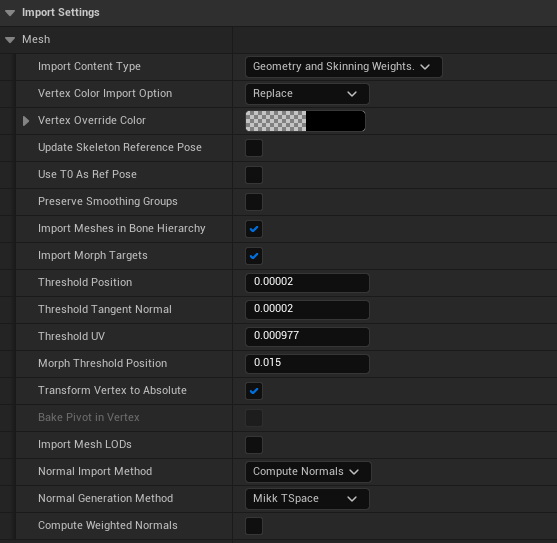
And I’ve tried many export / import combinations in the meantime, but the last option I tried is below. (I’ll mention it for other forum users with experience with Unreal Engine.)