Hi Matt W.
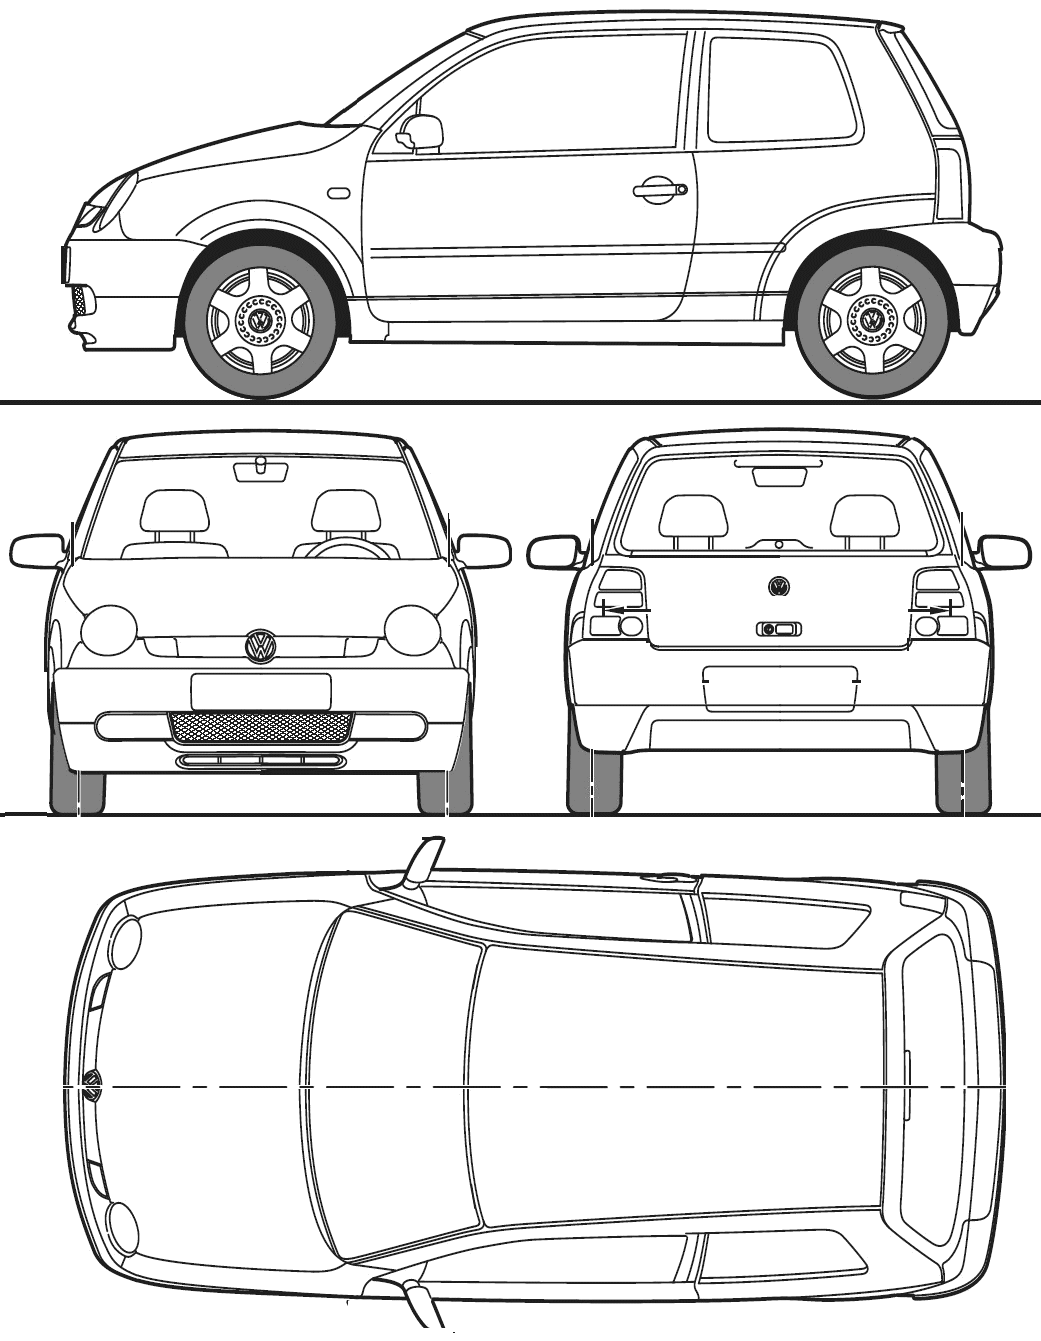
The “multiple viewports” is what you have shown in your screenshot… it is simply that you have split the screen into different views showing the starting cube from front / side / top etc. These views can depend on what you manage to source from the reference blueprints. The ones you are working from of the VW car are actually pretty good, although the top view should have the car facing downwards (this is easy to alter in programs like Gimp or Photoshop).
Lining up the background images to a consistent size and position (so that all the views line up to the same cube) can be tricky at first but there is a knack to it. Even when I make my original images exactly the same scale, unless they are fully square, I usually find that one of them seems to change size when introduced as a background image, so you need to know how to remedy this.
My workflow for this problem is normally…
- Resize / scale the original images so that I know the blueprints themselves are accurate (and the views are pointing the right way).
- Import the images as backgrounds to the different views
- Resize the starting cube to fit the background images
- If there is one background image which for some reason doesn’t match up to the others (e.g. the side view of the car may seem shorter than the cube whereas the top view shows it should be the same size), then I resize this particular image in the [N]key properties panel, under the “background” area.
This way, I know all the sizes are a perfect match at the start. Better now than half way through modeling.
Another way, is that I make a single image for the background with all the blueprints on it at once. This is usually called “modelcar_full.png” or similar (I have included one in the attachment for you to get the idea). If you do this, then you only need to show the front view of the cube and add the modelcar_full.png background, then split this same window to make the other side and top views (with Numpad 7, Numpad 1 and Numpad 3 to change a view of a particular window… or you could use the window’s “view” menu… whew, hope I’m not going too fast there!)
Download this zip file and extract it to a folder (I made this for you, and you need to fully extract the file before opening the included blend files for the images inside to work). You will see two blender files and blueprint pictures. Each of the blender files has the blueprint backgrounds already lined up, and the starter cube ready to model with. mirrorcube_small.blend has the default starting size for the cube, whereas mirrorcube_fullsize.blend is a file where I have already resized the starting cube to fit the blueprints (just so you get the idea on how to make sure the blueprints are lined up, although you can start modeling from either file).
Note that I have already set up a “mirror modifier” on the cubes so that you only need to model one half of the car. This is explained in chapter 3, p.48-51.
Hope the above helps more than confuses. :spin: Be aware that other tutorials may be written for the older 2.49 blender and some of their instructions may be very different. Beginning Blender was written for 2.5 which is now the current version.
Attached files: http://www.filedropper.com/vwblueprints
Thanks for purchasing the book. 


