Hi, I’m trying to recreate and improve on the UV texture mapping of the standard curve object - using geometry nodes.
One reason for this is that the position and density of the curve handles/splines with basic curve UV mapping affects the density of it:

I’d like the UV mapping to be evenly mapped/proportioned along the length of the curve - with the position or density of the handles having no effect on the density/scaling of the UV.
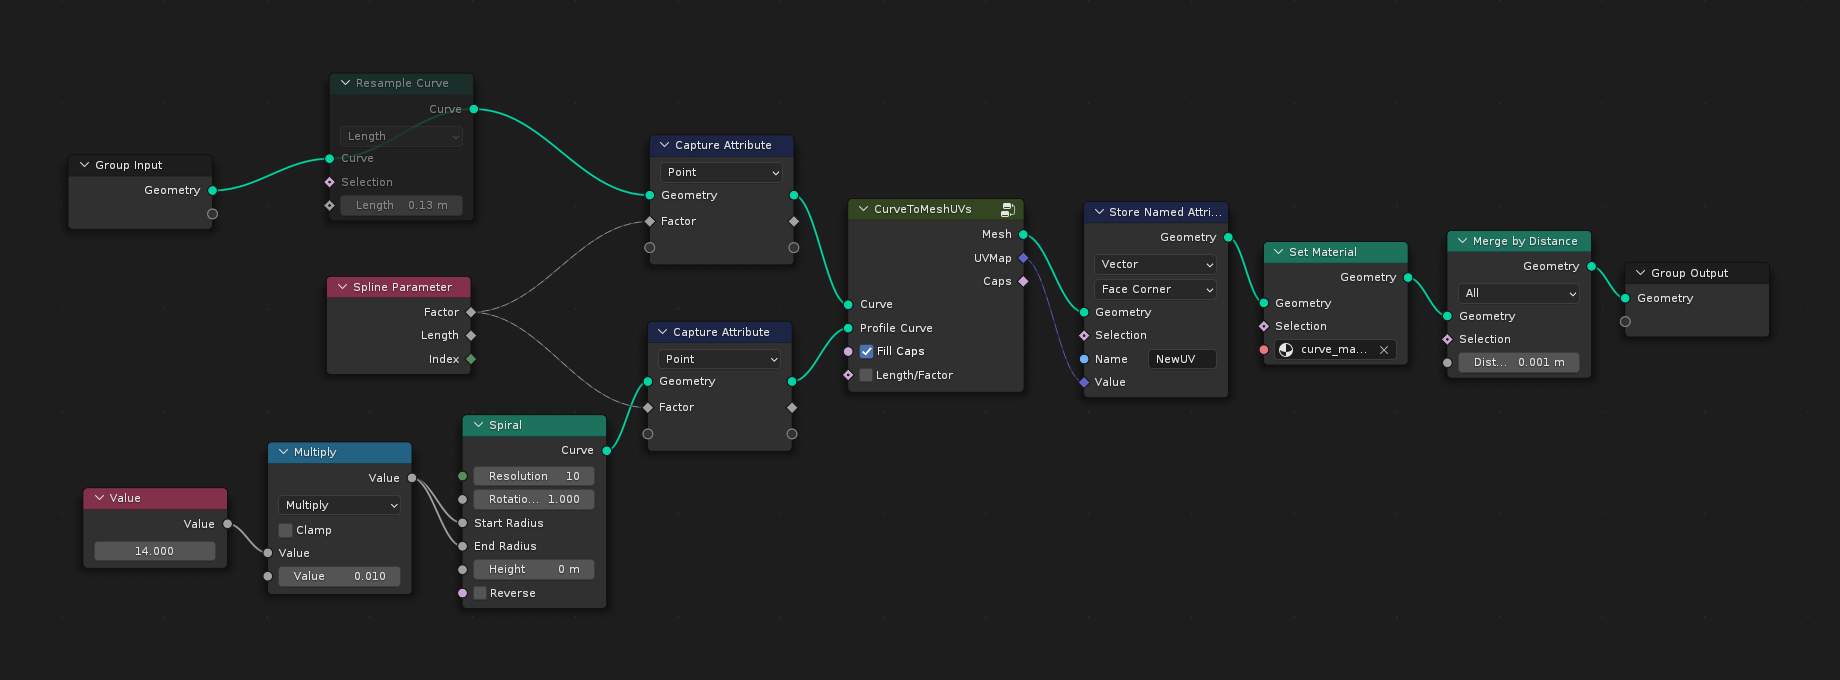
I’ve got close to this with the setup below (notice how the extra curve handles in the top left quadrant have no effect on the UV scaling):

But this method has an issue with the final segment of a closed curve - where the UV values interpolate from 1.0 back to 0.0:

Changing the values on the ‘Resample curve’ geometry node can reduce this effect, but not completely eliminate it. Does anyone know of a workaround for this? If there’s a way to do this without geometry nodes, that would also be fine.
Thanks.