Hi guys,
this is my last subject I’ve used to test some render engines.
I’ve choosen a real photo taken from a catalog of an Italian furniture maker and I’ve decided to replicate it.
When I’ve started with this project I’ve decided to test the official VrayForBlender when it was using Blender2.79.
3 years later I’ve decided to take back the scene and use it to test both Octane and Cycles.
Now I’m done with launching render tests and I want to share with you what I’ve achieved.
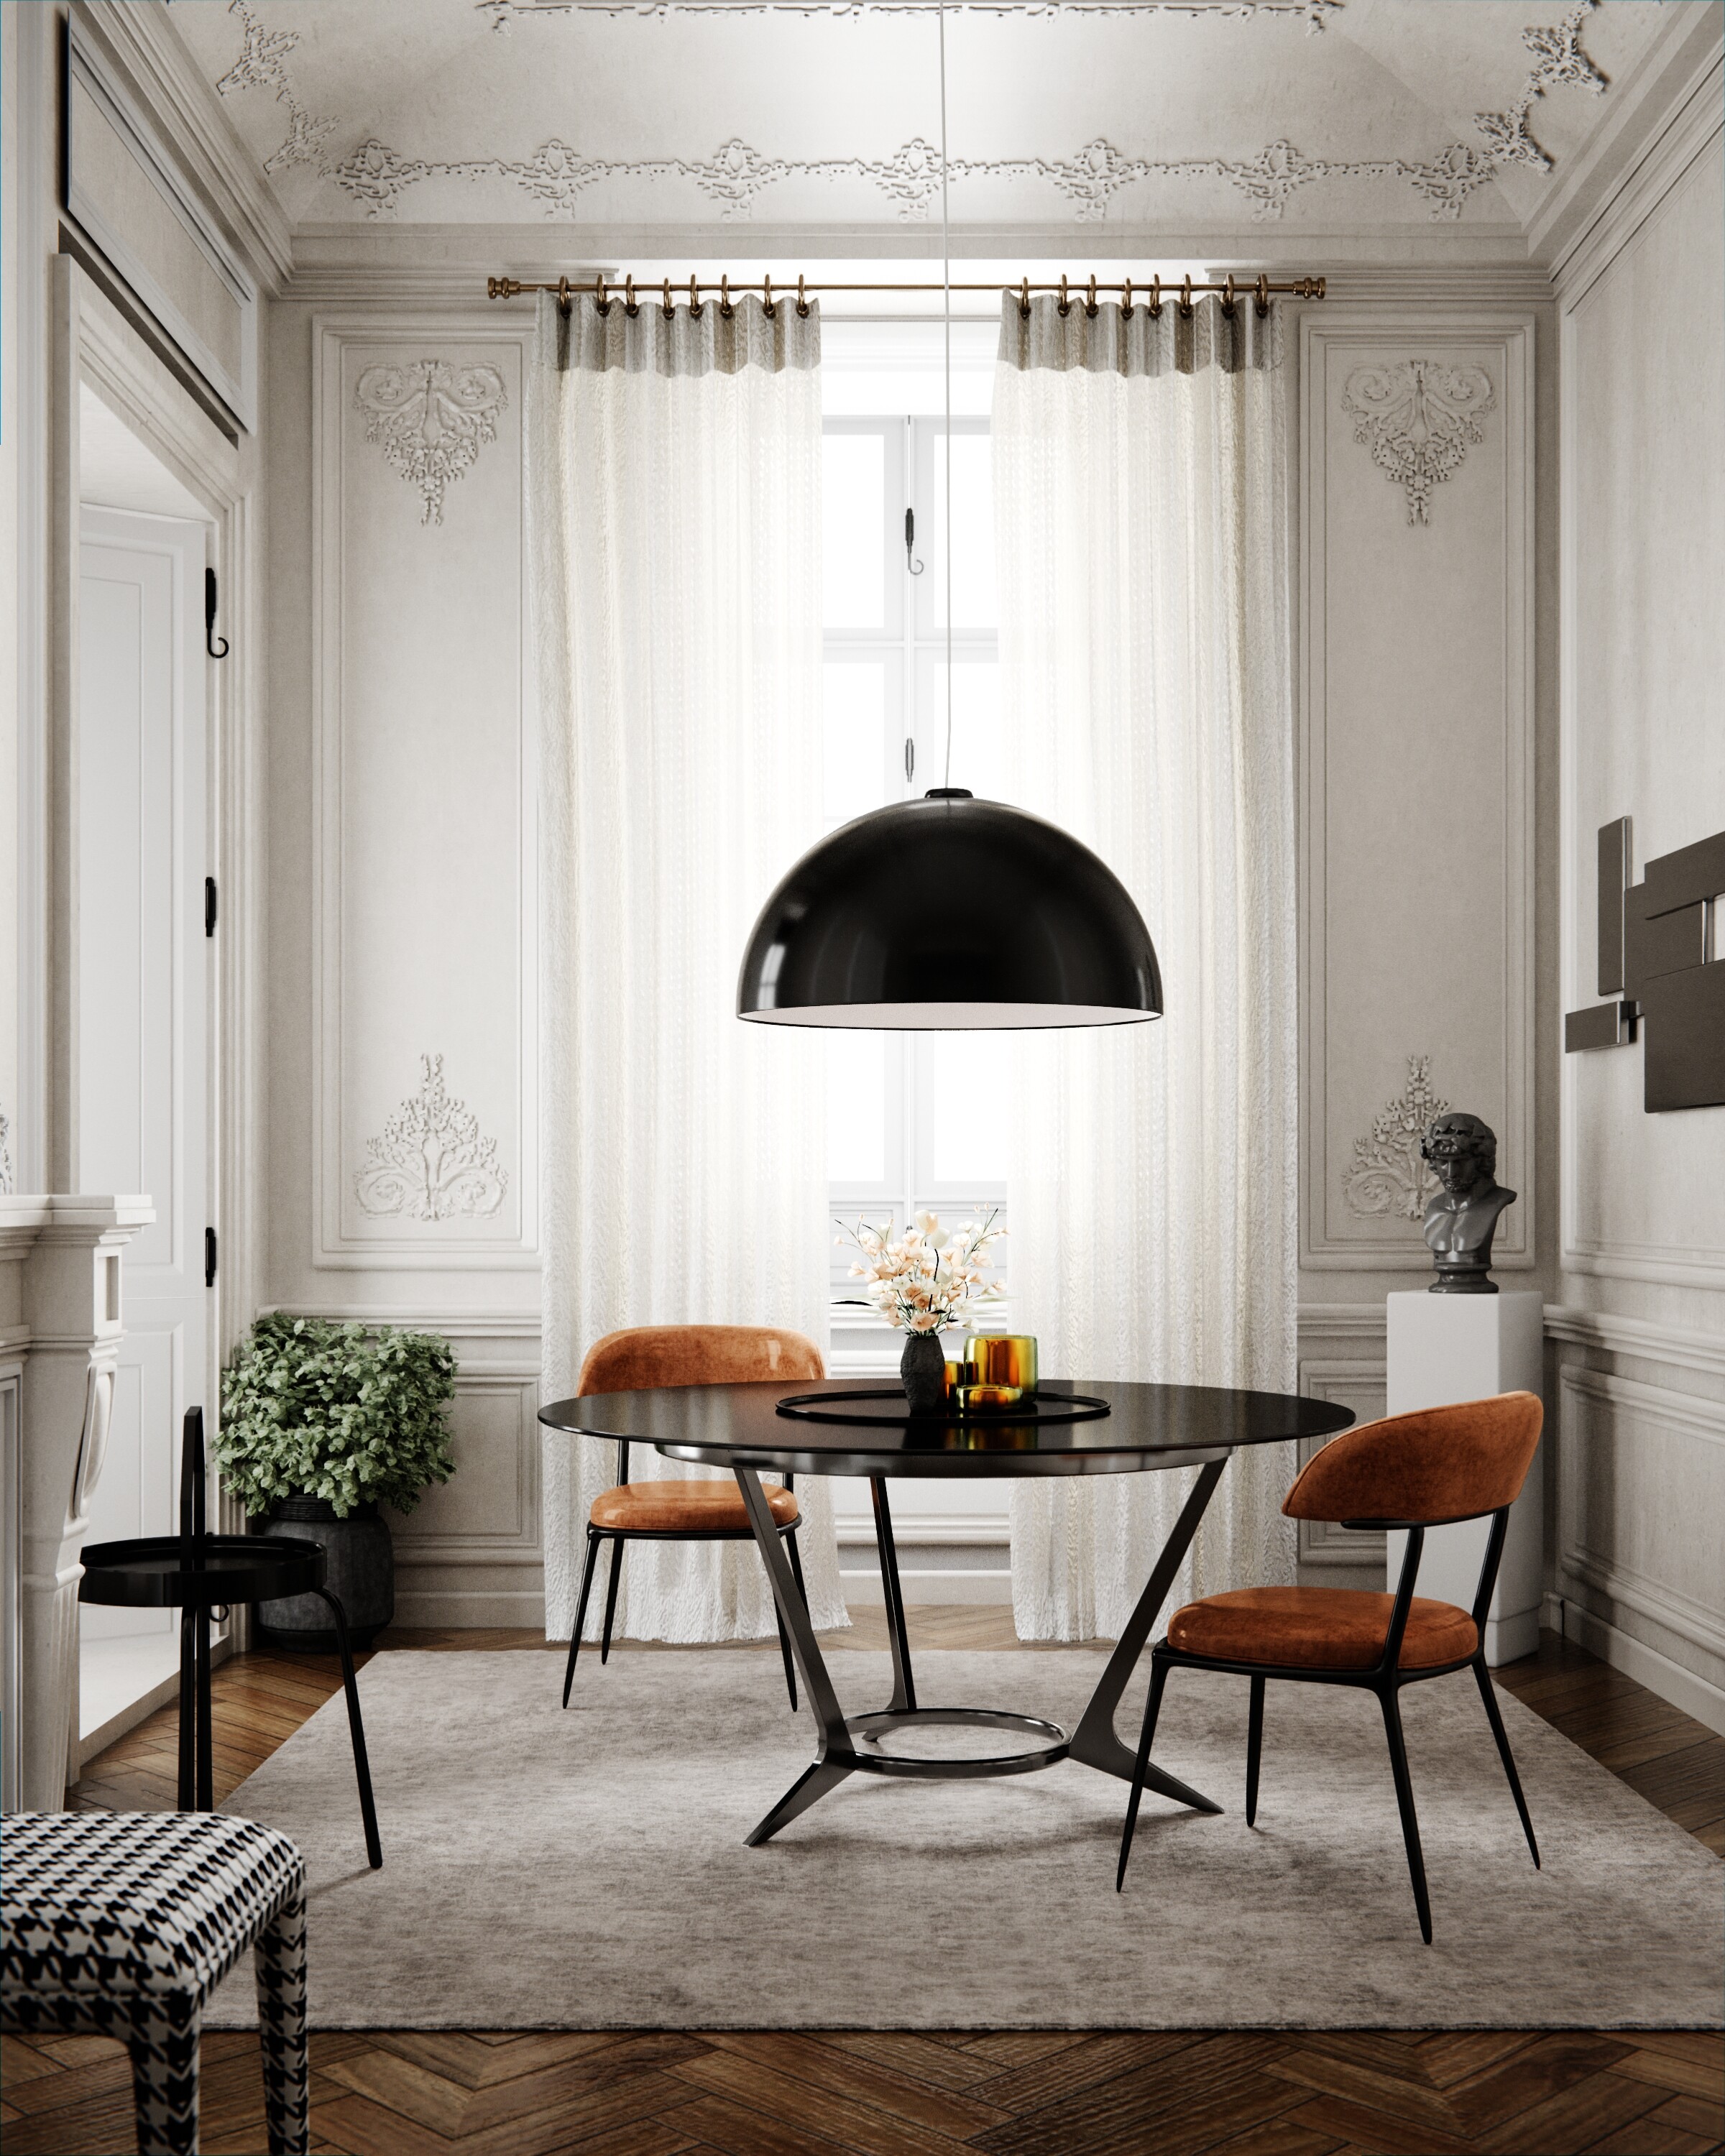
The 2 images below are rendered using Cycles with Blender 4.0 beta.
I’m using 3500 samples with Adaptive rendering and a 50% of denoising. less than 10 minutes on rtx4080 for final resolution.
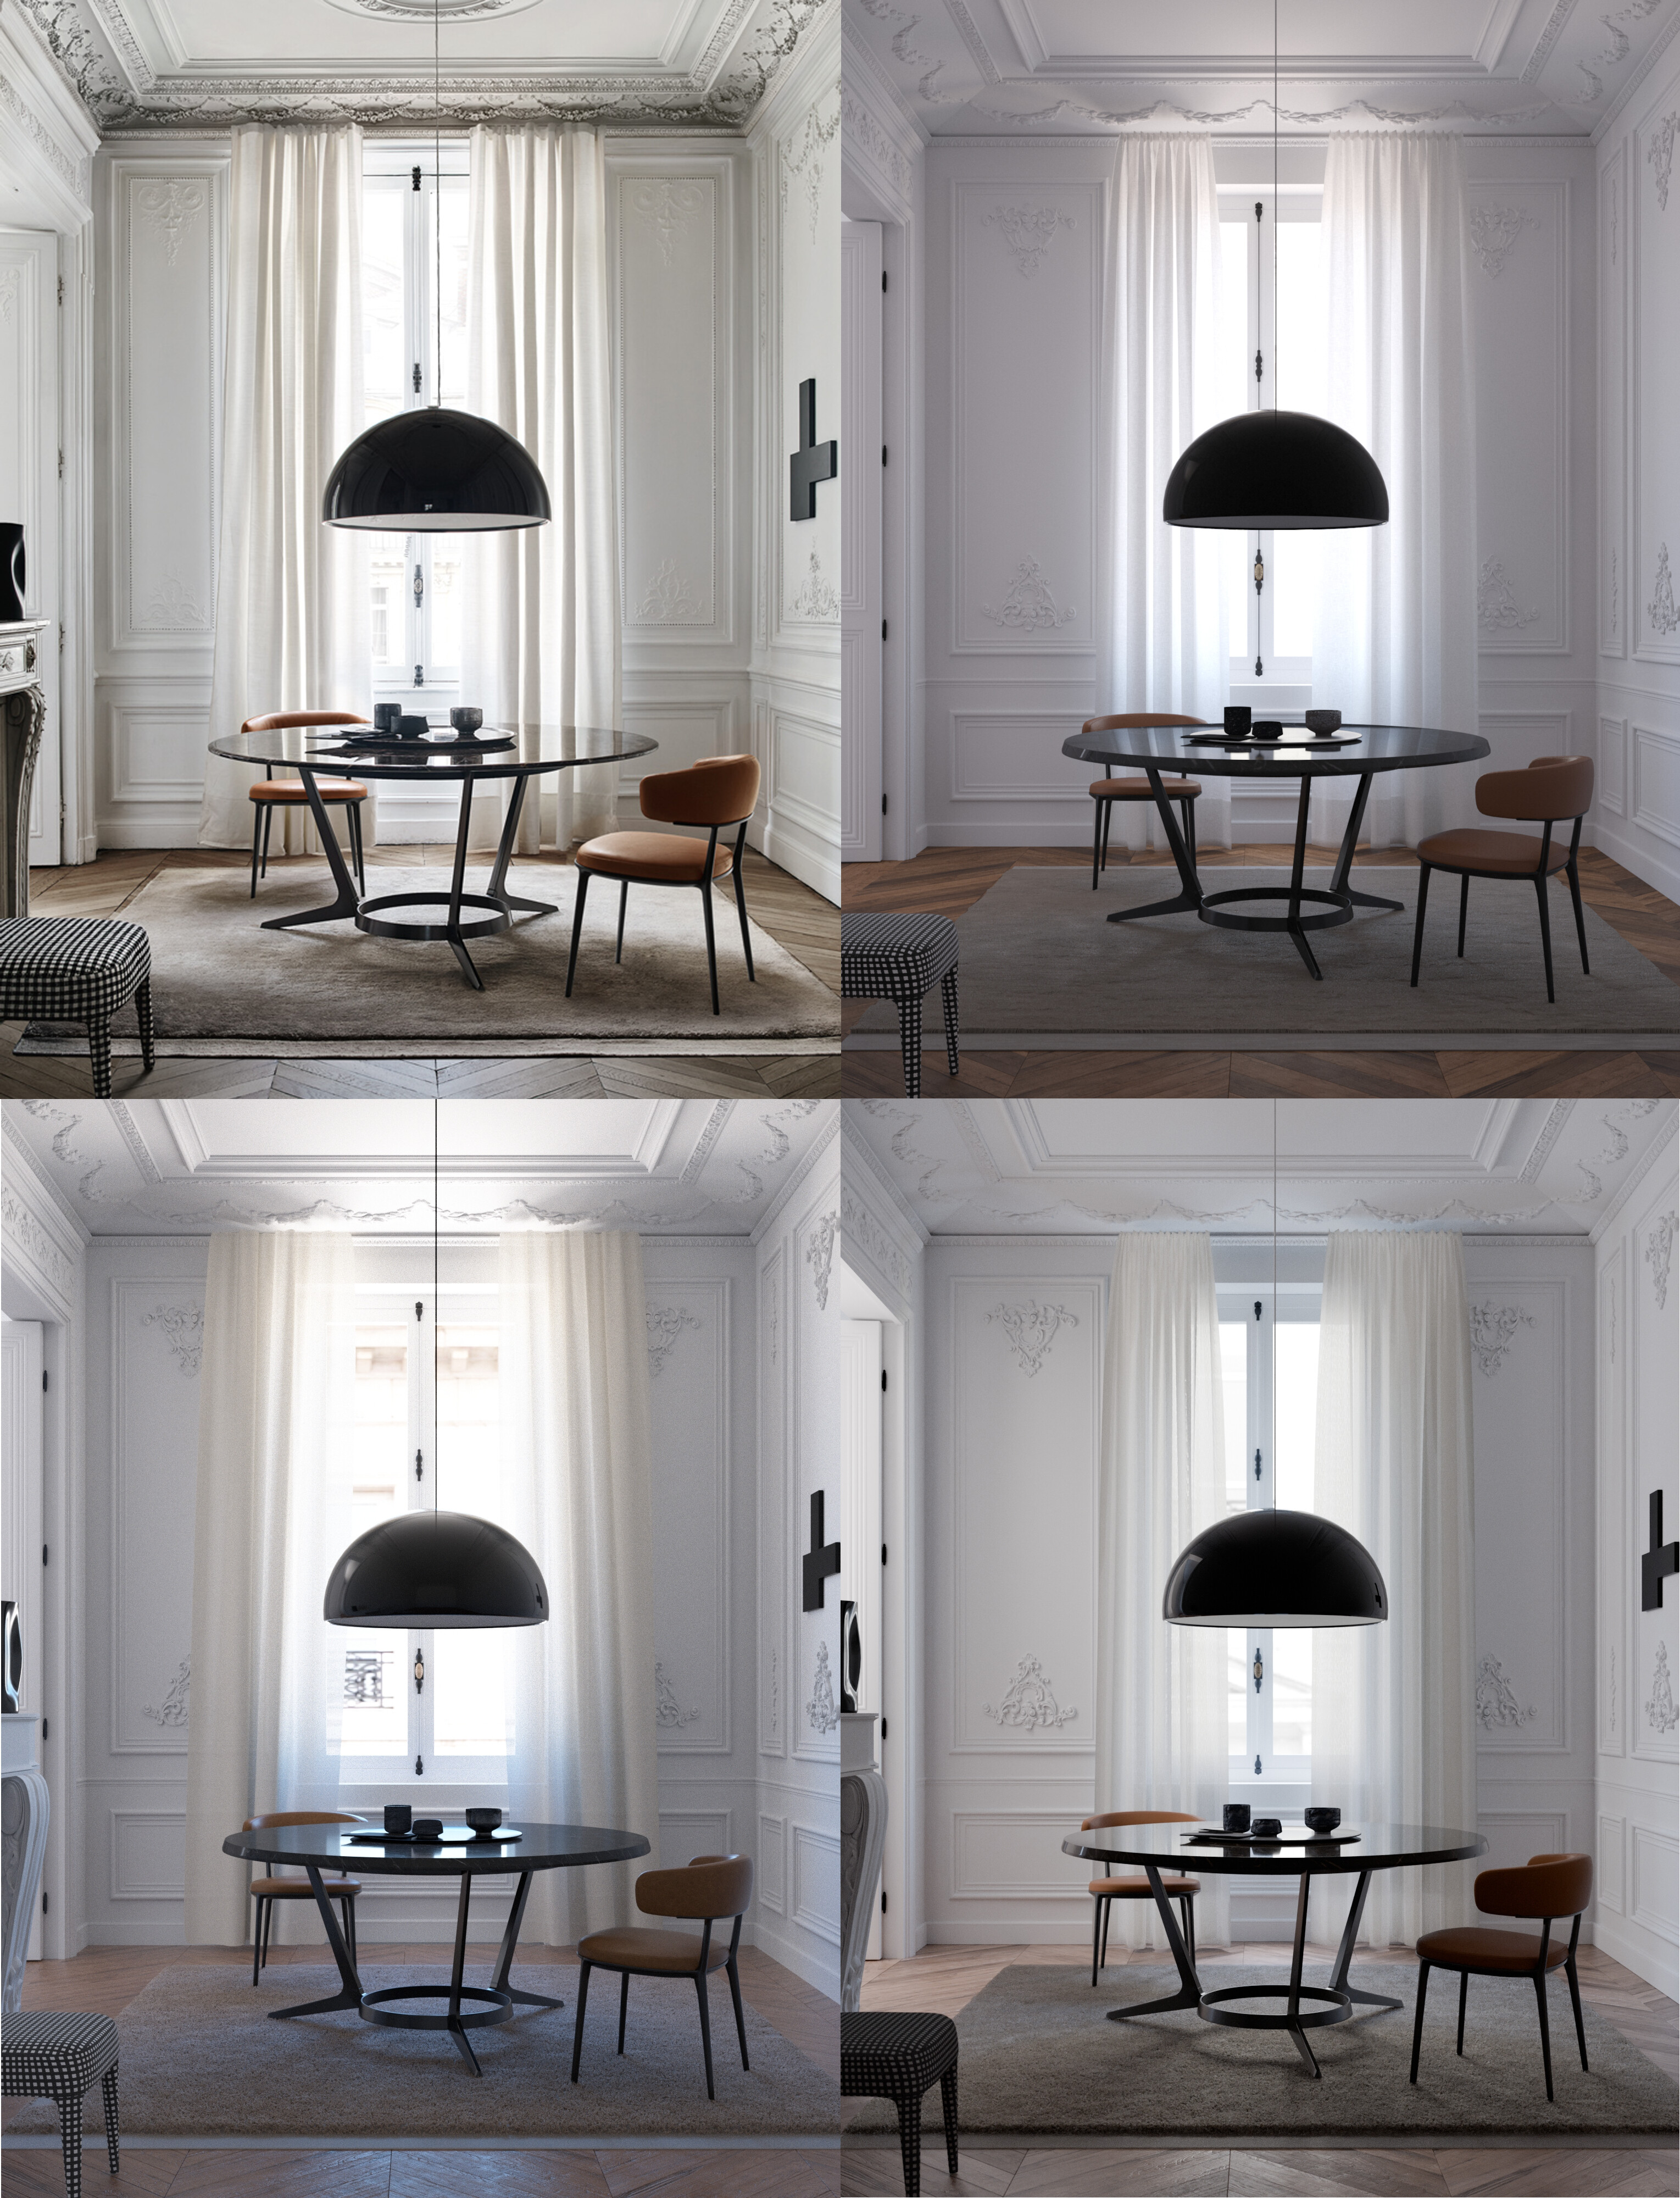
A quick comparison from the reference and the render engines. It’s not a real comparison…just where I’m arrived. In the image the first is the photo, the next on right is Vray, second row Octane and last Cycles.
Nice but something is wrong with the light in your scene. With so strong exterior light you should have a brighter floor. Vray and Octane versions are too dark in the floor reflections. Adjust your light source (HDRI ? ) until you have a similar result with the reference image. Then you’ll be really close. Congrats, anyway for the effort!
The comparison image is, probably, a bit confusing as the Vray one and Octane one had different development time.
Vray one was done at least 3 years ago and I’ve never finished and you’re right…lighting and materials needed more love.
Octane version was done some days ago and it hasn’t some lighting adjustment I did in the Cycles one.
Actually the Cycles version is the last developed and for more time and it’s the one I decided to post as first.
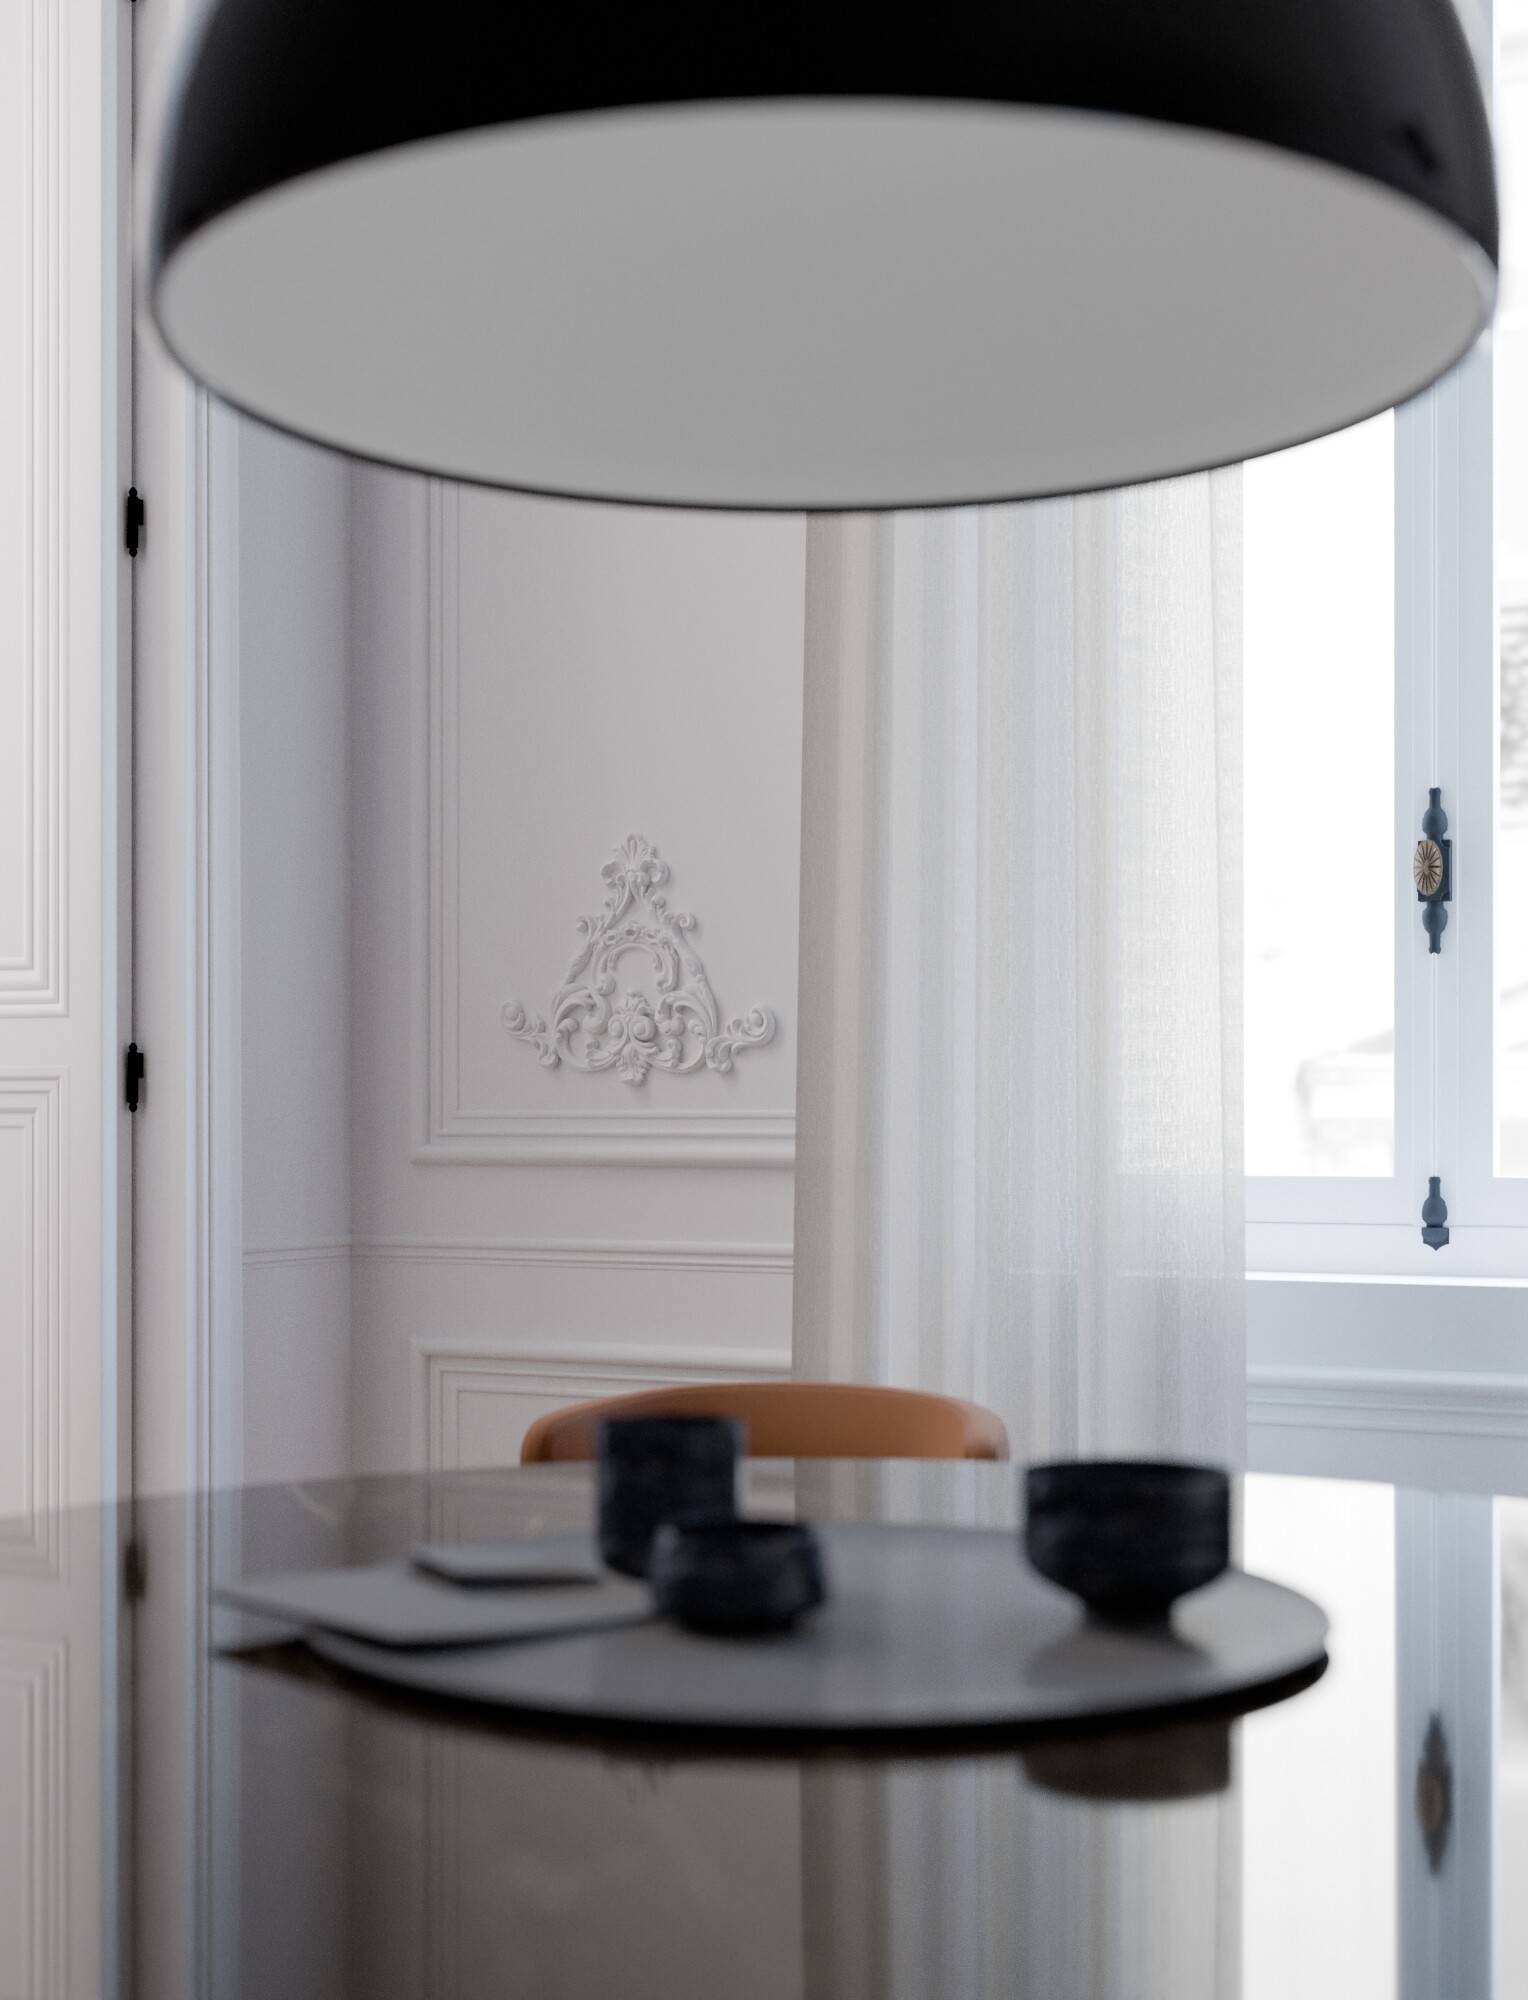
I modelled the scene from scratch, not is 100% true but the light settings is near to the reference, here you can see a detail. the image reference, looks like a render.
having in mind the photoreal quality of an hdri not is the same energy power to lit the scene, then the image is a render, looking the reference, the image have 3 points of light. in a fist place the image is located in a daytime moment, the HDri is insufficient to make the image realistic, then it needs other auxiliar lights, I put 1 on the left more powerful than the one of the center, I made 1 light emission material in octane to make the behaviour the lioght is entering and lit the frame window.
the next part is put a light in the center more near the table and inclined 20 degree to have the best entering light the final detail is the image is lit with other hided in the camera view frame. not as powerful as the others, the key is the other light to lit the scene, not is as photoreal and I added other items my creations but who cares. the scene lit is completed and near to the reference
ps I love your curtains, mine not are so realistic as yours
I like your result.
The image seems that has more vibrant colors. Just for curiosity, which engine do you used? And rendertime & hardware? Do you used denoiser?
About the lights position, could you share a wireframe? If you want, probably it’s more easy to understand.
My light setup it’s more easier and, after I’ve published the images, I’ve made some more quick new tests and I’ve found a better solution for the sun light I’ve used.
I think I’ll continue a little bit to improve it and then I think to release a new version.
Hi yes, I used Octane Render, light clamp 10. light sampling 2 diffuse 5 SS 10 G Noise light rate 5/10 approx 3 lights Right behind the chair side, Left side, other light behind door, 1 Emision mat mesh, 1 lamp 30 degree.
Denoiser enabled
It looks better now. But the walls seem to me too white, compared to the photo, or to diffuse. White colors should have a value below 0.6 to look convincing, otherwise they get to bright and flat.