Internal Texture Formats (single-channel 32bit)

Do you guys know what image format to use in order for blender to internally load a 32-bit single-channel Non-color image for displacement?

So far I’ve been able to produce:

png in Non-Color mode loads as RGBA8 or R8 if single-channel, if the source is 8-bit.
png in Non-Color mode loads as RGBA16F or R16F if single-channel, if the source is 16-bit. (can toggle to internally RGBA32F or R32F with the Half-Float Precision option but it’s pointless with a png)

png in sRGB mode loads internally as SRGB8_A8 or R8 if single-channel, if the source is 8-bit.
png in sRGB mode loads internally as RGBA16F or R16F if single-channel, if the source is 16-bit (can toggle to internally RGBA32F or R32F with the Half-Float Precision option but it’s pointless with a png)

(I know png is max 16-bit integer but I mention them as a reference)


32-bit exr behaves a little better, whether sRGB or Non-color blender internally always loads them as RGBA16F or RGBA32F, depending on whether the user selects Half Float precision.

However I haven’t found a way to load an image internally as R32F or R16F, when the source image is a single-channel 32-bit image. (exr or tif)

Since they’re displacement they’re incredibly high resolution (multiple 16k), so the extra three channels (GBA) really waste memory considering all other textures are lower resolution rgba8-bit.

Or if there is a way to utilize the different channels in different UDIM tiles, to reduce the memory footprint?

Thanks!

I would assume that with non-color selected, Blender would only load one of the channels in memory.

Another way you can use your textures is to put different informations in R, G and B channels (for example displace in R, roughness in G and metalness in B) so that in one RGB load you have multiple informations.

If you don’t want your roughness to use 32bits though, you can have your displace only in the R channel, maybe it will reduce memory usage by not having any information in G and B.

With the recent addition of mipmapping in Blender, I am not sure you’ll be able to optimize it further in term of memory unfortunately.

Now you’ve got me wondering if you could separate and recombine an 8-bit RGBA image to a 32-bit grayscale one and keep full fidelity using shader math tricks. I doubt it’d be straightforward since IIRC high-bit-depth images are floating-point based (or some sort of uneven distribution) while 8-bit is just simple “bigger byte, brighter channel!”

More practically (but not too much more practically), I’m wondering if you could have a Python addon load an incompatible format and inject a temporary compatible one.

Edit: I just re-read your post and that’s what you’re trying to avoid. Never mind.

Edit edit: Ooh, just had an idea, though! If you don’t have anything else worth channel packing into the unused channels, maybe you could slice the one image and have a third of it in each channel!

i have been using 32 bit floating point " *.tiff " images for this for many years

an example from using a 32 bit tiff image as a displacement ( Jupiters moon Amalthea ) min. px value is 51.??? , and the max. px value was 148.???

That’s actually a really good idea.

Just split the full 32-bit single channel image into four quadrants, each of the quadrants goes into a different layer in a final image that has 1/4 of the pixel count of the original, while retaining the full lossless data in each separate layer.

Blender loads the RGBA as 32-bits, and you only have to do some uv transforms and channel selection based on where the final UV coordinate ends up in each quadrant.

Edit: the exact same would apply for a 16-bit exr.
You’d lose like… what? 2% performance due to the uv map and channel splitting in exchange for fine control over single channel and eliminating 3 color channels when you don’t need them or can use lower resolution or depth for those layers.
Especially useful for high-quality, high resolution displacement with lower resolution albedo, roughness etc…

The only question that comes to mind is whether the alpha channel has the same fidelity in these formats. I took a quick glance and didn’t see either way-- I’m on mobile so I can’t do it due diligence at the moment-- but it’s worth checking. I could see it being the case that alpha gets fewer bits or the curve is different, or some other weirdness.

Okay…
I managed to slop-code a python script to split the texture into the four channels and made a .blend example file.

So far the hurdle seems to be texture filtering.

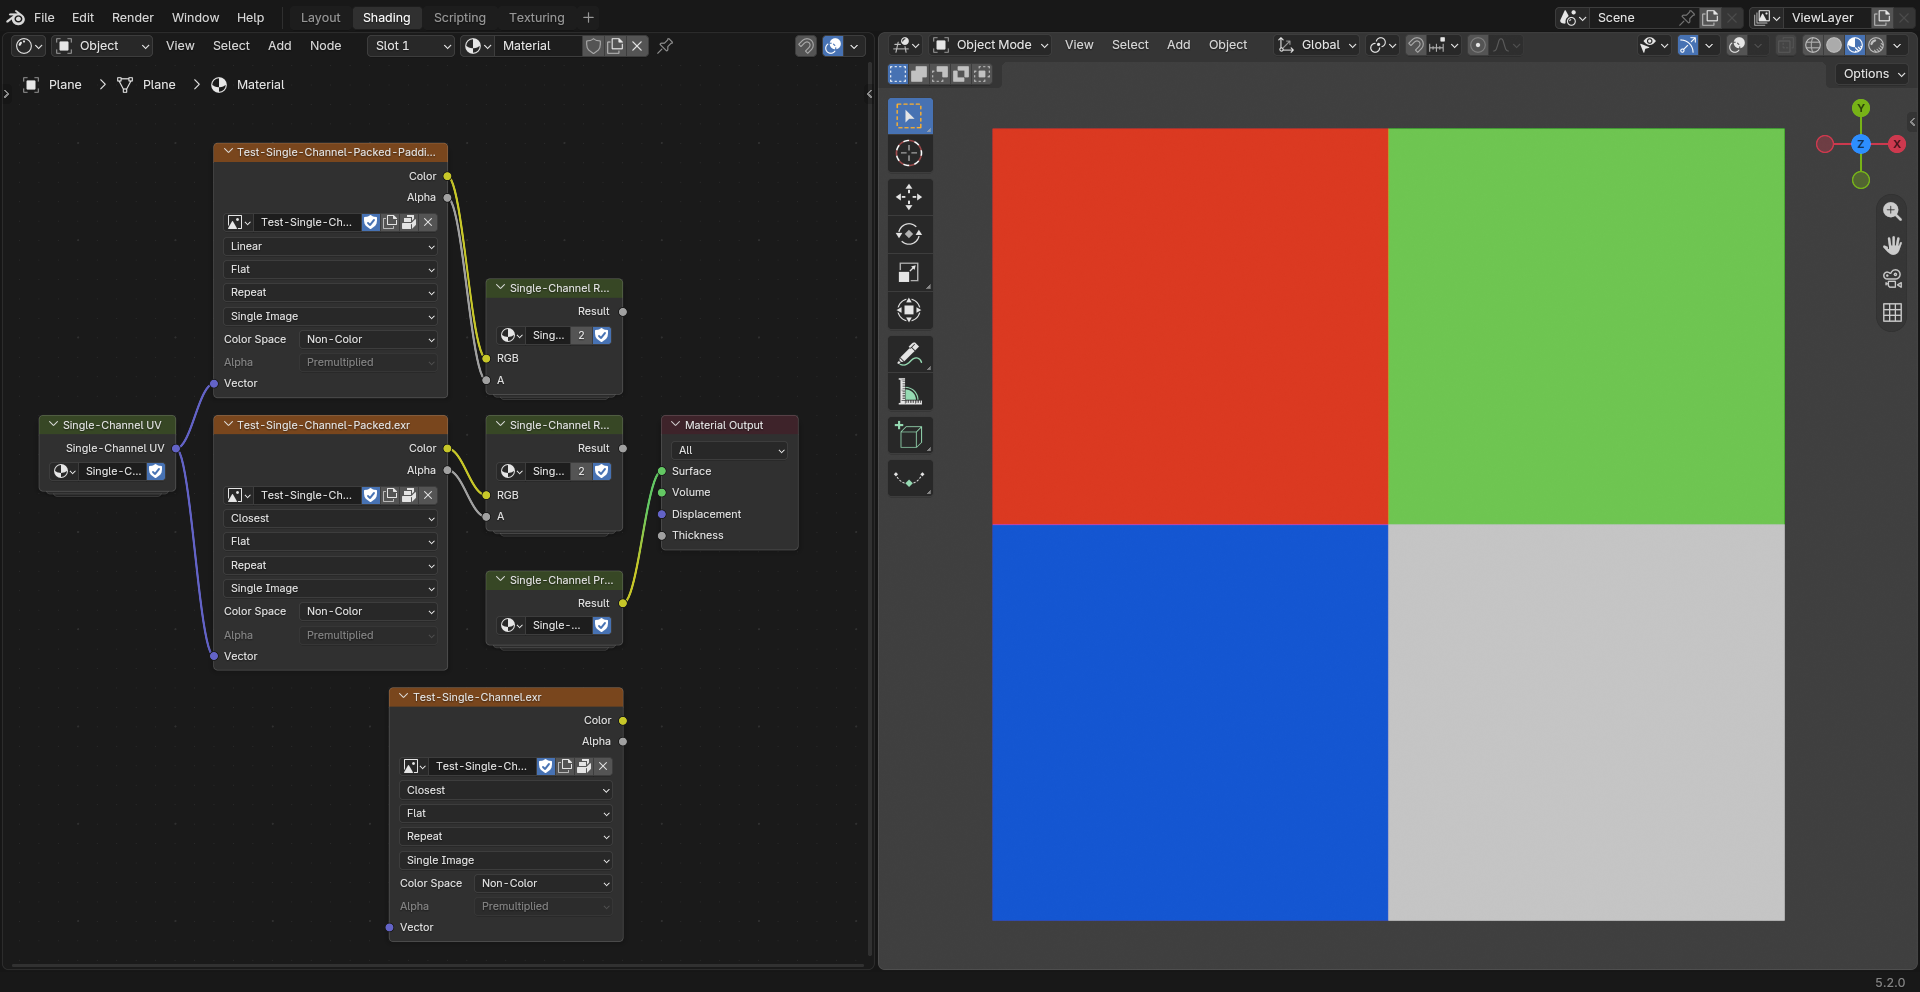
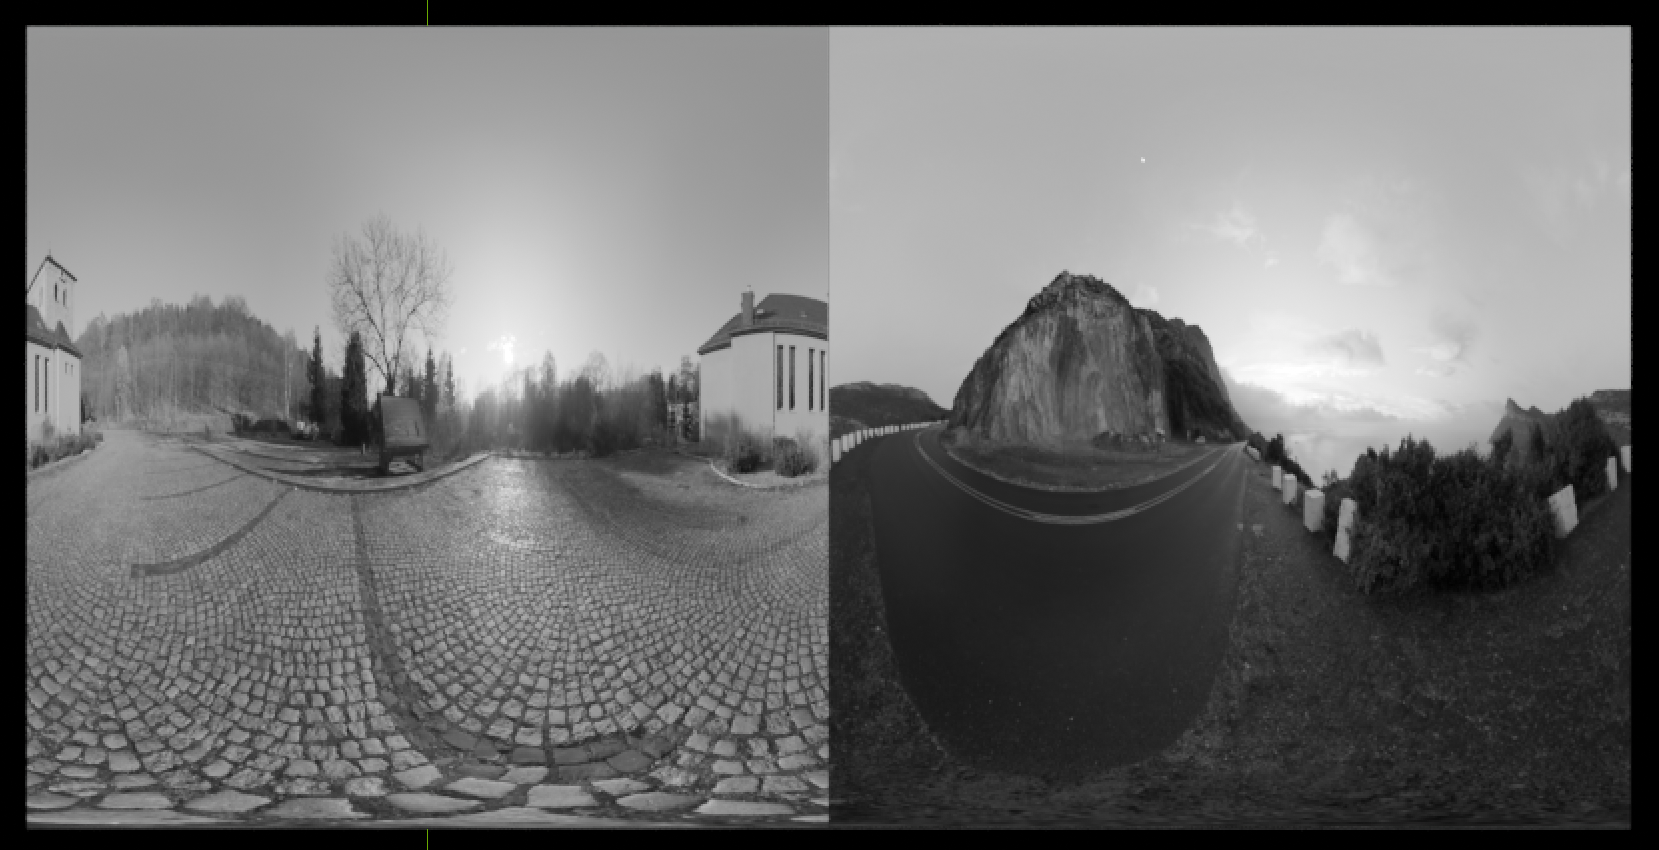
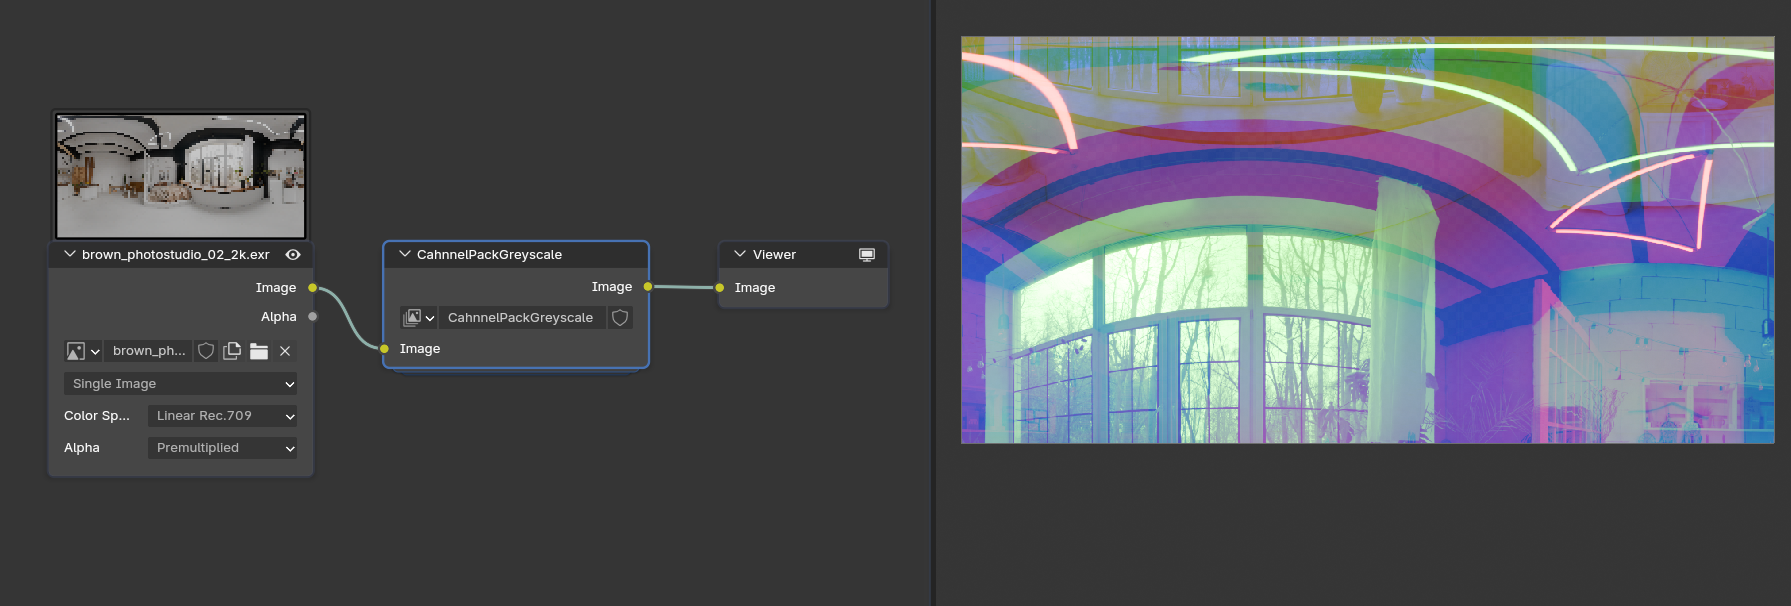
The textures are set in the following channel configuration (white = alpha)

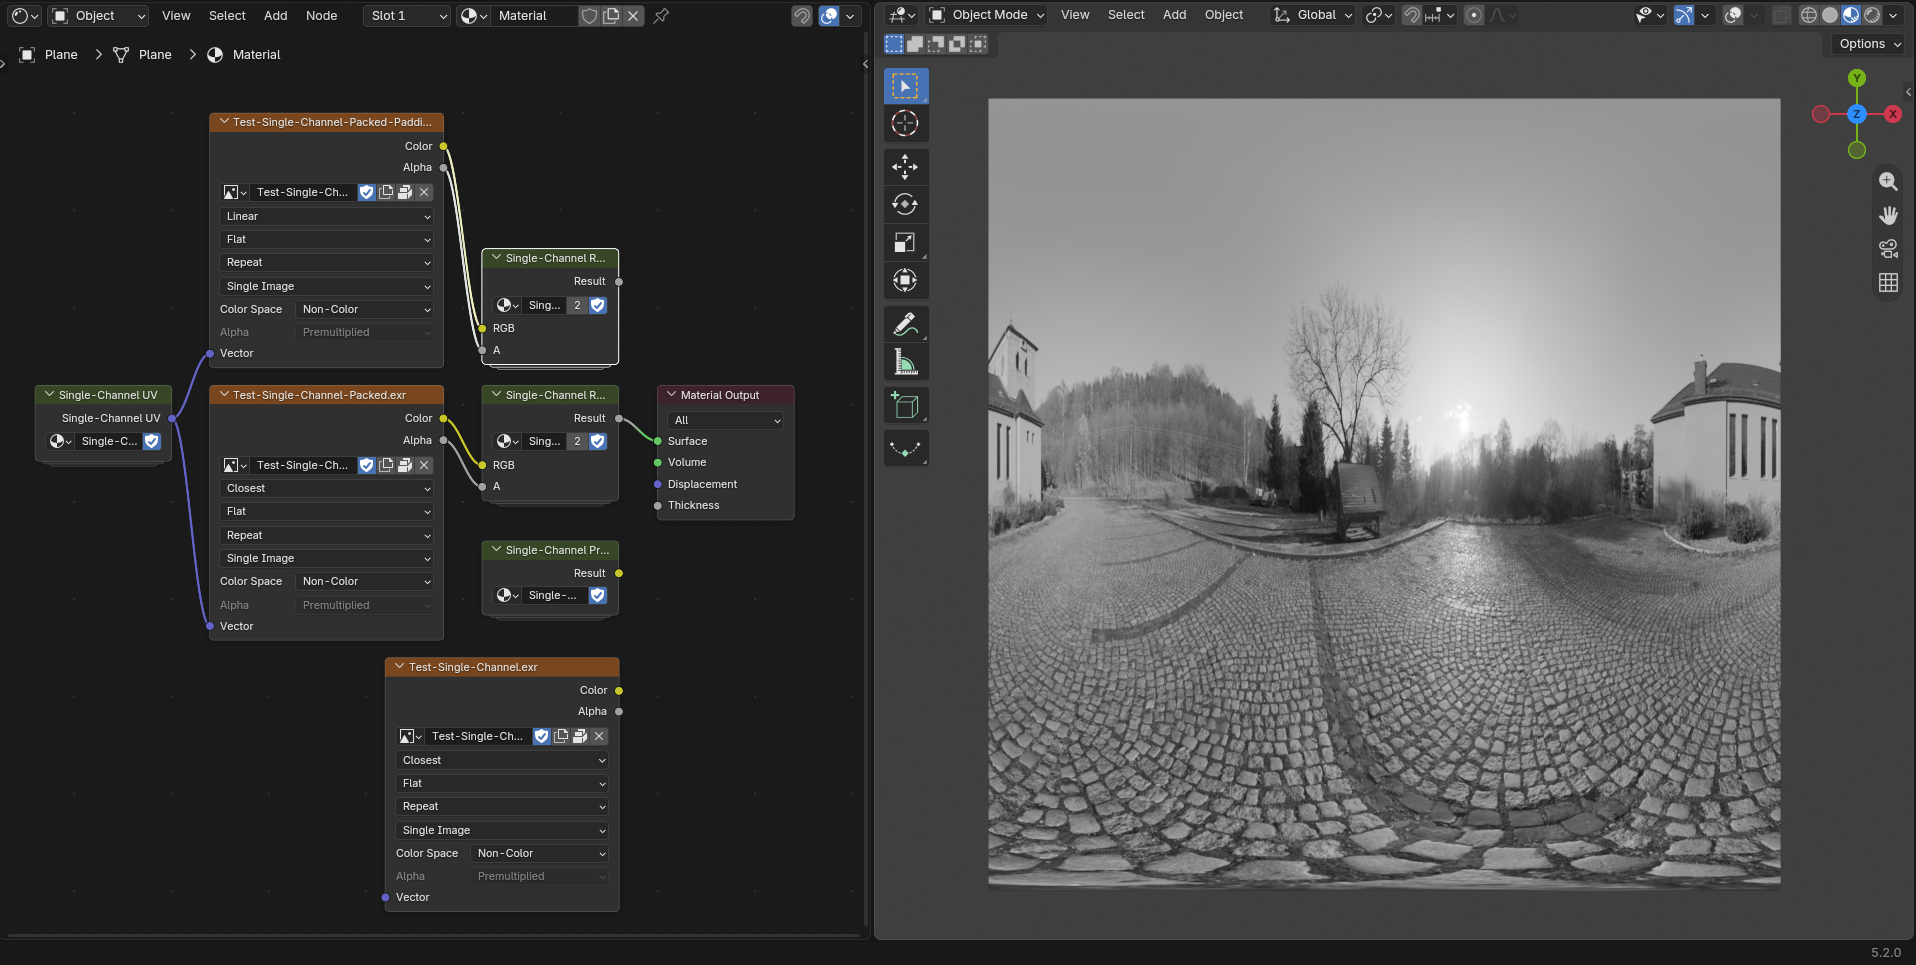
With no texture filtering (closest) it works, as expected, flawlessly:

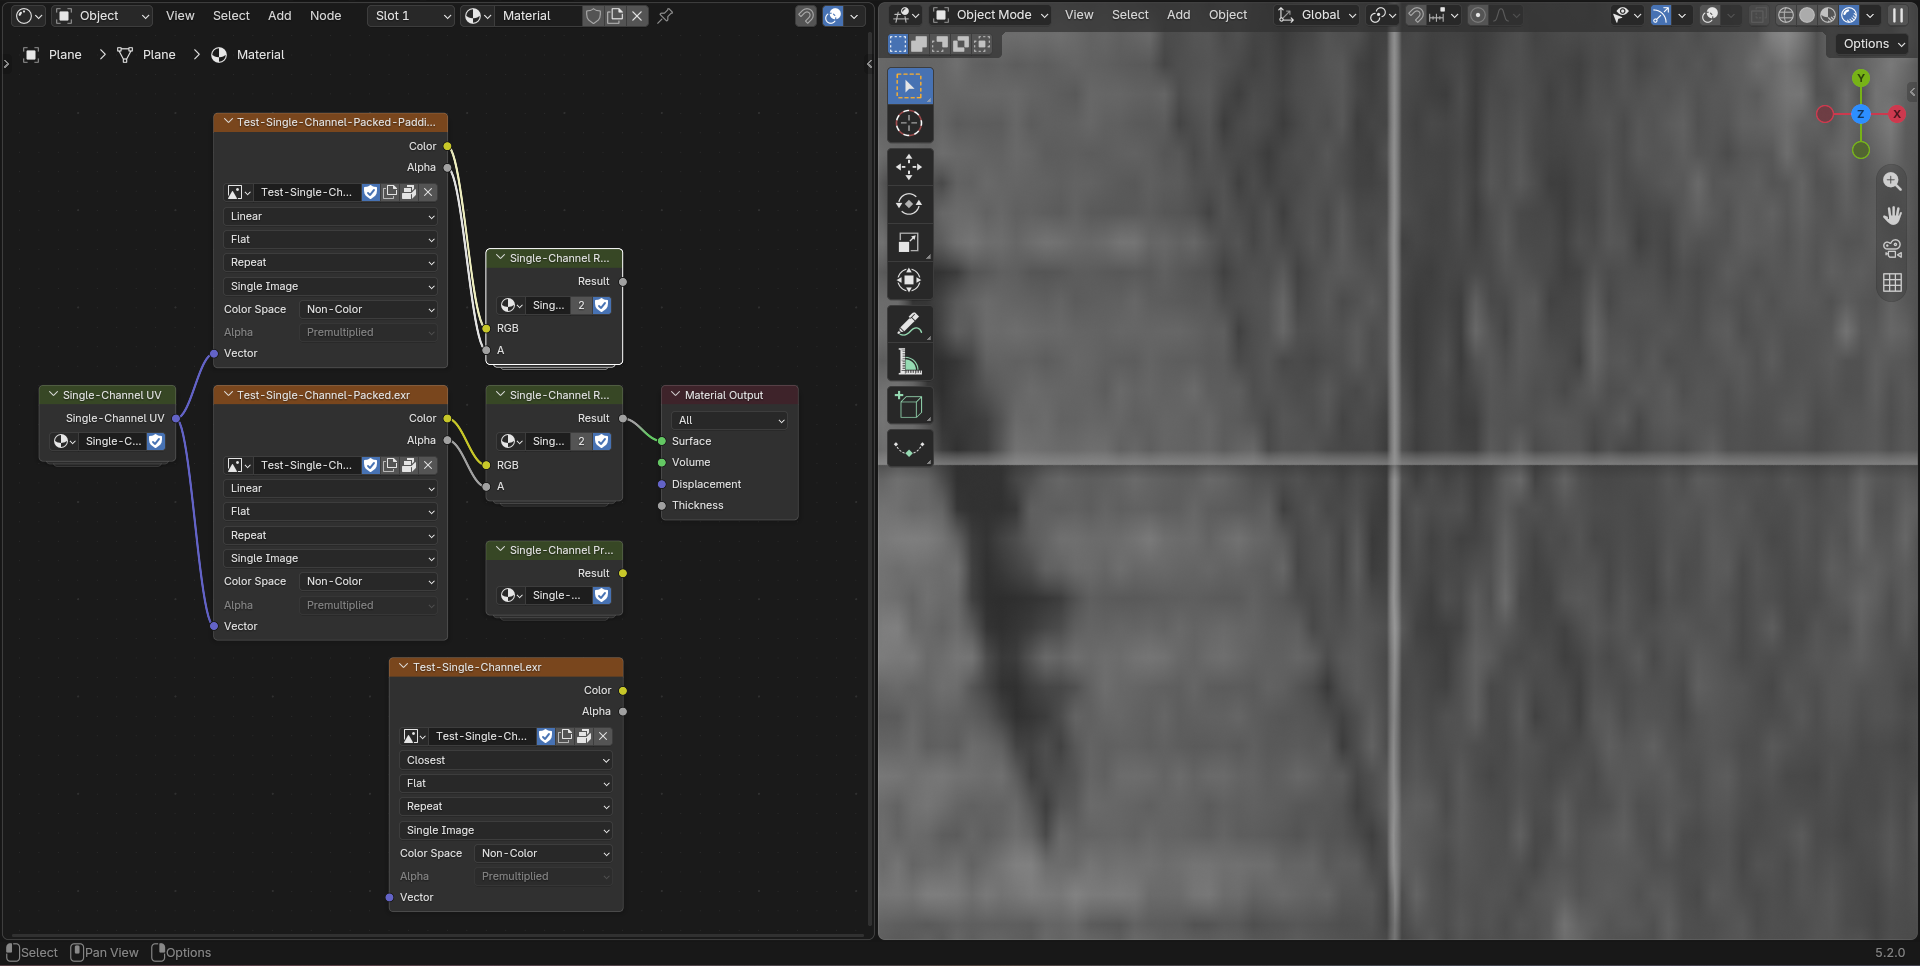
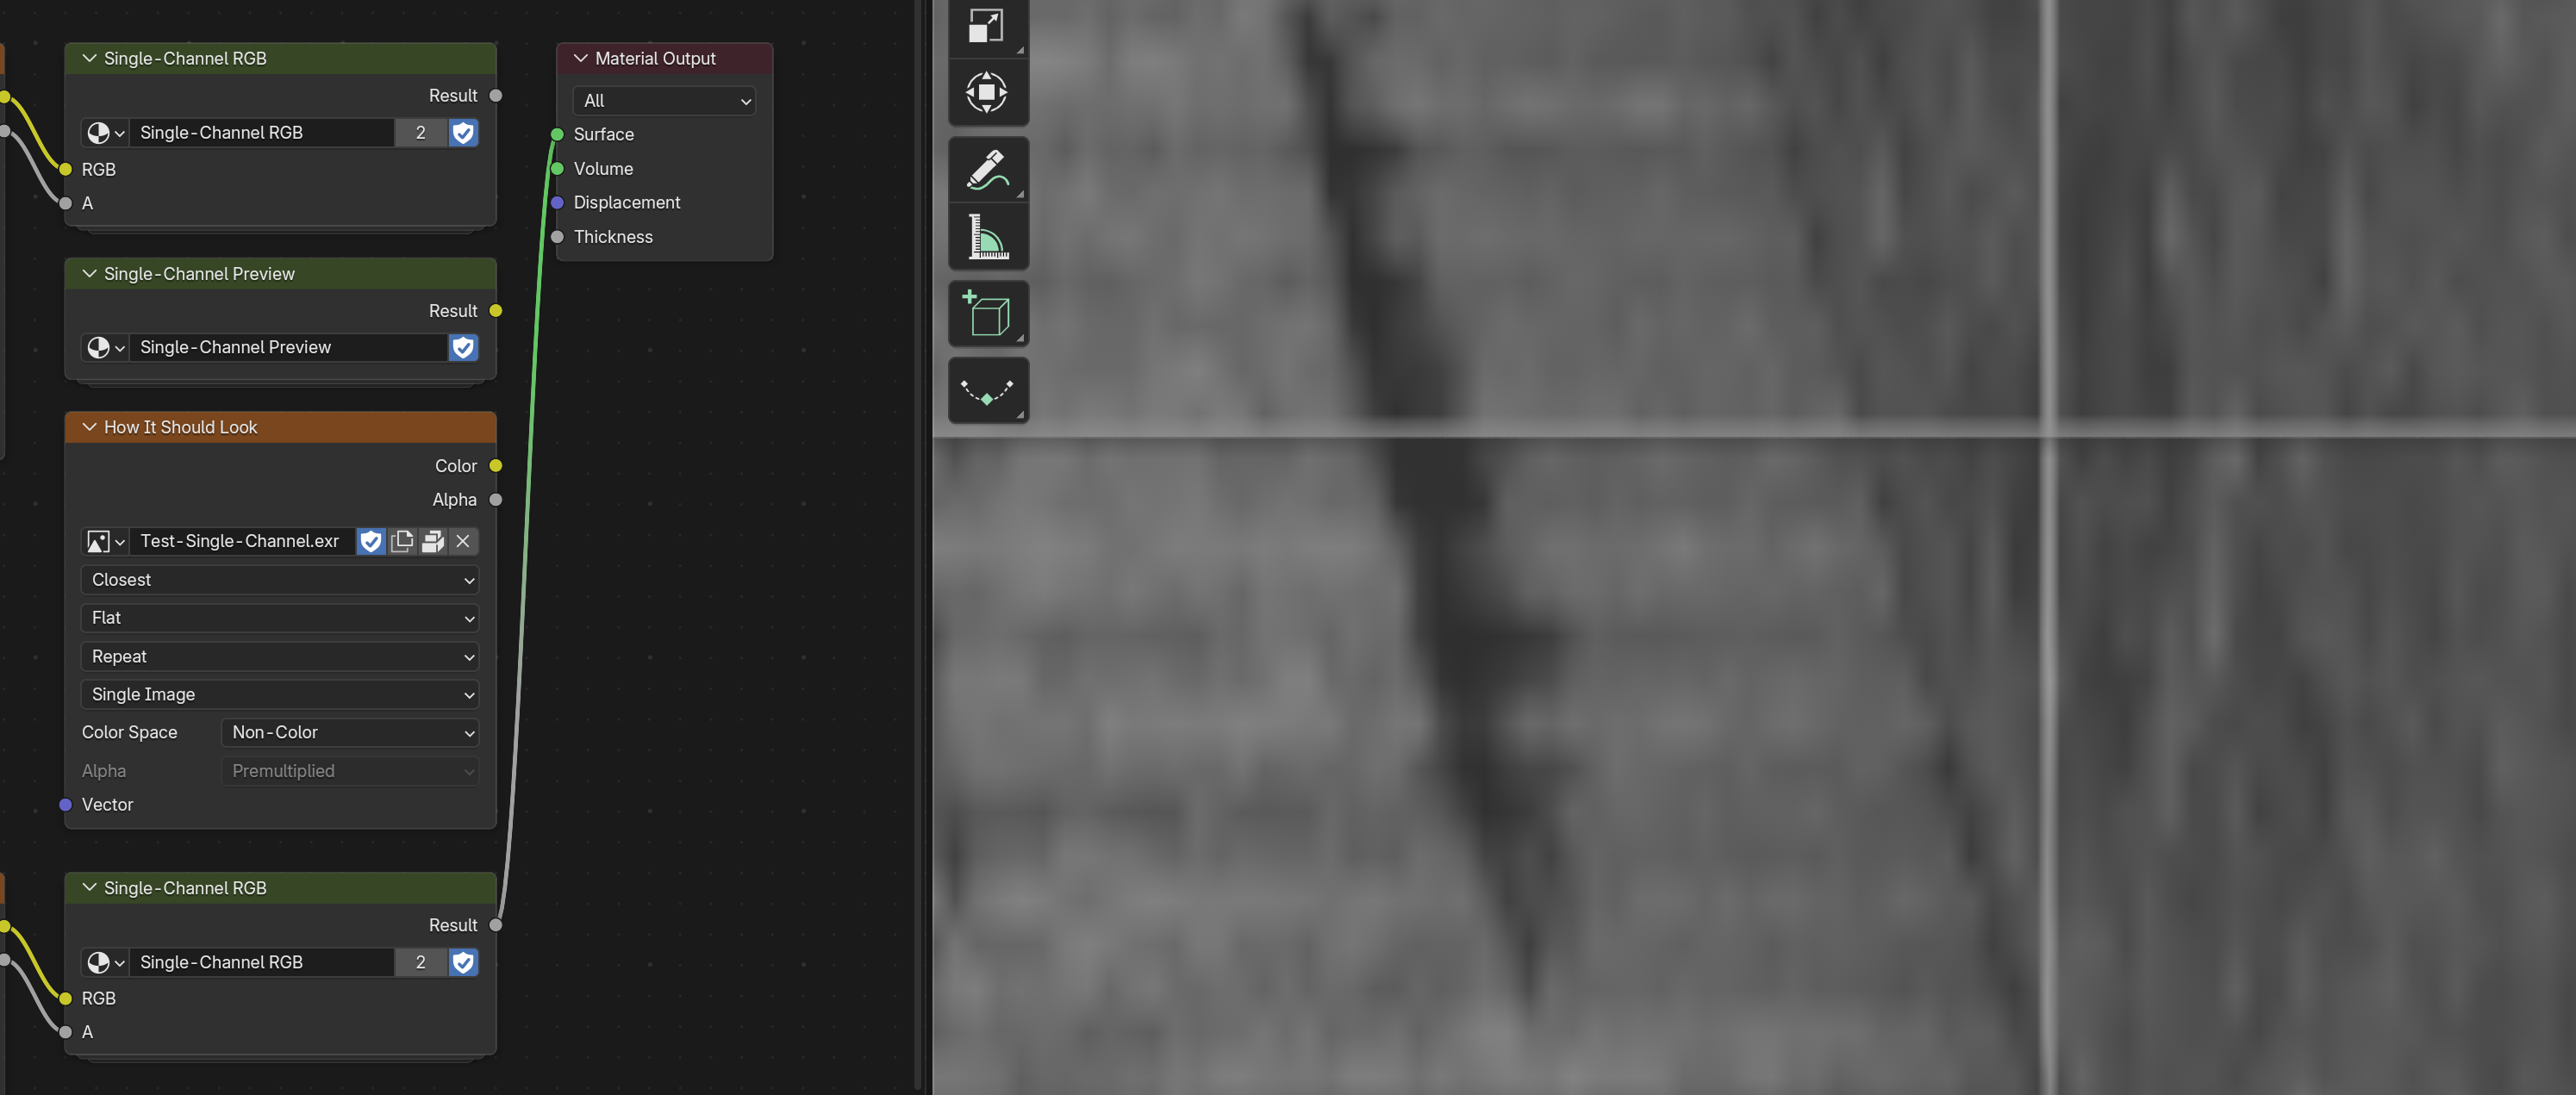
However with filtering it breaks down at the seams:

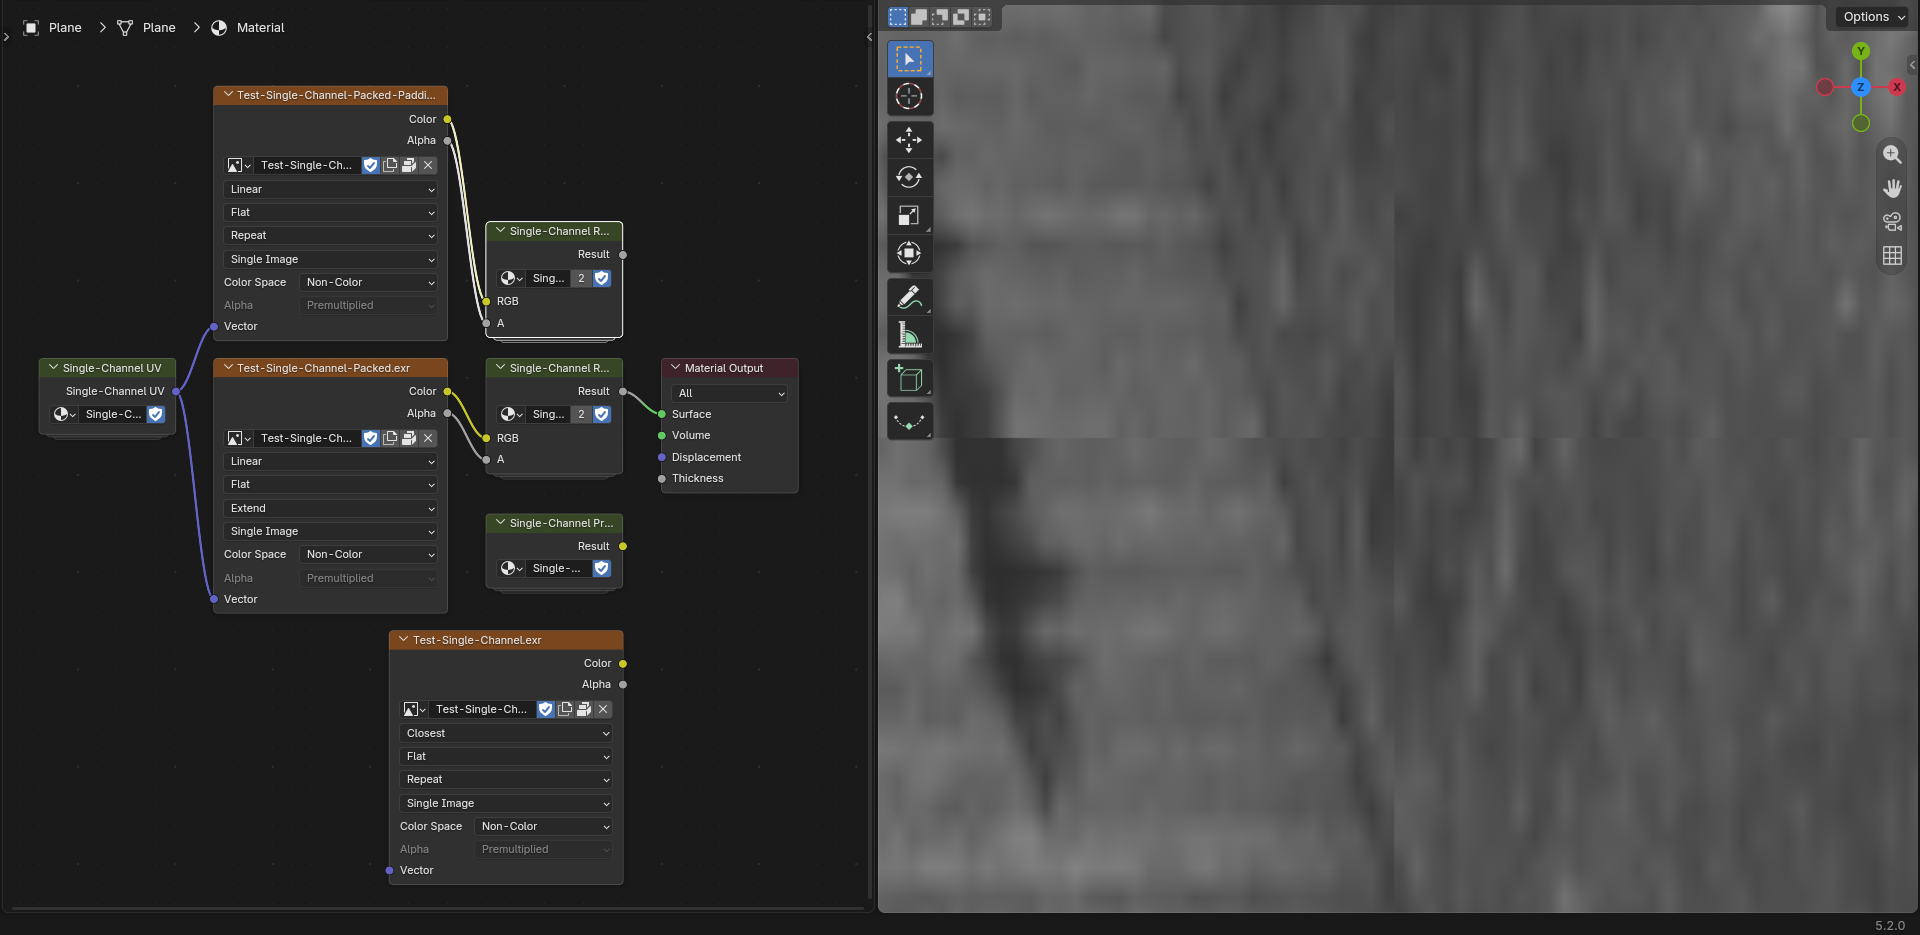
It’s less noticeable with “extend” mode instead of “repeat”, but it’s still obvious there is a seam:

The solution I’ll be trying is to give the image real pixel padding around the edge, and reworking the UV math to somehow skip those pixels but hopefully it still picks them up for properly filtering. Maybe that could fix it but it’s a lot of added complexity and math cost.

I’ll include the progress so far if anyone wants to mess around with the concept. The .blend has the original single-channel.exr, a packed .exr which is the image split into the four channels, and the slop scripts used to generate them:

Google Drive Link
Sorry I can’t upload directly cause I’m a new user :frowning:

As far as I know alpha respects and follows the same bit depth as the other channels due to how the texture is loaded into the GPU / rendering kernel. Whether it is 8, 16 or 32 bits

That fix was a lot easier than expected and thankfully worked too.

Original with filtering seam:

New Node setup with a padded image with split-channels (Visually Identical to just using the original full-resolution image):

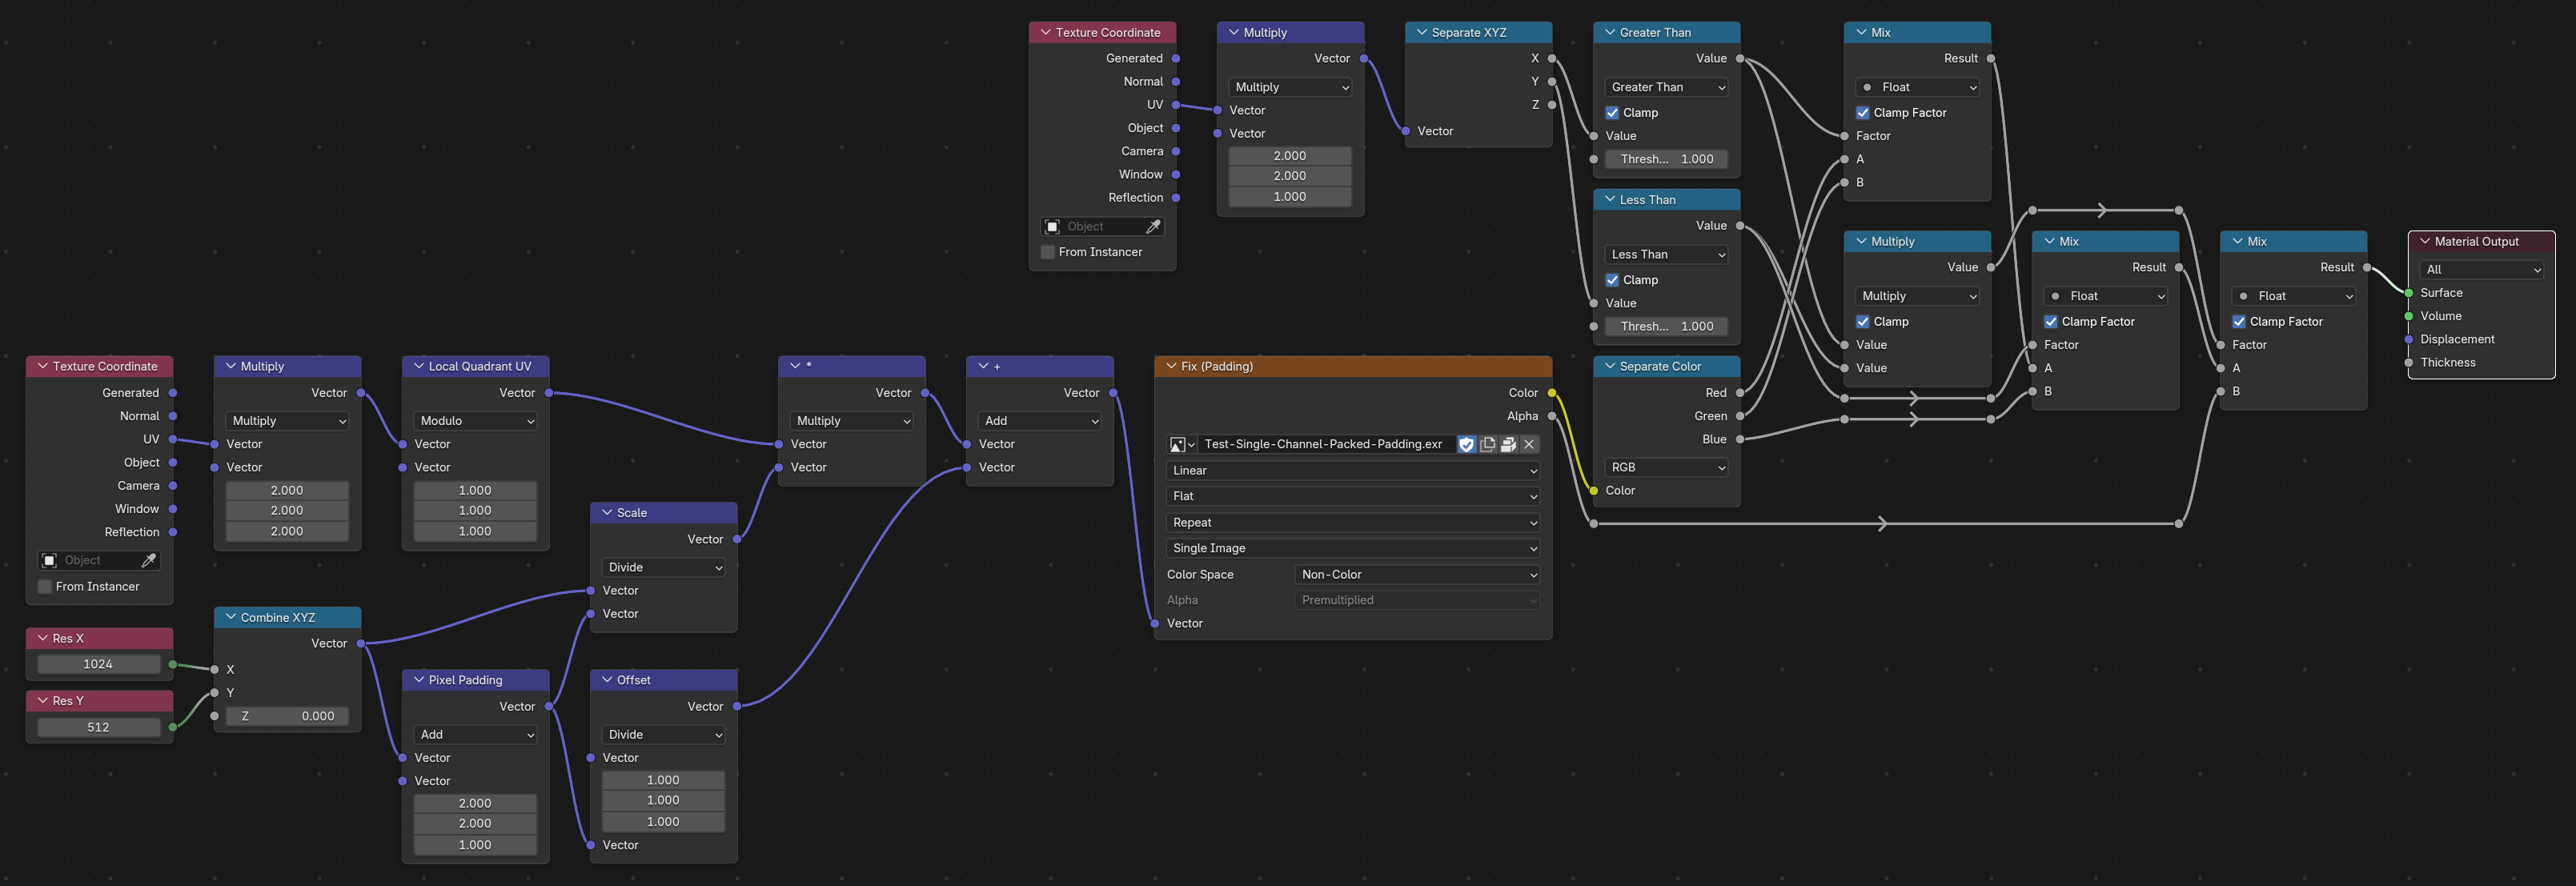
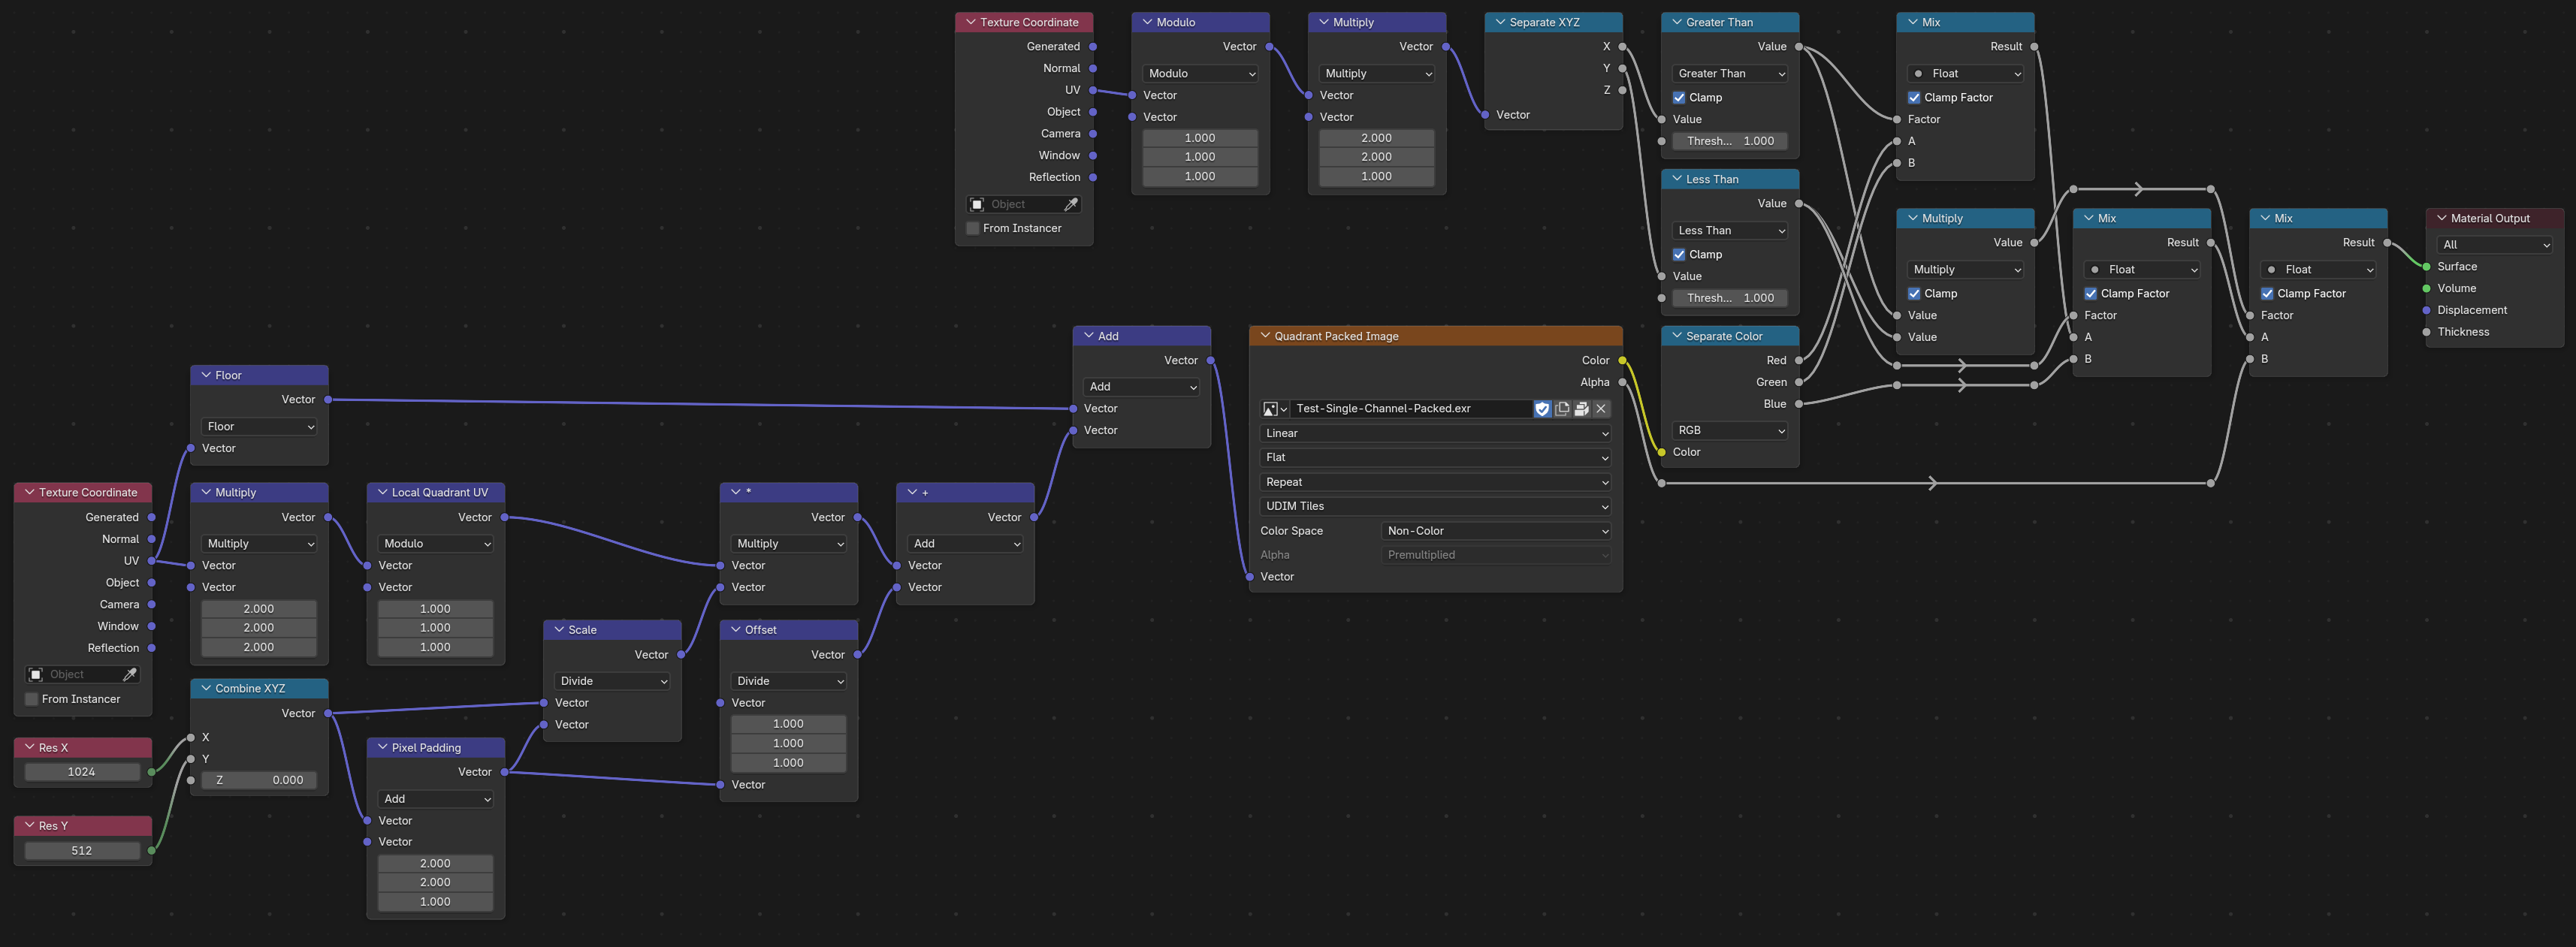
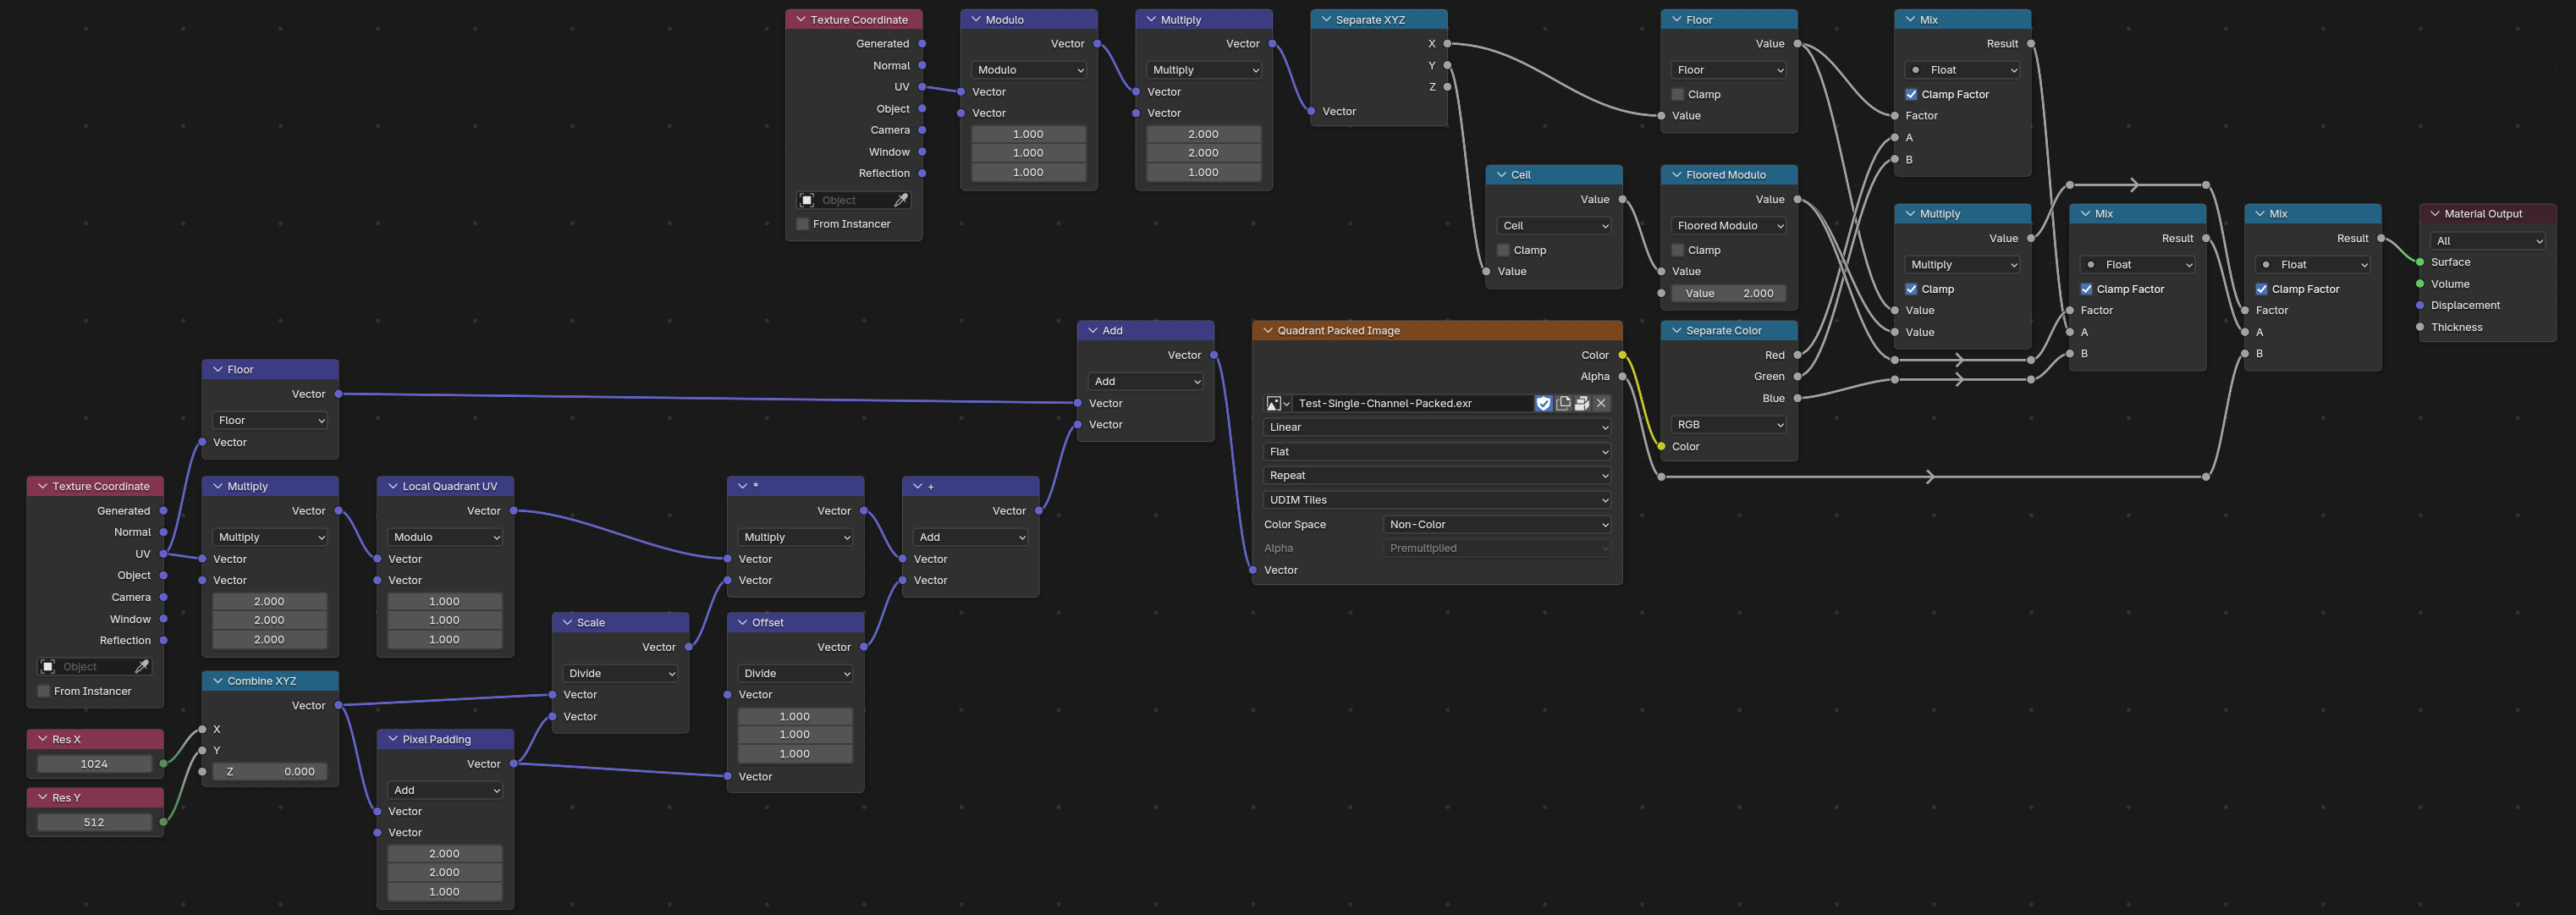
This the full Node setup to evaluate the split-channel image:

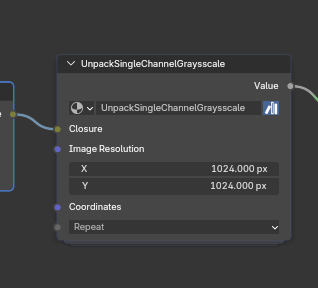
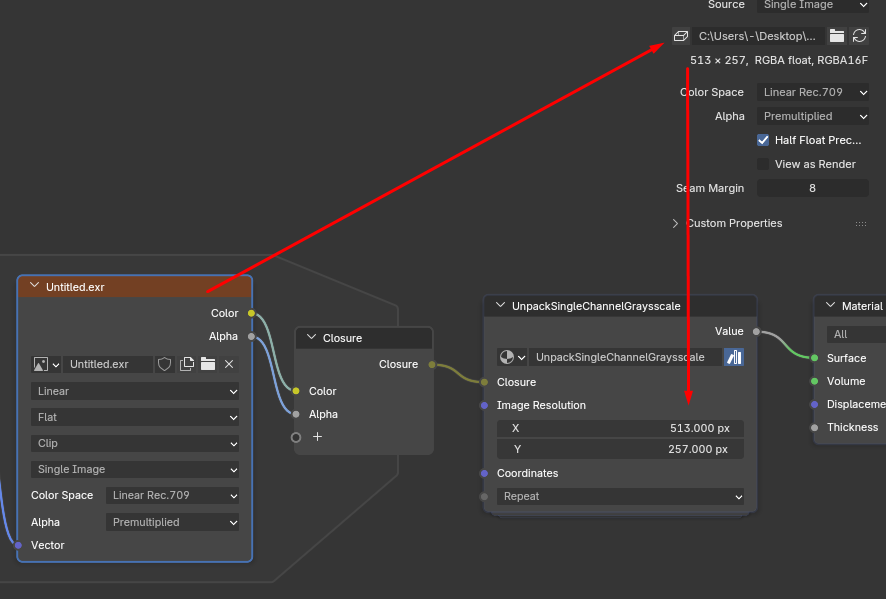
Res X and Res Y reference the already packed image’s theoretical resolution (1024x512).

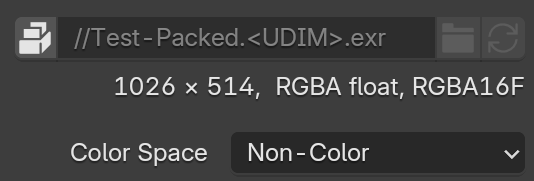
In this case: the original image was 2048x1024 , the packed image is 1024x512 , it’s actual resolution is 1026x514 (because of the +1 border pixel padding to account for filtering)


I included the slop-coded python to generate the 16-bit padded image from the single-channel .exr as an example too in the scripts tab: “Pack Image - Padding”.
(The script right now generates the padding using the Repeat method, but that can easily be fixed by modifying the script to use the extend, clip or mirror method)

Because of the node evaluation setup, the Padding method selected on the actual blender image node (repeat, extend, clip, mirror) seems to have no effect, thus if a different method is needed it can be changed in the script.

Google Drive Link

Edit: The node setup is wonky and doesn’t work with Udim tiles. I’ll be figuring out a better setup and updating over here if I find a better general solution.

UDIMs are done.

Current downsides to implementation:

  • You have to manually set resolution and all udim tiles have to have the same resolution.
    (The math to fix it should be pretty simple though.)
  • The .exr pre-processing has to handle filtering mode and the obvious extra step of having to preprocess the images.

But to prove the concept it’s ready for use essentially.

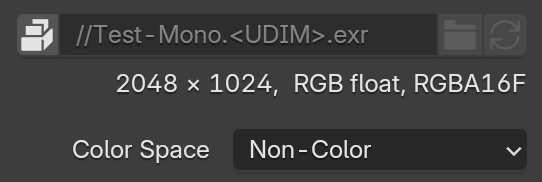
Blender, instead of loading the single-channel .exr internally as RGBA16F (or RGBA32F), using three times more memory than needed

Now it loads a half-res version (+2 pixels)

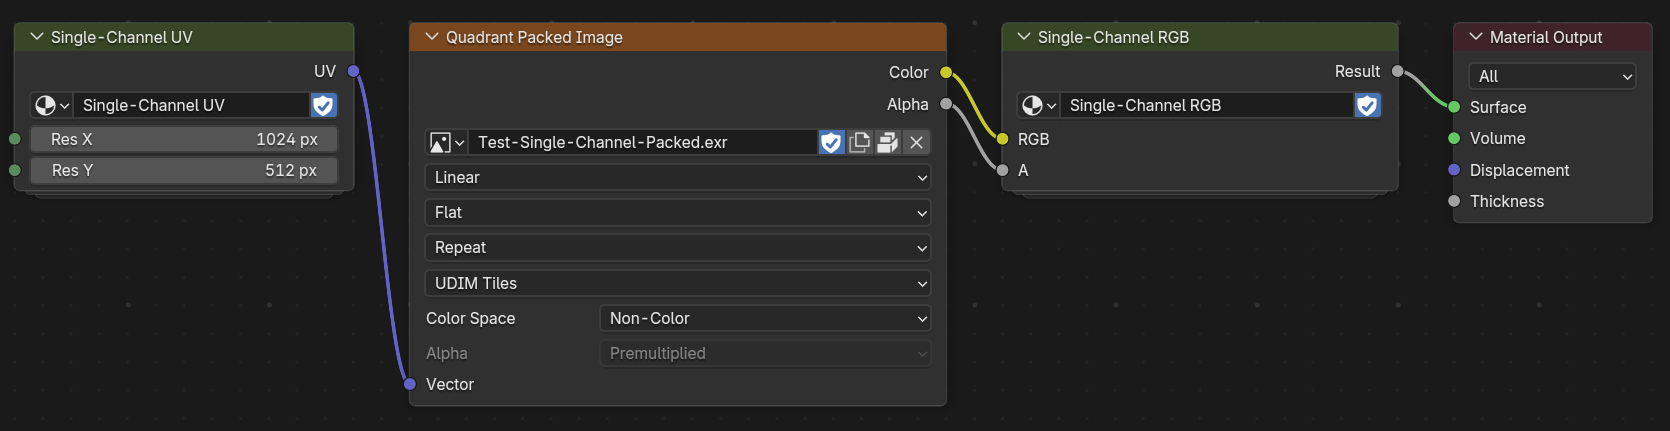
And it uses a simple node graph to un-pack the image:

In cycles it handles it with 0 issue:

In Eevee the seams are still visible, you probably have to mess around with settings and increasing the padding, but I personally never use Eevee so I wouldn’t know.


And the final node graph looks like this:

It’s quite a bit of math so there is a much more noticeable performance impact than I would have hoped for ~20%, (and I assume it gets worse the higher-resolution the image is) ;

Though however high that performance cost it is, considering I originally wanted to reduce vram usage to use multiple 16k displacement textures, It’s a worthwhile tradeoff still considering I haven’t found another workaround and I can reduce vram by a significant amount

Packed Method: Time: 00:45:49, Memory Peak: 386M
Just loading the full image: Time: 00:36:18, Memory Peak: 433M


(After further testing)
The performance impact, is a lot less noticeable with larger textures interestingly:

Using 5 16684x16384 16-bit images, Possibly due to slow downs having to move around the huge amount of extra data in memory, so the method is essentially perfect for my use-case:

Packed Method: Time: 01:54:52, Memory Peak: 2567M
Just loading the full images: Time: 01:18:97, Memory Peak: 10245M


Here’s to hoping blender implements single-channel .exr loading in the future but for now this has been a fun and quite useful experiment.

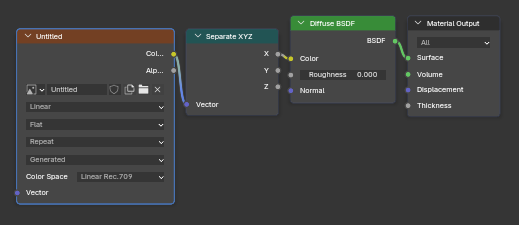
Is this for using only one channel of the image? I mean, how do you load it?

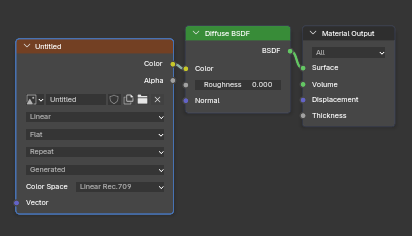
Like this:

or

Did your tests include this? So Blender loads 3 channels anyway if only one is connected?

I just open the single-layer.exr normally (included in the .blend) connected it directly as color just like you did here:

The node setup doesn’t really matter, even if you separate rgb and only connect Red; as internally blender still will load it into the rendering kernel as a full RGBA16F image.
The RGB layers all contain the exact same data and alpha is completely white.

That’s why this whole setup was needed, since blender does indeed waste 3x the memory with these extra layers, as you can see with the vram stats:

Now: if you use a 8-bit single-channel .png blender does correctly load that one internally as a single 8-bit layer (R8), and you don’t need this whole workaround.

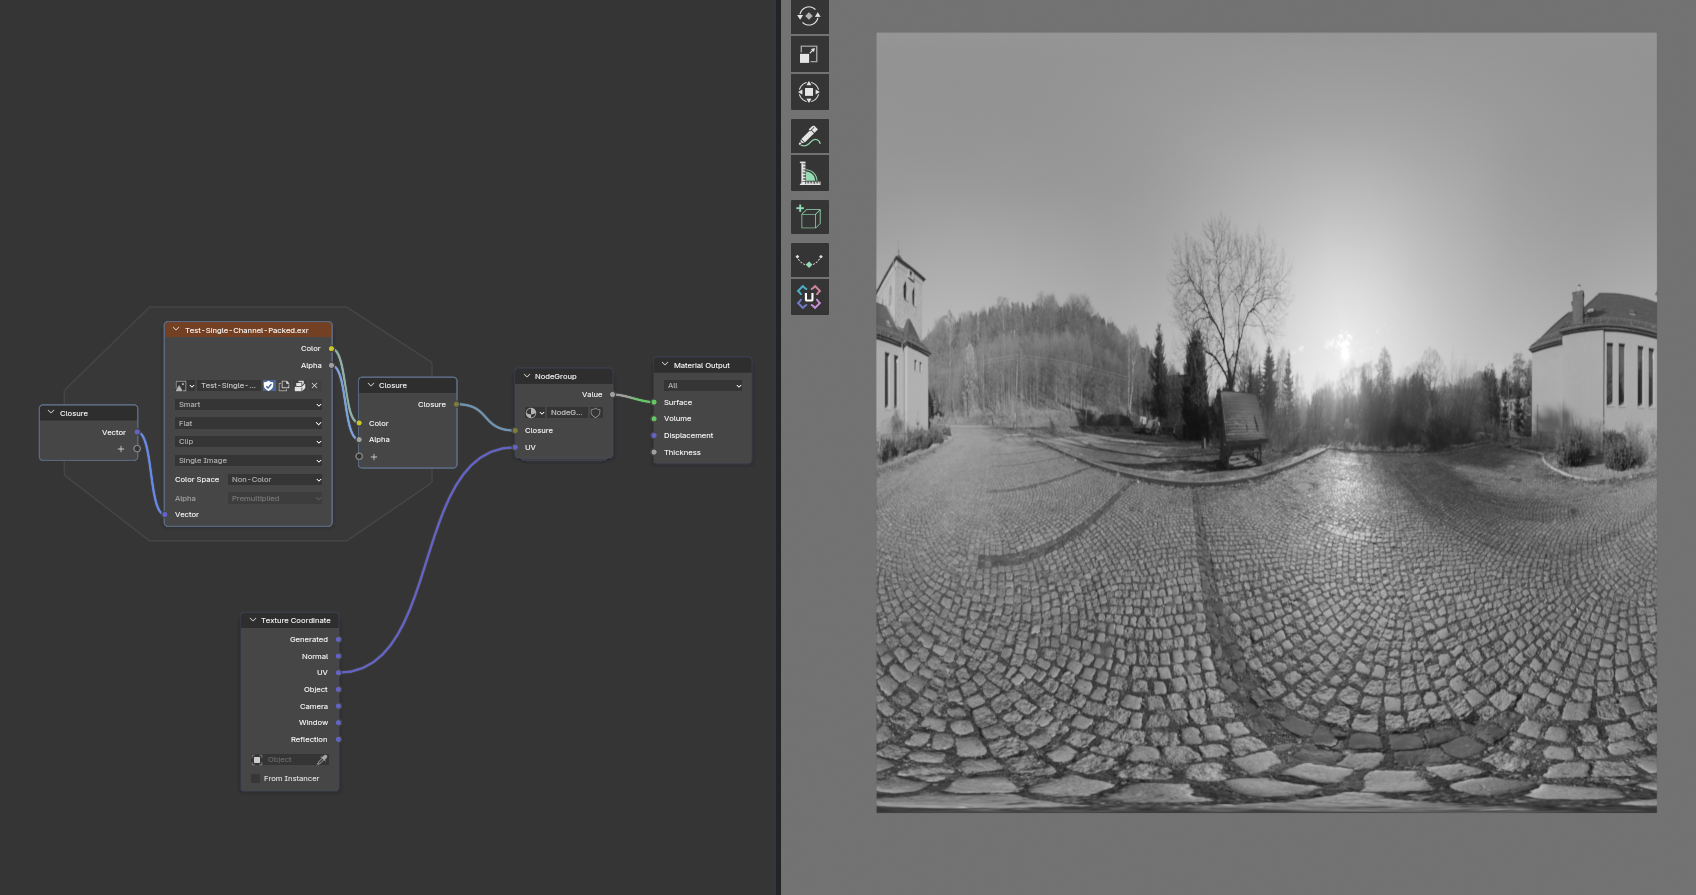
It really seams you are right… :confused: I always assumed. That’s inefficient… :man_facepalming:
Good to know!

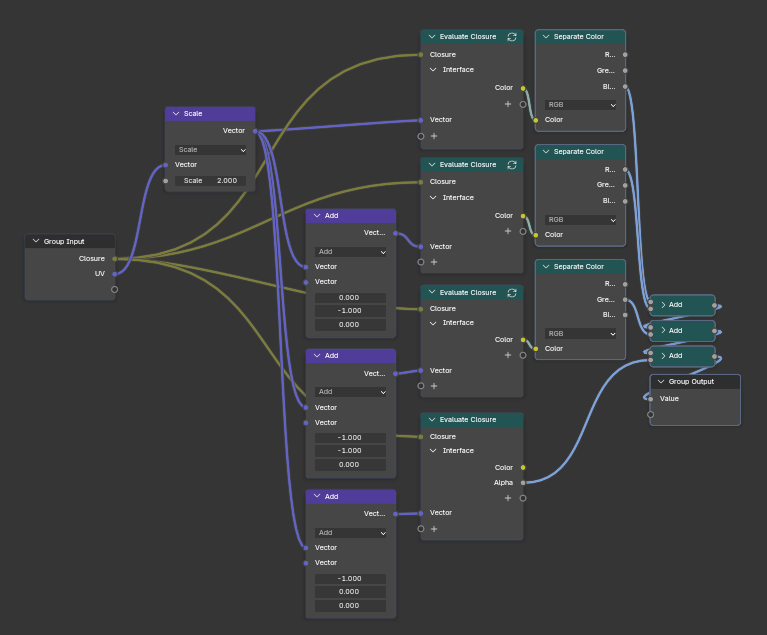
I think you could save some performance by avoiding all the comparison and masking operations. I am not 100% sure, but I think it might be that just moving separate channels might be more efficient:

I think it’s worth testing.

Packed Single-Channel.blend (2.5 MB)

And it’s also possible to pack them with compositor:

PackWithCompositor.blend (139.1 KB)
(It might be that some mistakes were made :laughing: )

(I changed quadrant order, sorry… :laughing: Marked as assets to go to my library as well.)

Which is probably way less convenient than Python if you have a lot of them, but a bit more convenient for one off textures since it’s easy to use any format as well(although I suppose that’s easy with Python as well…).

Anyway, I am glad I stumbled upon this. I used to sometimes run out of VRAM… Even though recent Texture Cache functionality is absolutely awesome help with that as well. …ironically, I suspect the two might not work well together :laughing:

I’ll try out removing the comparisons as it depends on how it’s implemented on the kernel but you’re correct: Comparisons introduce branching into the equation which is really bad for performance especially on a gpu as far as I know.

Your current implementation is better in concept I think, though it seems to be affected by the filtering method. I’ll try to avoid masking in a similar way and implement UDIM support too.

Using the compositor to process the texture is incredibly smart actually. Really Useful for one-off textures, though python might be more useful for constant iteration or processing lots of textures at once still.

Yeah… I haven’t tried texture caching but I’ll assume it will destroy filtering and break even more at the seams sadly. Would love if they implement per-object or per-texture instance toggle to not use caching for certain objects; and I think it is something they have mentioned they are considering.

I did mess it up :laughing: It probably needs a bit more work. :laughing:

Texture Cache seems to work with it without problems though. :+1:

Well, actually, I am not sure about filtering, I did not check it closely enough probably.

Oh, I see it. I expected it in the middle, not at the edges. :thinking: That should have some solution… :confused:

My bad… filtering is fine maybe? It’s the Extension method that has to be set to clip.
Will do more testing but the concept in general is pretty solid

Problems are at the edges of the constructed image when it is tiled.

Following this line of thought, I doubt it has any meaningful performance impact but I made a minor change by just replacing greater-than with floor and less-than with ceil+floored-modulo(2)

From this:

to this:

I think it’s still worthwhile exploring simply transforming instead of masking but it adds too much complexity for my wribbly brain to figure out for proper udims and utilization of the padding/borders

I am kind of stuck on doing it without adding padding, but I think that’s just impossible. With padding, the way I understand image resolution should be used in the shader and that’s just not nice. :laughing:

OK, that’s it. If this doesn’t work, I give up. Seems to work:

PackWithCompositor+Padding.blend (134.7 KB)

:laughing:

Resolution is needed in the shader:

This was really trickier than I thought. Here it is:

PackWithCompositor+Padding.blend (136.6 KB)

Everything lines up for sure now.

The resolution of the image with packed channels needs to be entered:

Yes, it makes sense, it should be uneven number, I started with 1024x512, then it gets cut in half, but 1 pixel is added only to 2 sides of each quarter, because the issues are only with tiling the whole constructed image and not its inner seems.