As an Operation System, MacOS is the Best I think. But as hardware? I can’t say the same thing.
For professionals (like programmers), MacOS is only a nightmare.
1 Like
There’s a few other threads for discussing OSes, can we veer back into iridescent glass discussion? Thanks ![]()
2 Likes
Yes, yes! Because this discussion never ends. ![]() Do you have an idea for the main discussion?
Do you have an idea for the main discussion?
I guess LuxCore is the best alternative to Cycles but there is no ARM64 support yet.
You lost me there!
Looks great, Is that the thin film node? I did not really understand that node I will have to take another look.
I have made a new version as well.
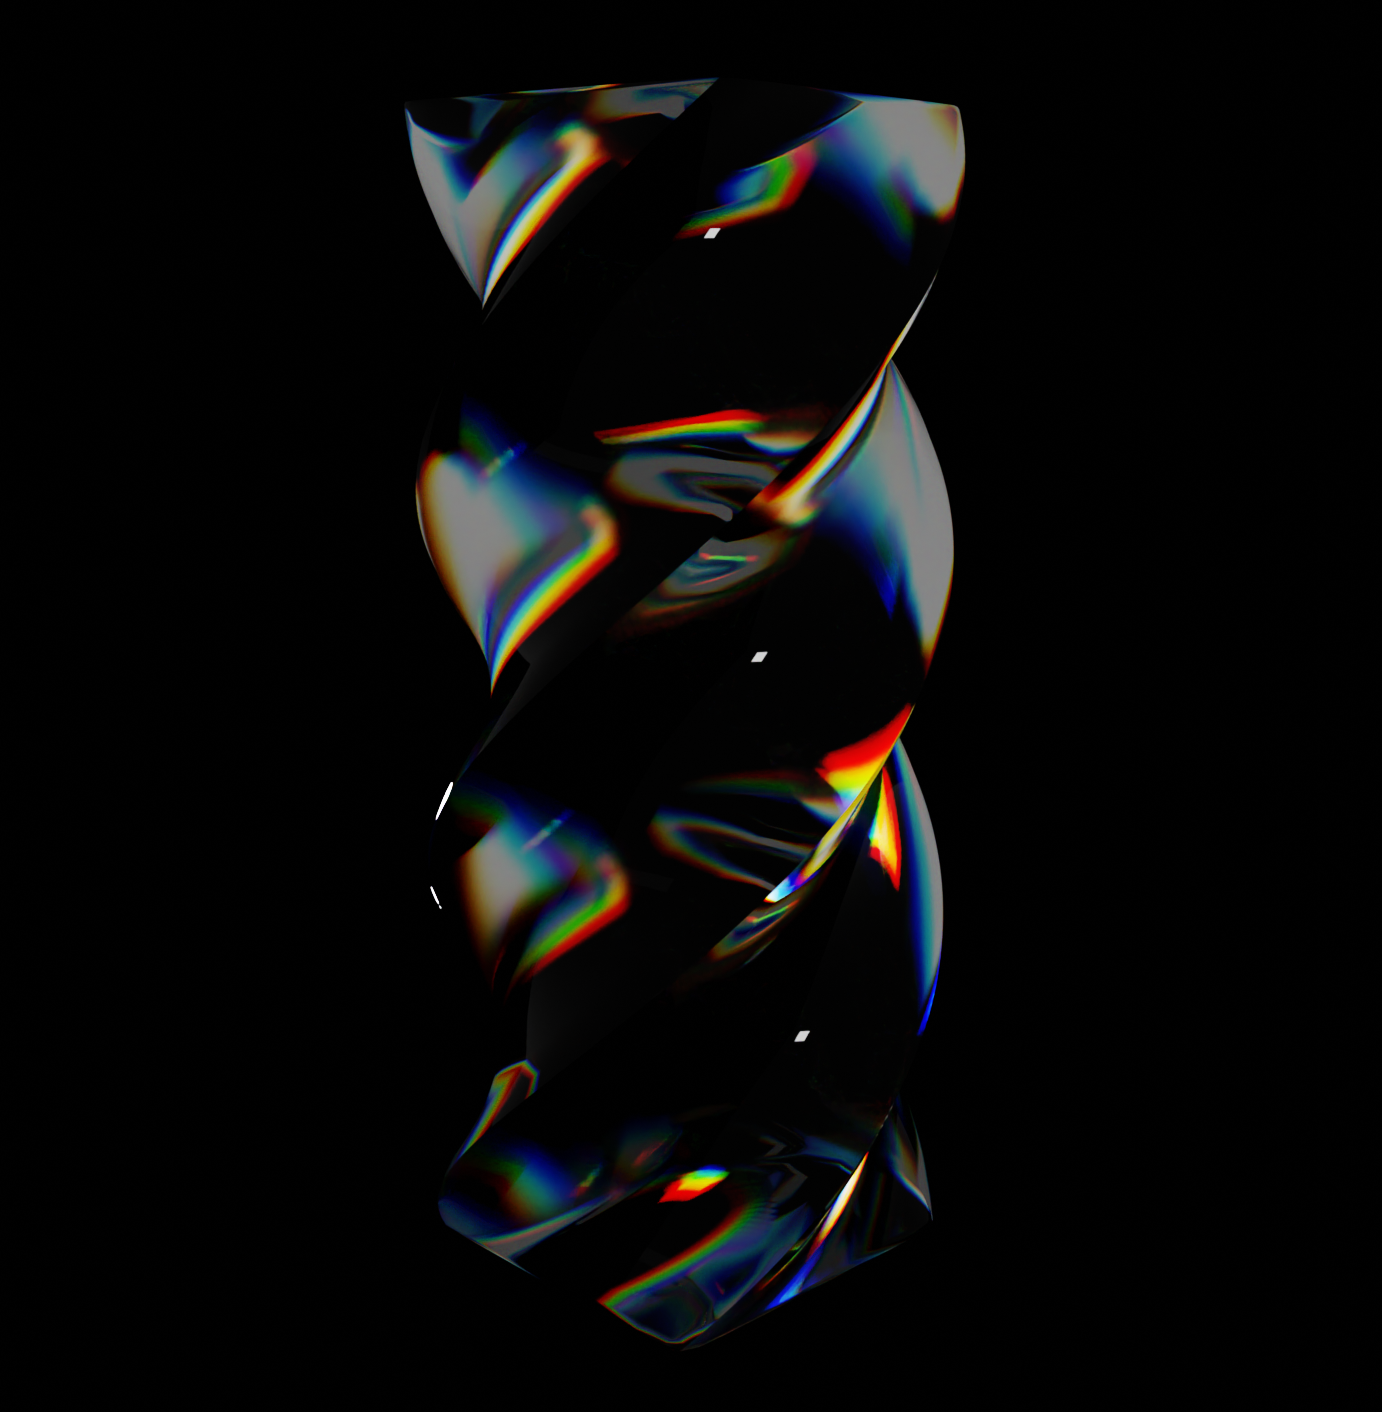
I gave up imitating the extreme examples (black world with light planes/area lights) and concentrated on more realistic effects (the hdri version).
I ended up mixing in a glass shader instead of the glossy one with the geometry’s parametric vector as factor.
This does mean that the dispersion is more subtle but it retains the glassy look, the first version looses the glassy feeling.
I made a node group for it and put a slider at the bottom to mix the 2 versions, when you start mixing the first version in you get more colour but is looks less like glass.
V2
Mixed V1 and V2.
V2
Mixed

For the Hdri version I think I prefer the subtle V2 on its own.
Dispersio7.blend (536.0 KB)
4 Likes
Wow I was trying to experiement with the glass dispersion effect in cycles just a couple days ago. Experienceing the Baader–Meinhof phenomenon right now haha.
Mine is much worse than what you guys have made though.
I used this video by CGCookie: https://www.youtube.com/watch?v=RiWn3i-TWQQ
This was the result (sorry about the vulgar):
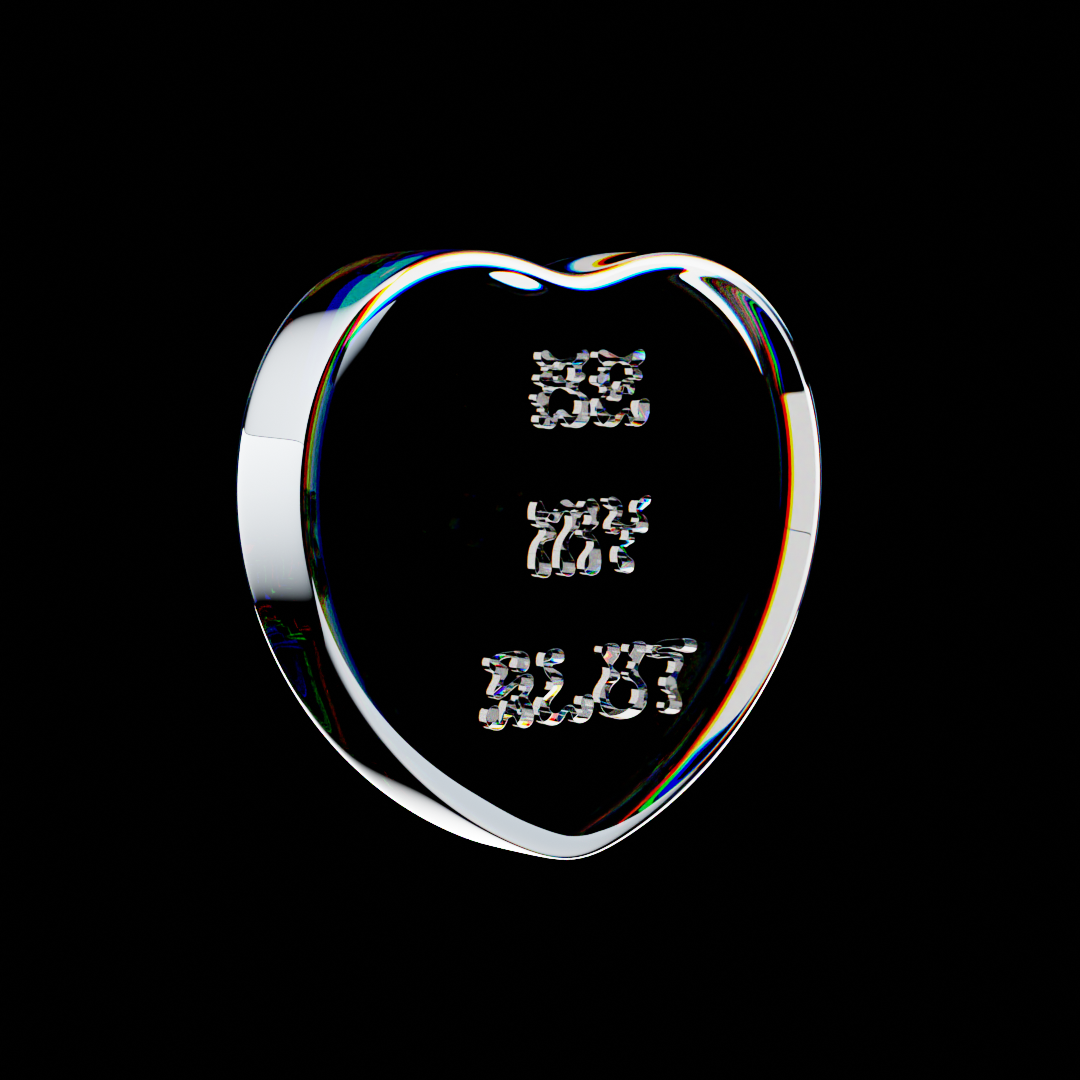

The second image was when I messed up and used the mix node instead of mix shader node.
1 Like
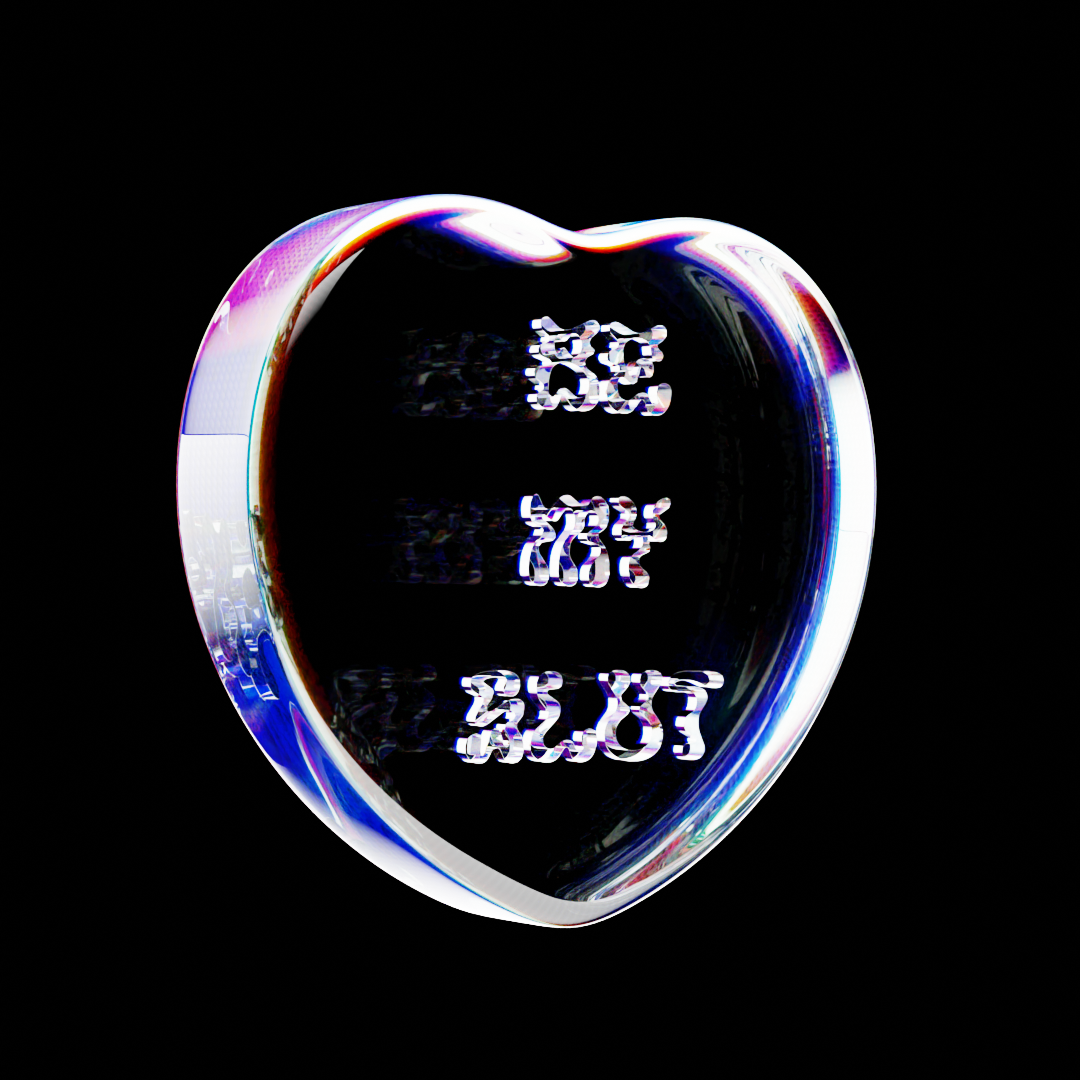
The add shader method separates the colours instead of blending (dispersing) them.
2 Likes
1 Like
I think we are at least getting something that looks pleasing ![]()
The holy grail would be to get the laser prism to work!
1 Like
Now, I’m gonna mix your colour math with my IOR math ![]()
1 Like
Sorry I mentioned the wrong nodes. It was the mix shader node that made the blueish colour and yes it did add them instead of seperate.
But why des the mix shader node not also add the shaders together? I’m still a beginner, sorry if its a dumb question.
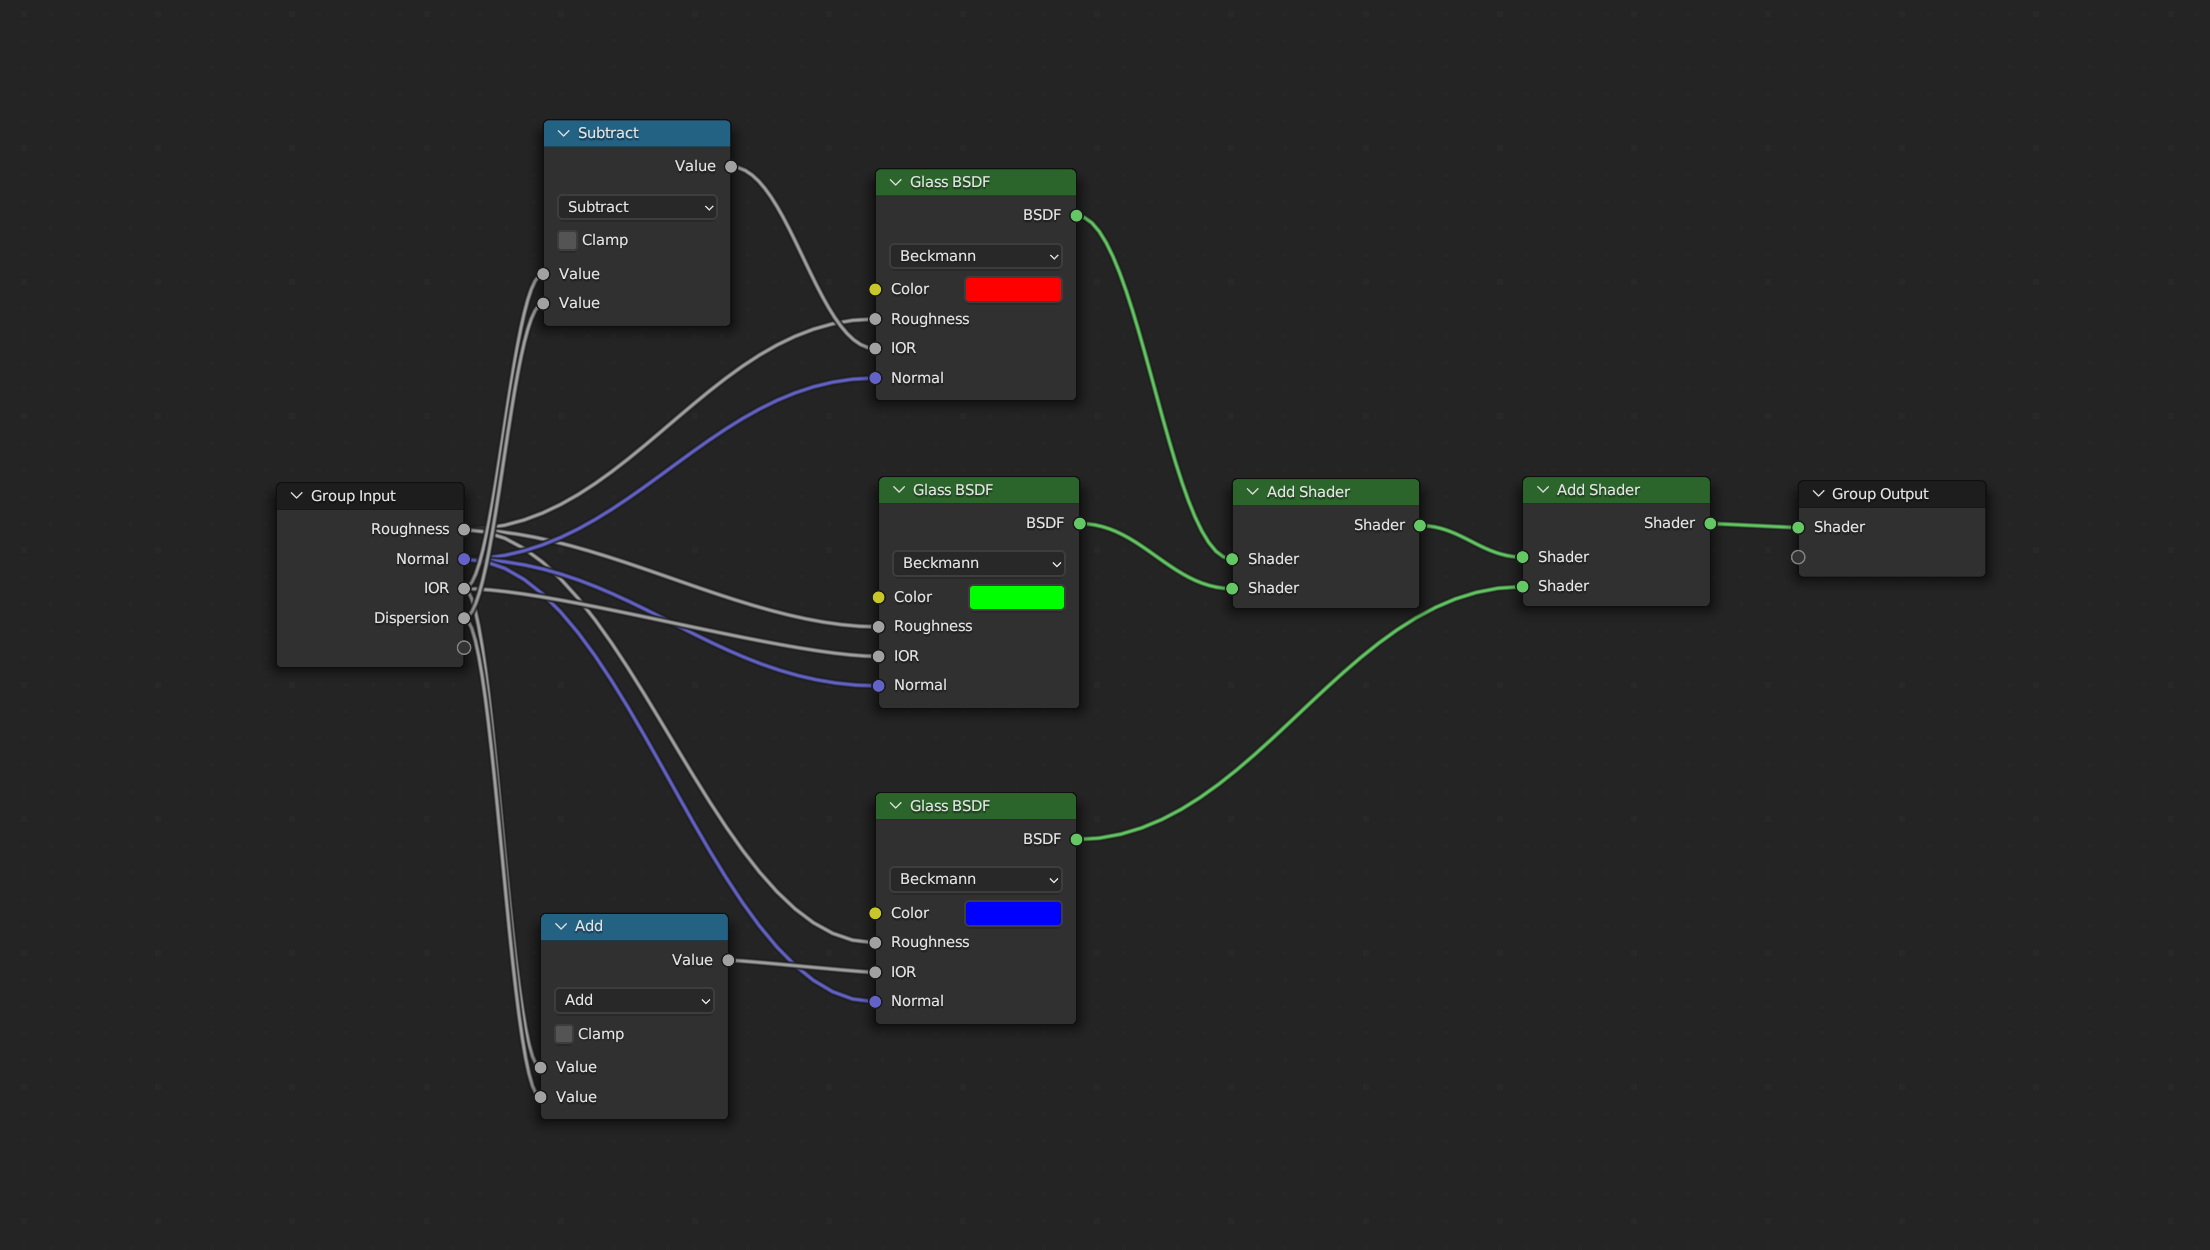
But in my node setup, mix shader was used to combine the red, green and blue glass BSDF, each glass BSDF had differnt IOR settings as well. I also used ‘direct lighting’ (not sure if that is the right word for it) instead of of HDRI enviroment lighting.
The ‘dispersion’ only really shows in the corners of the model.
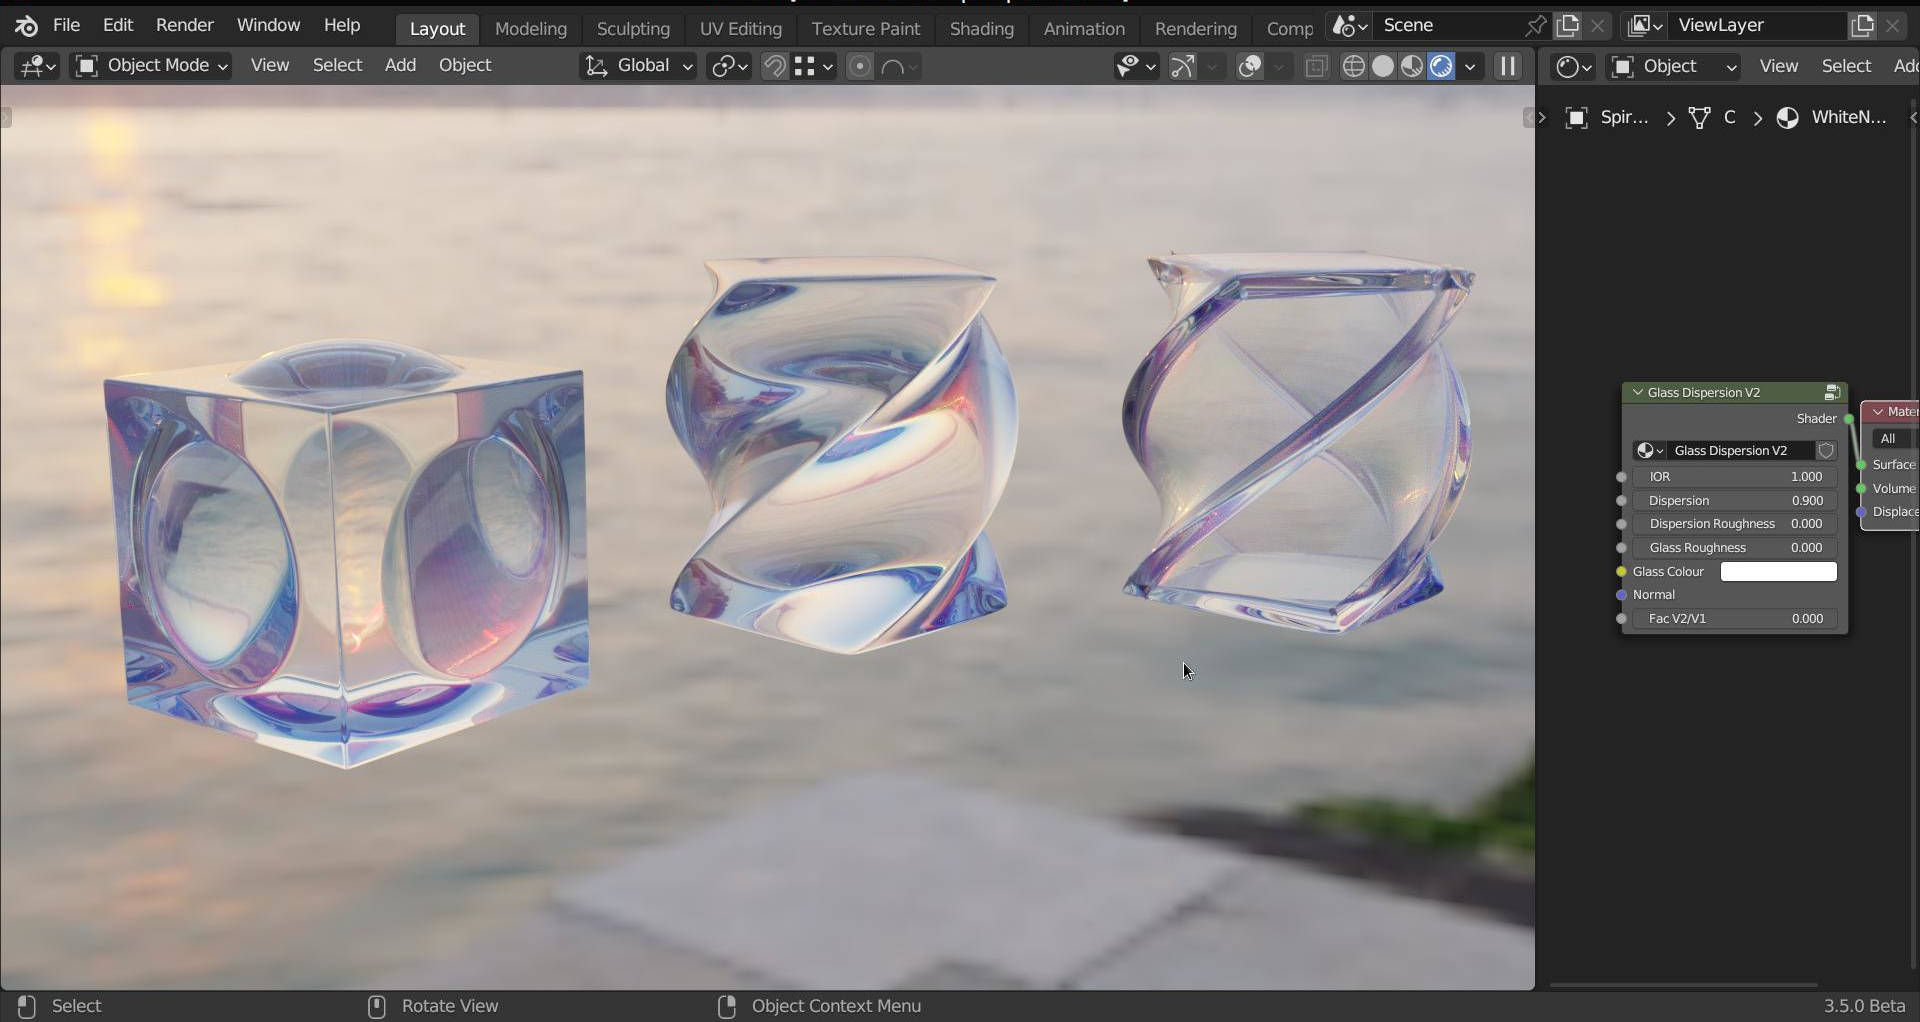
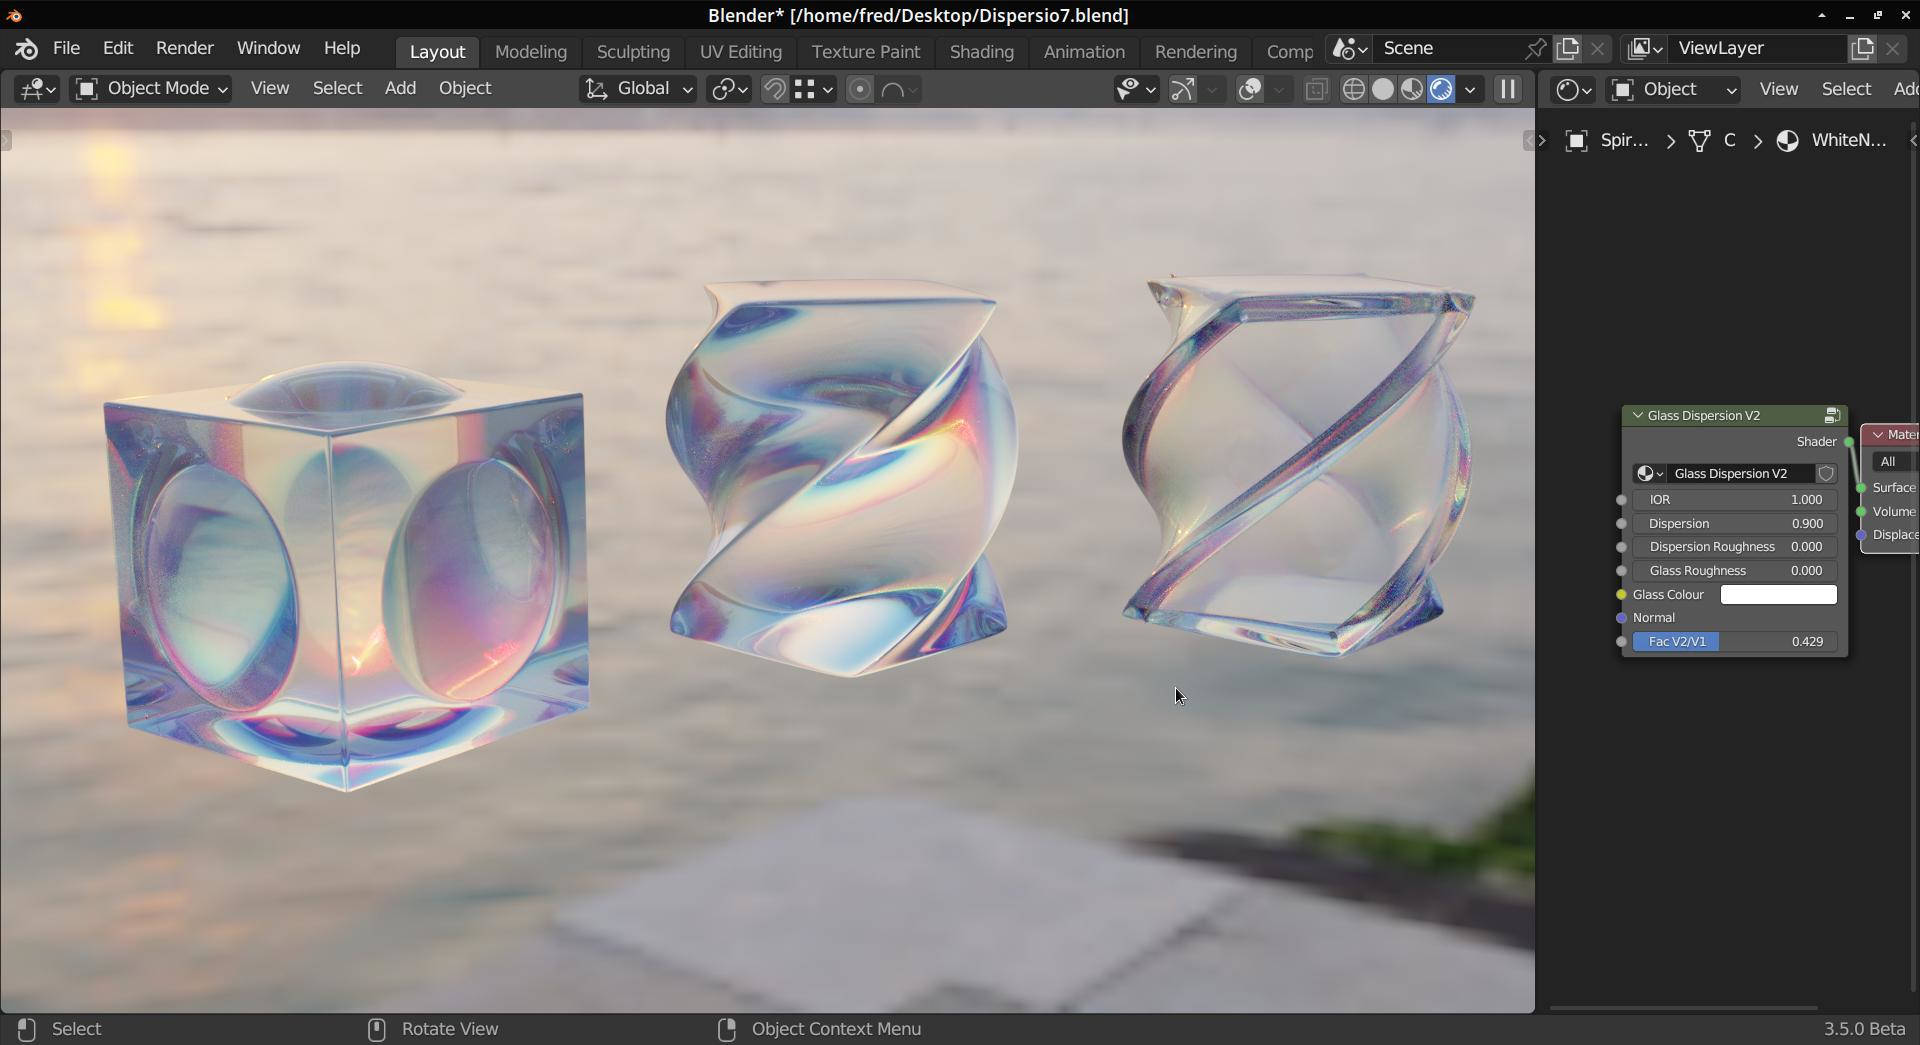
I appended your node set up to my file and this is the result:
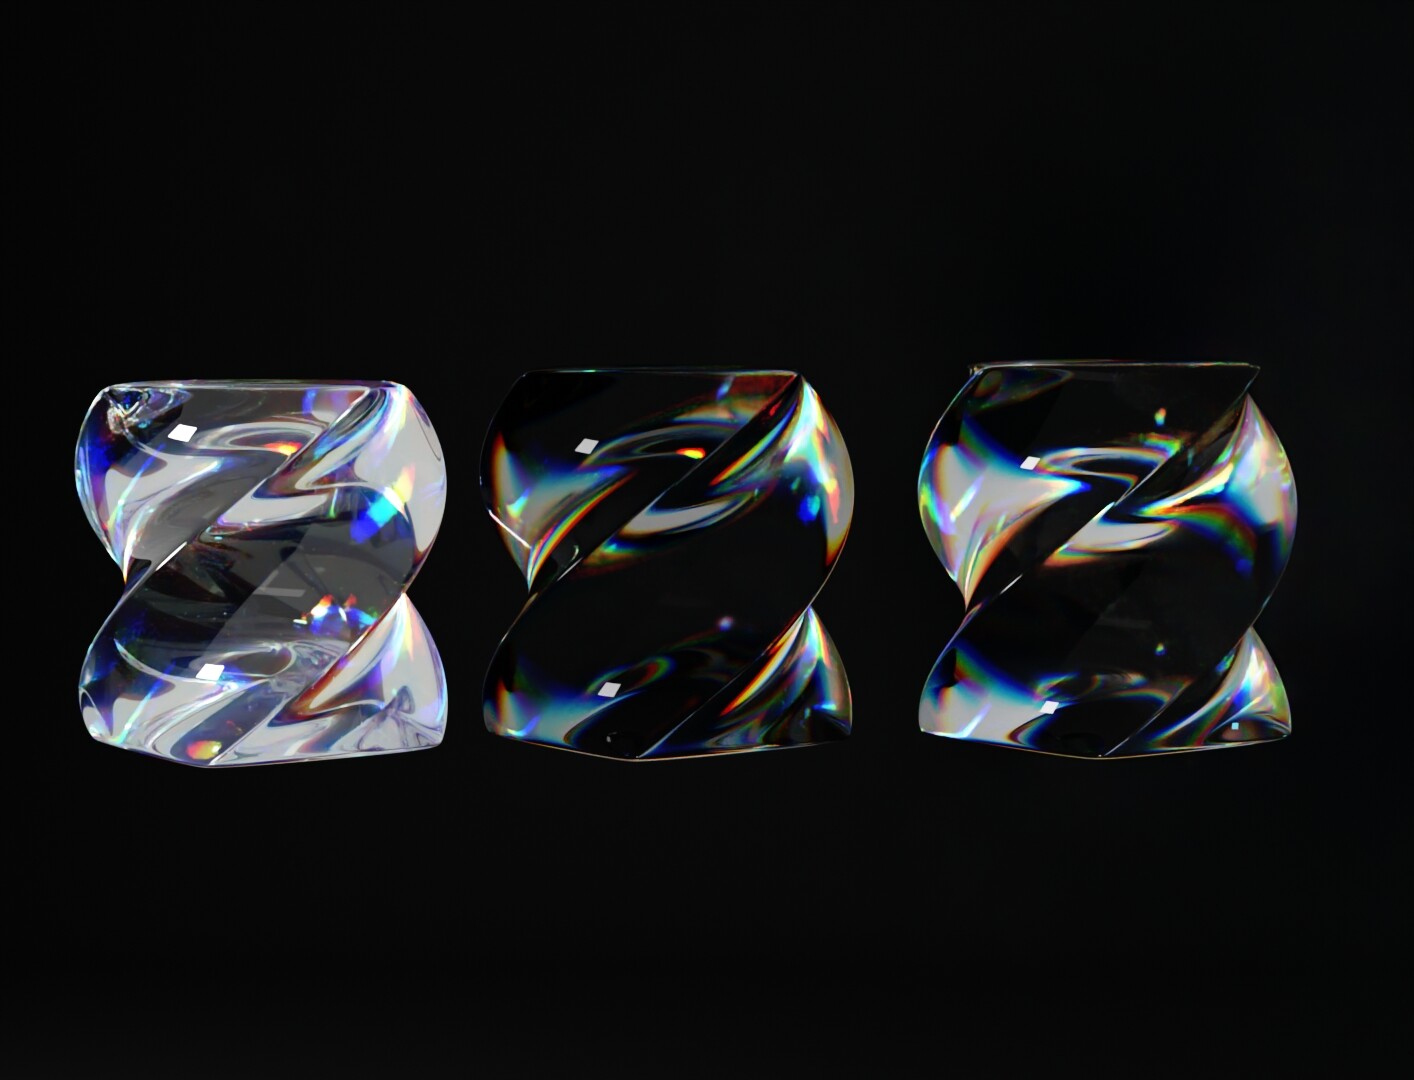
Now you can check these 3 versions. V1 is yours V2 is my version and V3 is combined with a new math formula. You can check all the settings.
Dispersio_8.blend (203.2 KB)
1 Like
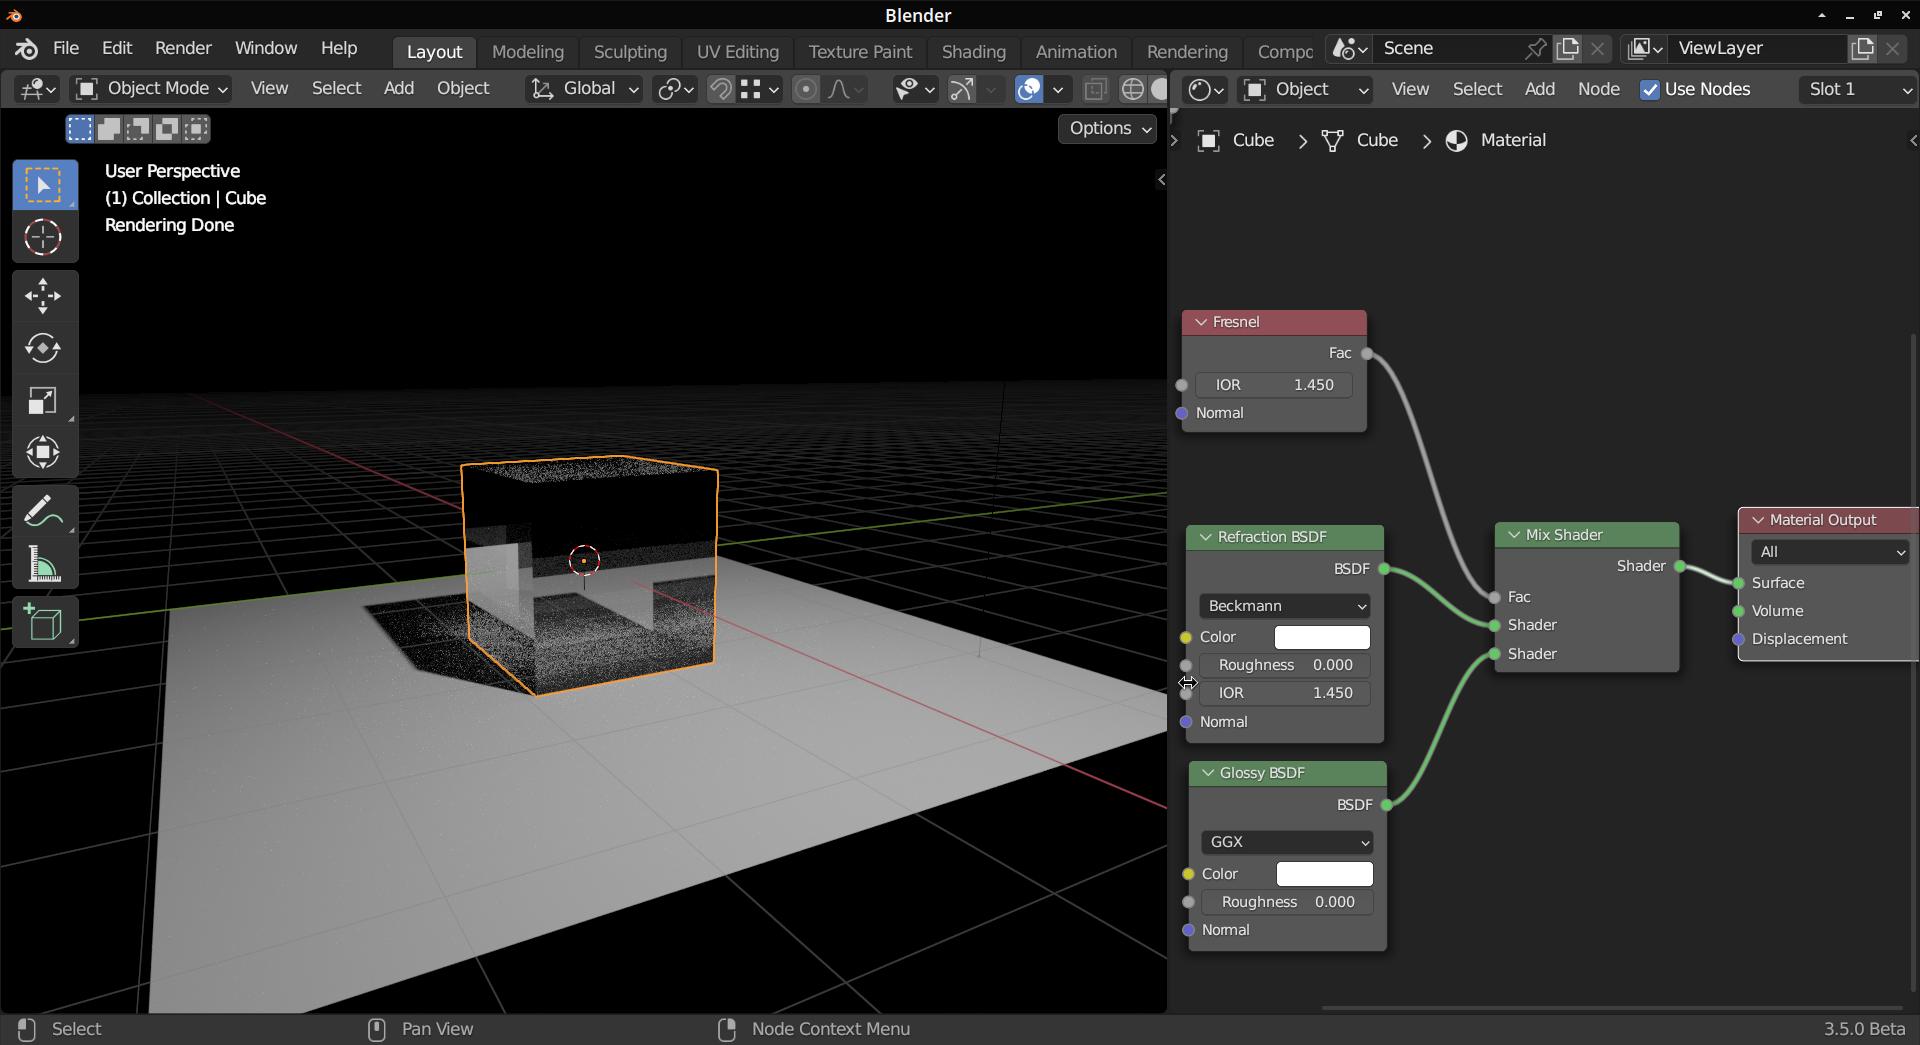
The mix shader node mixes 2 shaders with a factor, It does not add up them it blends them.
With the factor at 0 you only get the fist shadder, at 1 the second and in-between grades of mixture.
The factor in the mix shader node is extremely useful for example this setup will give you the same result as the normal glass shader, with the advantage that you can tweak the refraction values separately from the glossy values.
It is interesting to note that you can use different things as a factor to “mask” the shaders, for example in my setup if you use the “geometry” node’s incoming output the light rays that have gone through the object will have diffusion but the light that hits the object directly will not.
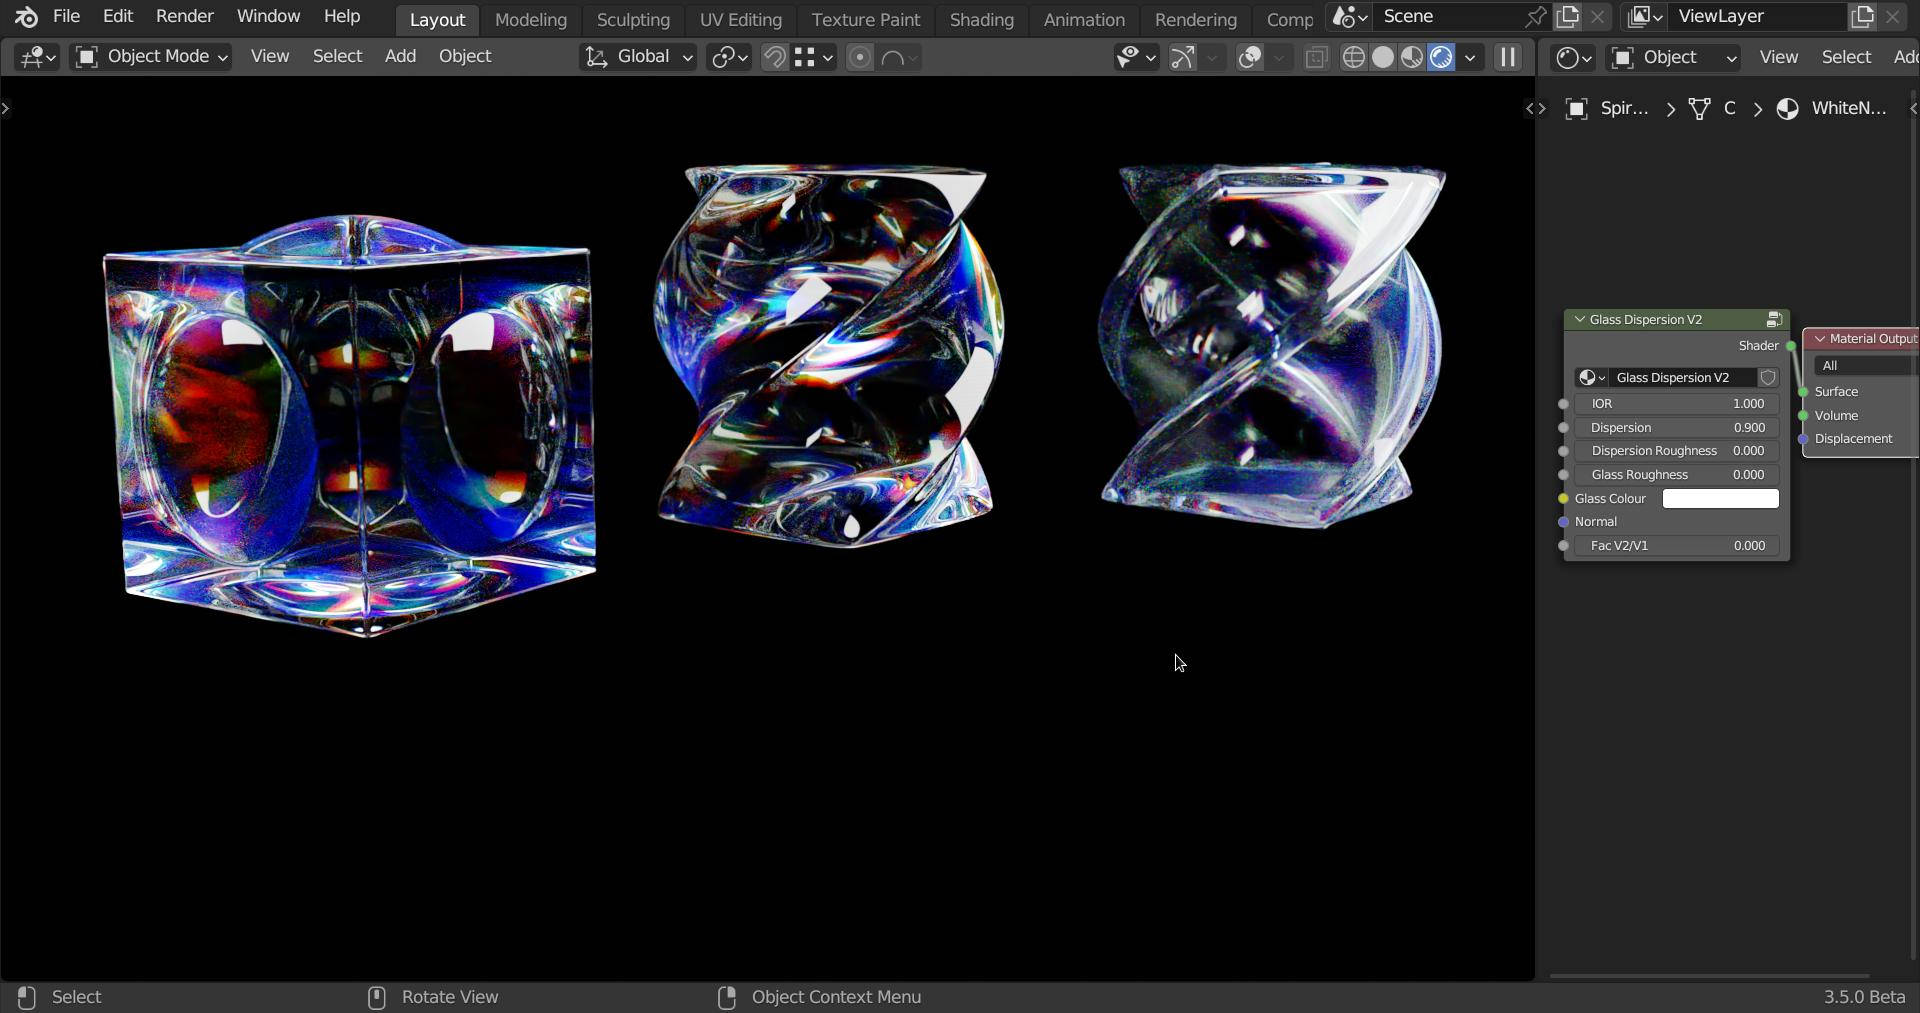
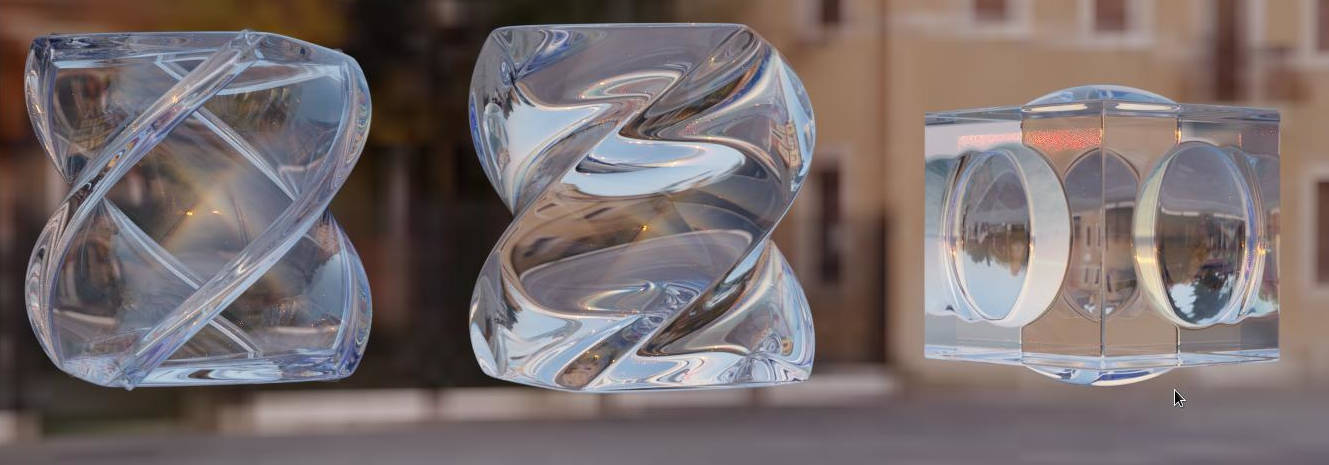
I am lighting with the hdri, the main light source is the sun. So using the incoming output of the geometry node to mix the dispersion shader with a normal glass shader it will look like this if you look towards the sun. (lots of dispersion and less of the normal glass)
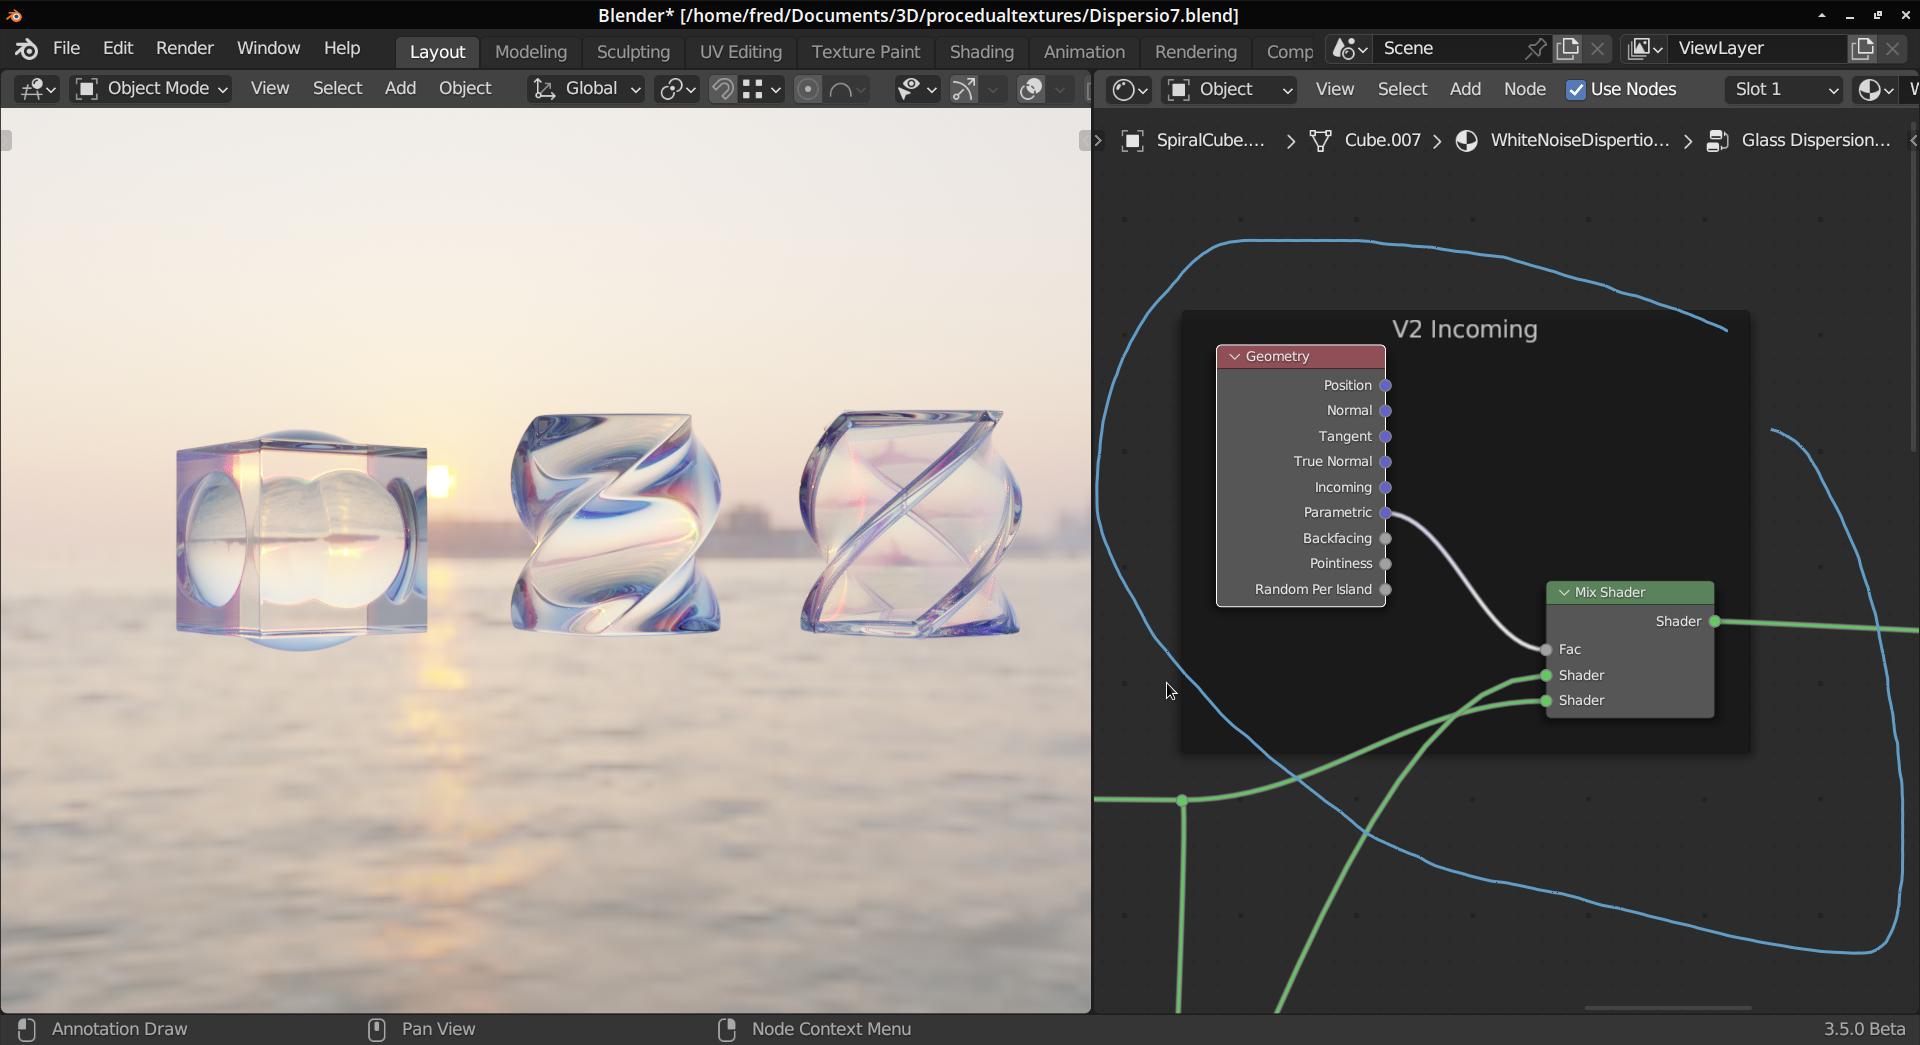
But if you look with your back to the sun there is very little dispersion as most of the light is hitting the objects directly. (lots of normal glass and little dispersion.)
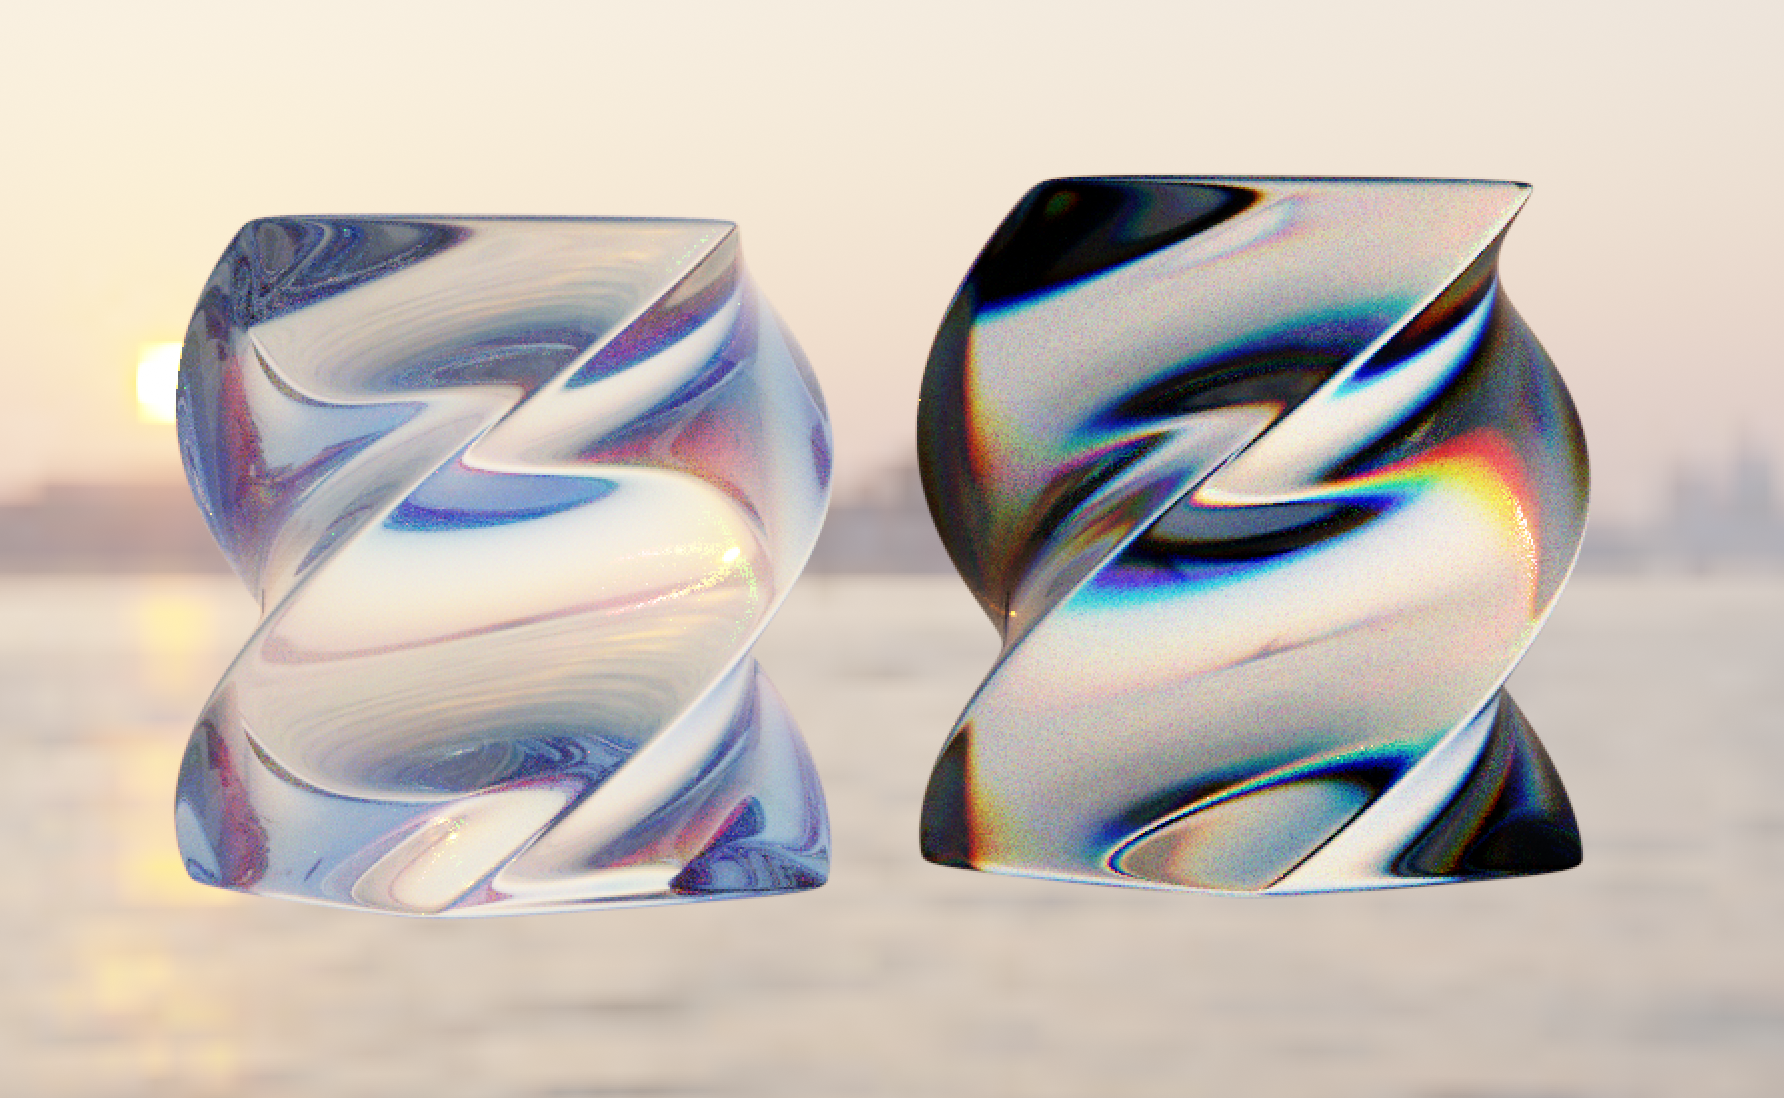
The Add shader node is a different beast altogether, it will add up the results of shaders. If you add 2 glass shaders together you get these results.
2 Glass shaders added:
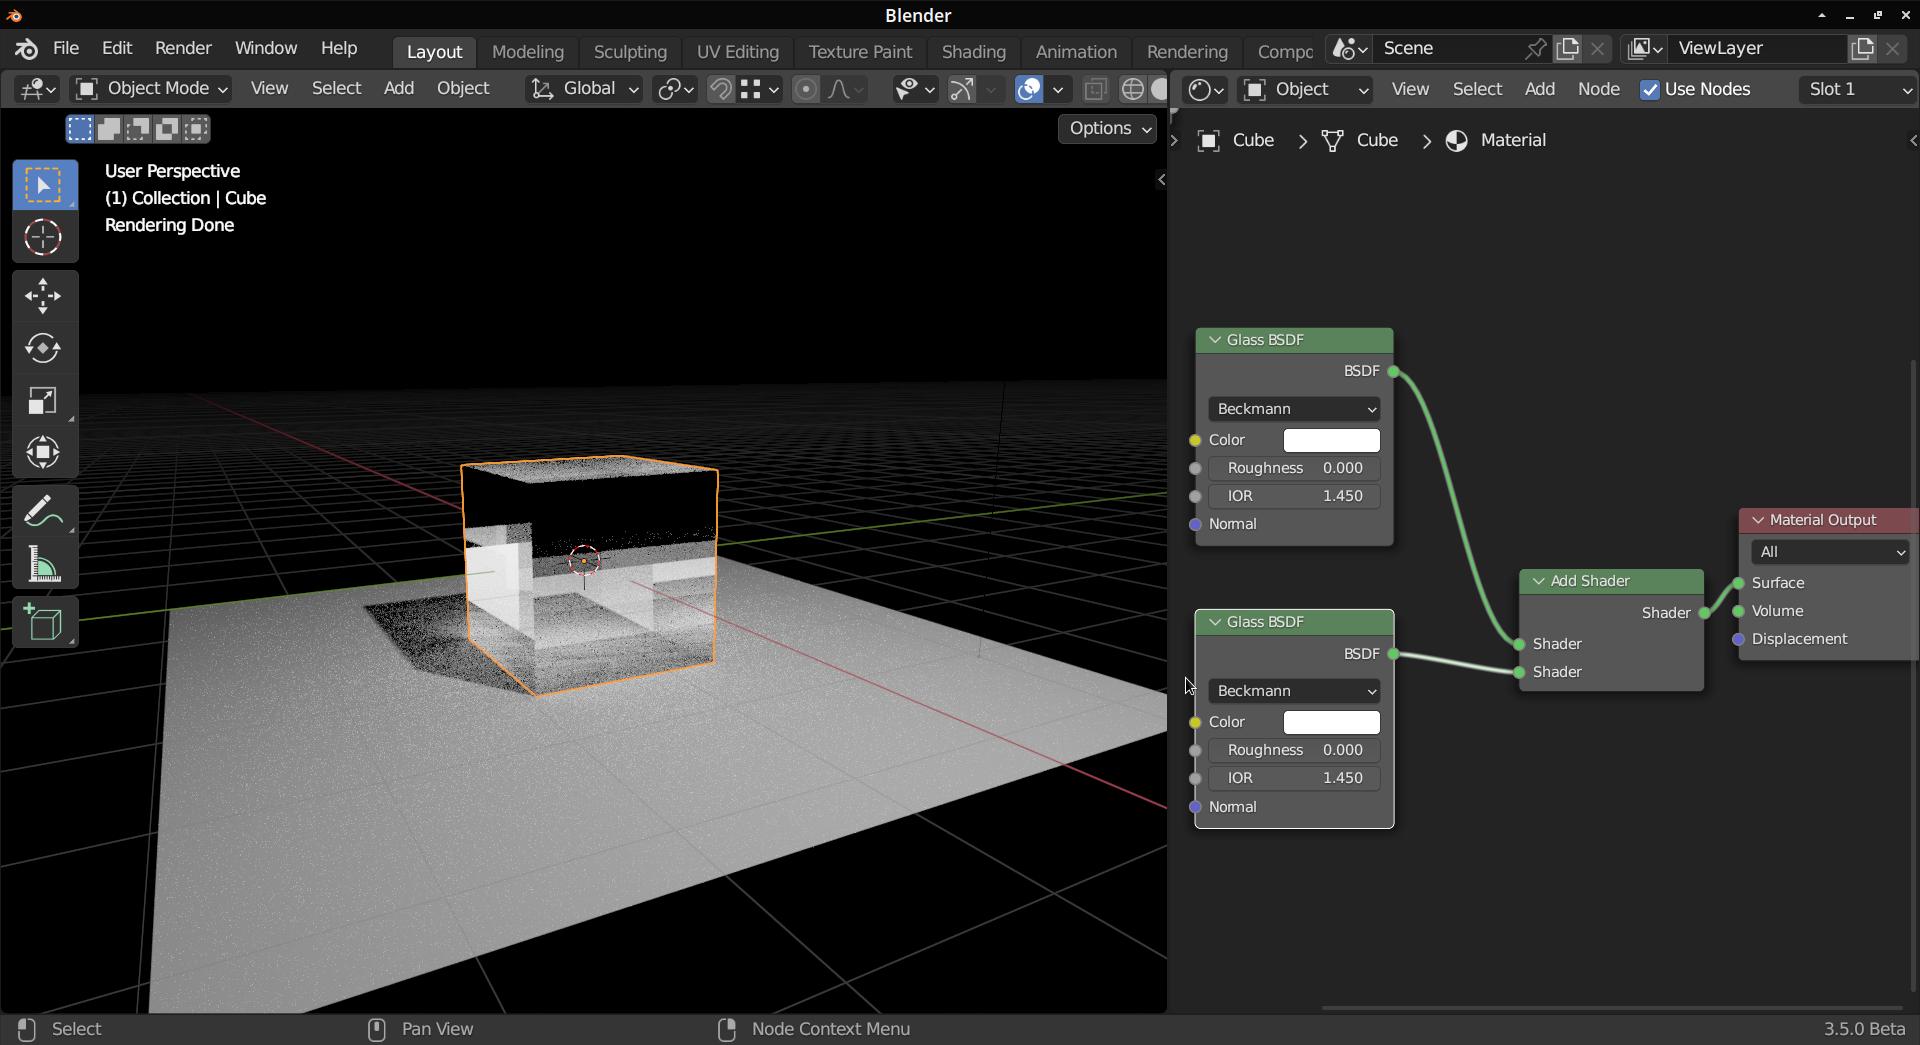
See this answer by Carl that explains that after adding shaders you sometimes have to compensate the result to avoid “doubling” unwanted values.
1 Like
I will check it out it is looking good!
Thank you for taking the time to explain, the examples really helped, I greatly appreciate it!
Can we see your node setup?
1 Like